All Collectibles Locations
Every Silent Hill: Townfall collectible location, each one on a screenshot from our own platinum run: all 85 discoveries (documents and clues), 15 strange postcards, 19 CRTV signals, 13 phone numbers, 7 resource containers, plus the three guide-dog coins and the Strange Books and Access Card for the two joke endings. Everything is listed in the order you can pick it up, so you can sweep it all on one New Game+ run. Want it as a route? Our platinum walkthrough has every item in story order.
Collectible trophies
All 85 discoveries (documents + clues).
Half of the discoveries: it pops around #43, the Harbour Notice.
All 15 strange postcards.
All 19 CRTV signals.
All 13 phone numbers called.
All 7 resource containers opened.
Discoveries also count towards your ending (+1 each), so a full sweep is what makes the Justice ending easy. Nothing is lost for good: anything you miss can be picked up on New Game+. The one easy one to miss is the Harbour Notice (#43): grab it before walking past the van or a scene moves you on.
All 85 discoveries (documents and clues)
Documents and clues share one counter (85 in total). Computer files only count once you open them, so read every email and file on each machine.
Cold Open #1–1
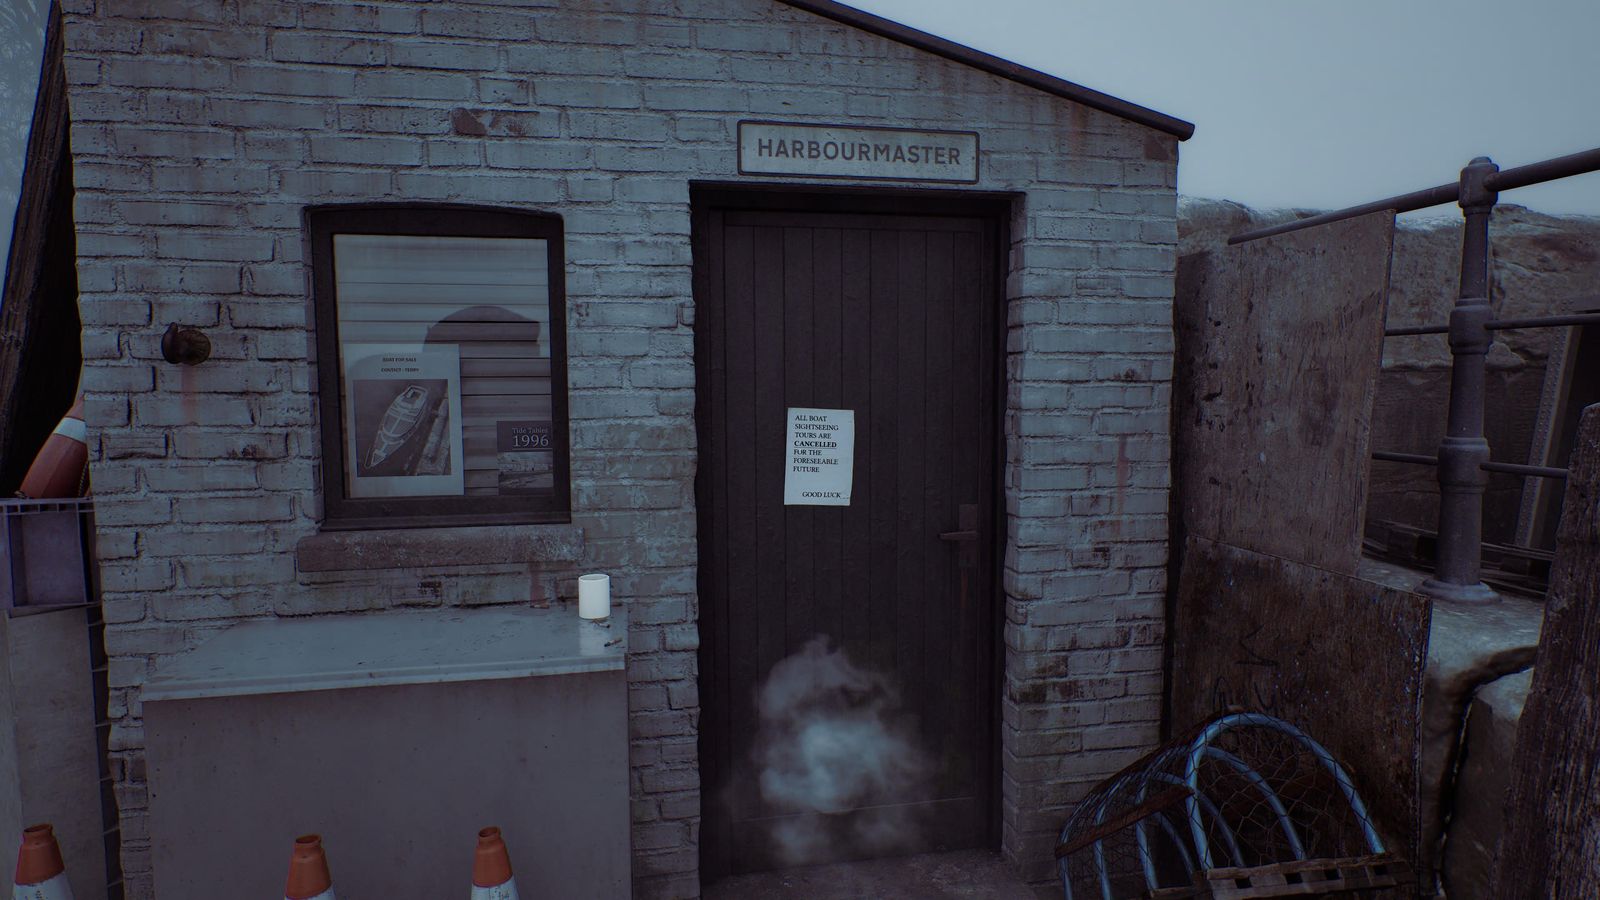
East Shore Road: pinned to the shed door right behind you when you first get control.
Escape #2–4
Haldane Hotel room 204, on the desk.
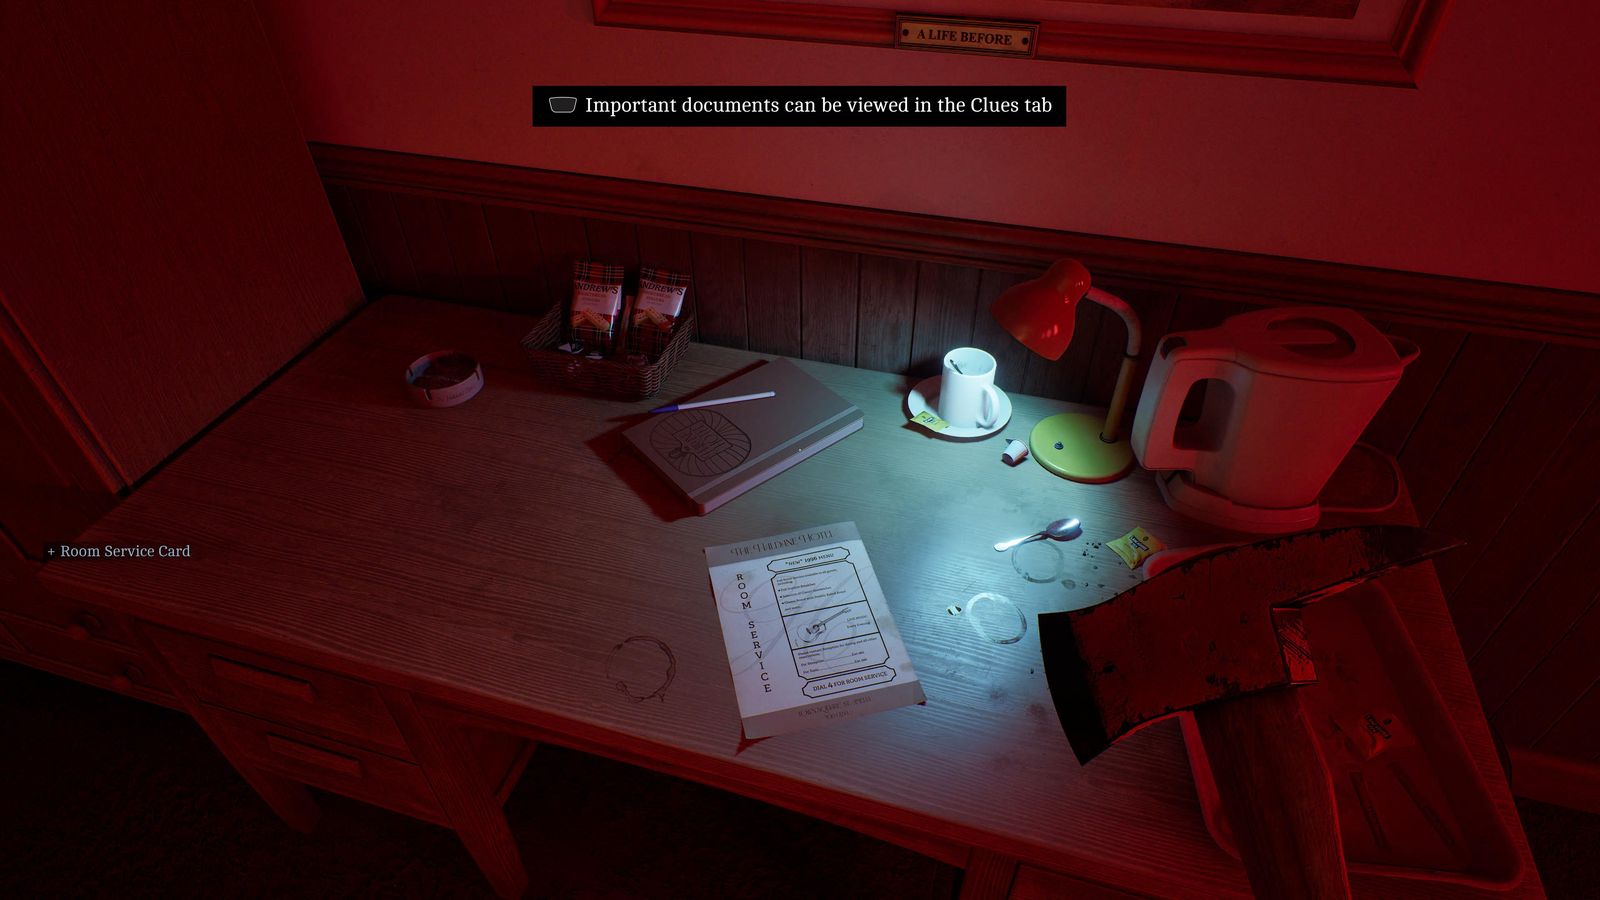
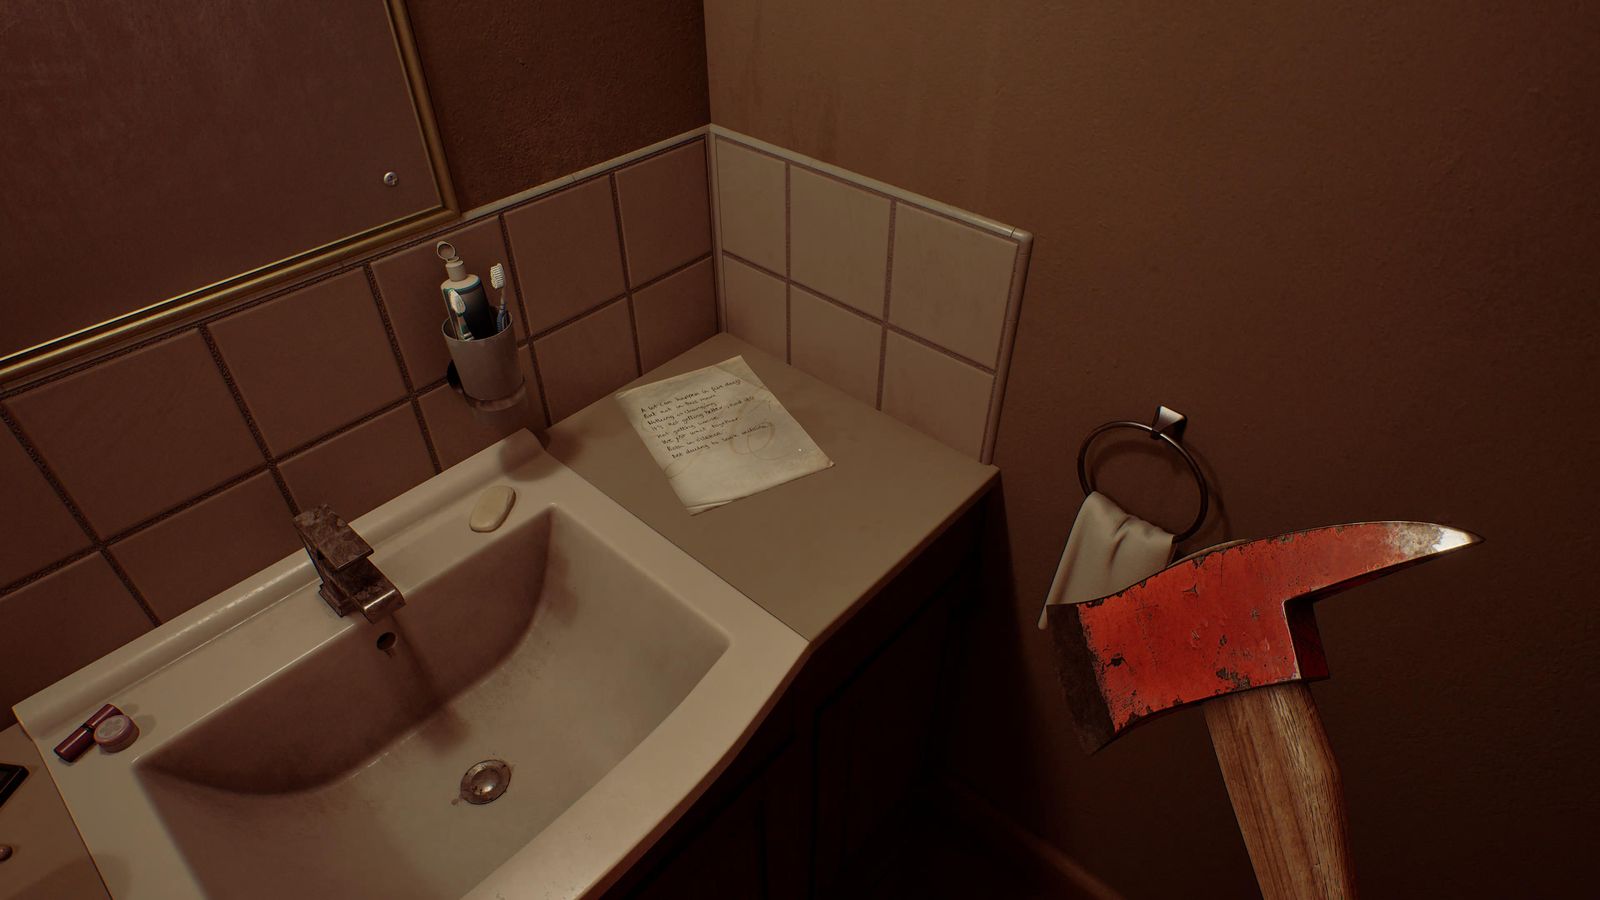
Room 204 bathroom, after the date lock (18/01/1996), next to the Room 204 Key.
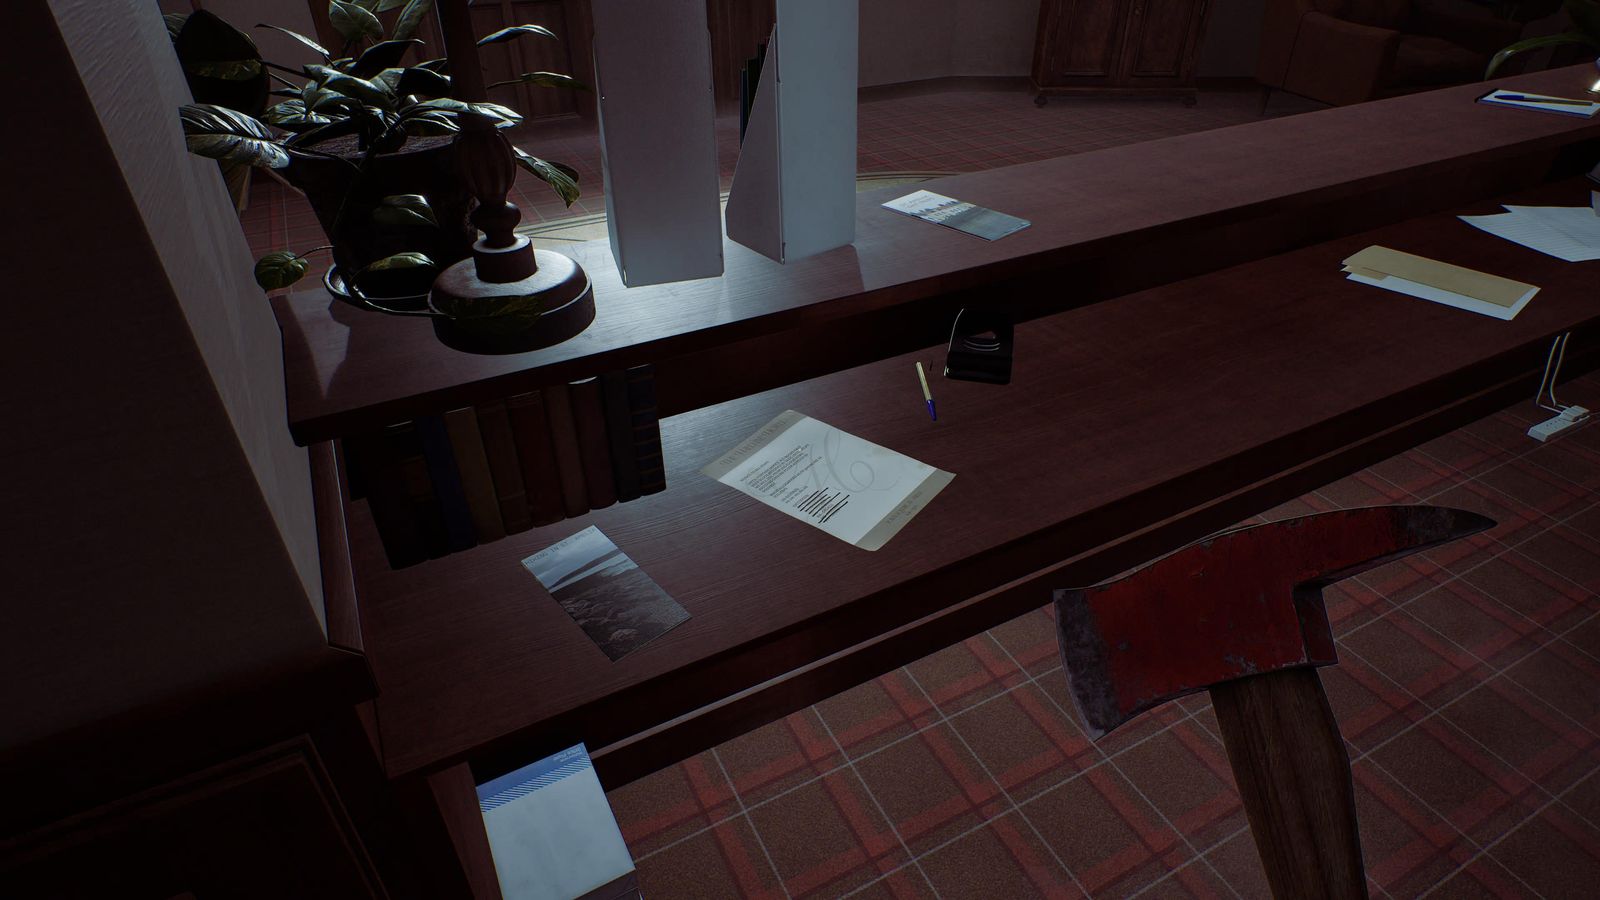
Hotel ground floor, on the right behind the reception desk.
A Connection #5–12
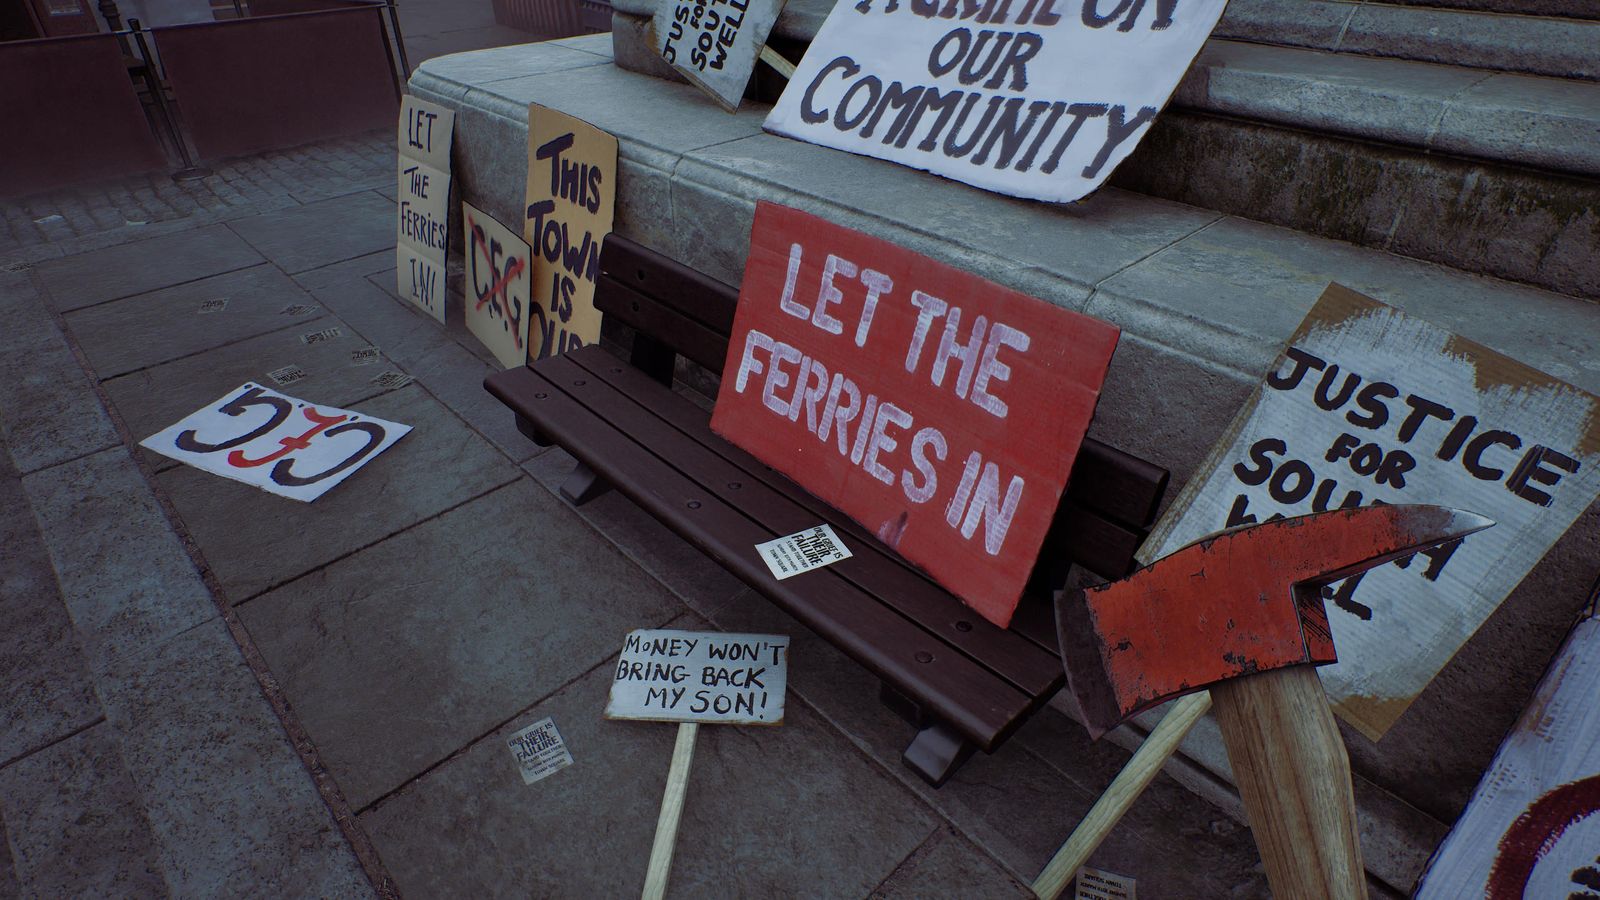
Town Square, on the bench on the west side of the monument.
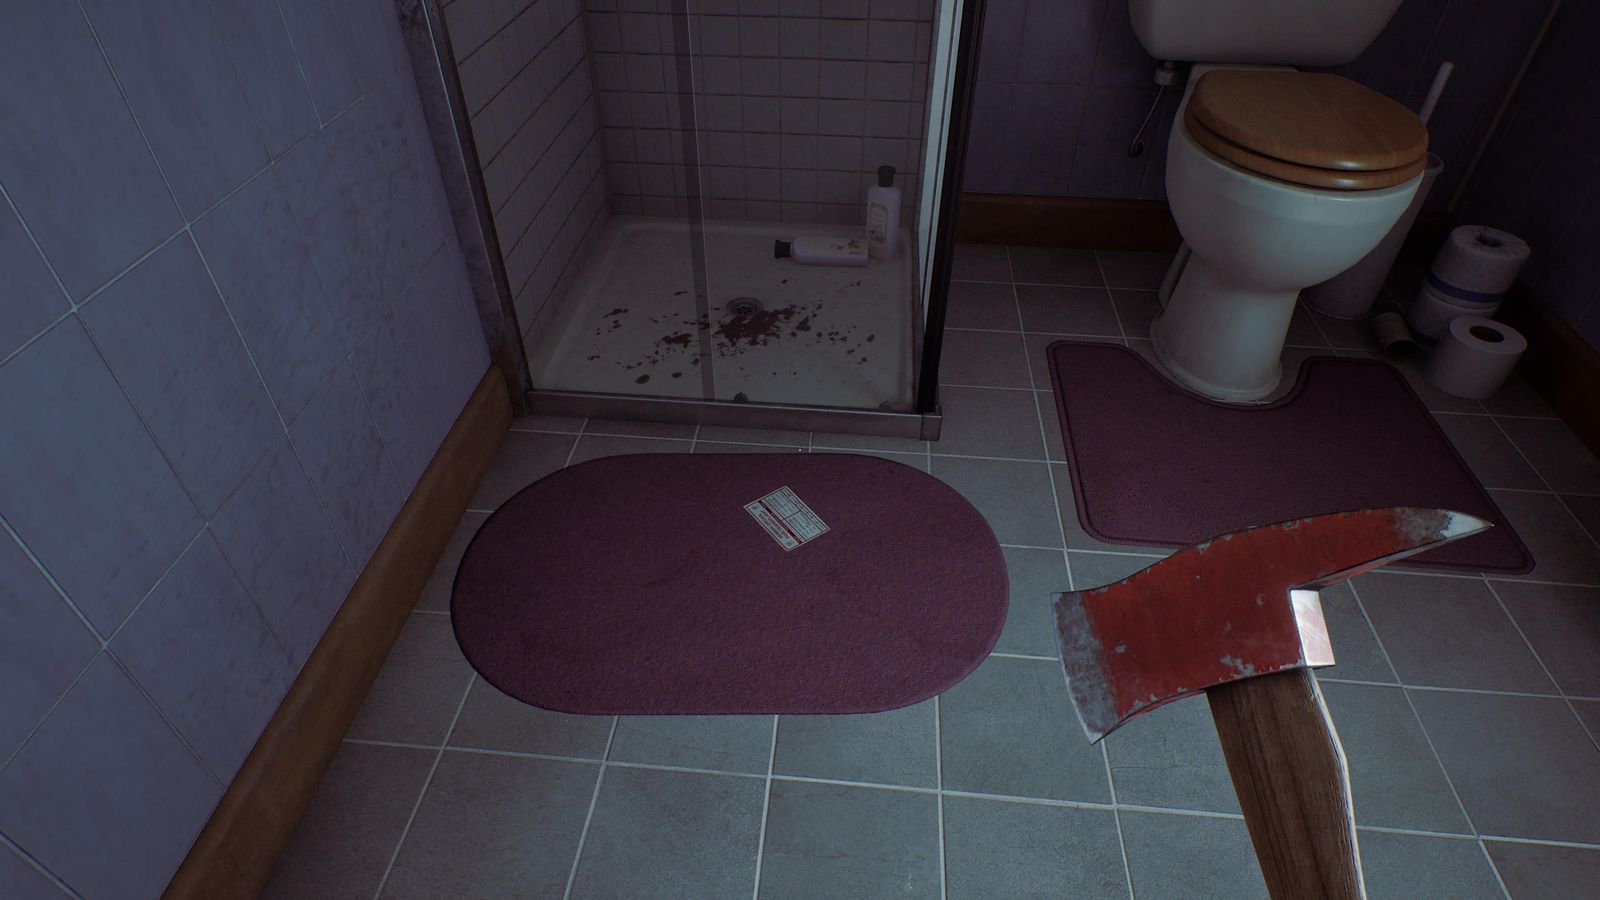
Zoe's house, last bedroom: on the en-suite bathroom floor.
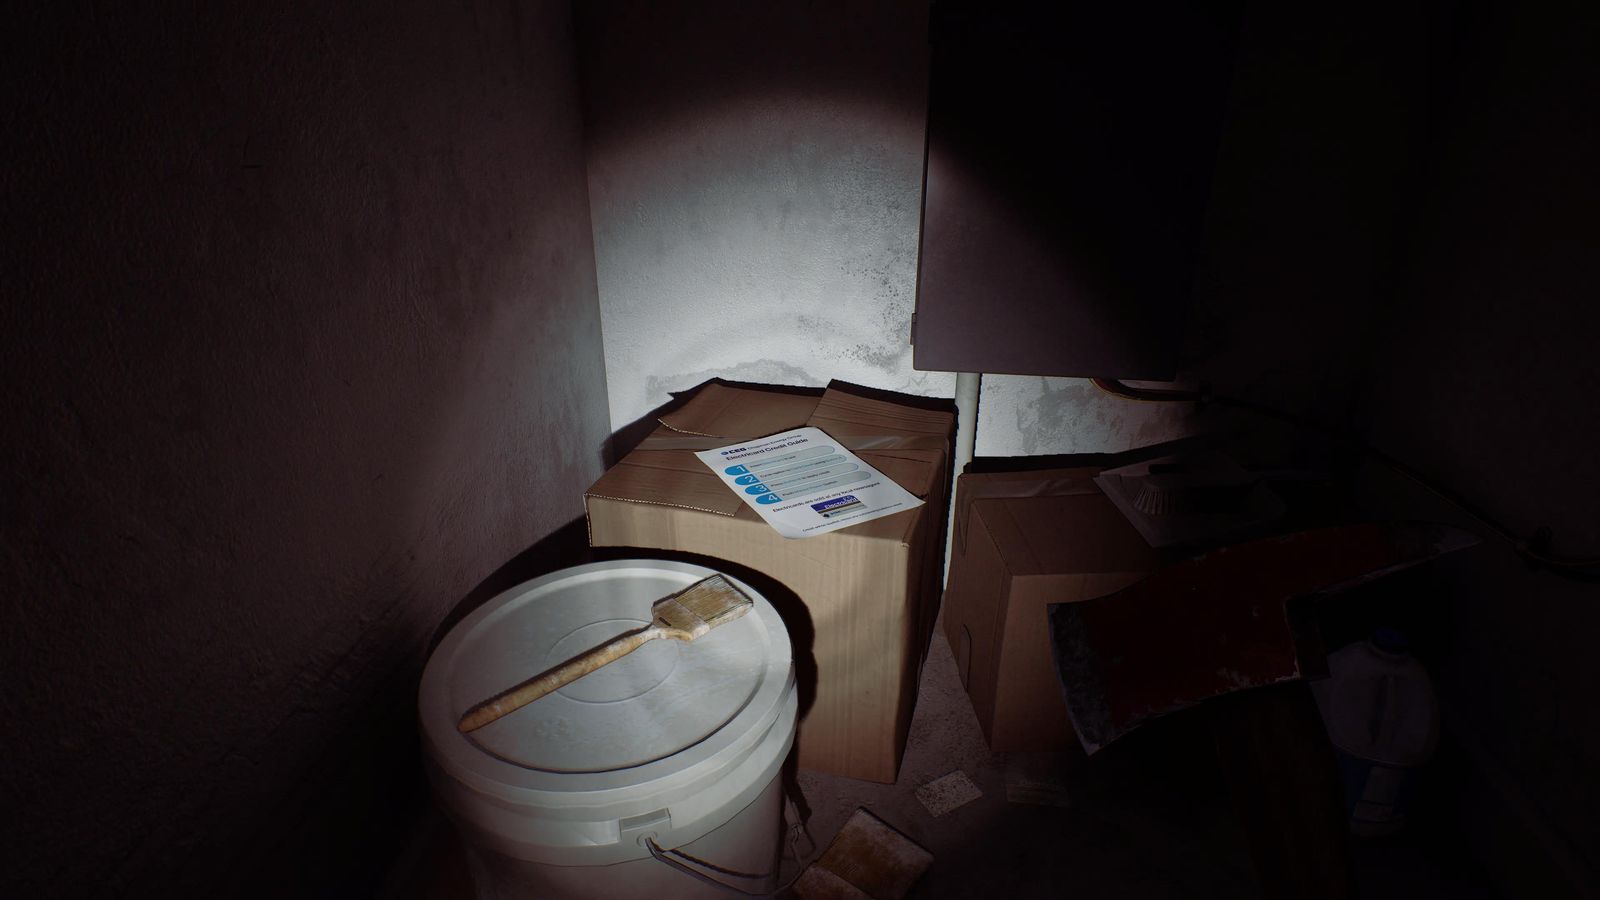
Zoe's house, cupboard under the stairs, next to the power box.
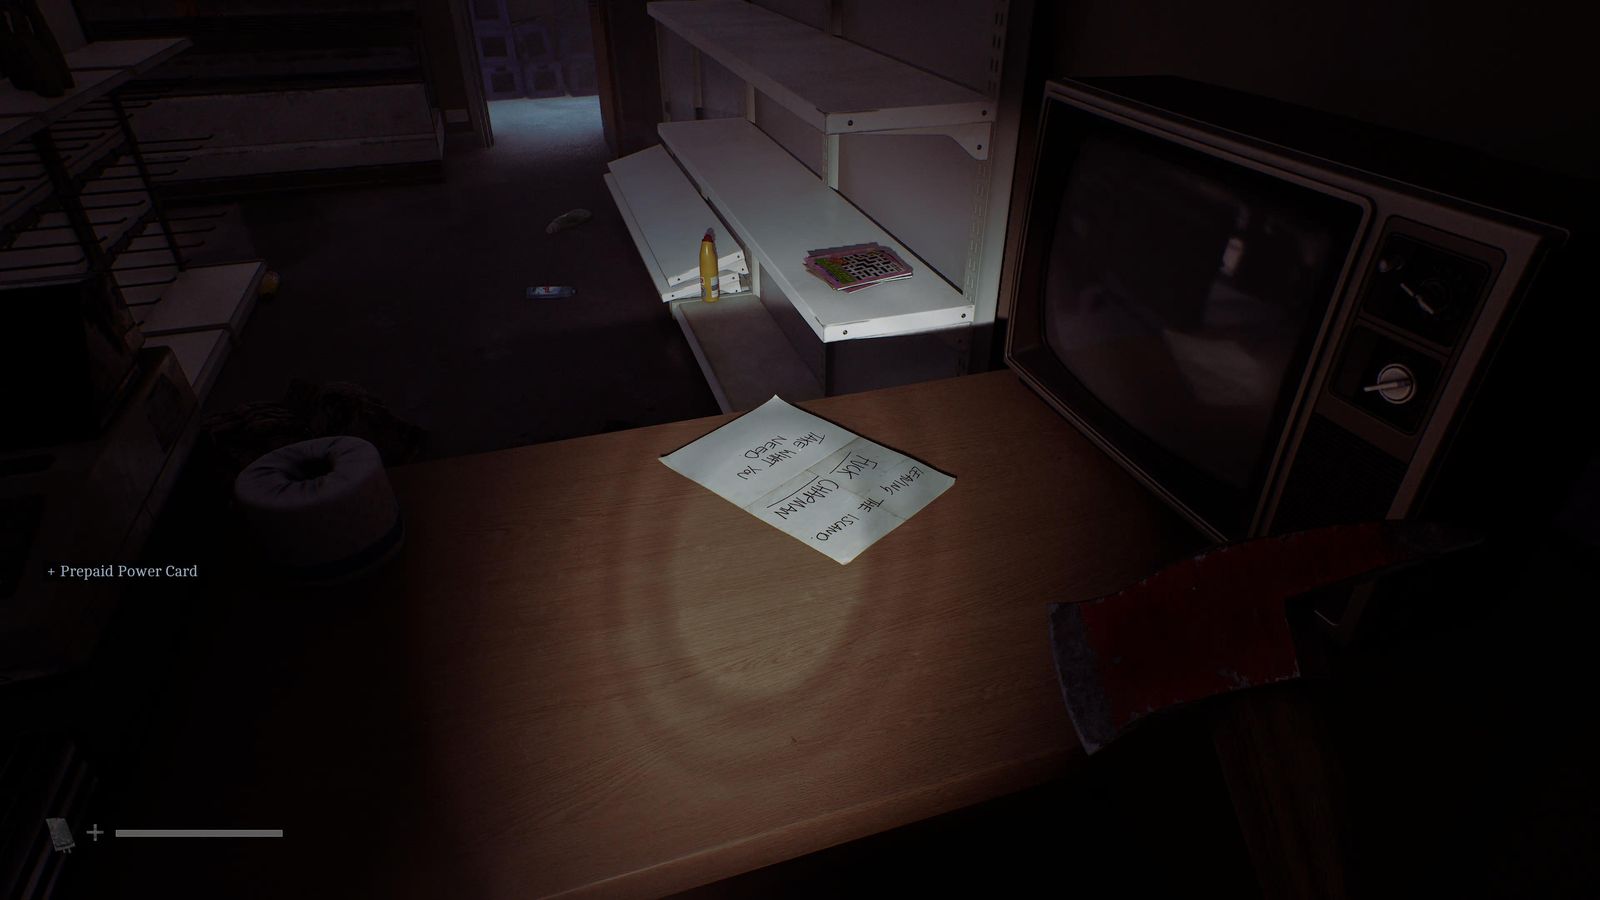
Peters Newsagents (2), next to the till on the front counter.
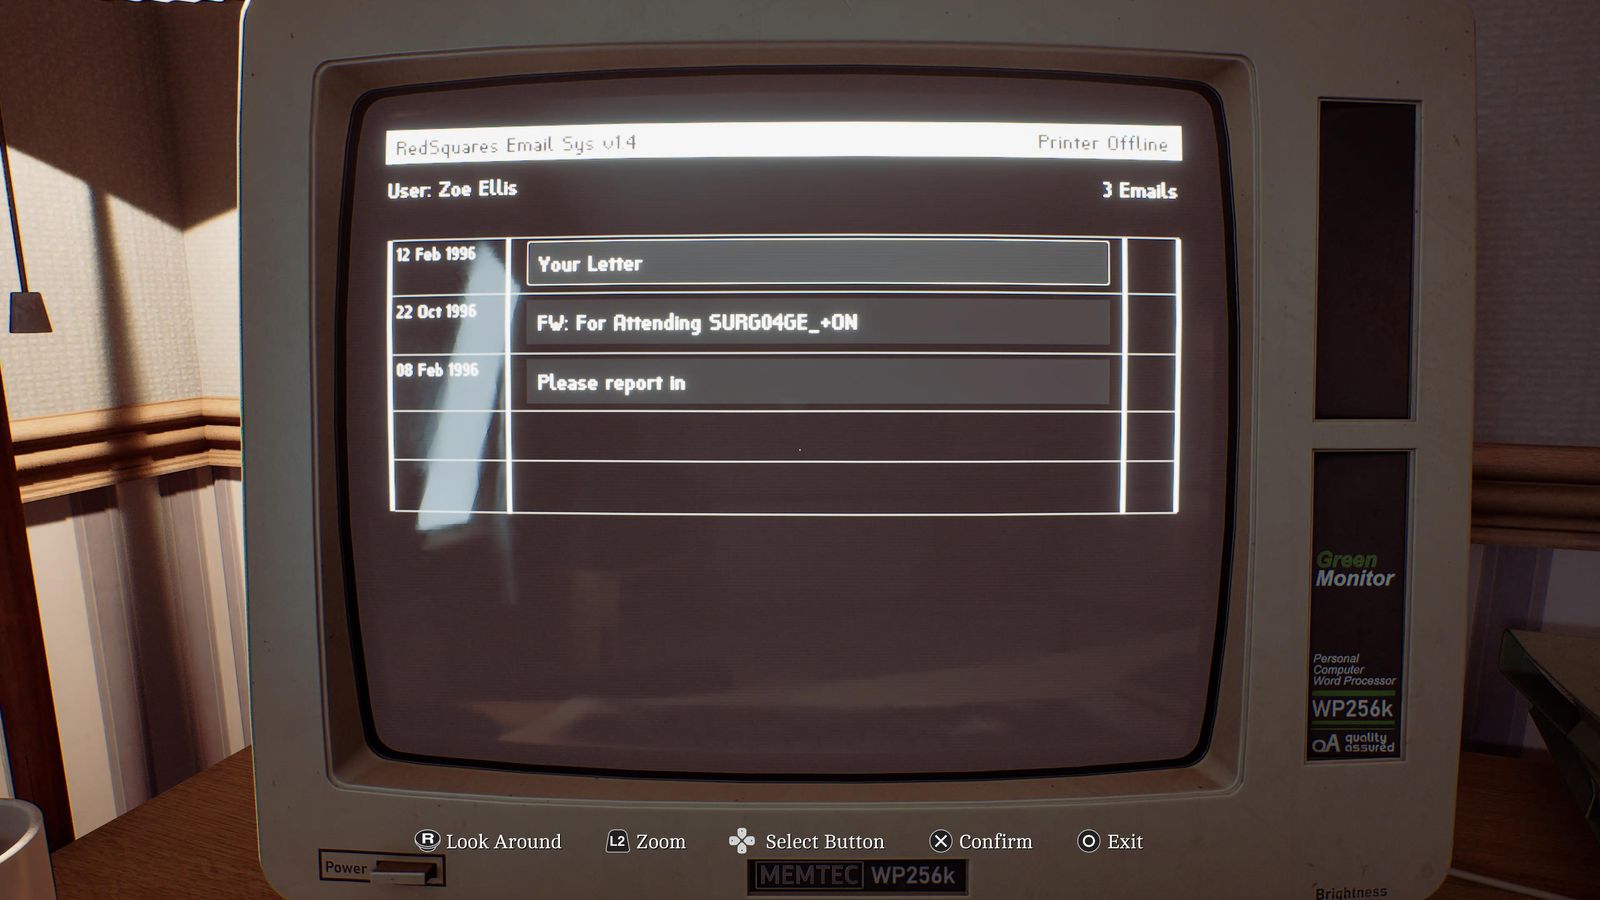
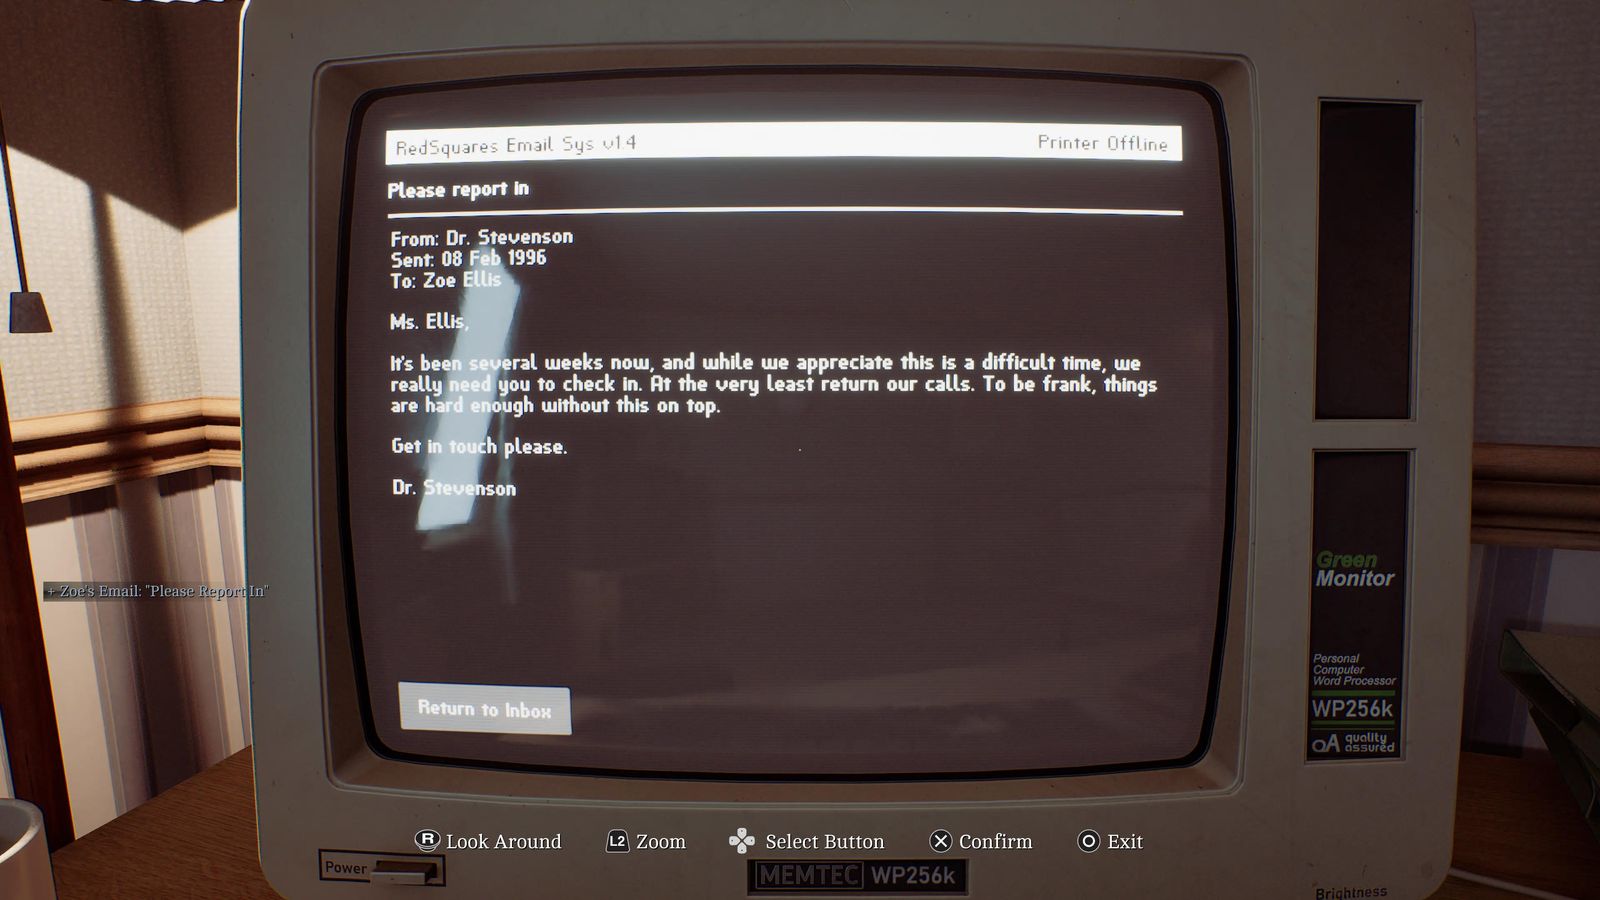
Email on Zoe's living-room computer (power button bottom-left; read every email).
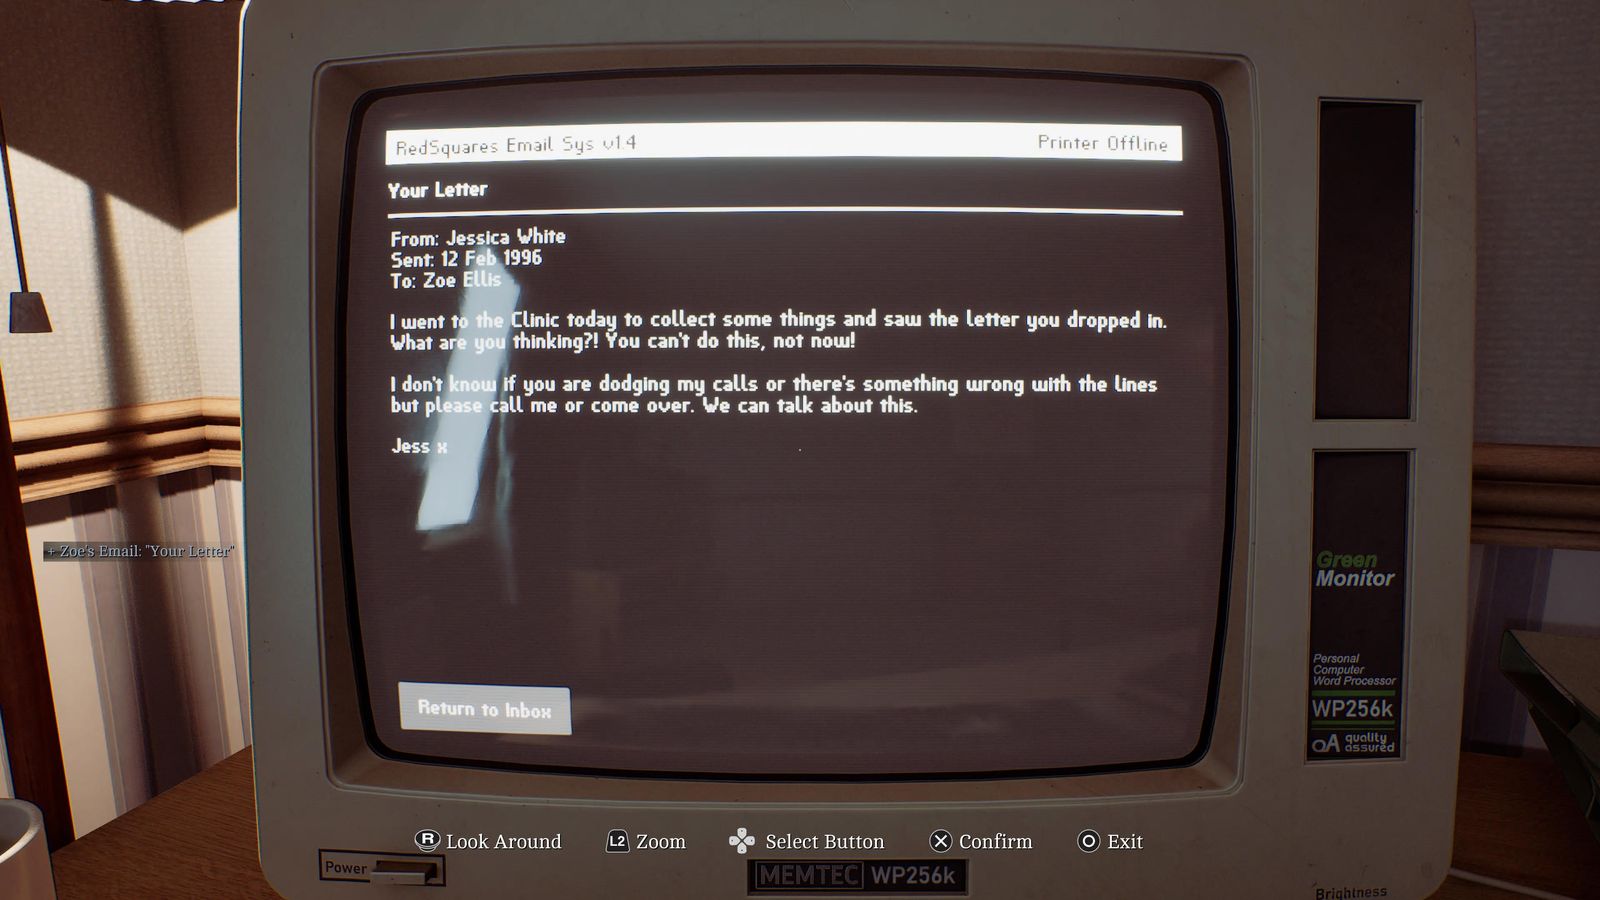
Email on Zoe's computer; it also holds the organ codes.
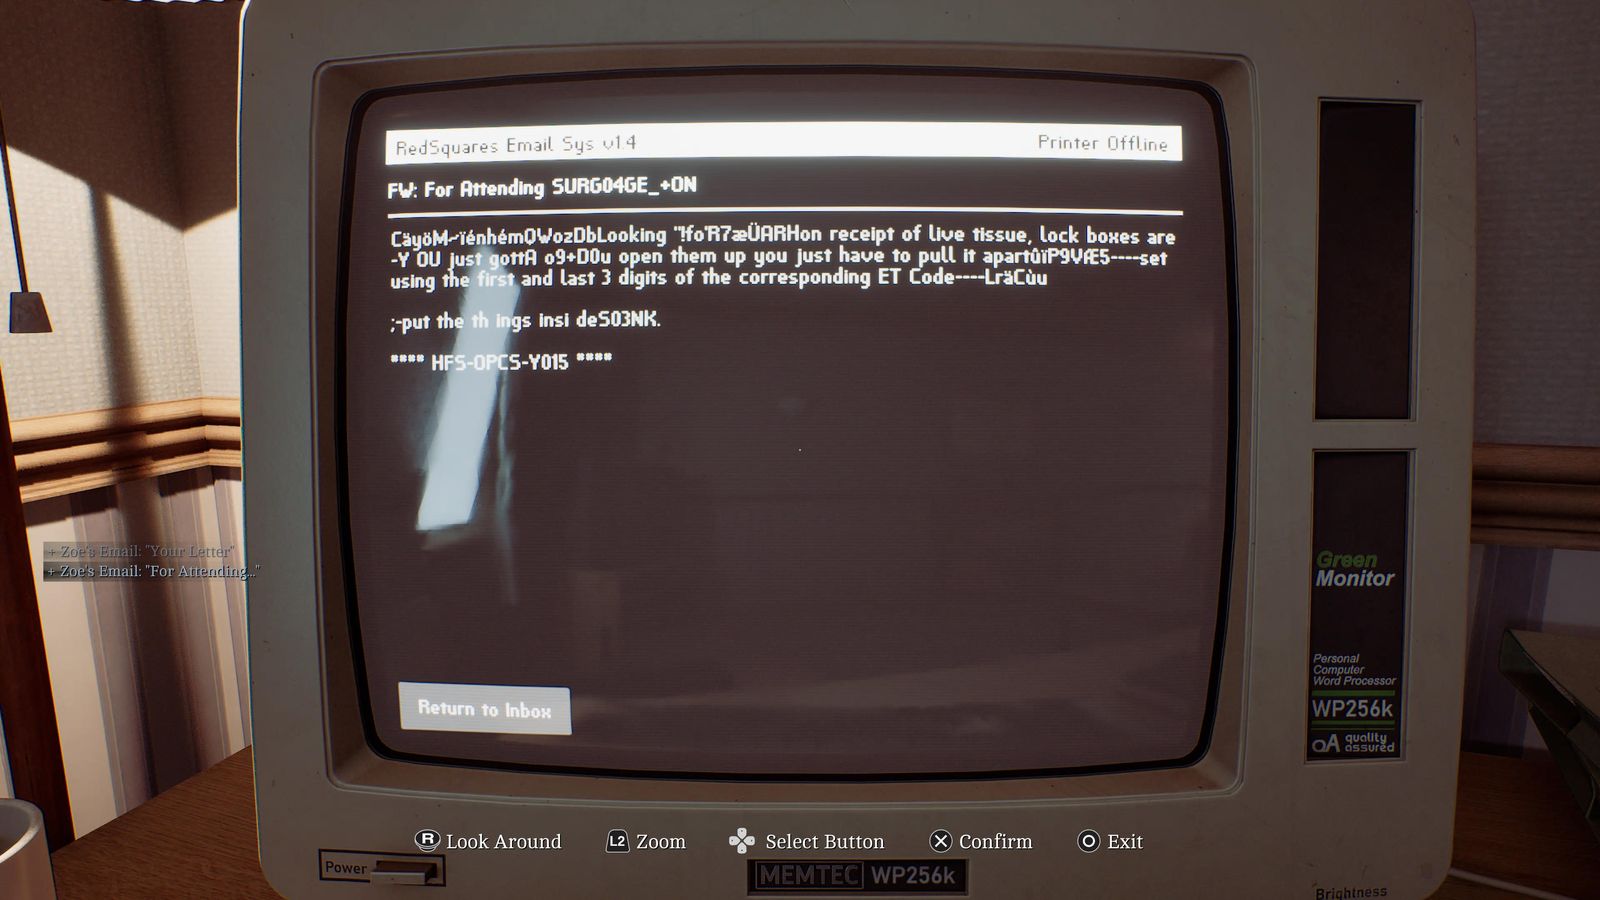
Third email on Zoe's computer.
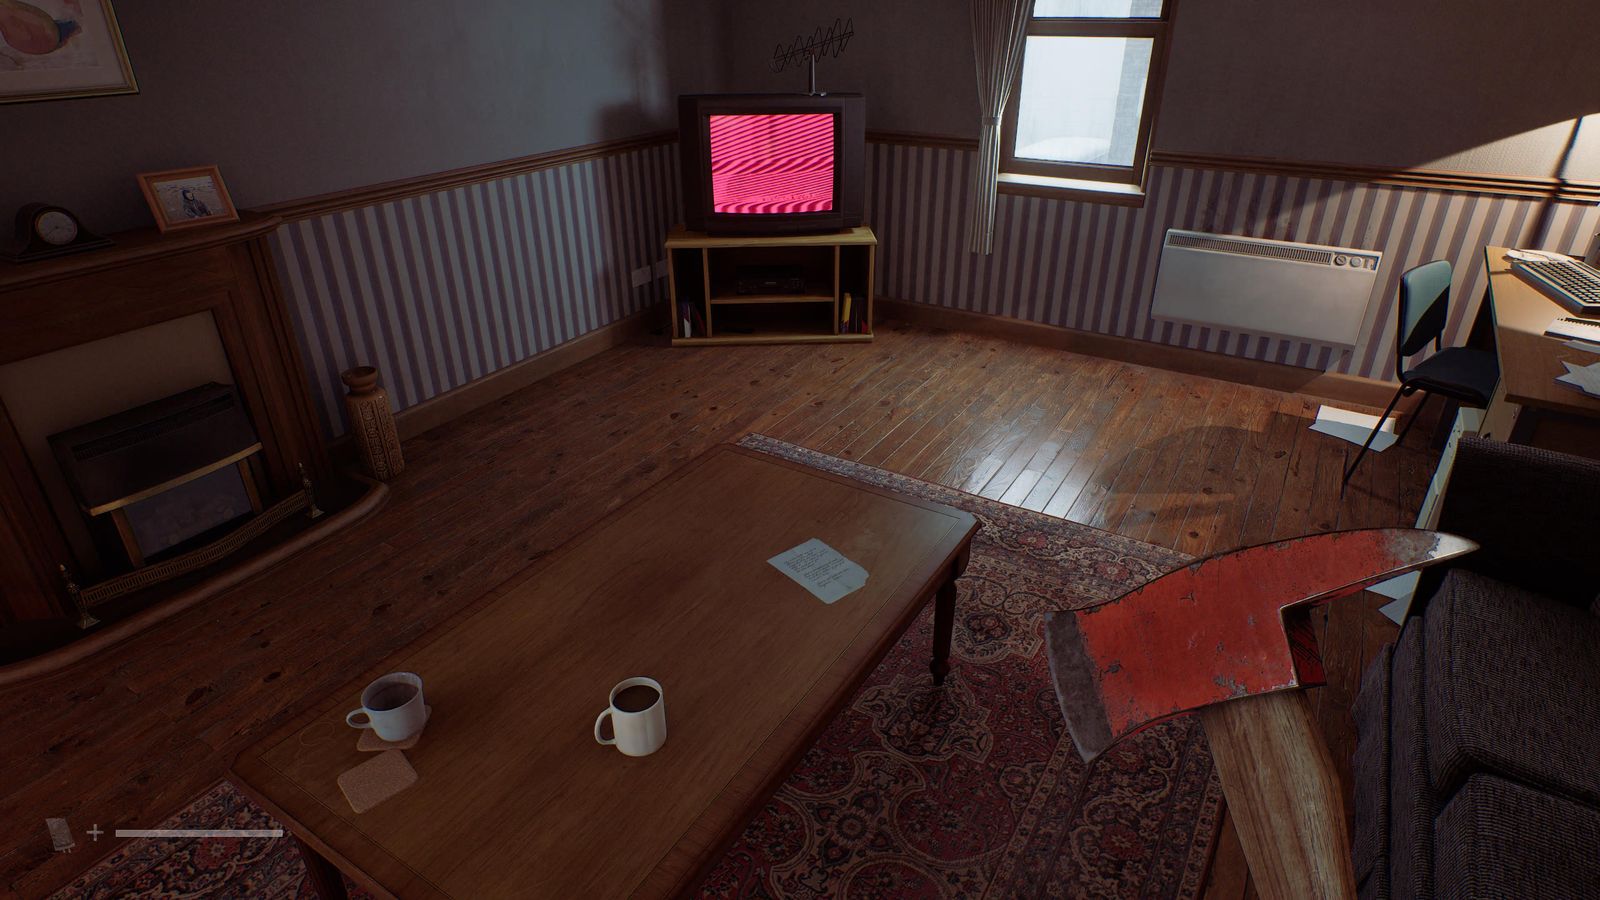
Zoe's living room, on the coffee table.
Searching for Zoe #13–23
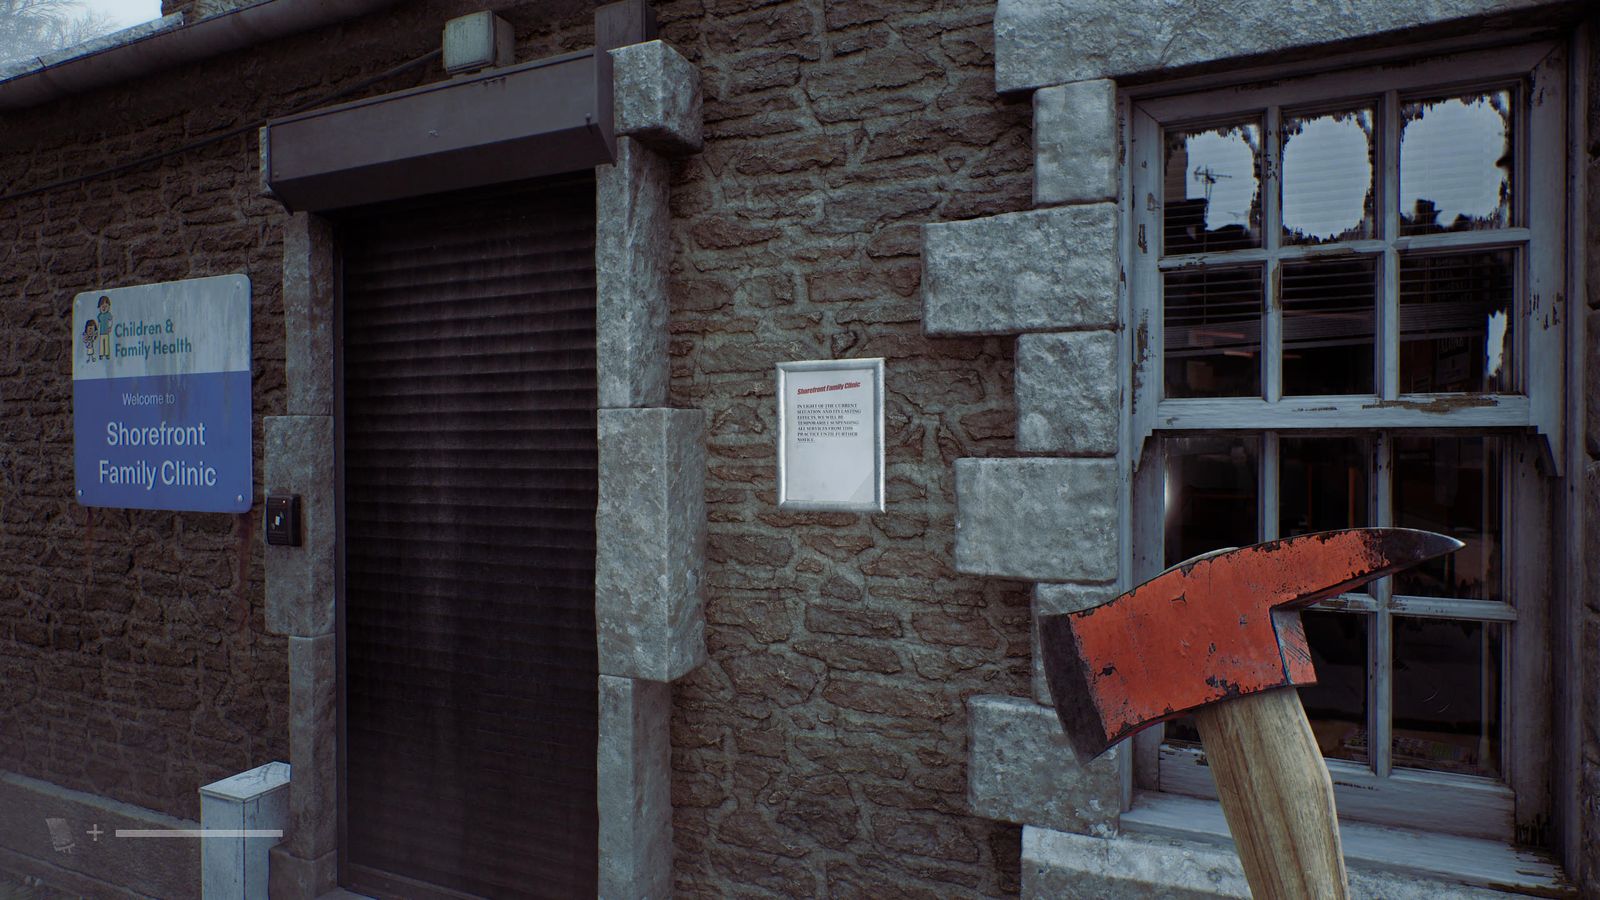
Clinic (6), on the wall to the right of the shutter.
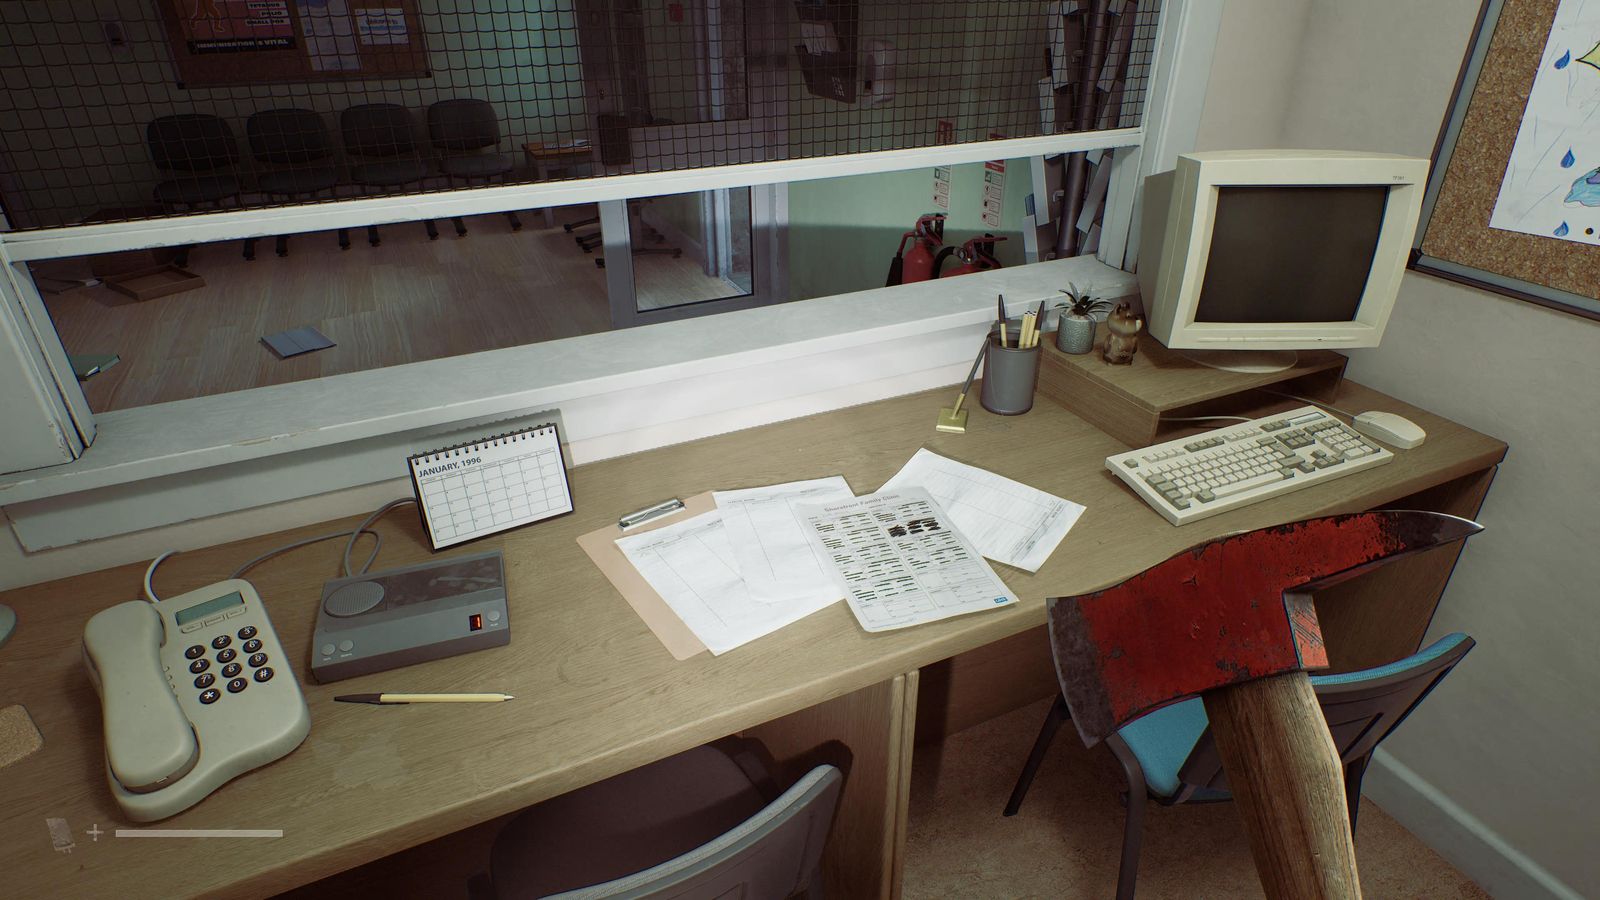
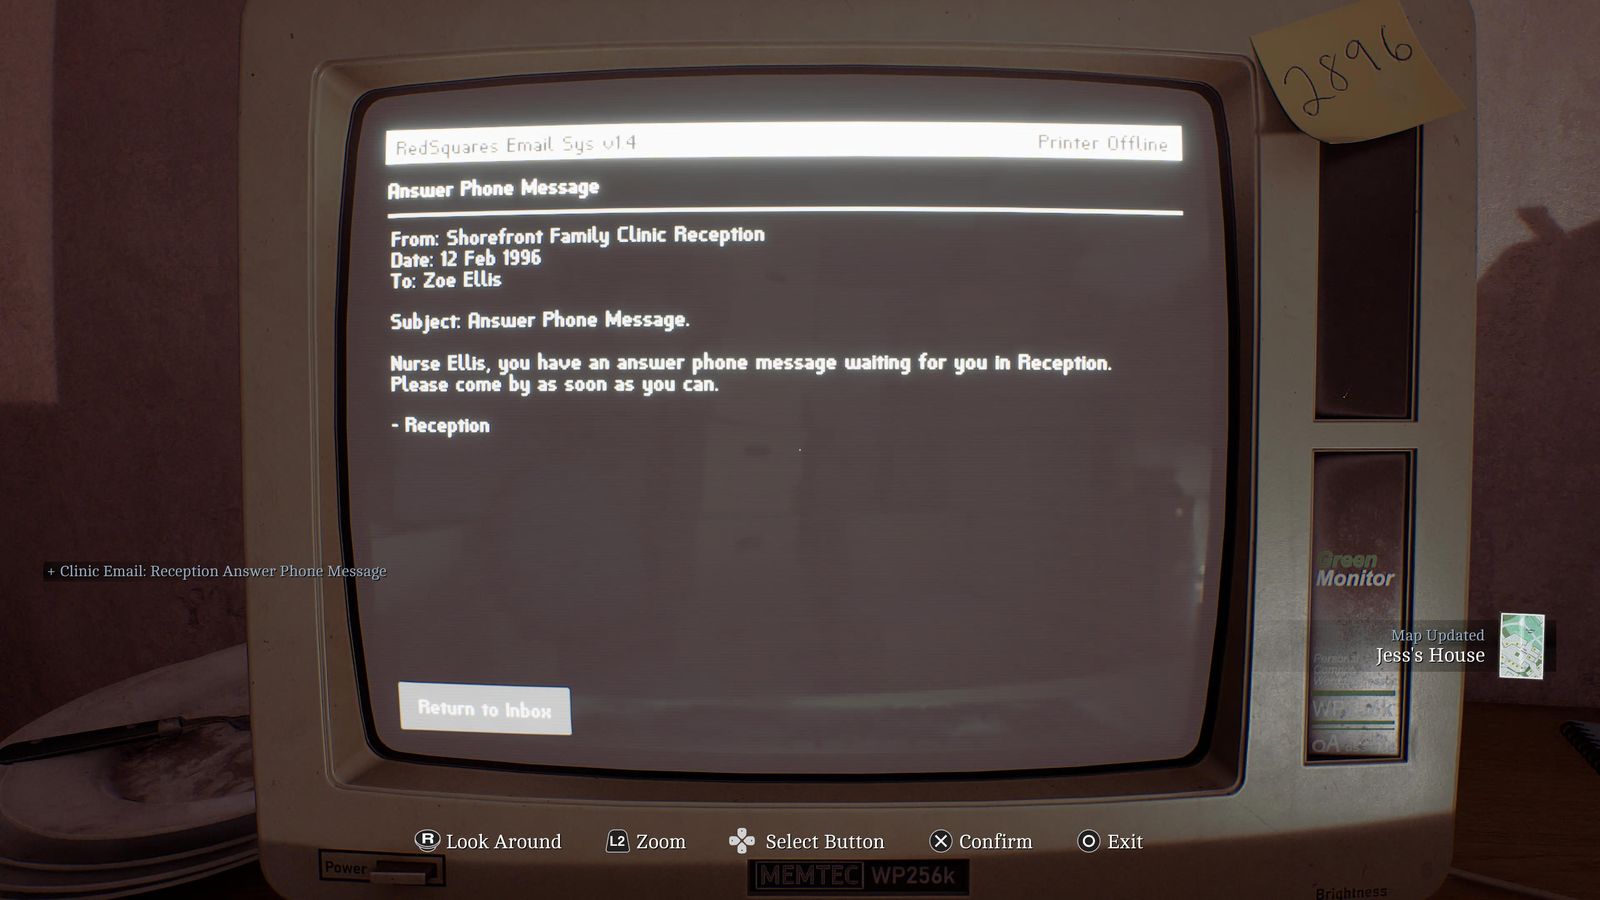
Clinic reception (door code 2896), on the counter by the phone.
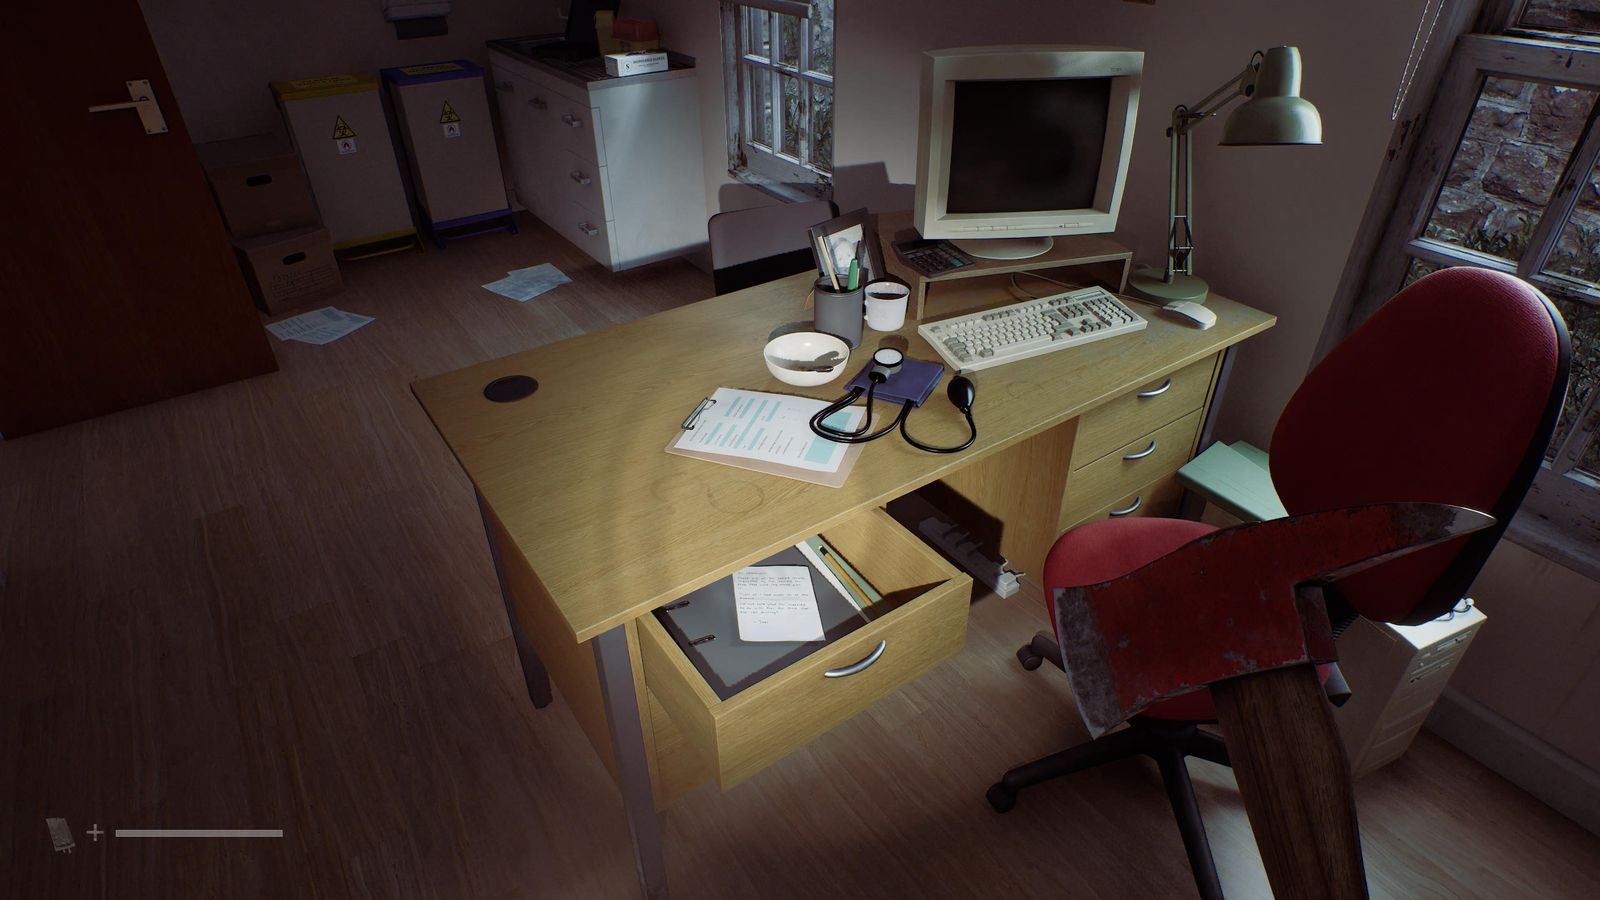
Clinic, Dr. Stevenson's room on the right: inside the desk drawer.
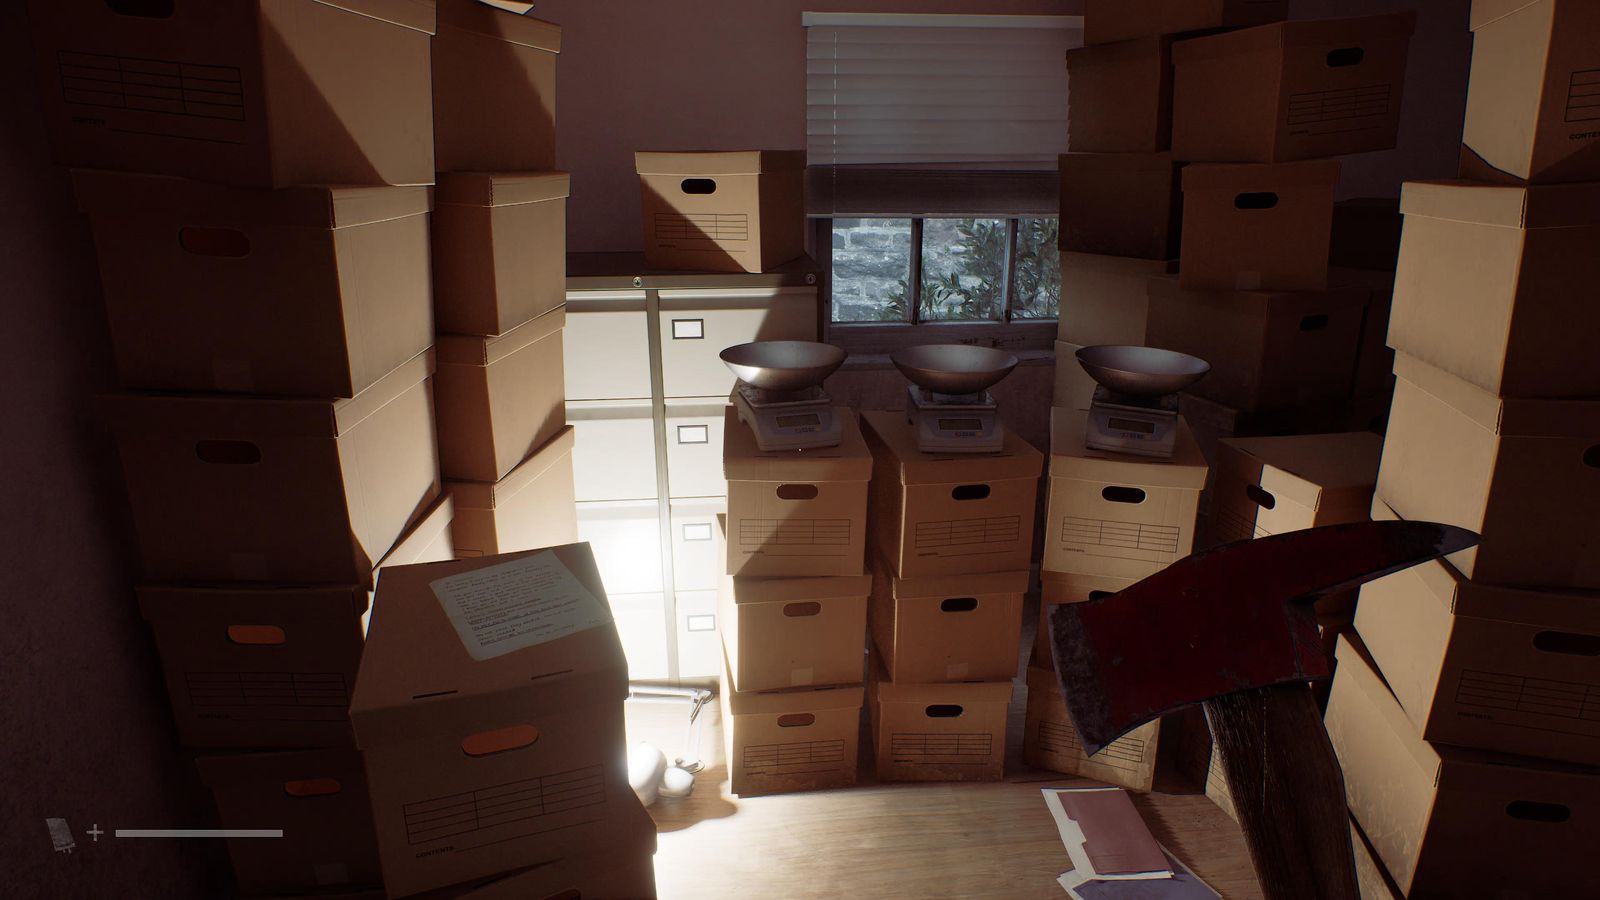
Clinic, Z. Ellis's room, lying on a box.
File on the computer in Z. Ellis's room.
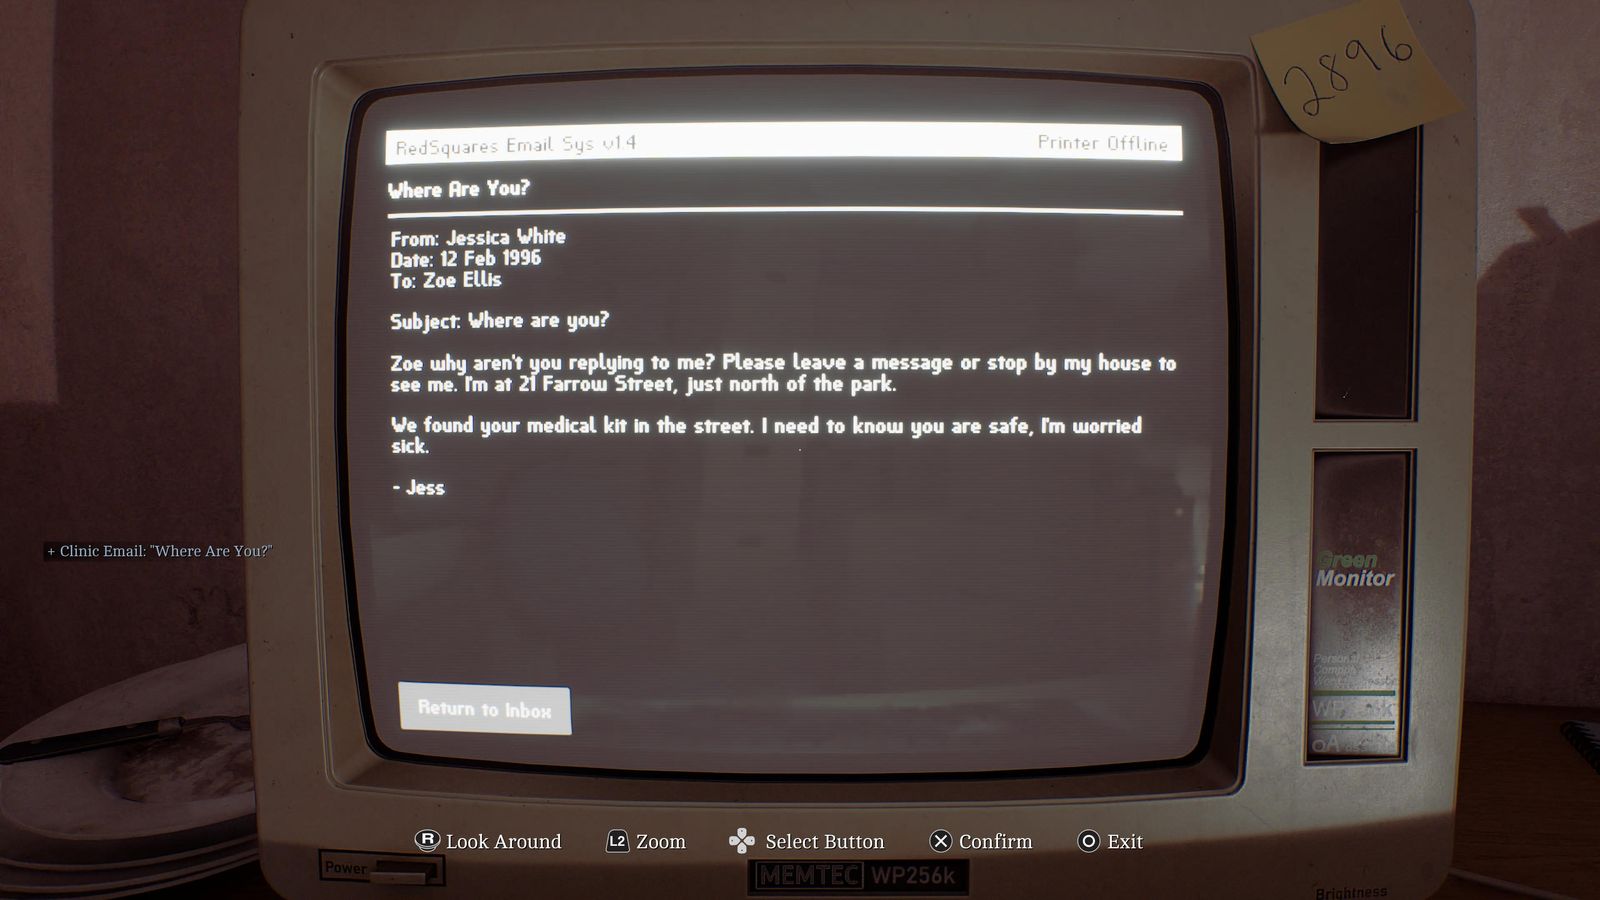
Second file on the same computer.
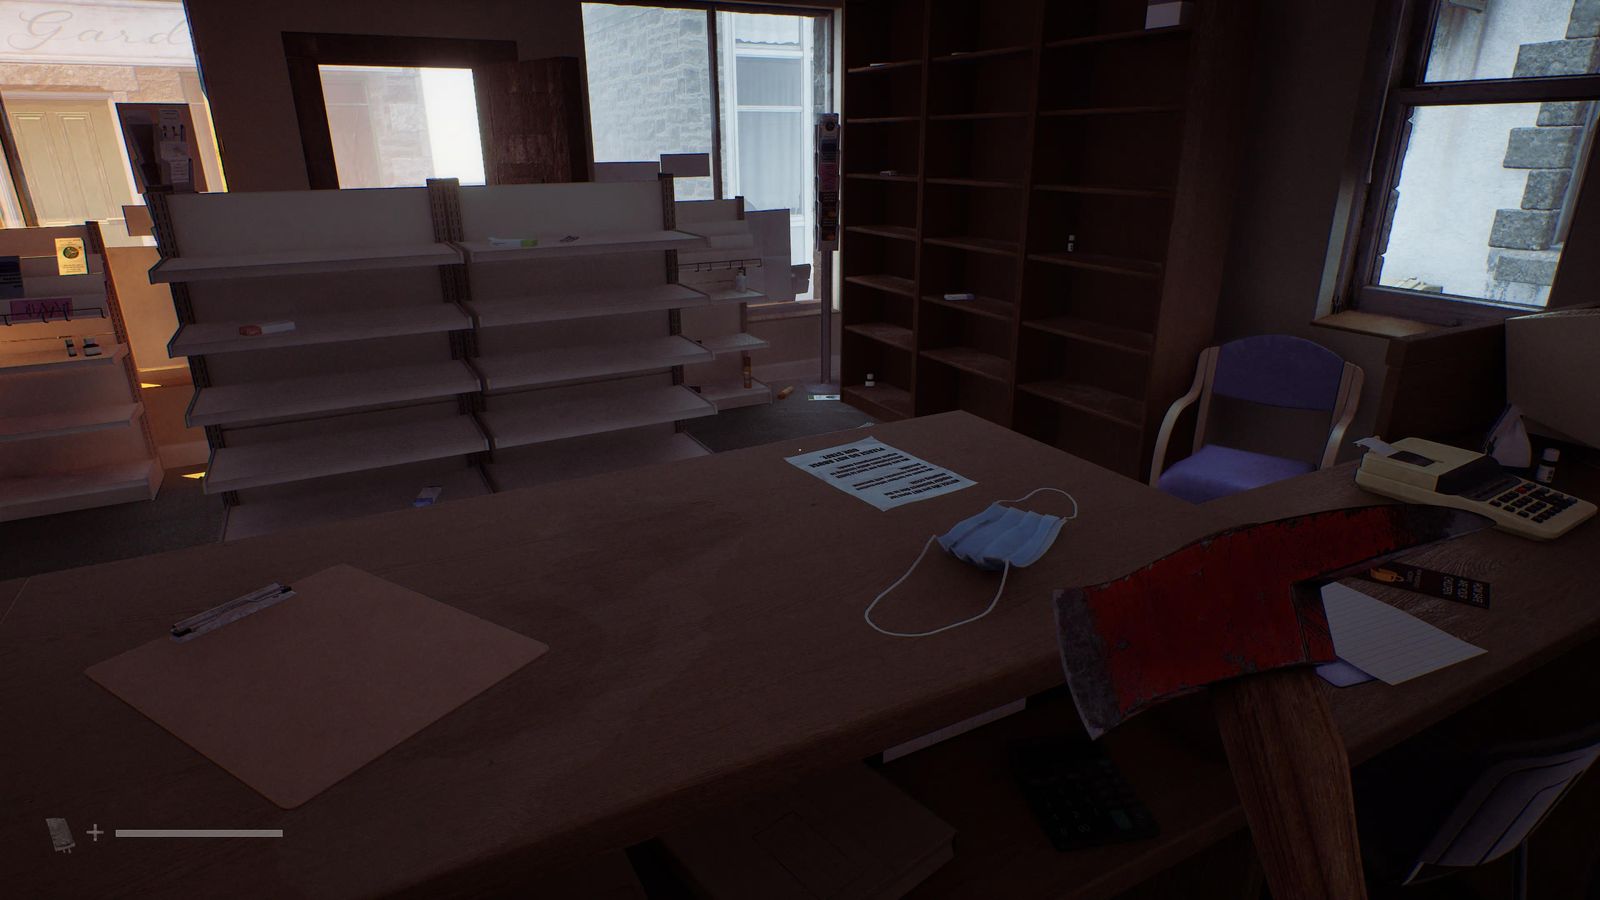
Pharmacy (7), on the front counter.
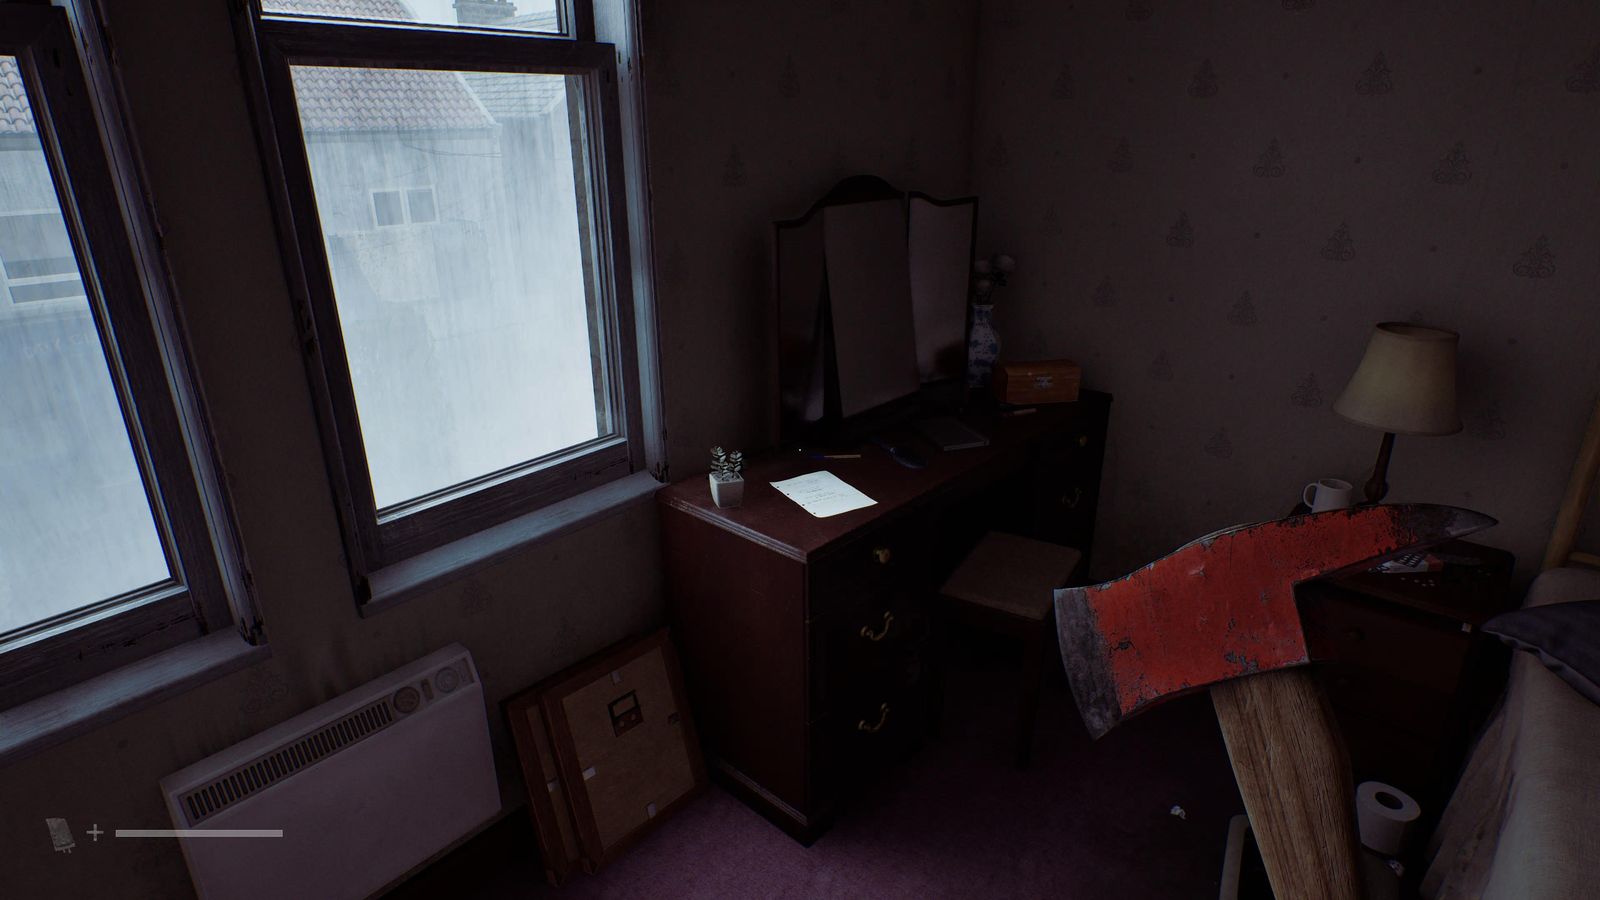
Farrow Street block 16, flat 1/2: first room on the left, on the dresser.
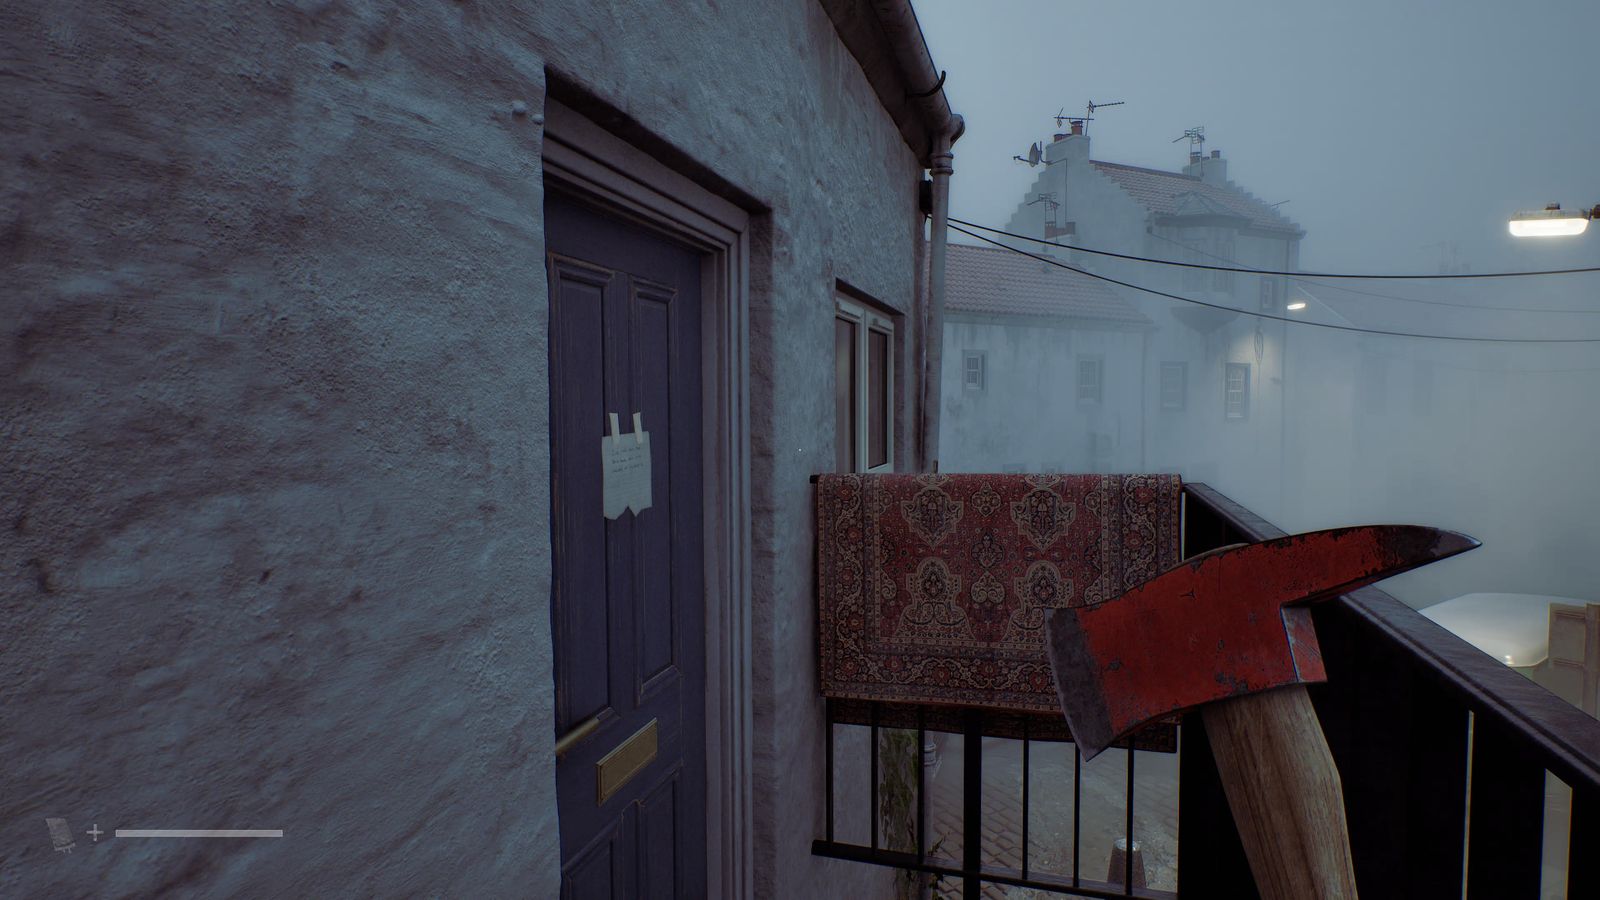
Taped to Jess's back door (the building right of shop 14).
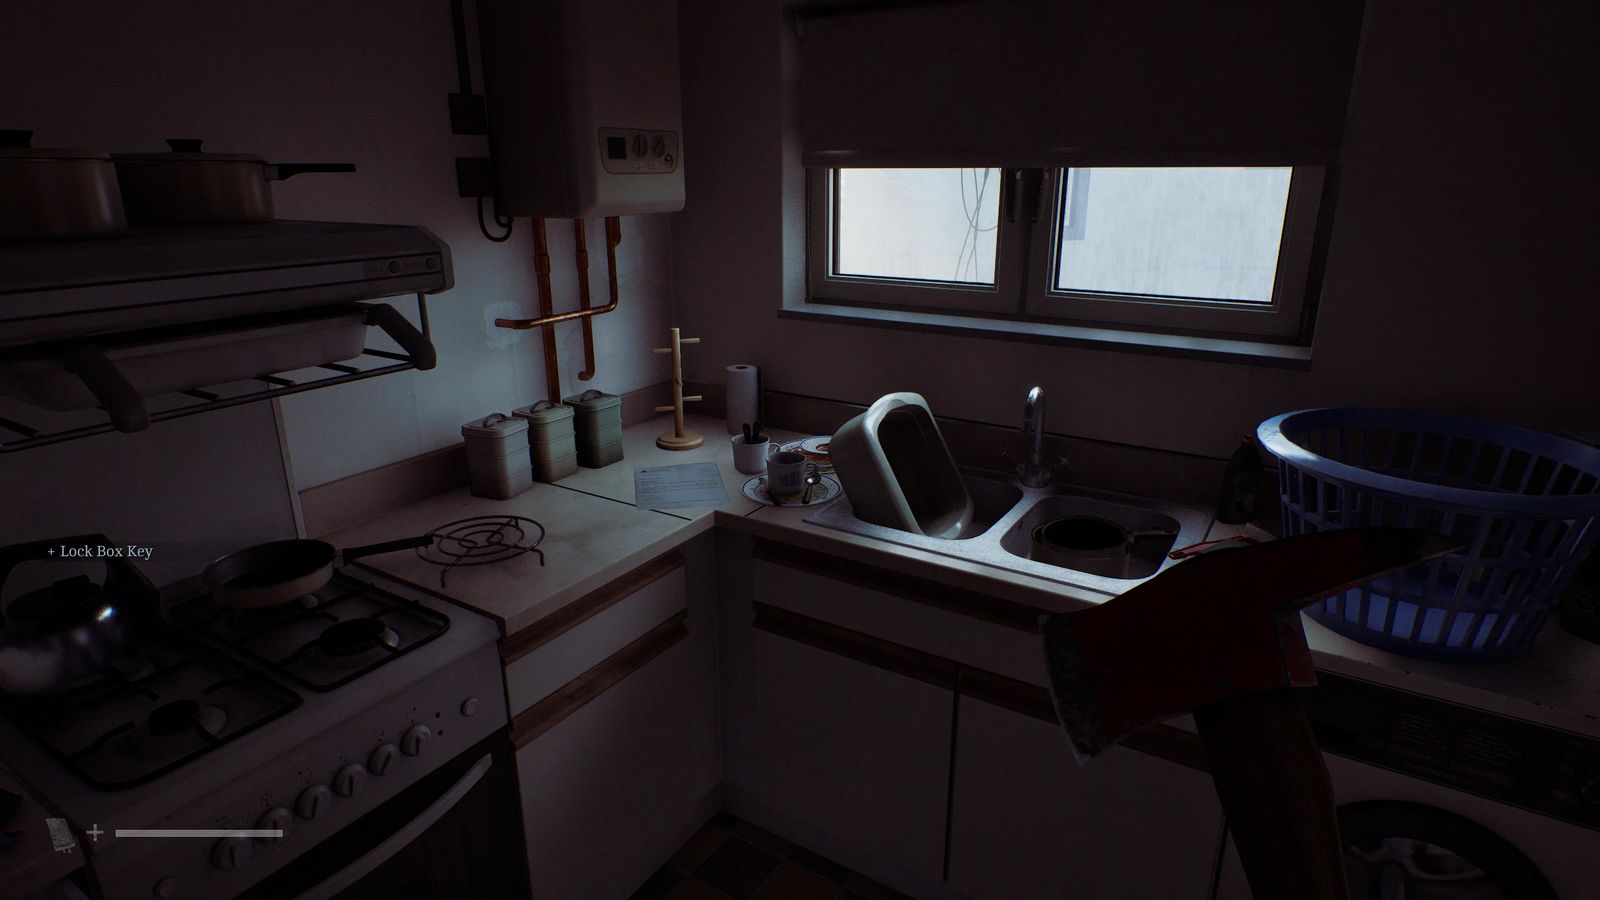
Jess's house, kitchen counter.
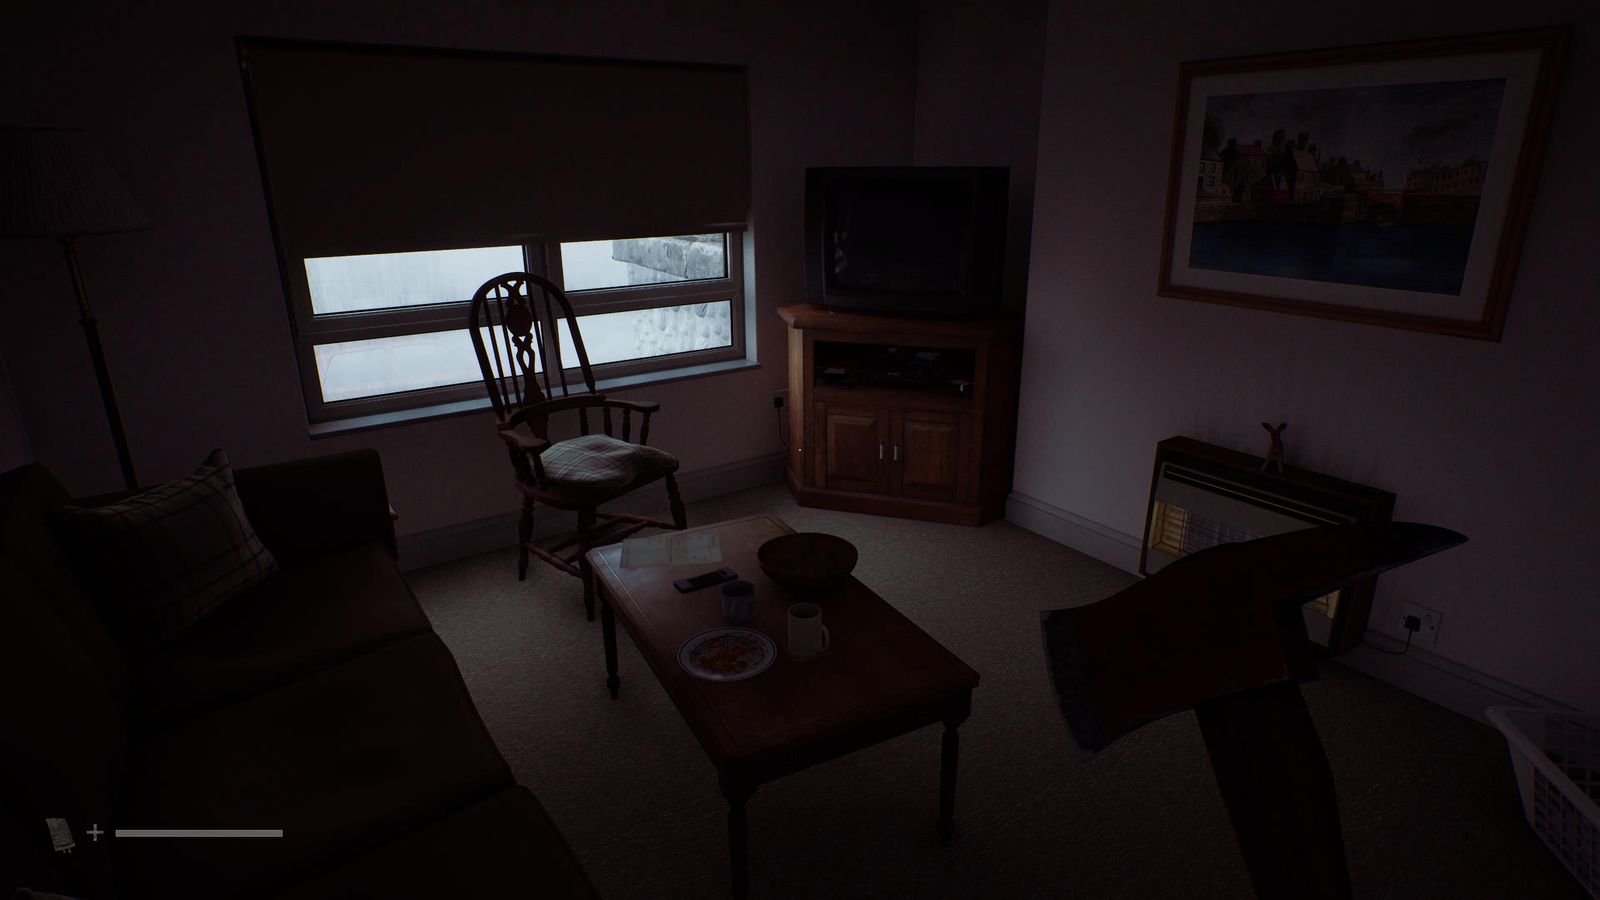
Jess's house, living-room coffee table.
Zoe: Rounds #24–30
Zoe's house, coffee table in the downstairs living room.
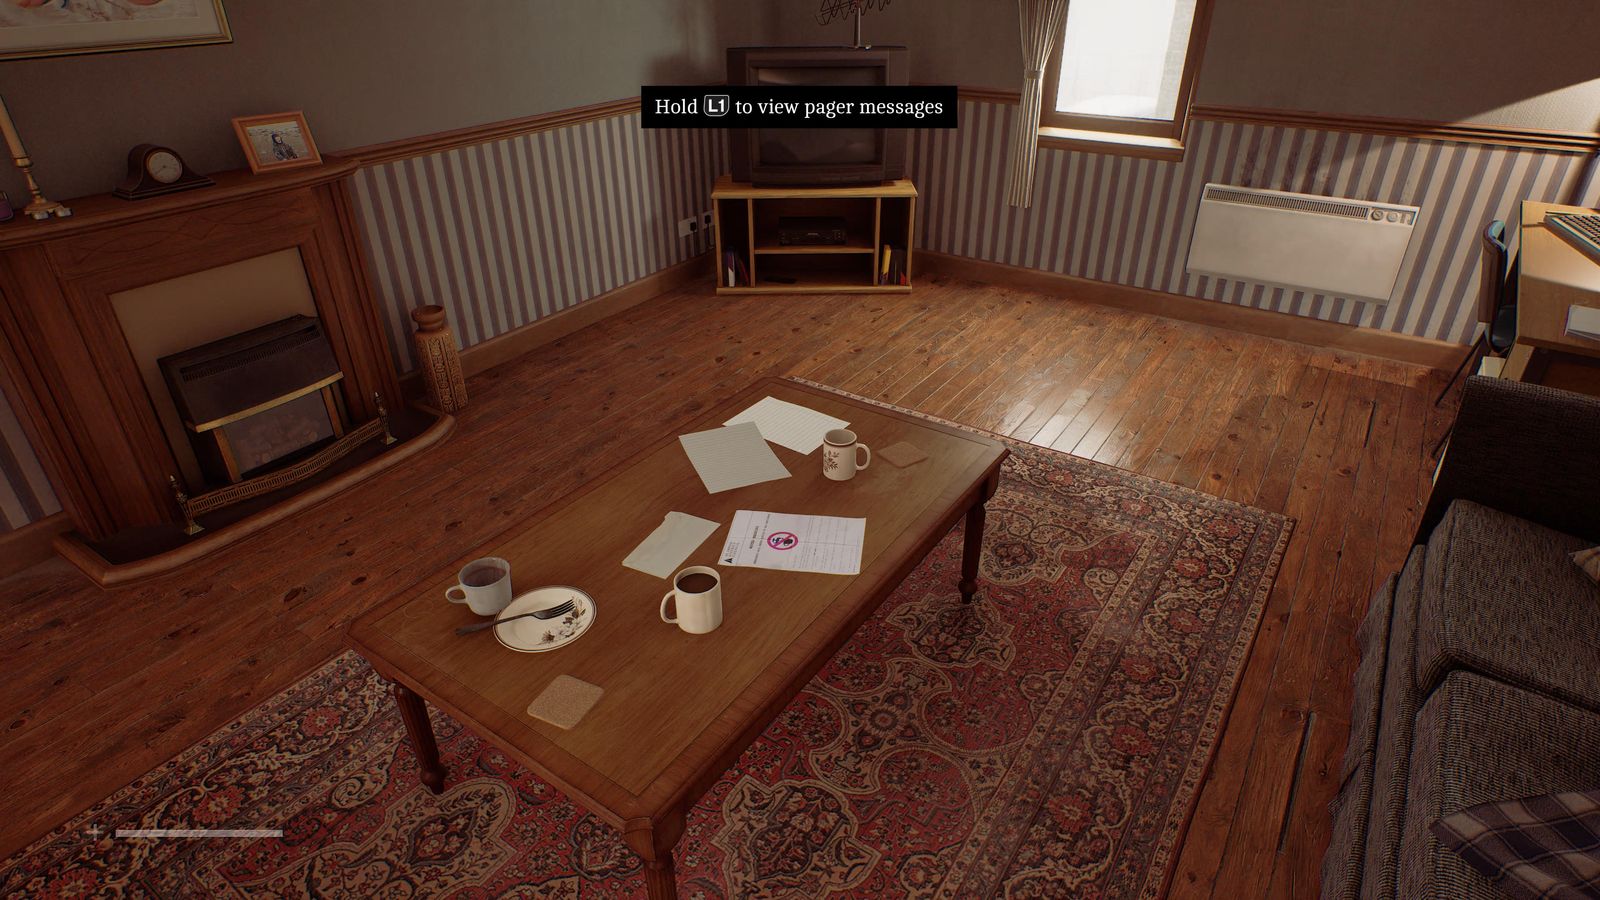
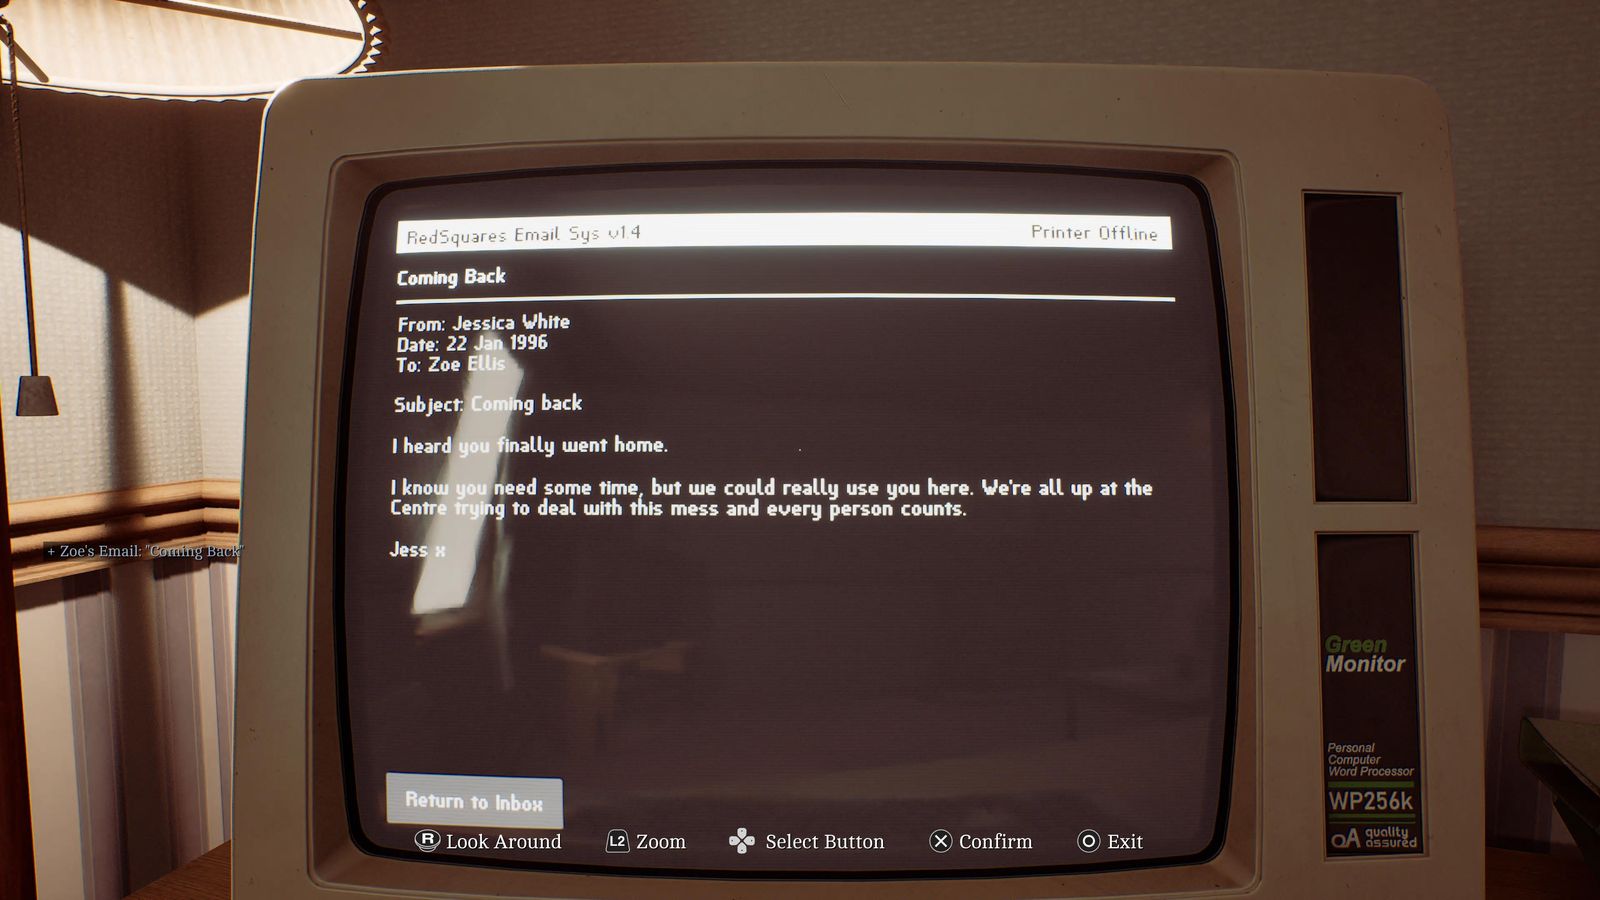
Email on Zoe's living-room computer (new this chapter).
Community Gardens, first shed on the left (code 1993), middle shelf.
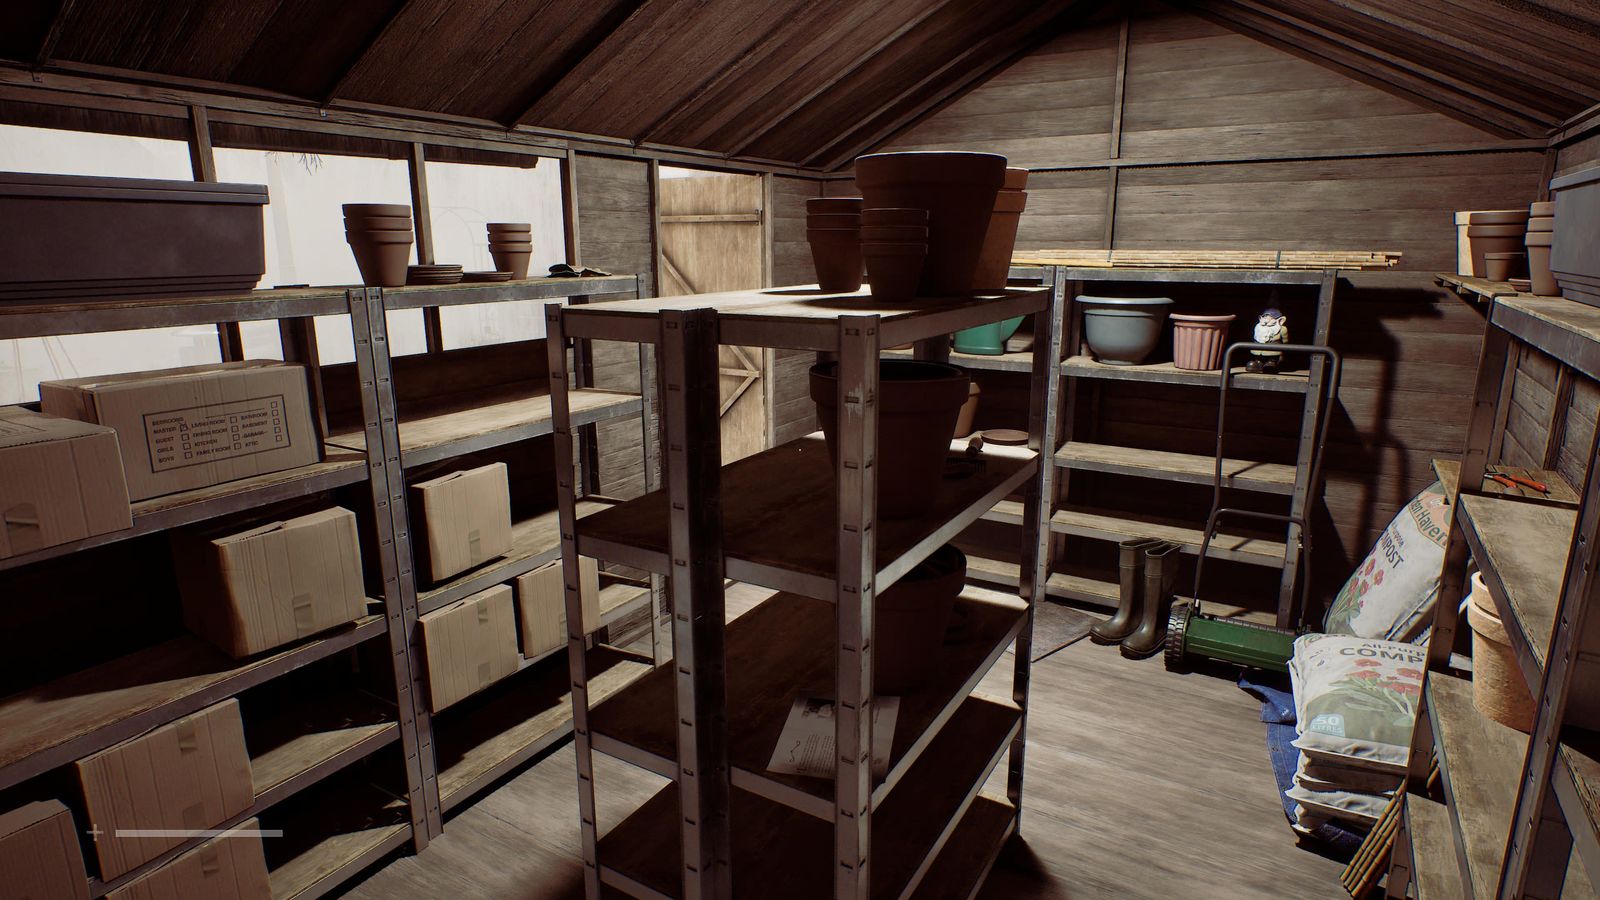
Mr. Stewart's house, on the living-room table.
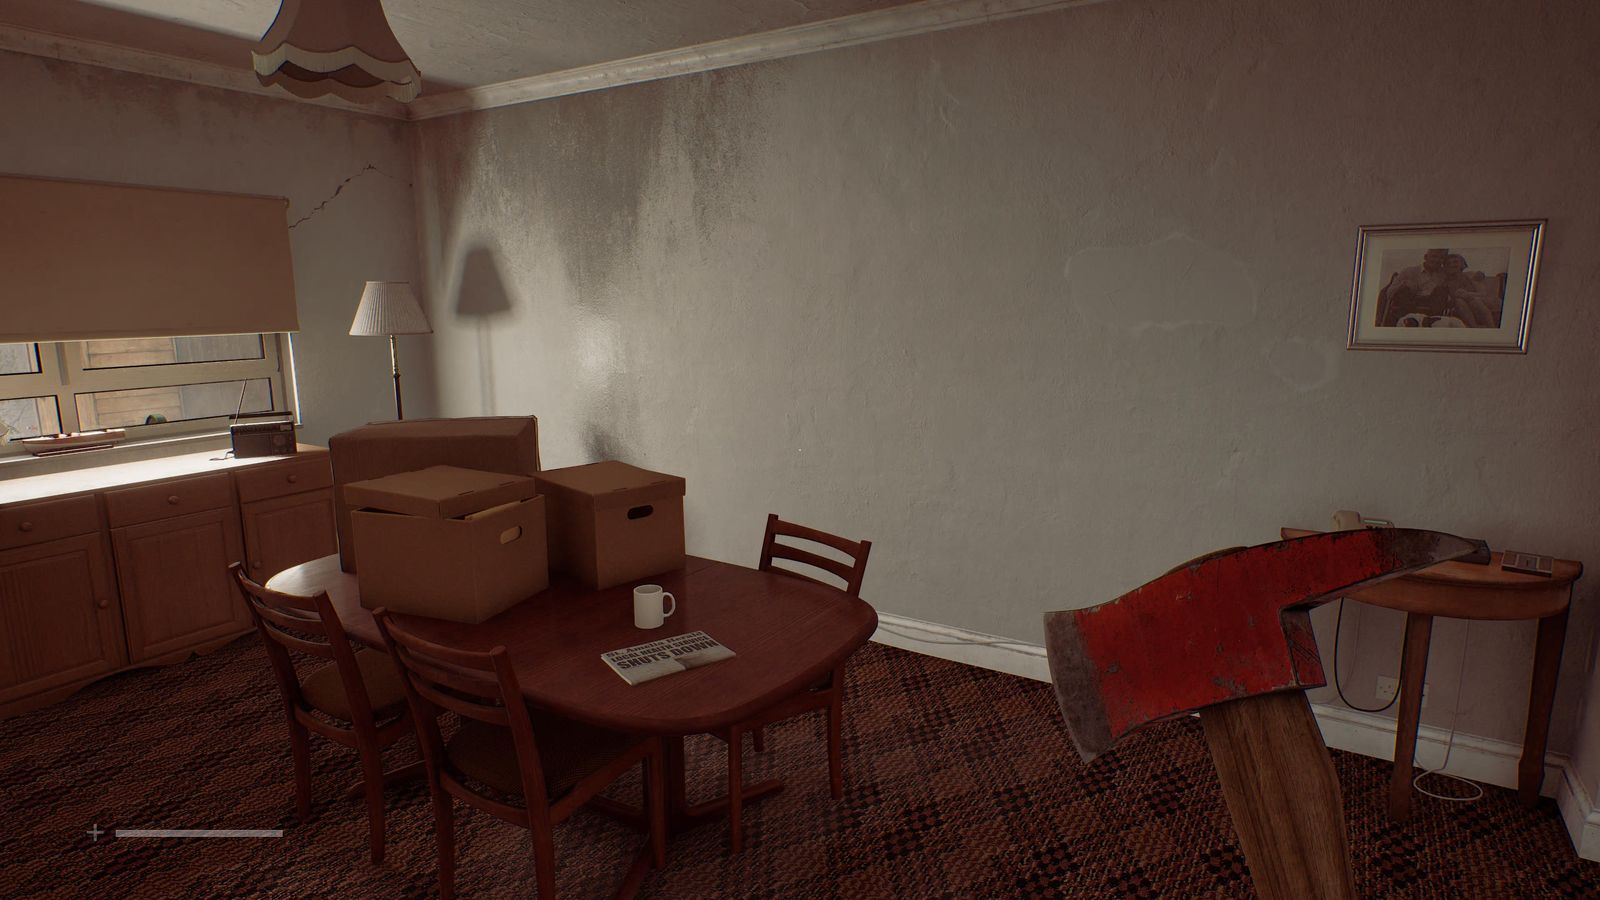
Station Road (18), on the gatehouse window by the Medical Centre entrance.
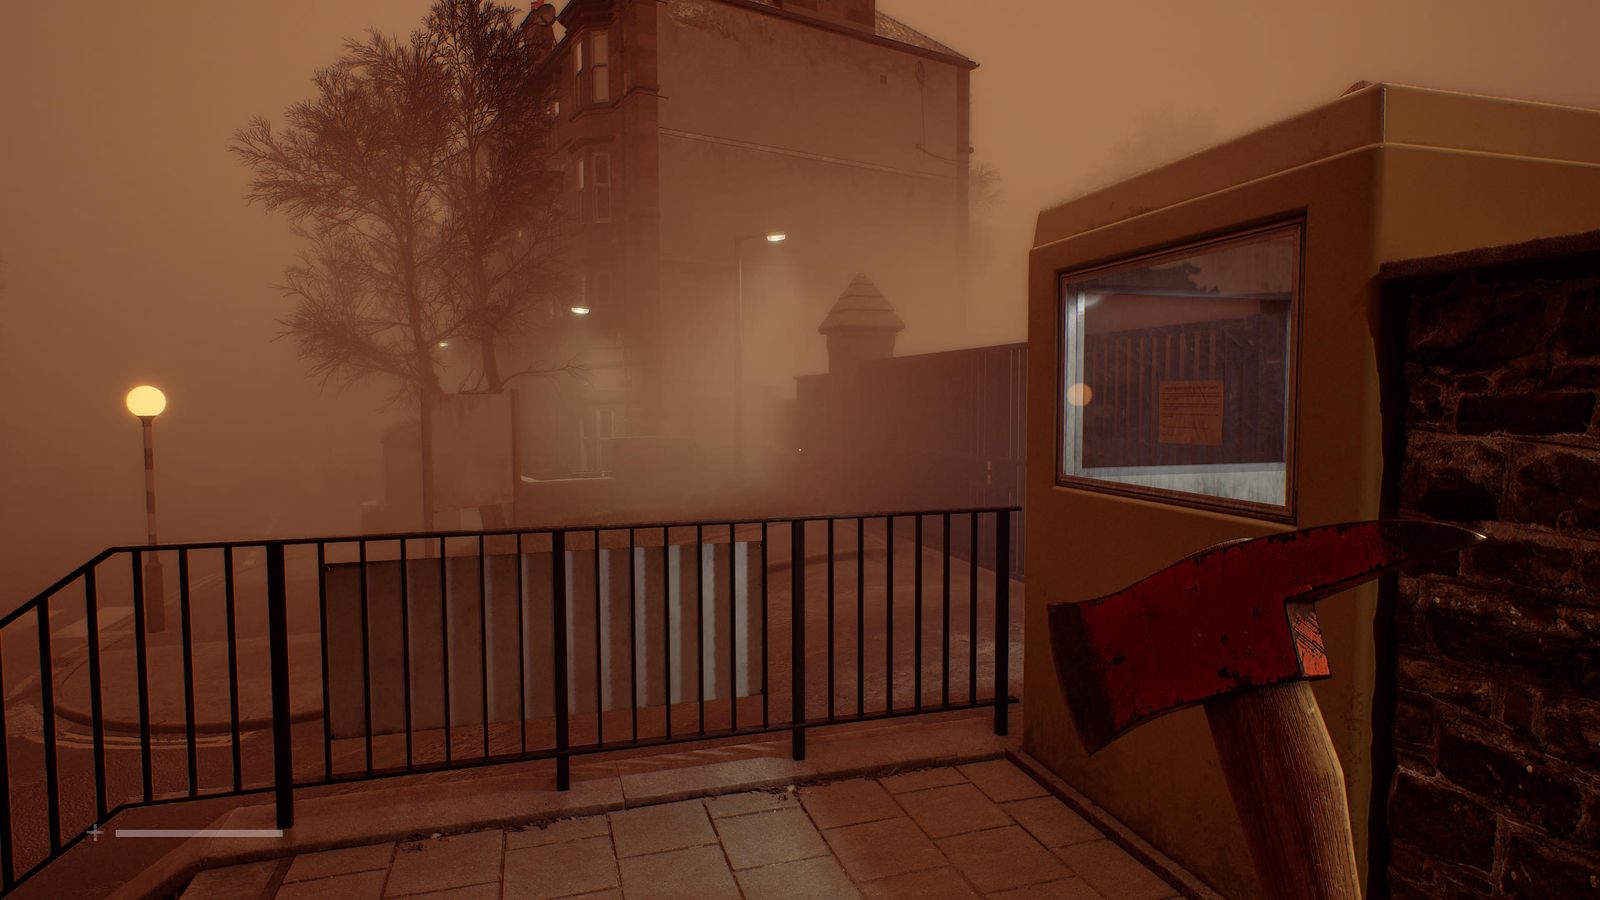
Medical Centre north-west car park, first table on the right.
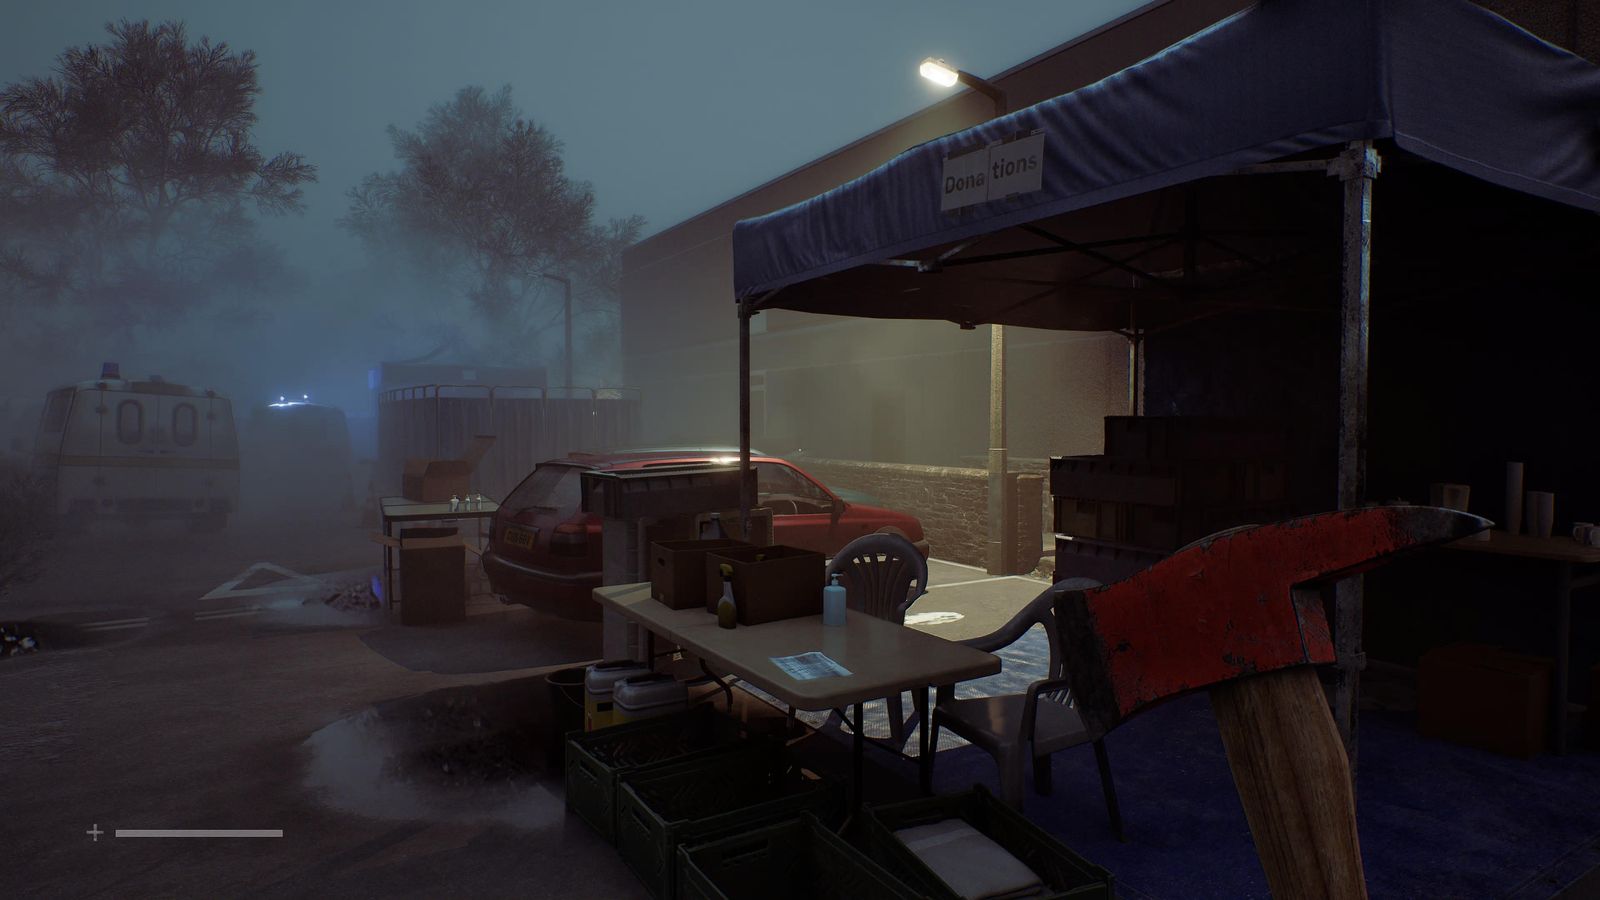
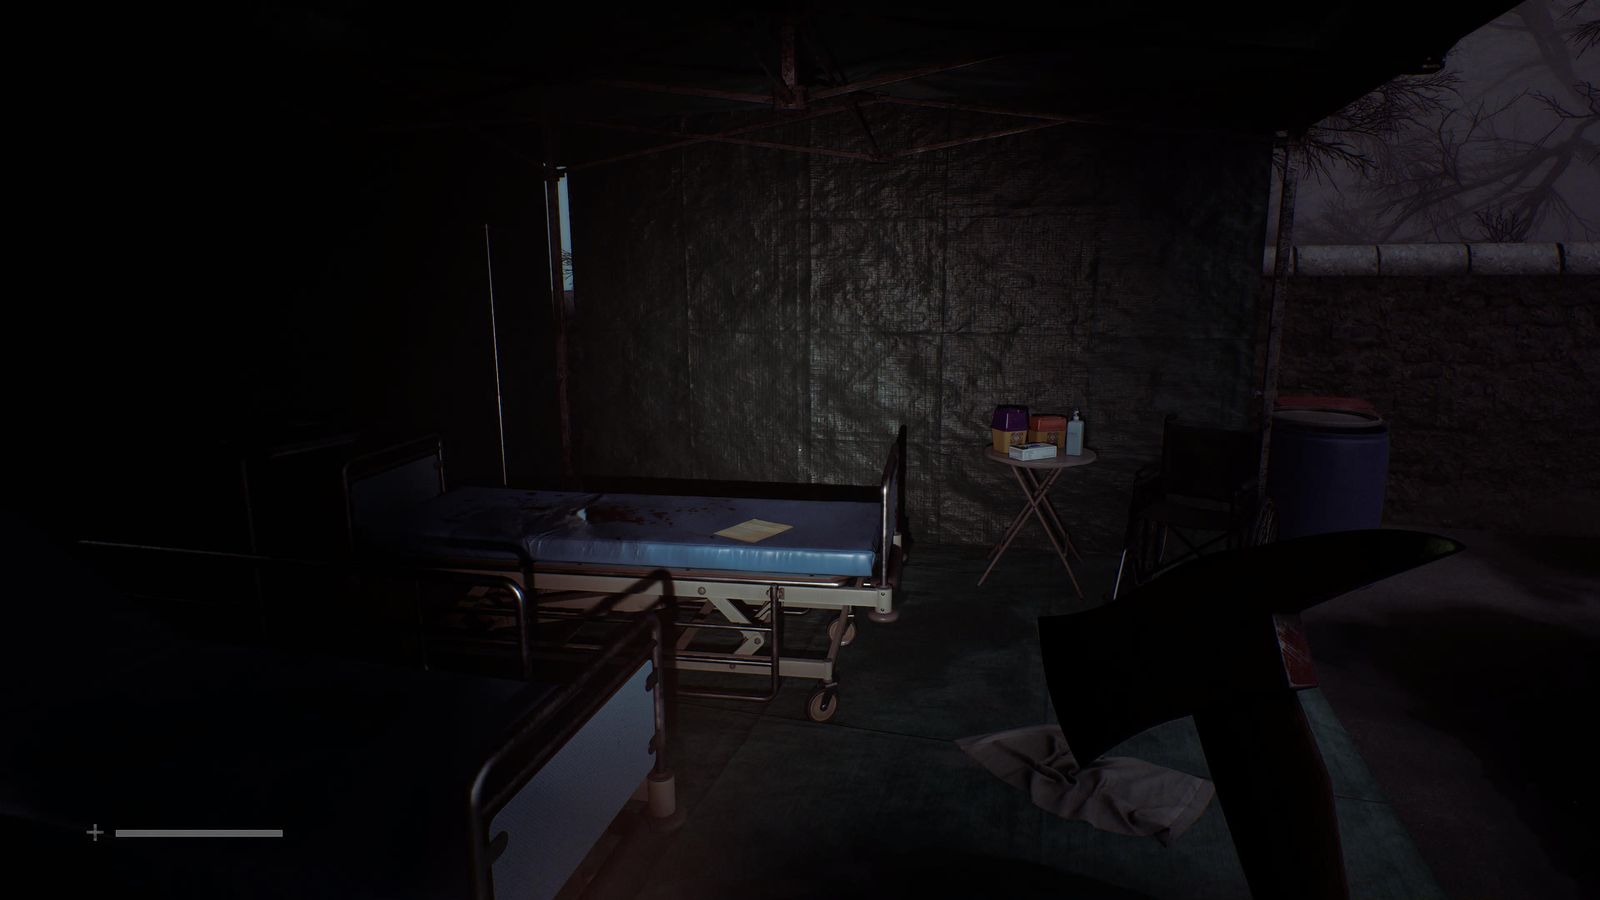
Same car park, on the far-left gurney.
Journey to Medical #31–35
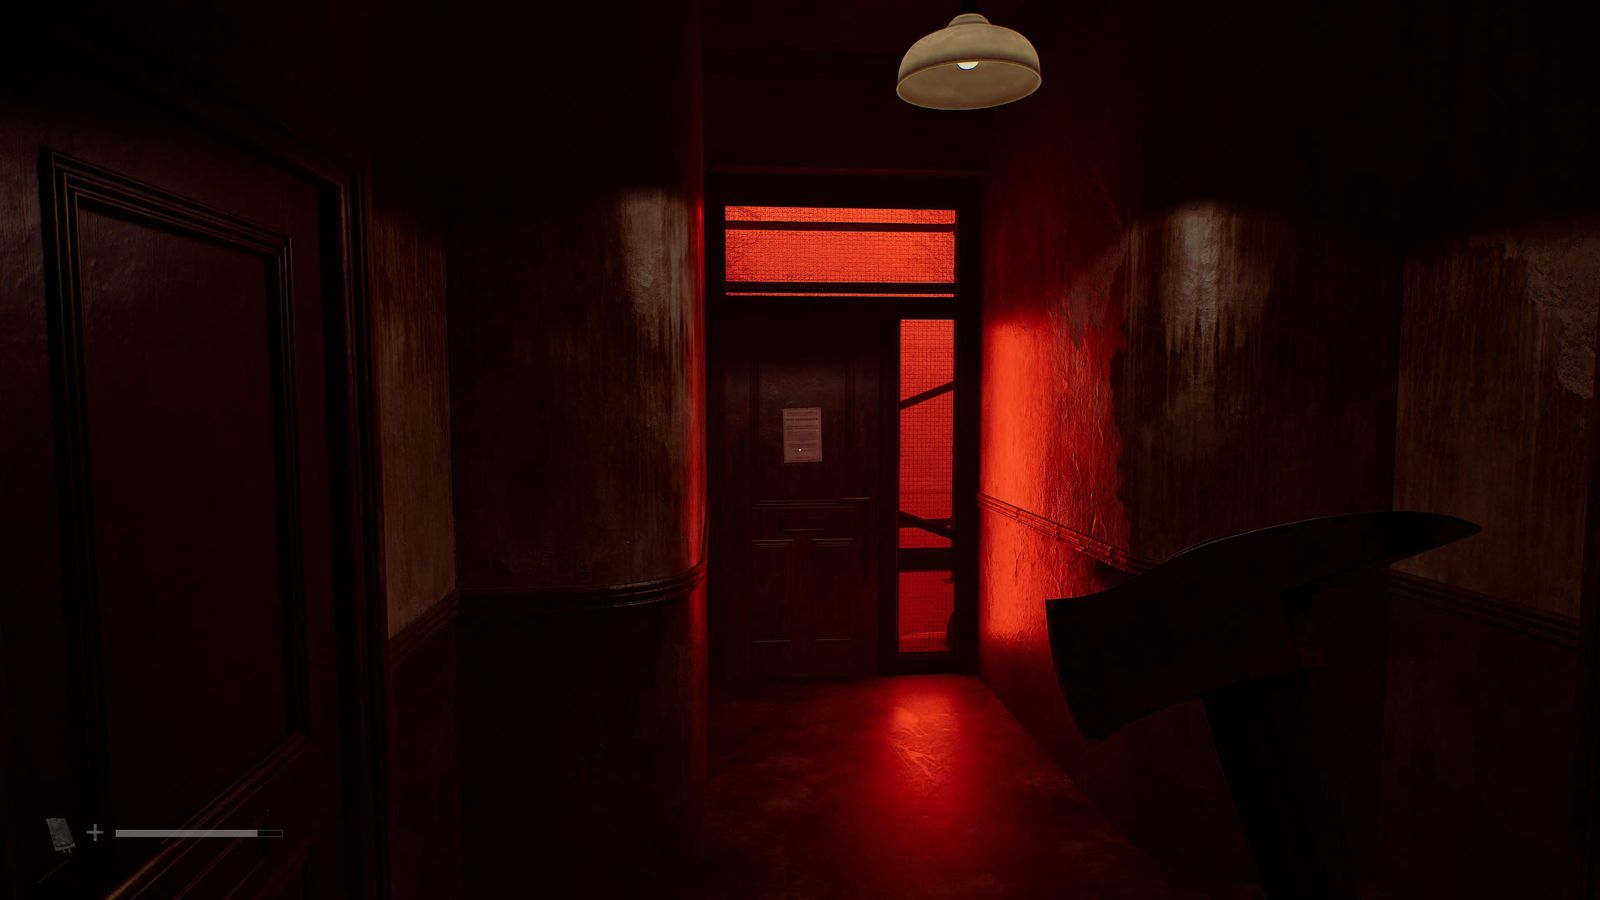
Station Apartments B, on the locked front door straight ahead.
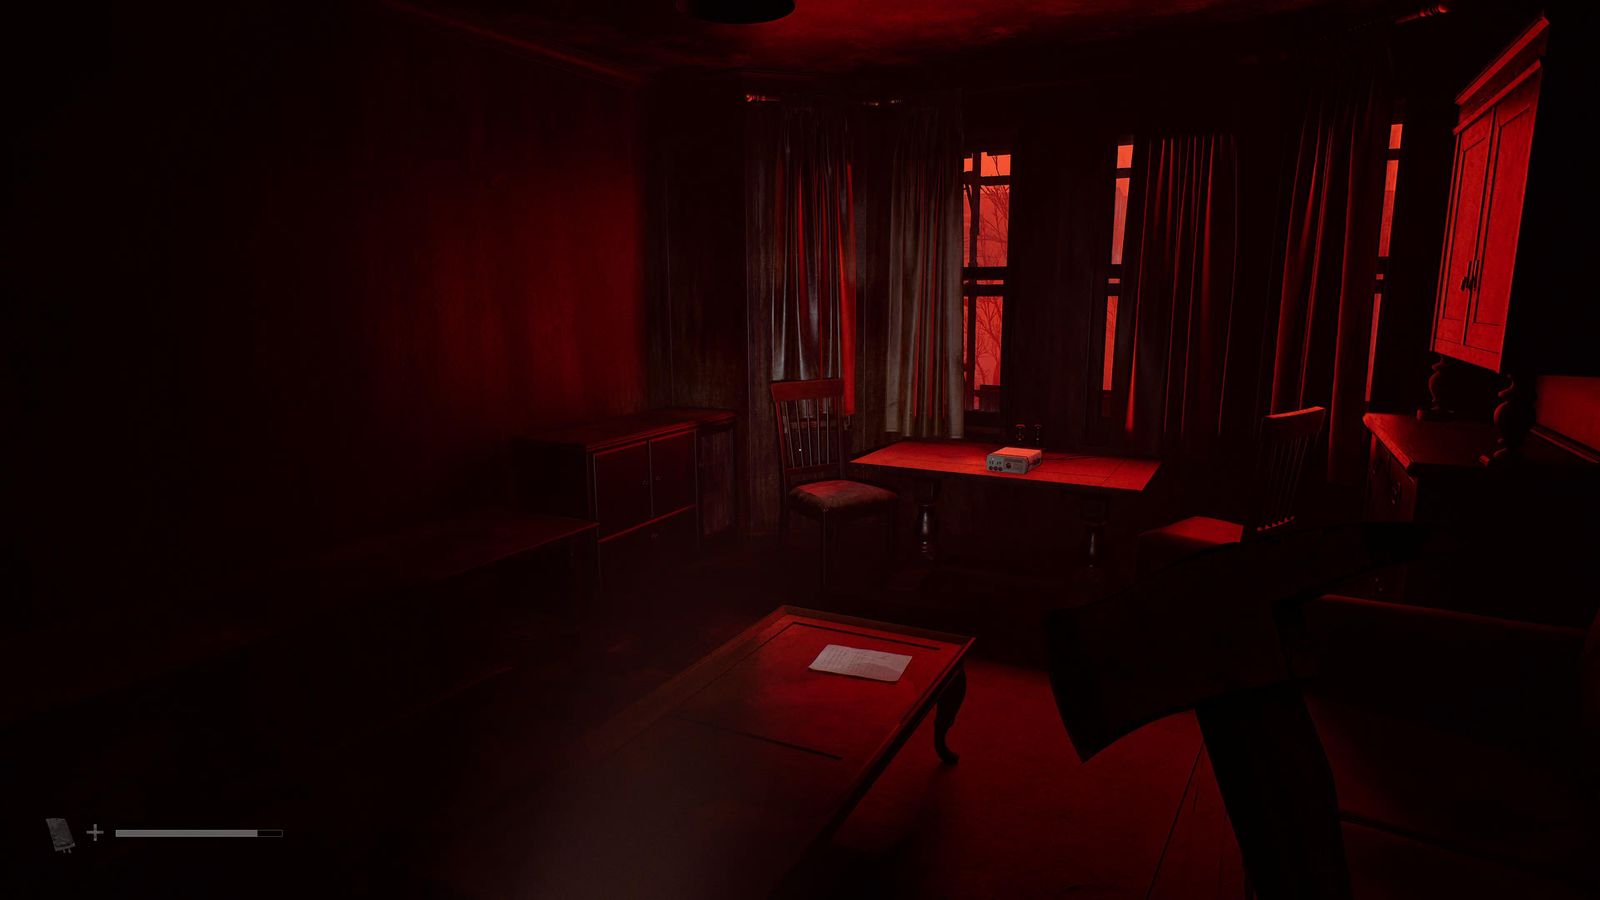
Station Apartments B, flat 1/1, living-room coffee table.
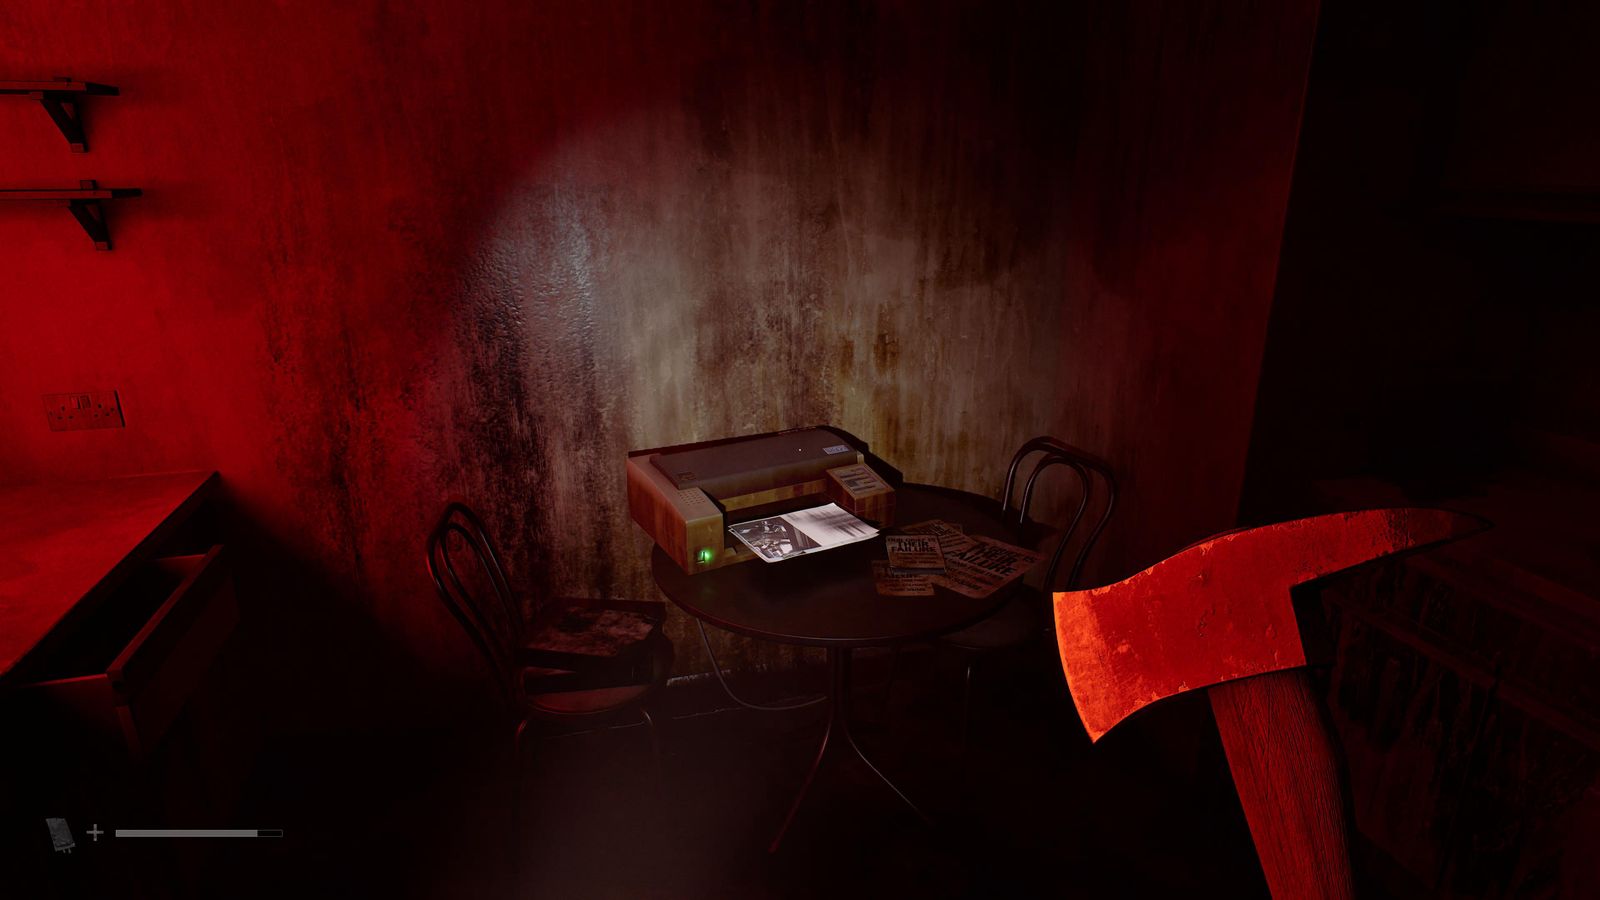
Flat 2/2 (open with the Scalpel): computer in the room right before the front door. Turn on the kitchen printer first.
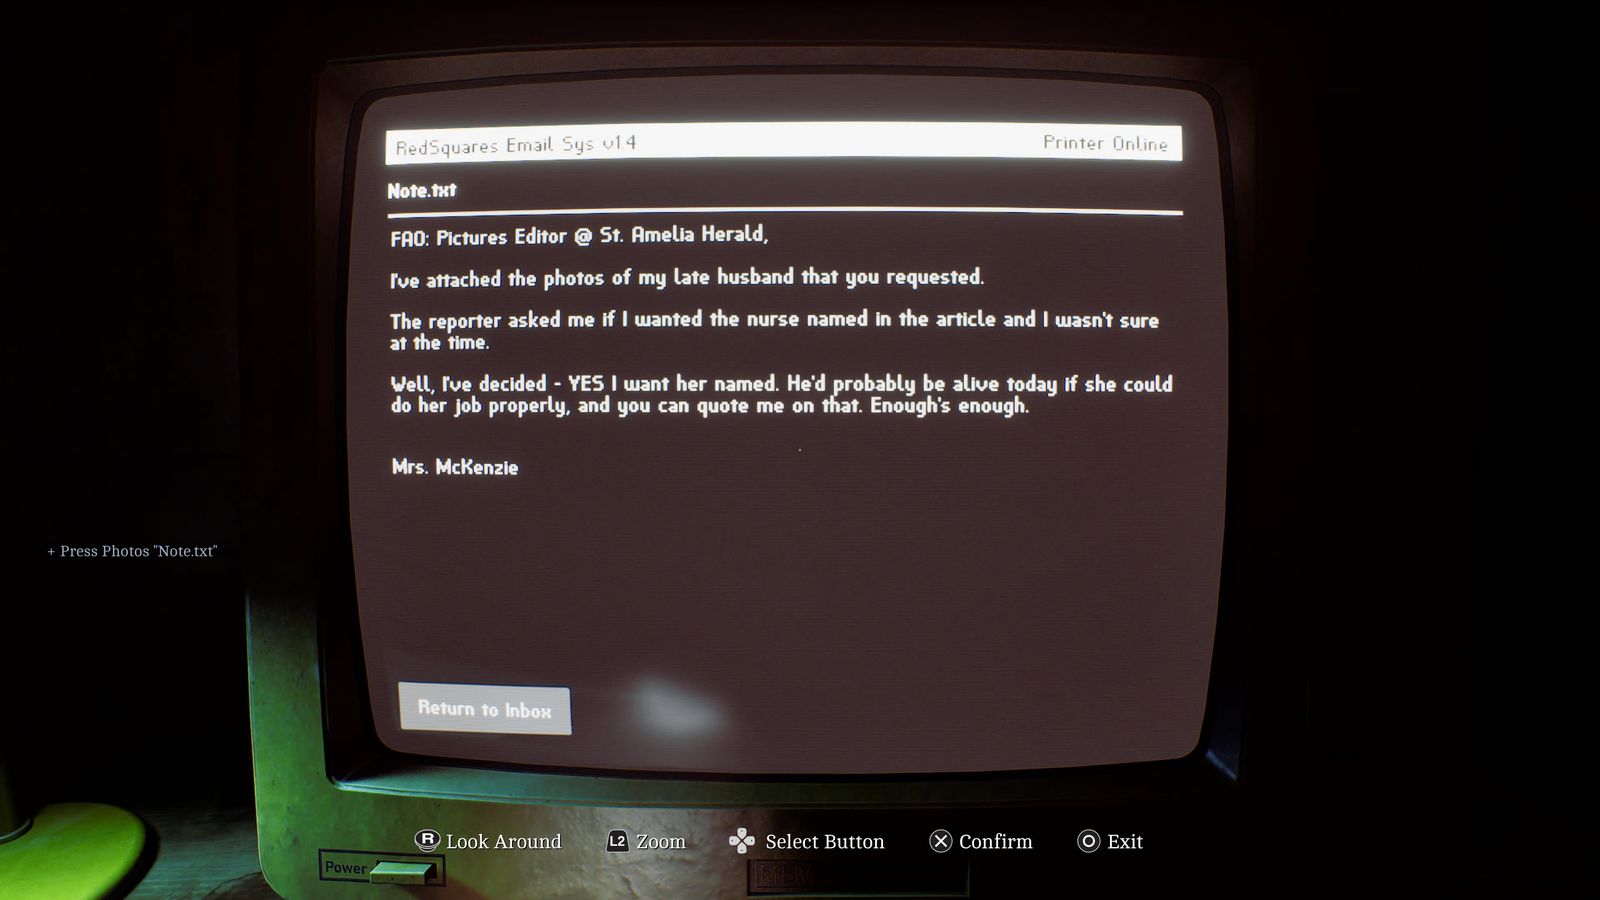
Same computer: print it, then take it from the kitchen printer.
Same computer and printer.
Zoe: The Patient #36–41
Medical Centre, Consult Room B computer.
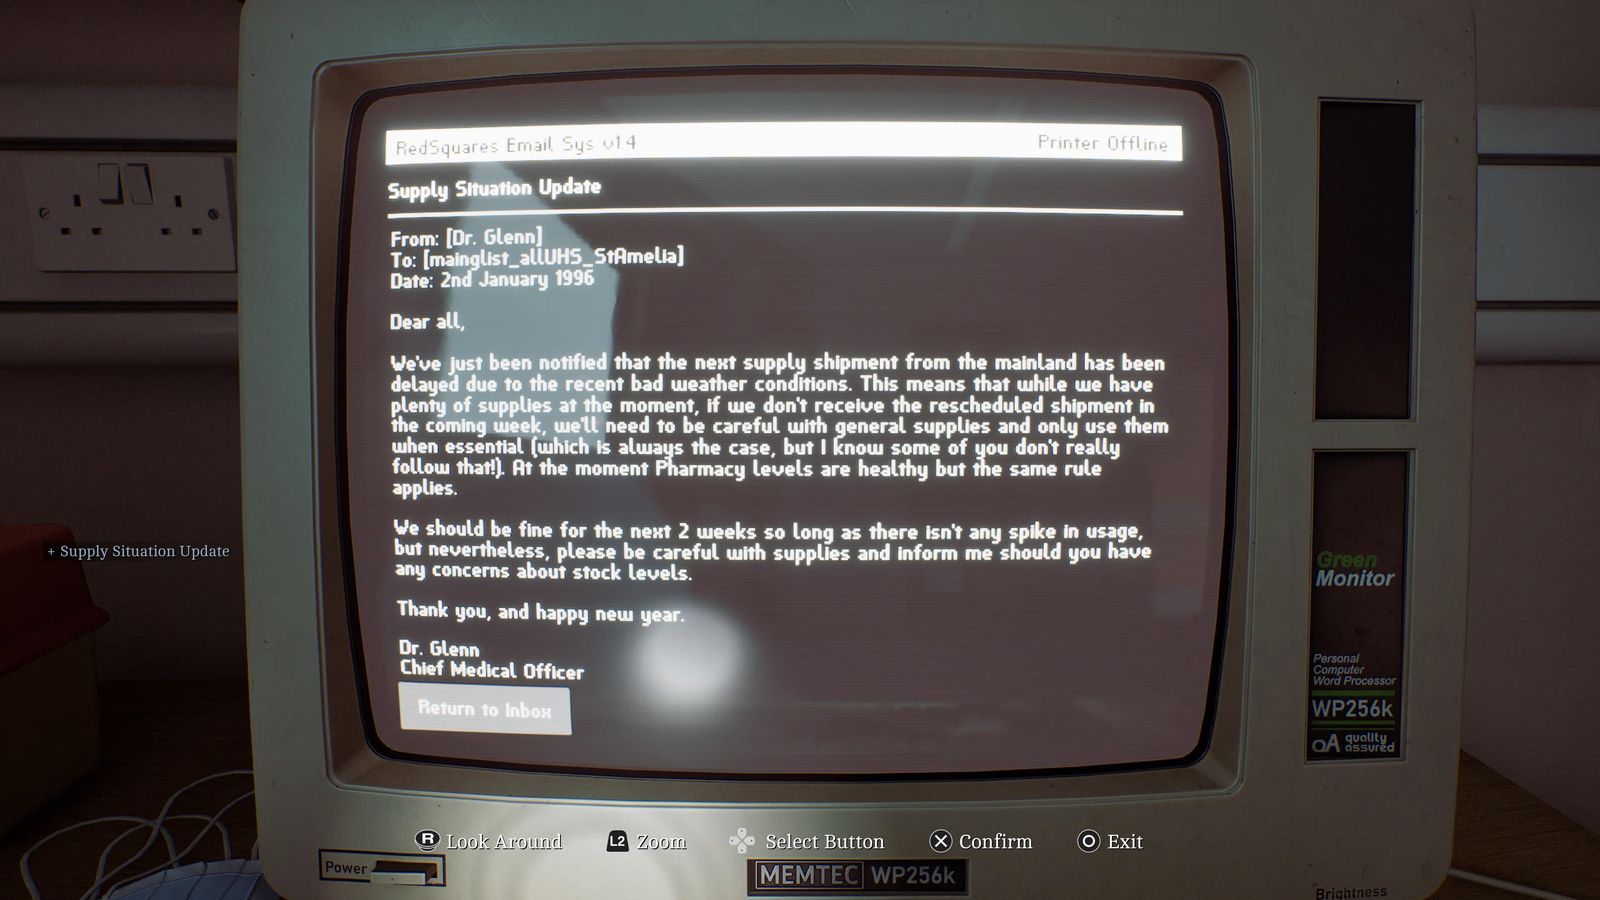
Same computer, the reply.
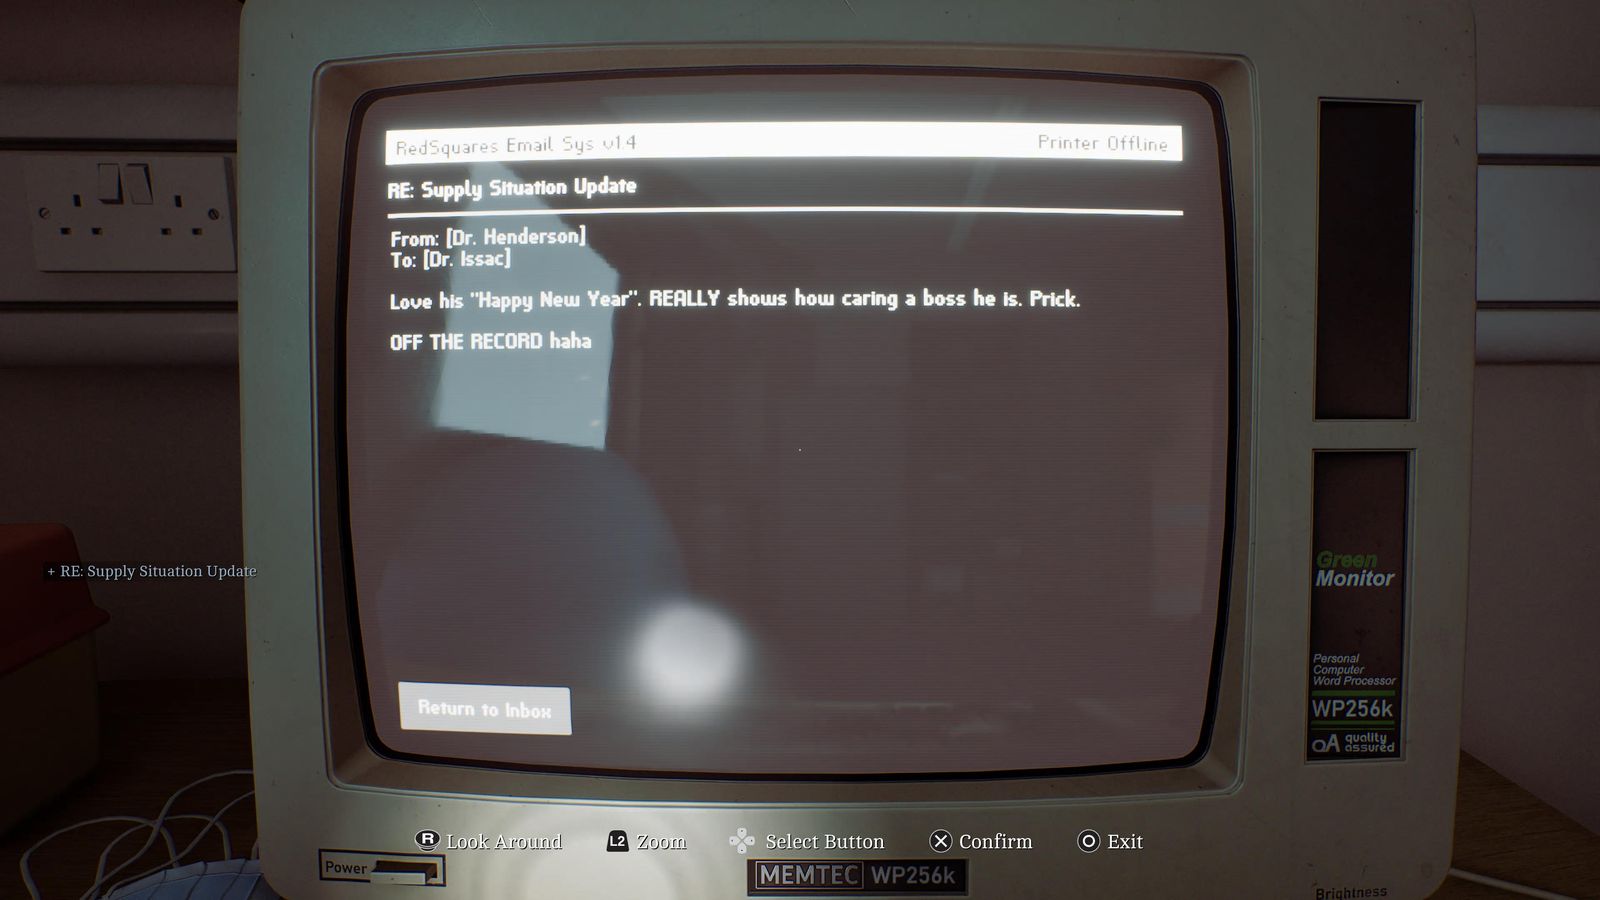
Chapman Ward 1st floor, computer behind reception on the left.
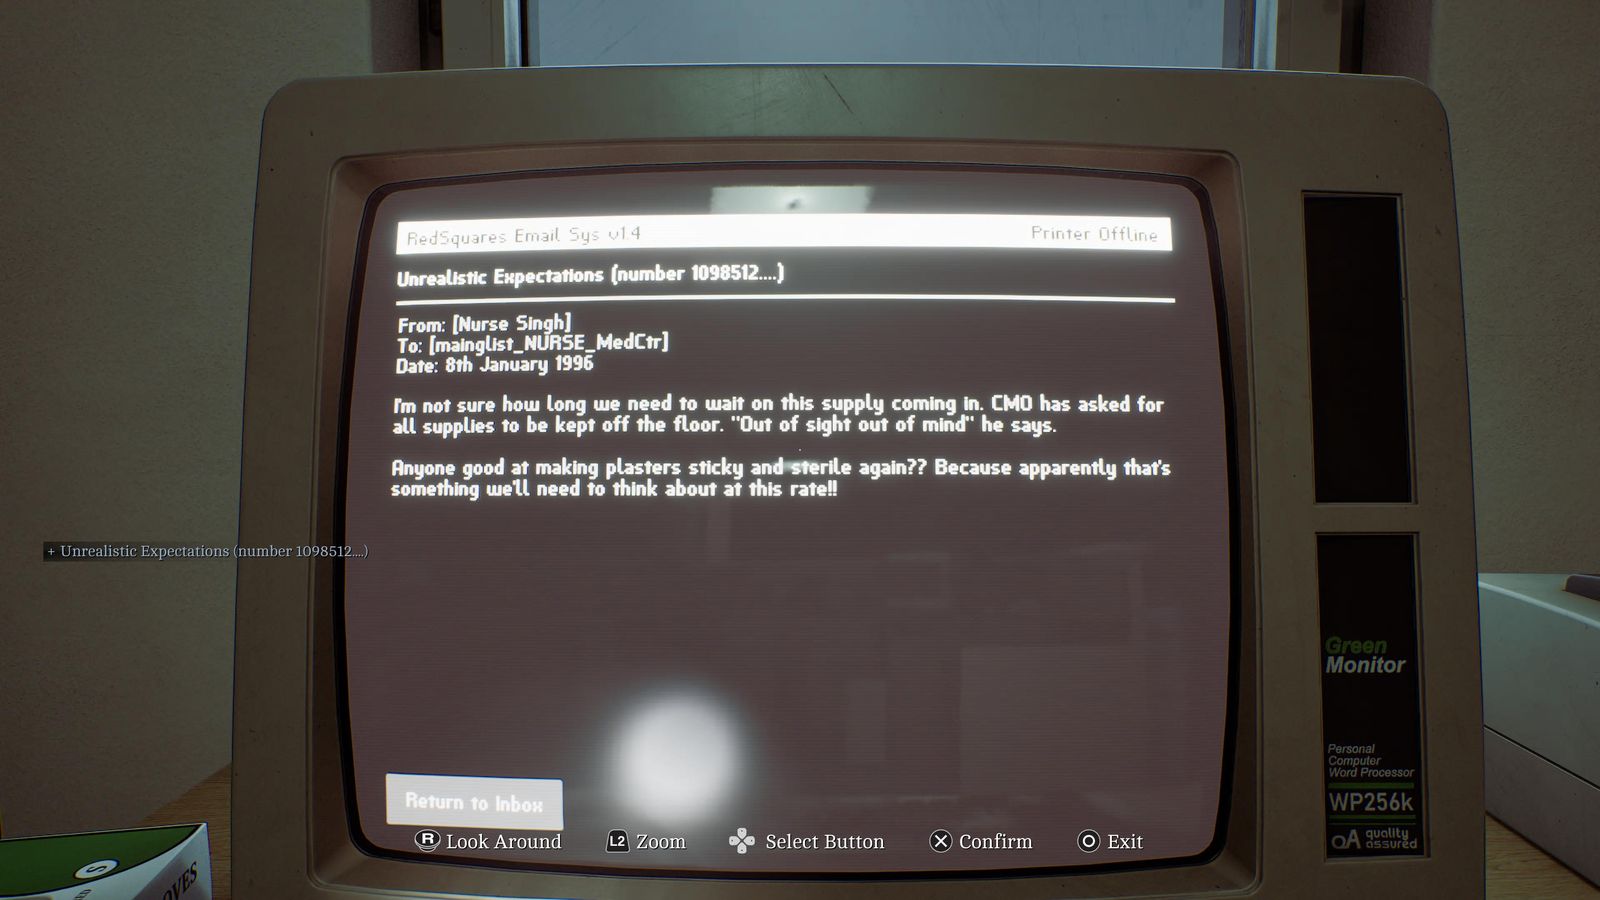
Same reception computer.
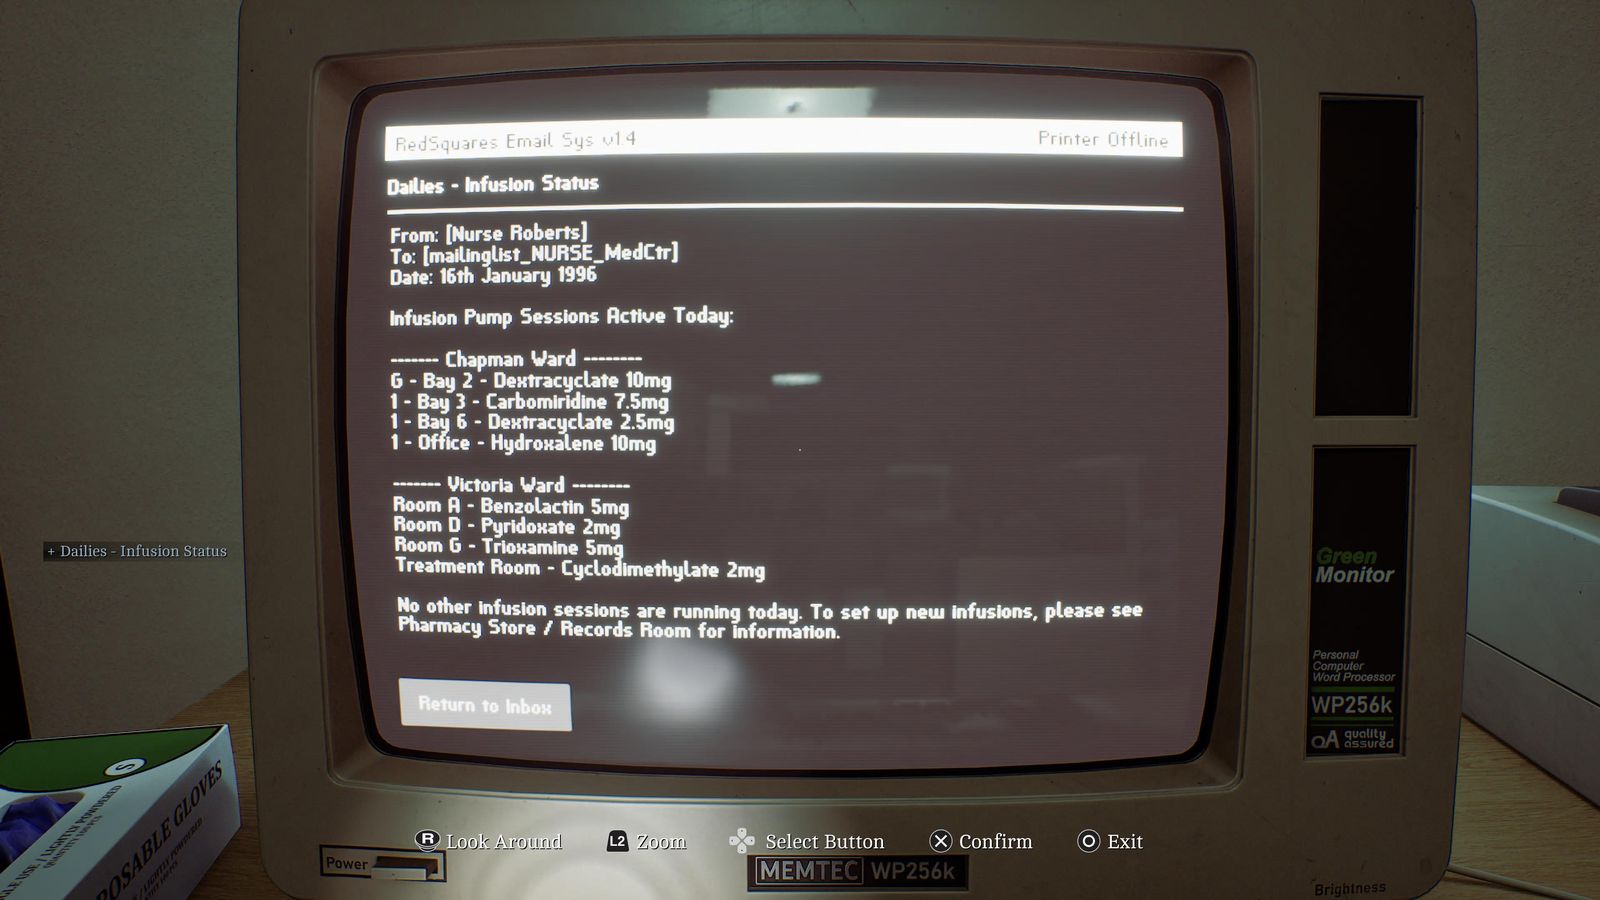
Chapman Ward 1st floor, office in the far-left corner: pinned to the blue board.
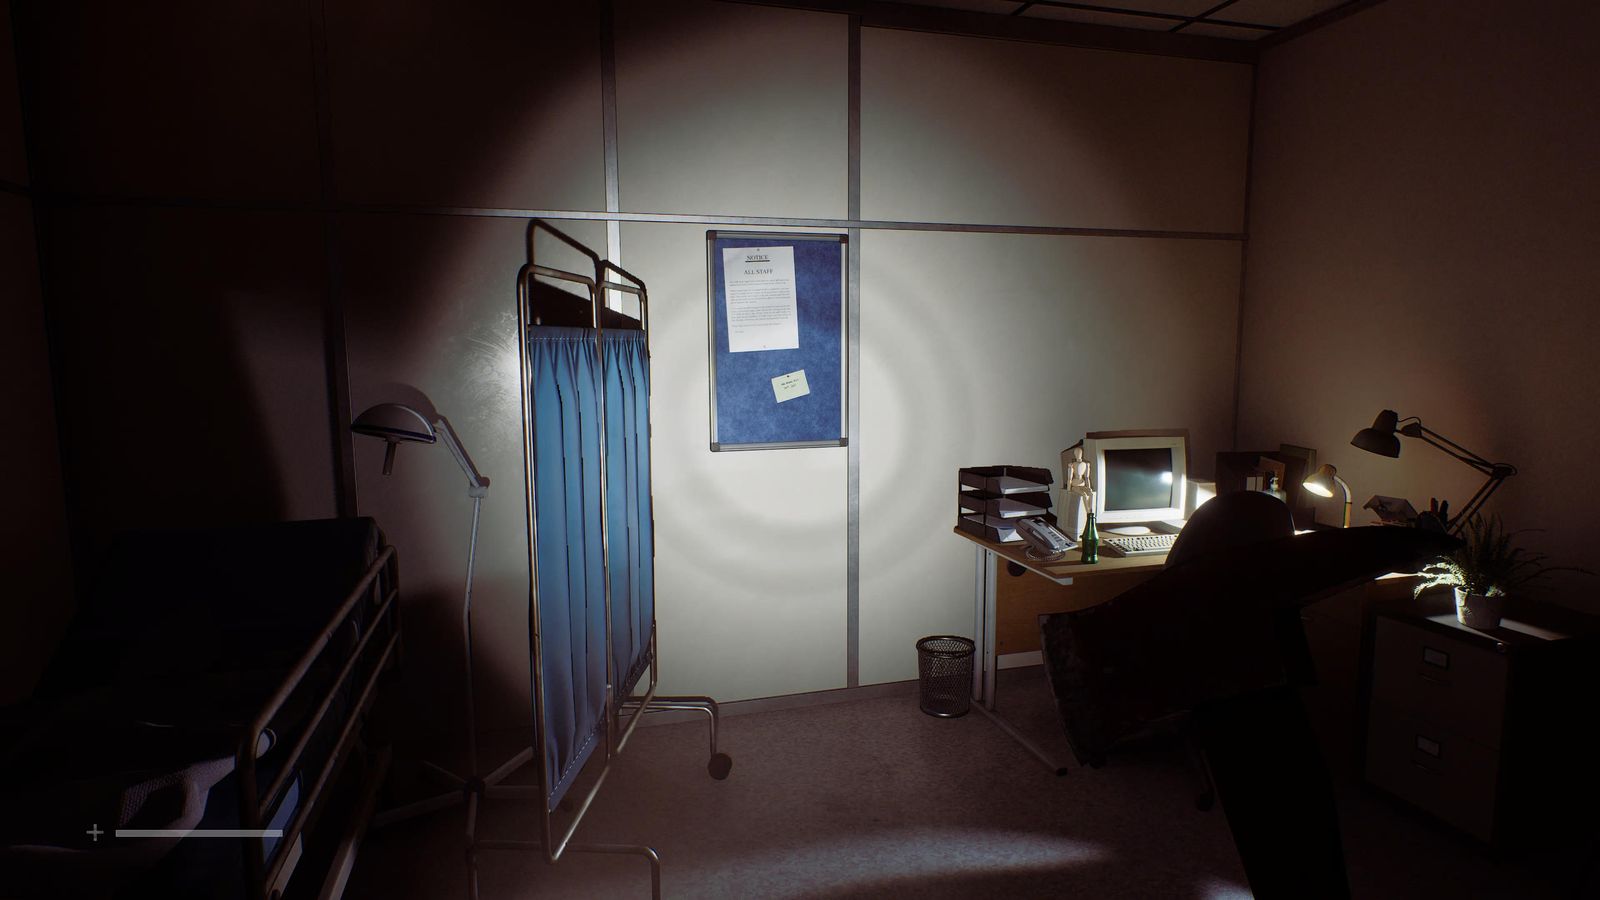
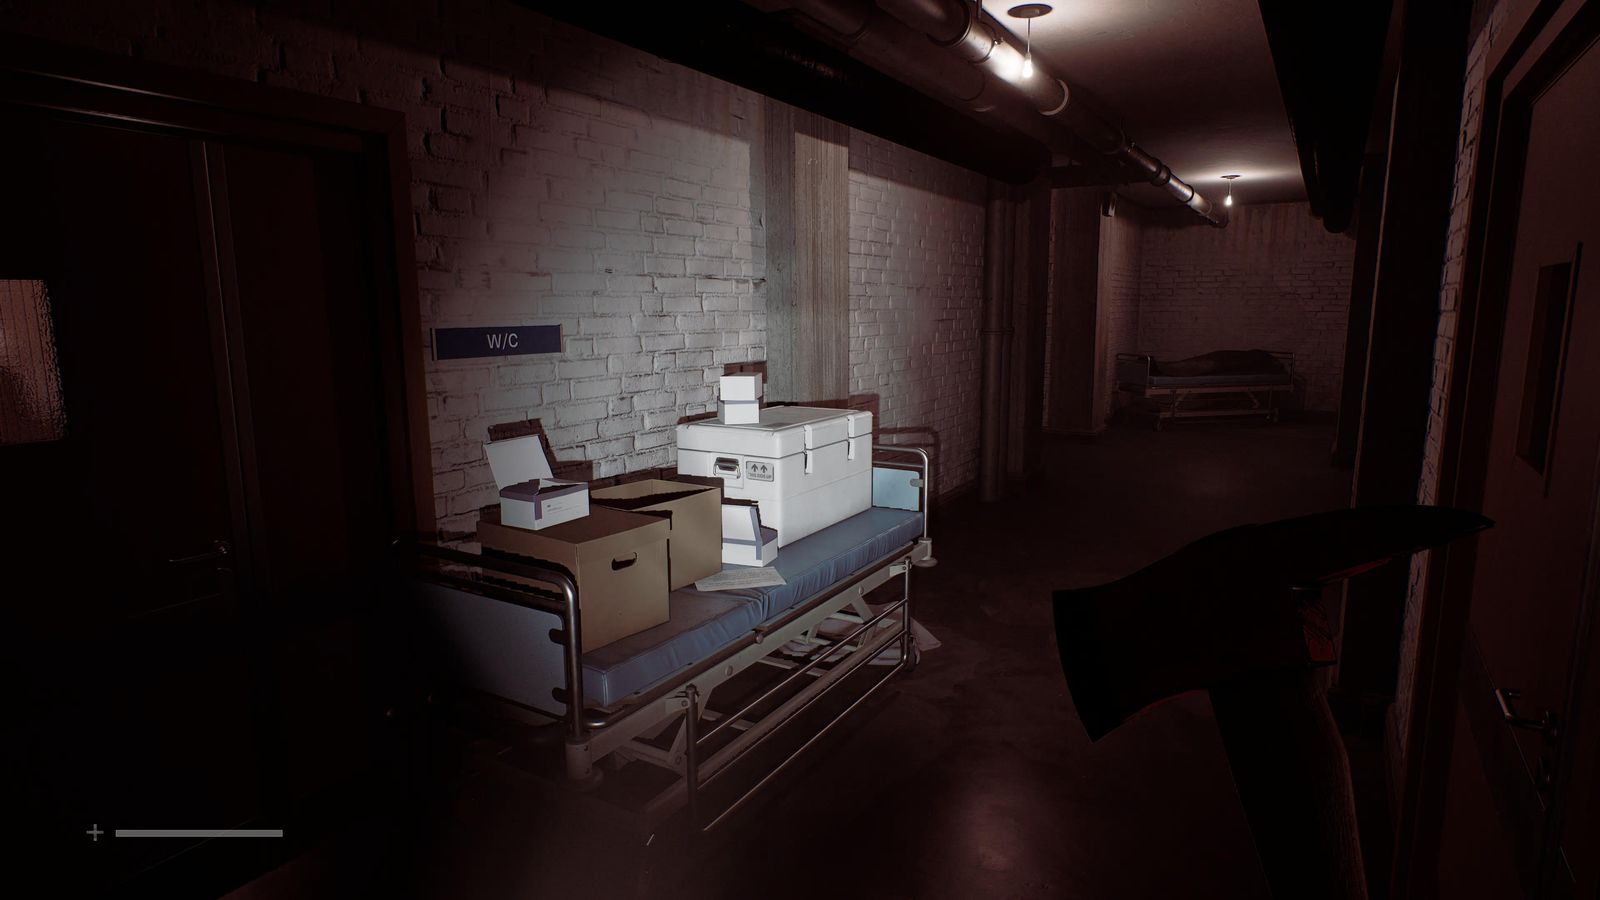
Basement corridor, on a gurney halfway back to the lift (after Storage).
Many Into One #42–42
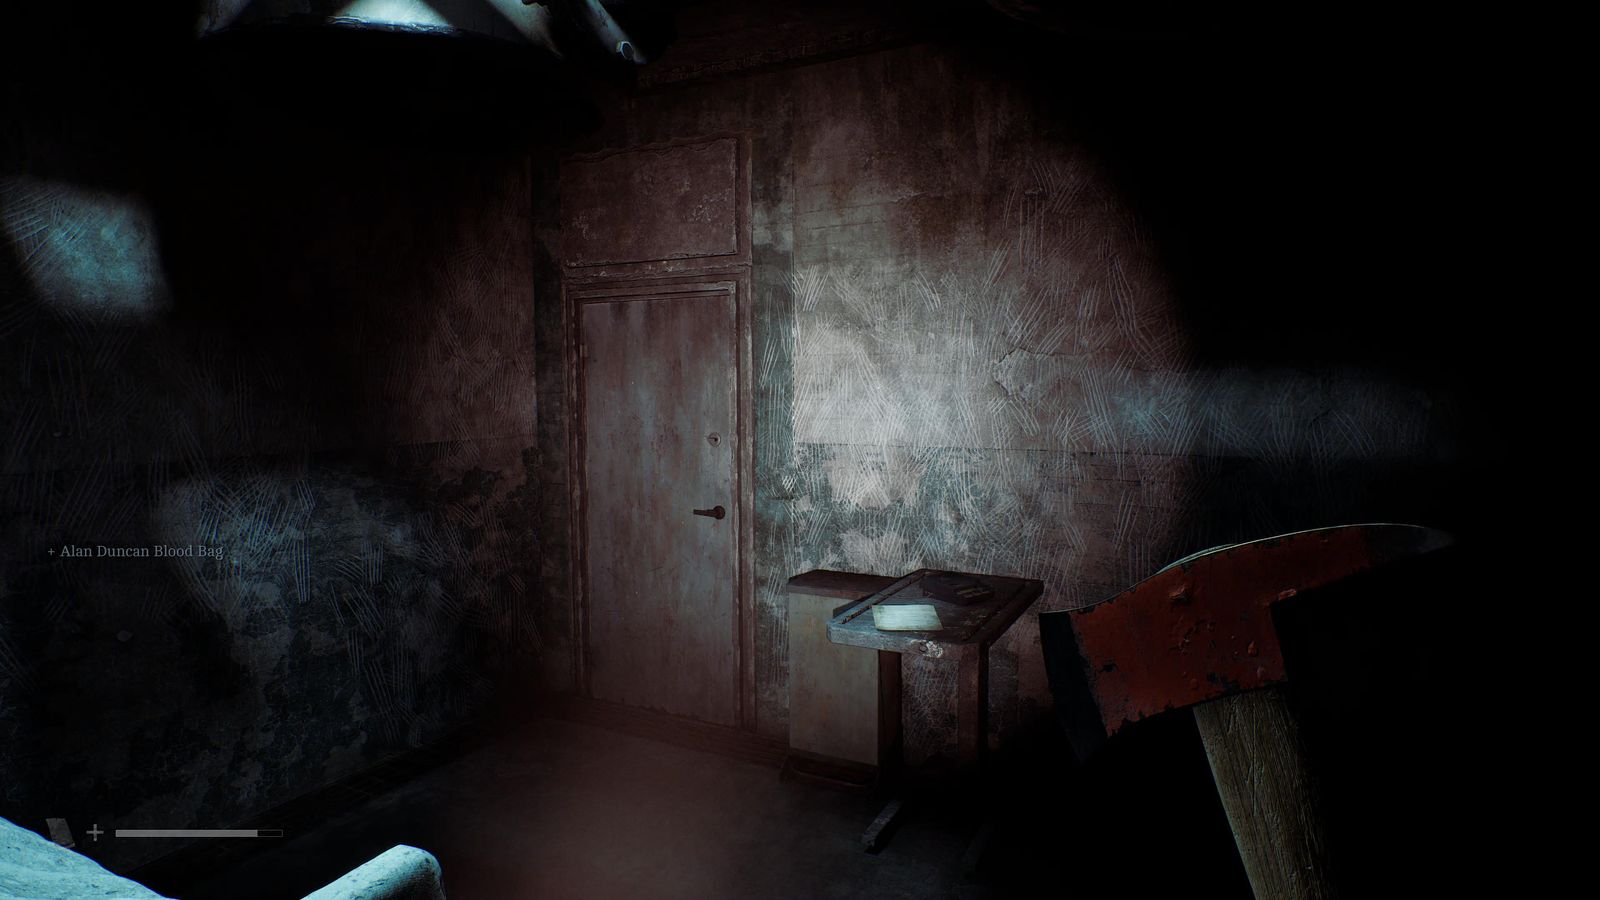
Otherworld workshop, on the small table (same room as the tuner).
Begin Again #43–44
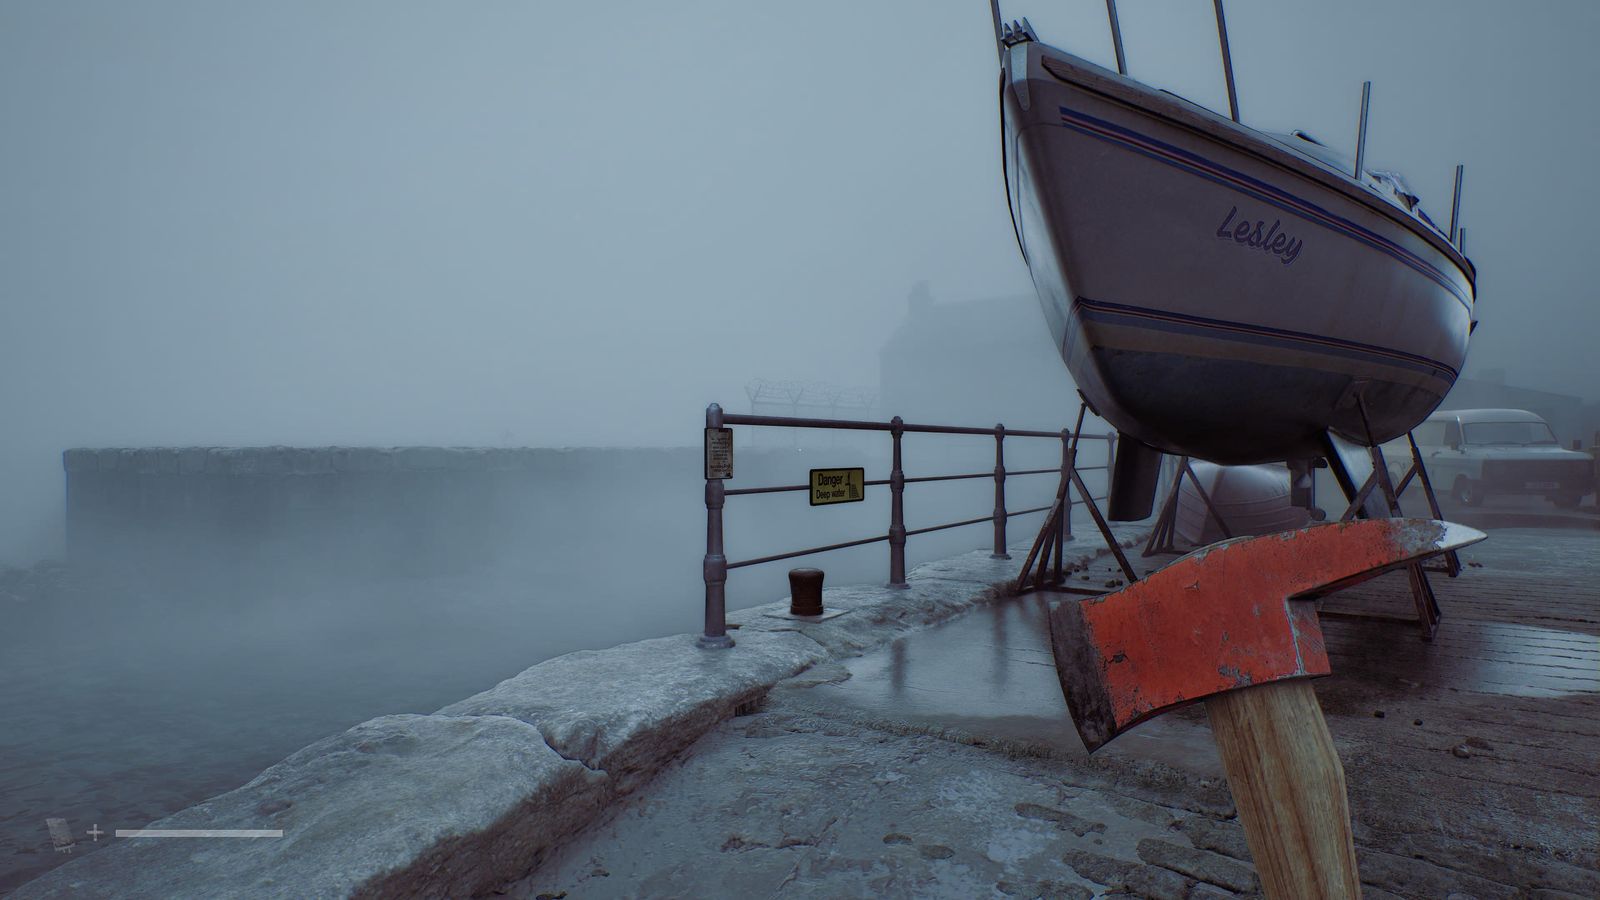
East Shore Road: from the top of the ladder go left to the big boat; it's on the railing. Missable: walk right past the van first and a scene skips it.
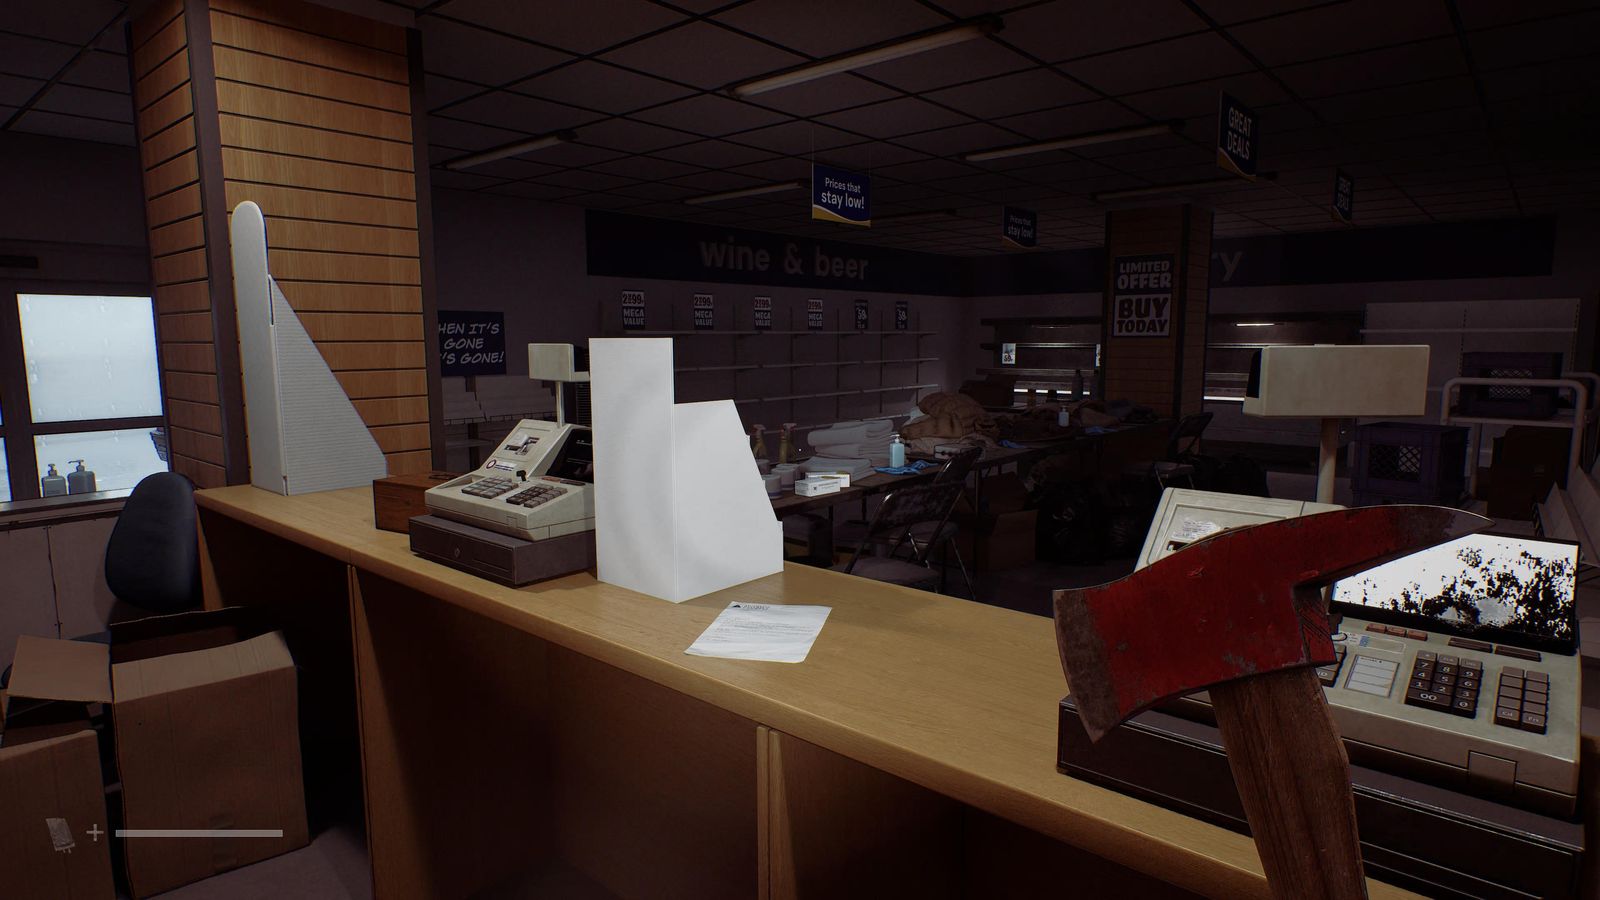
Bridge Burn Road, Locals store: between the tills behind the counter.
Missing Parts #45–55
CEG Lockers, computer behind reception.
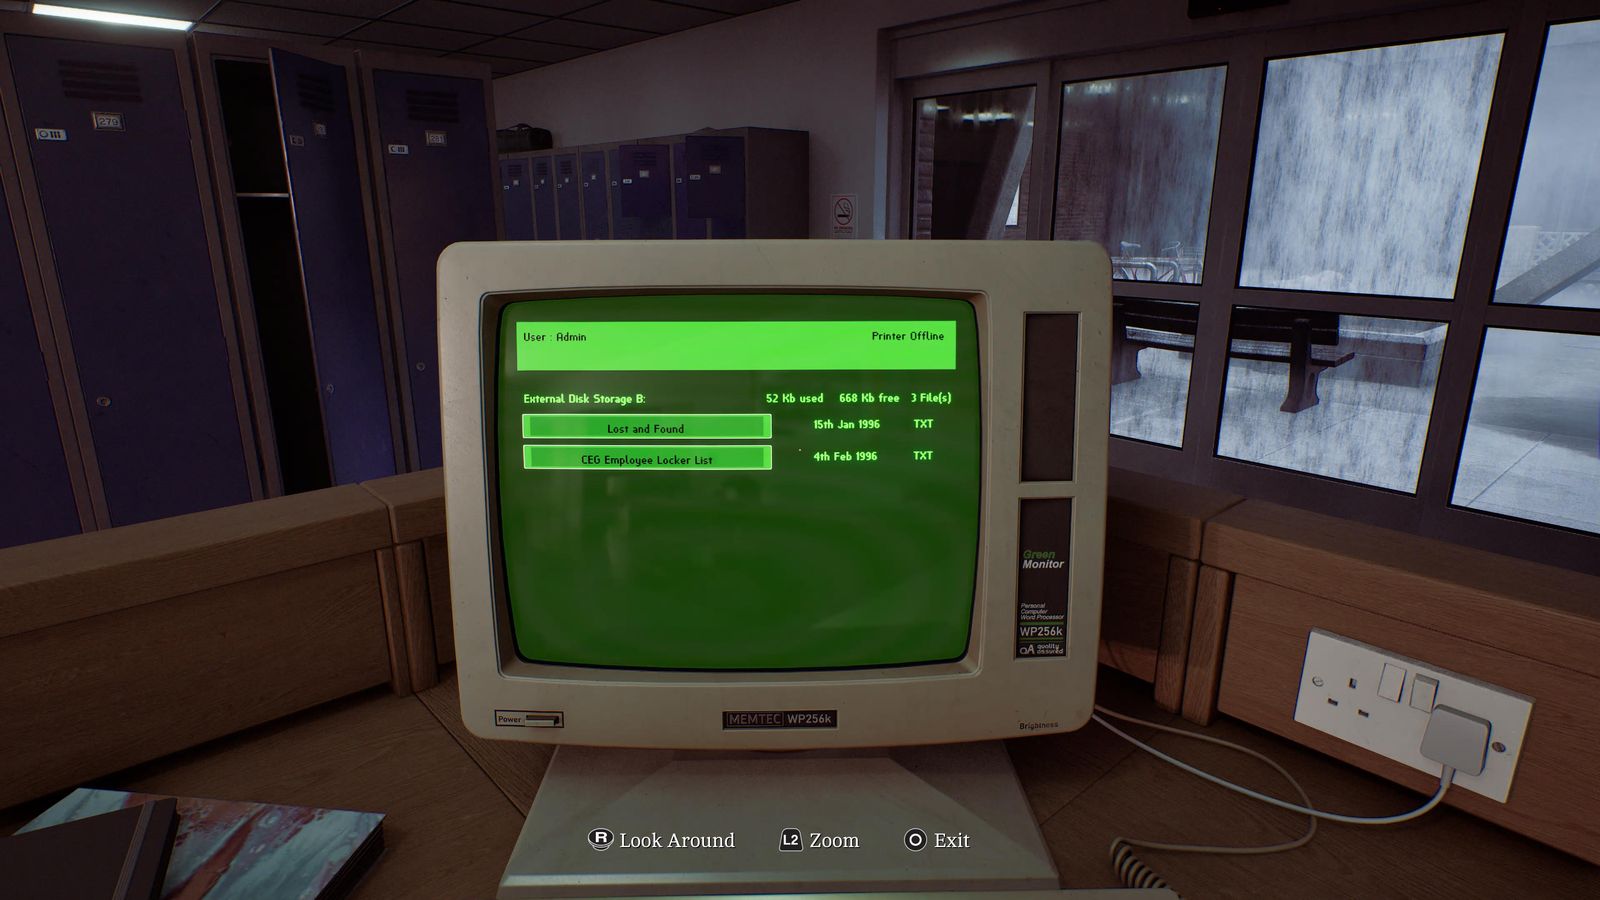
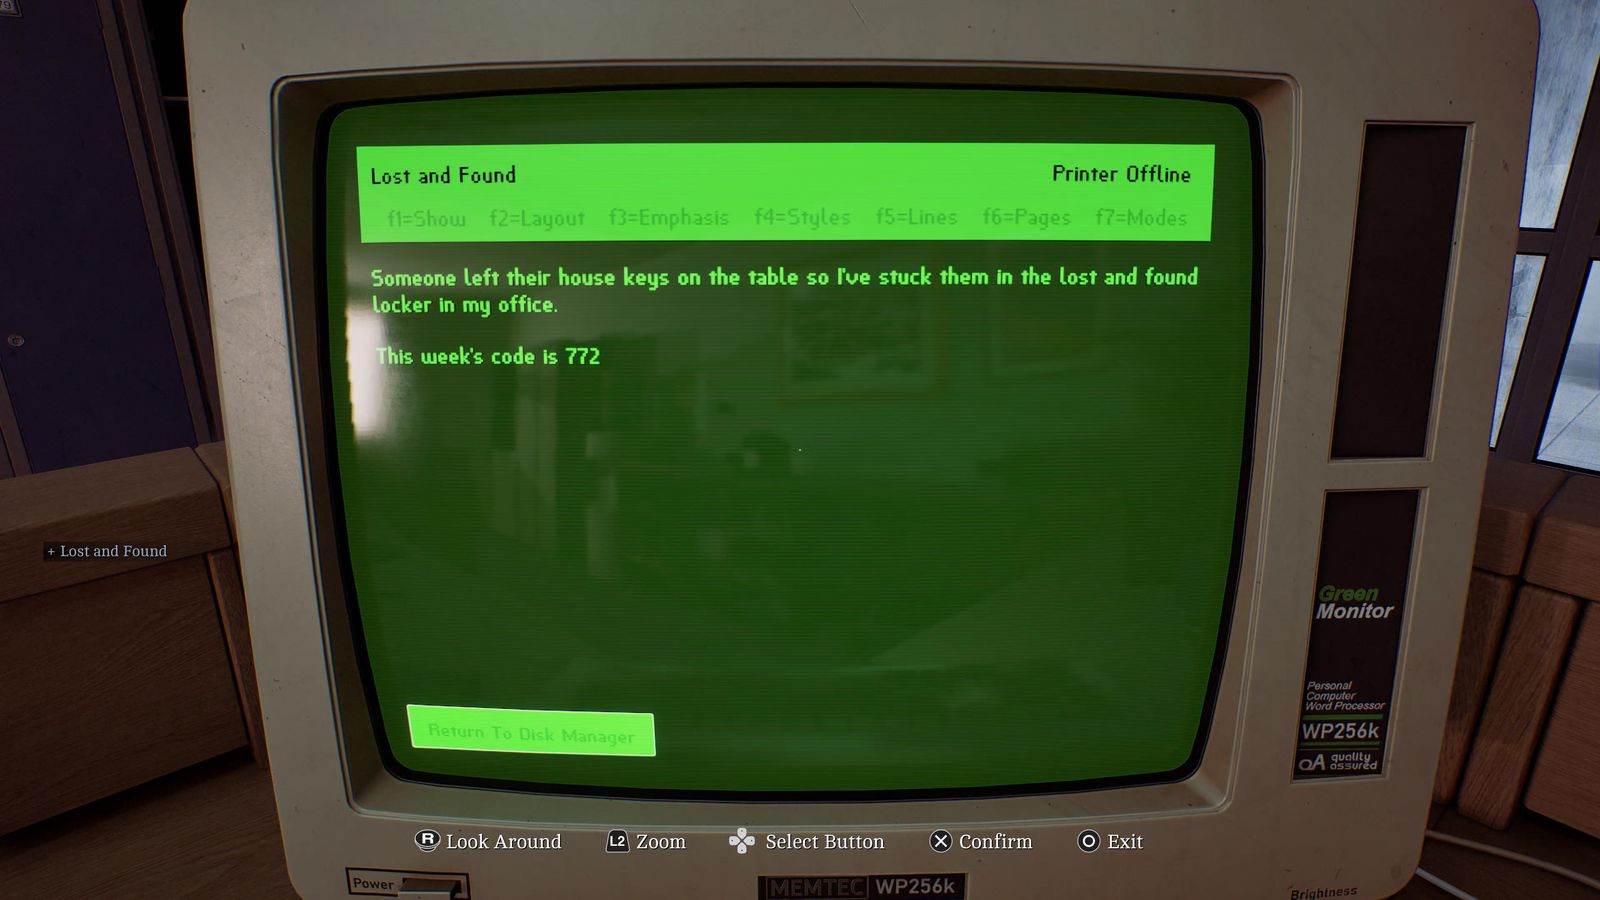
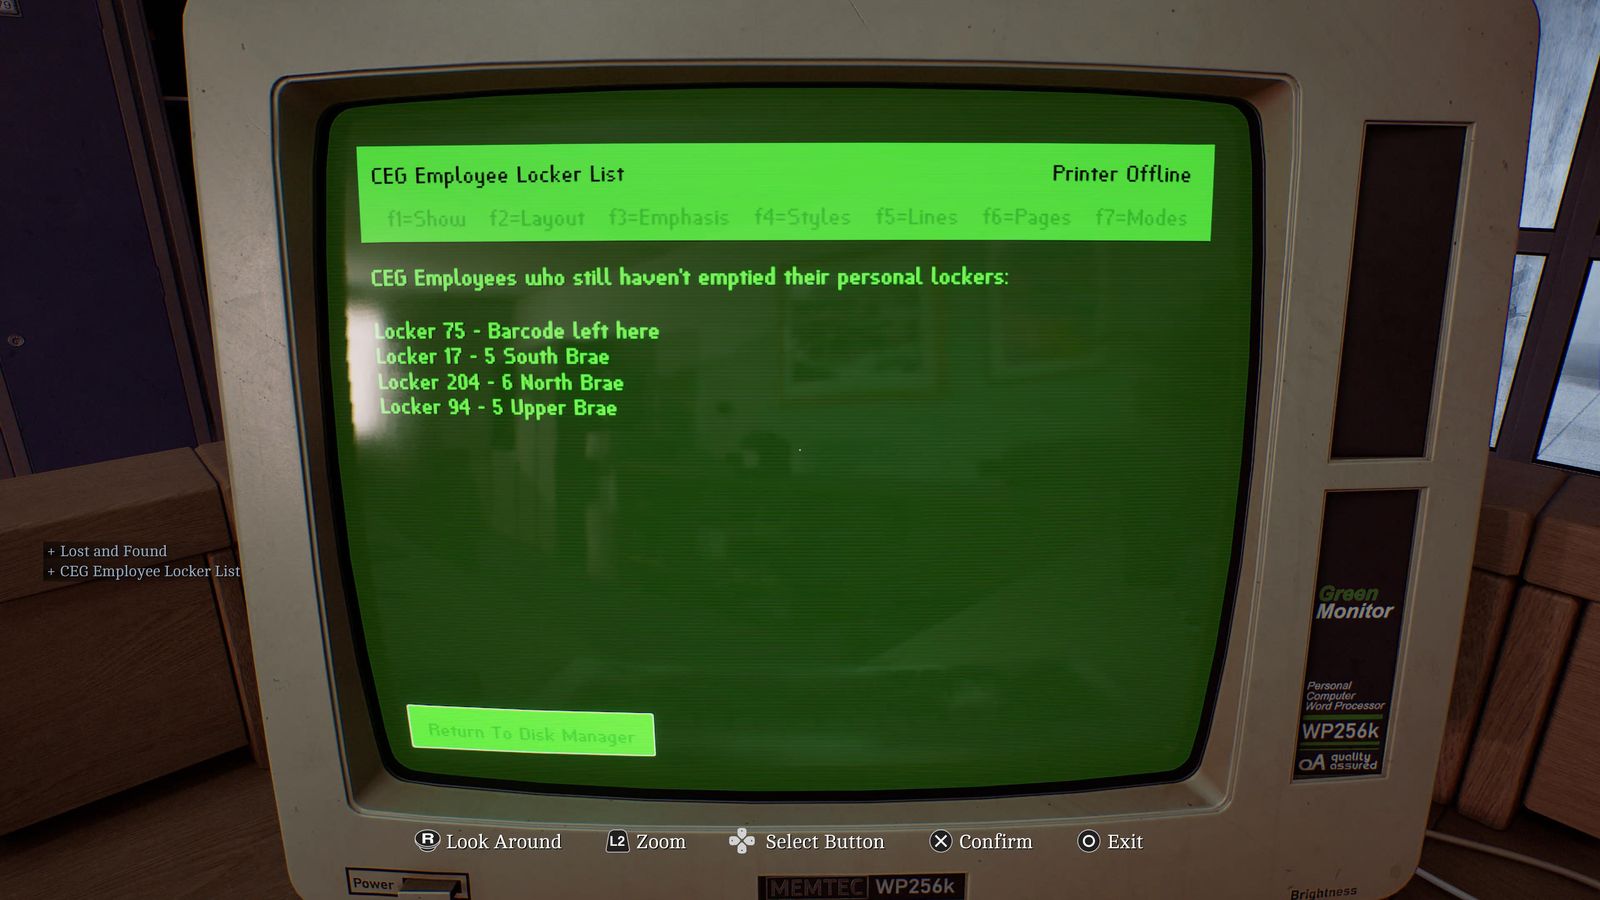
Same reception computer.
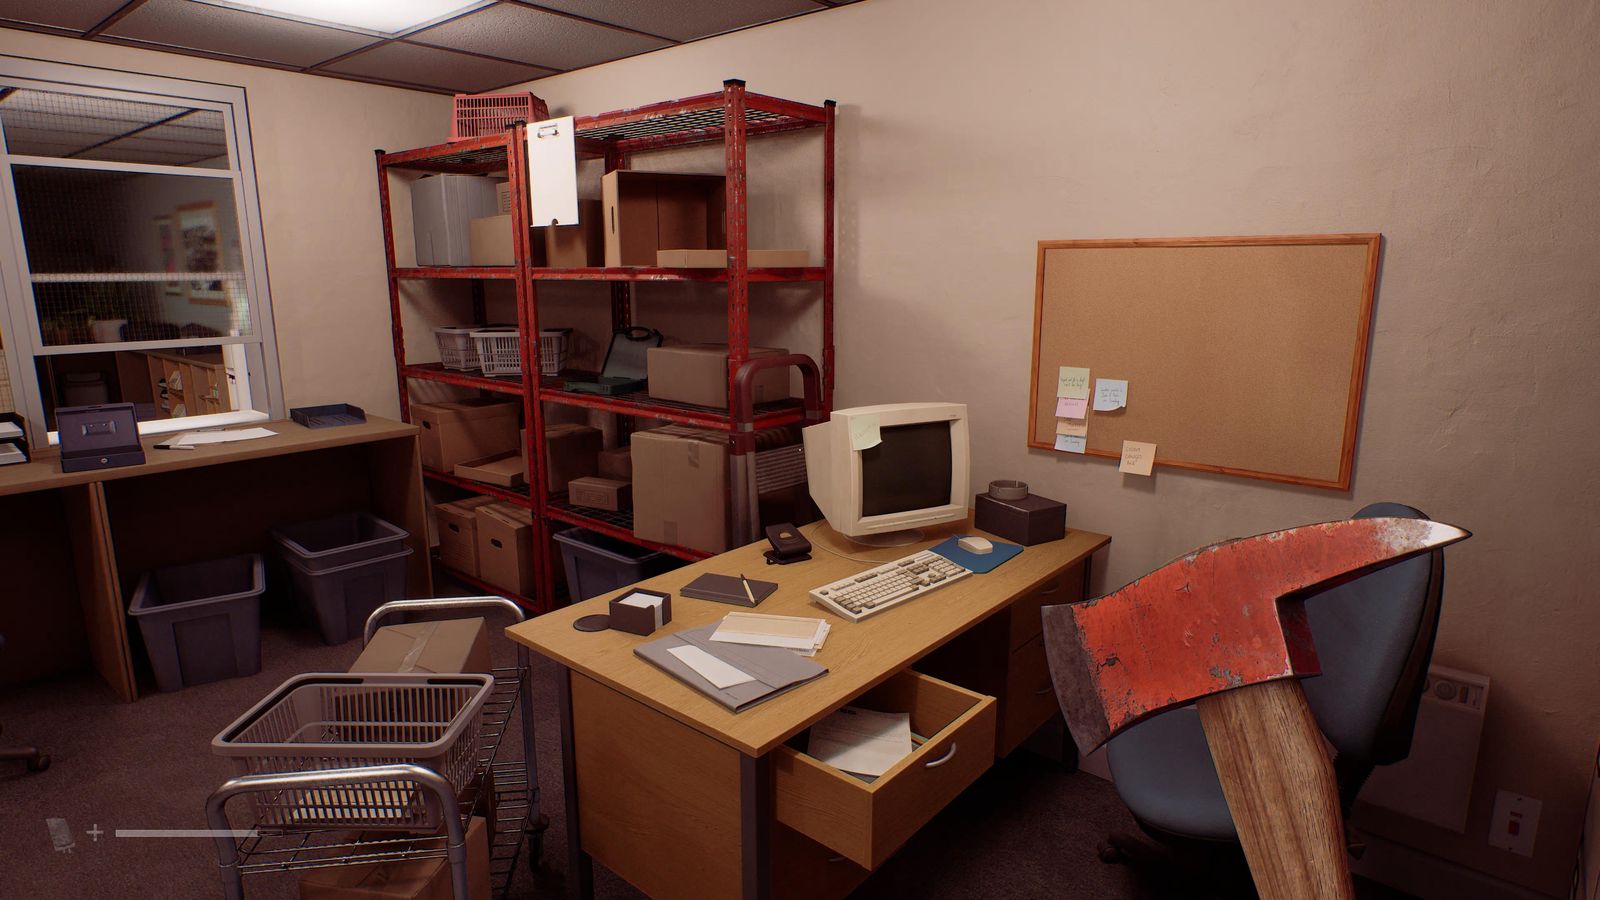
CEG Lockers back room, rear desk drawer.
South Braes #5, upstairs: first room on the left, on the bed.
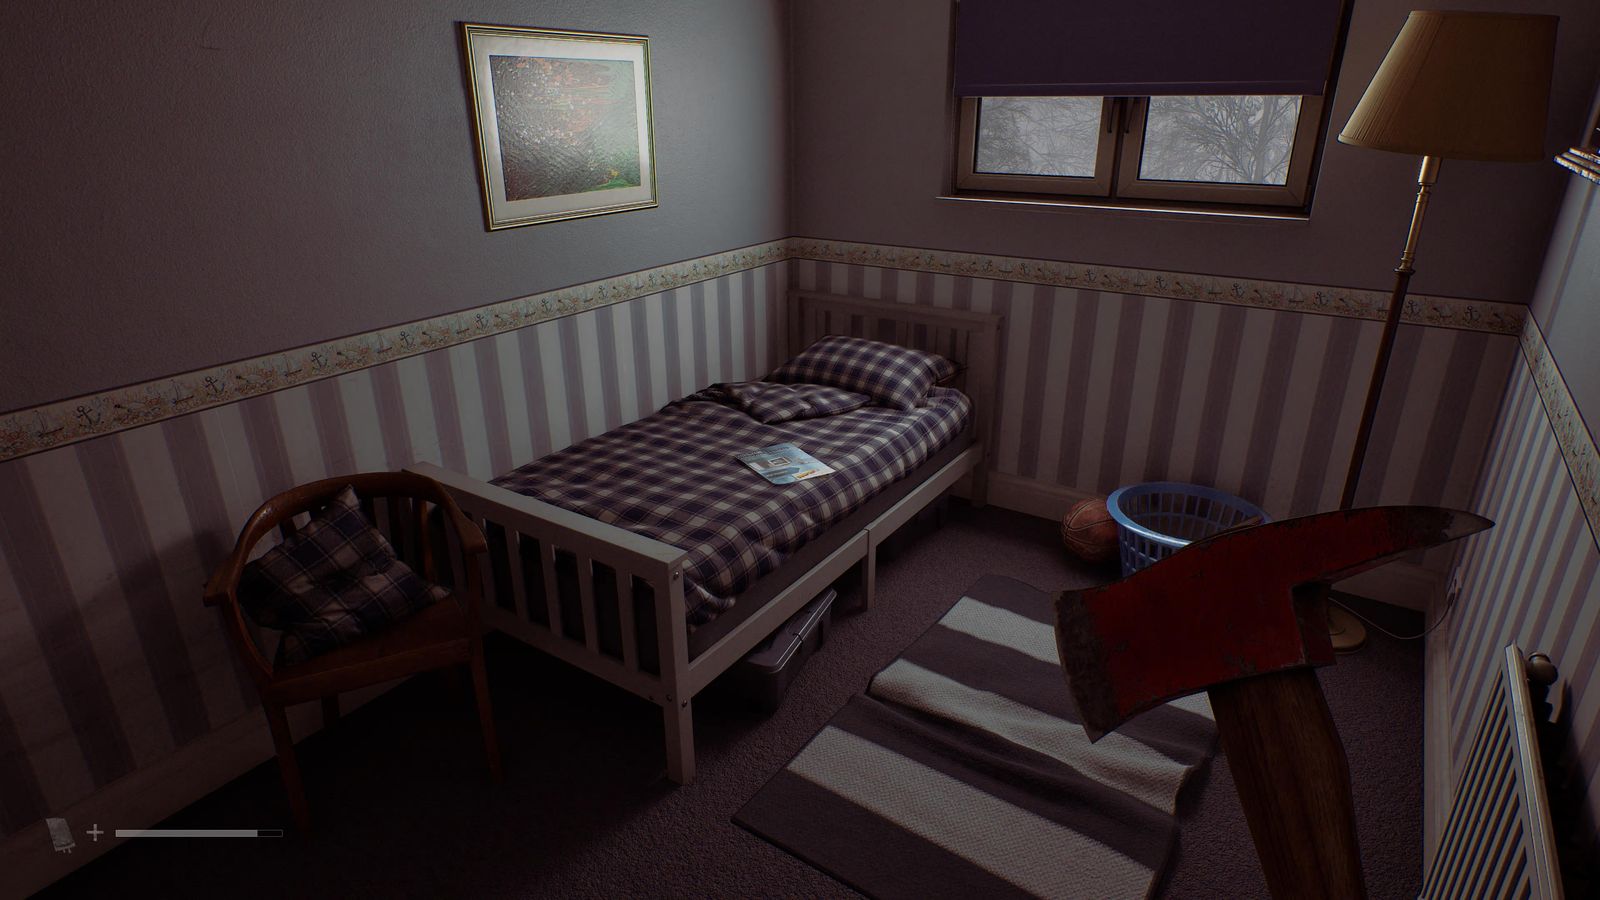
South Braes #5: printed from the repaired floppy disks (take it from the printer).
North Braes #6, bedroom right of the bathroom, on the chair.
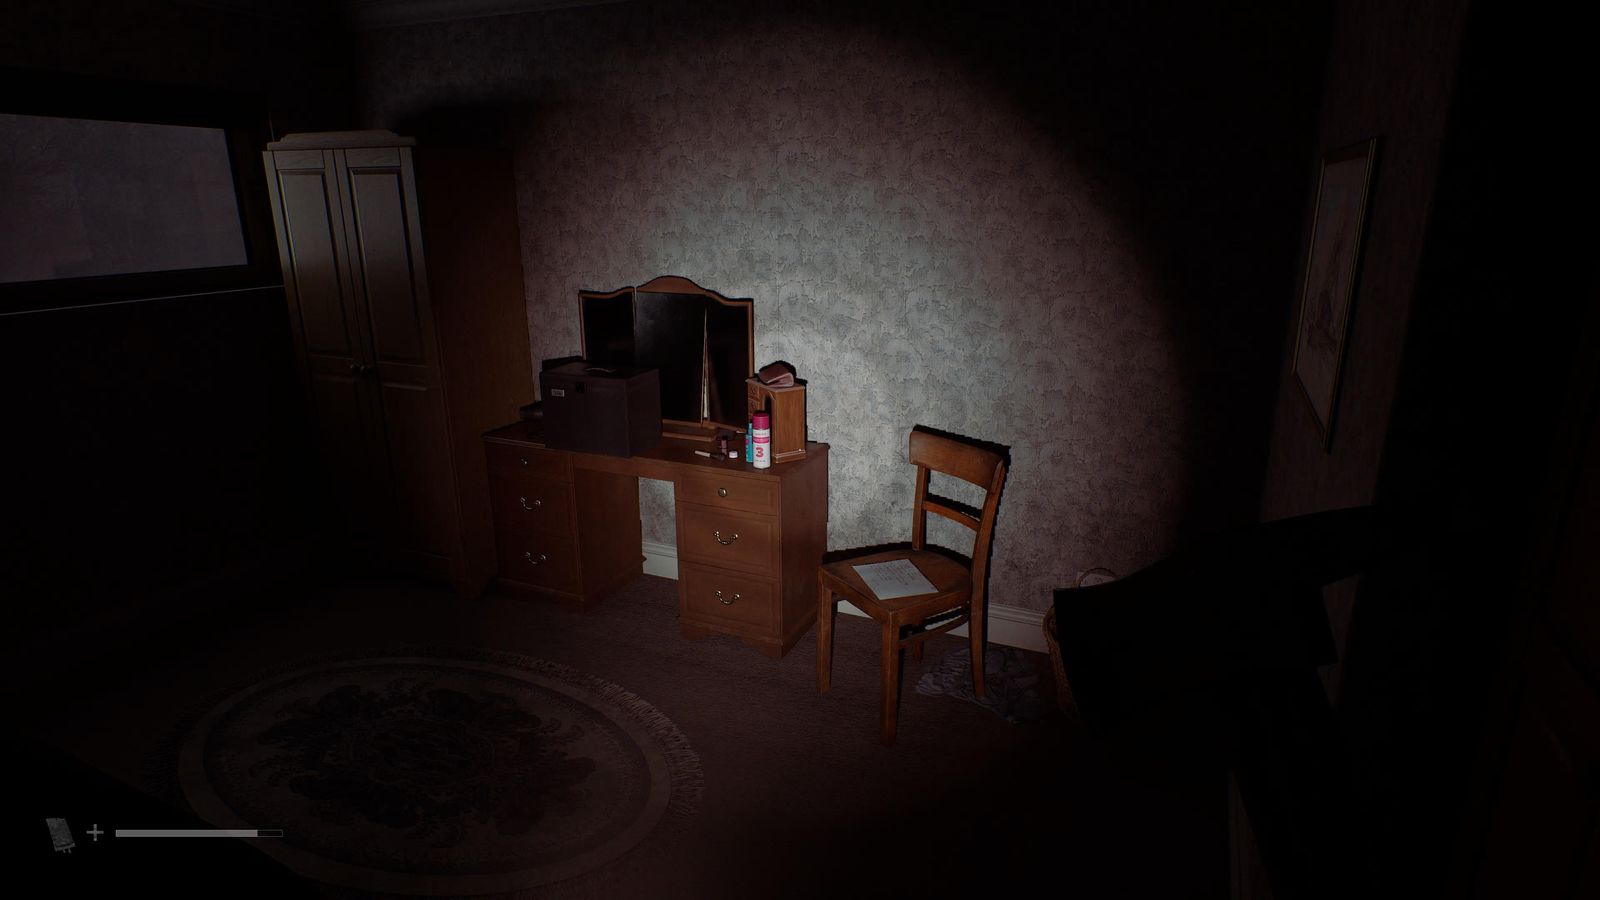
Upper Braes #5, bedroom nearest the stairs, beside the cassette player.
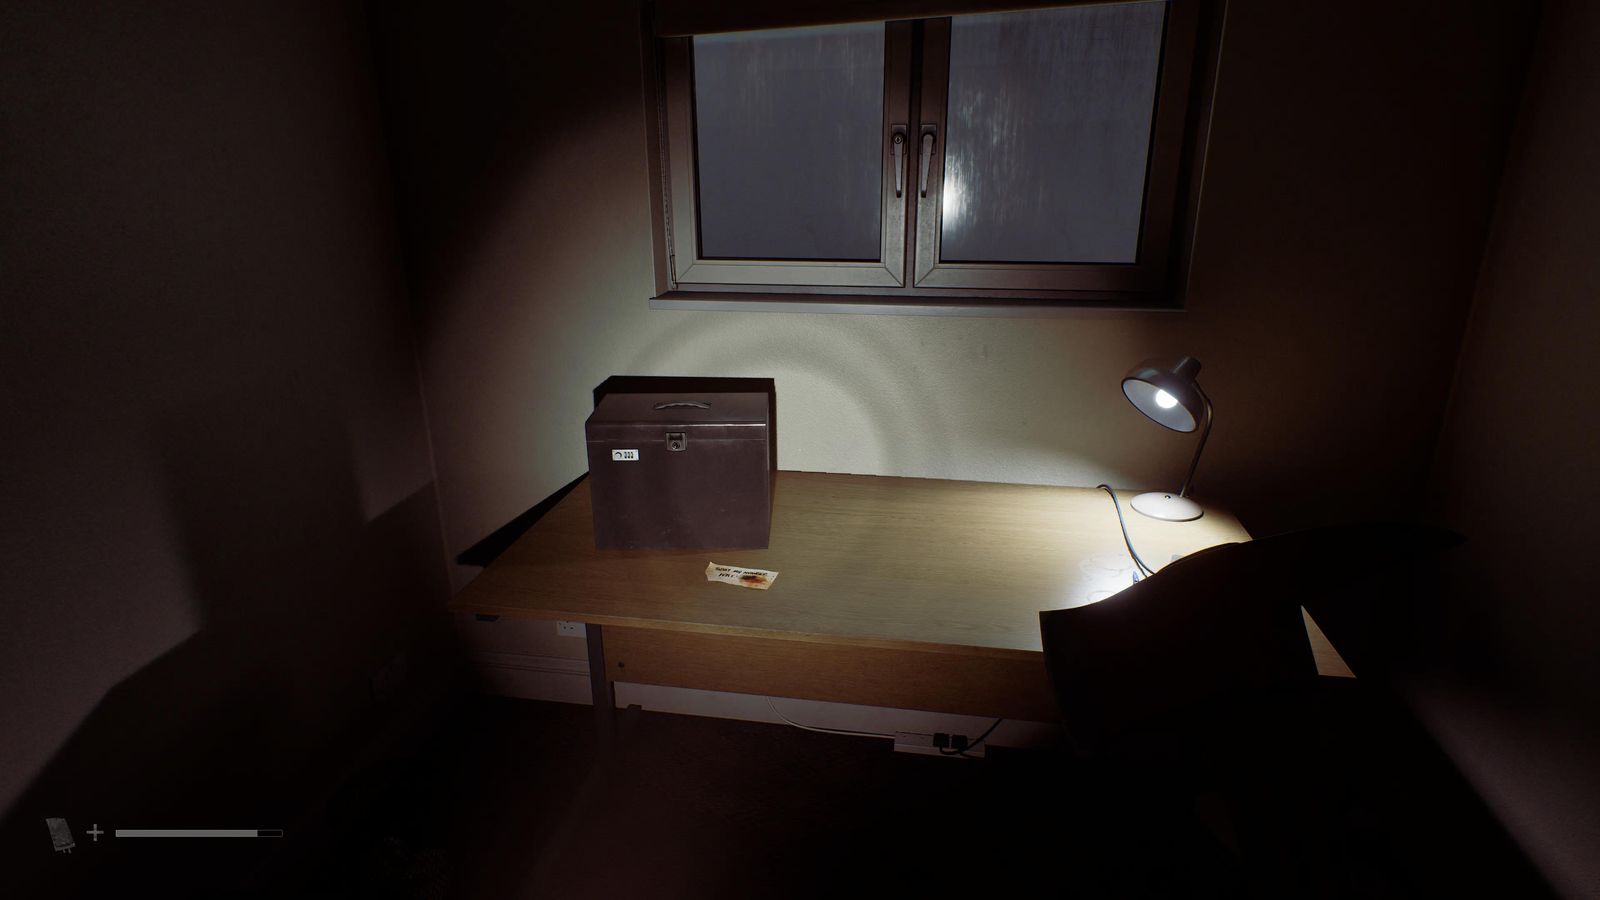
Upper Braes #5 kitchen, far corner of the dining table.
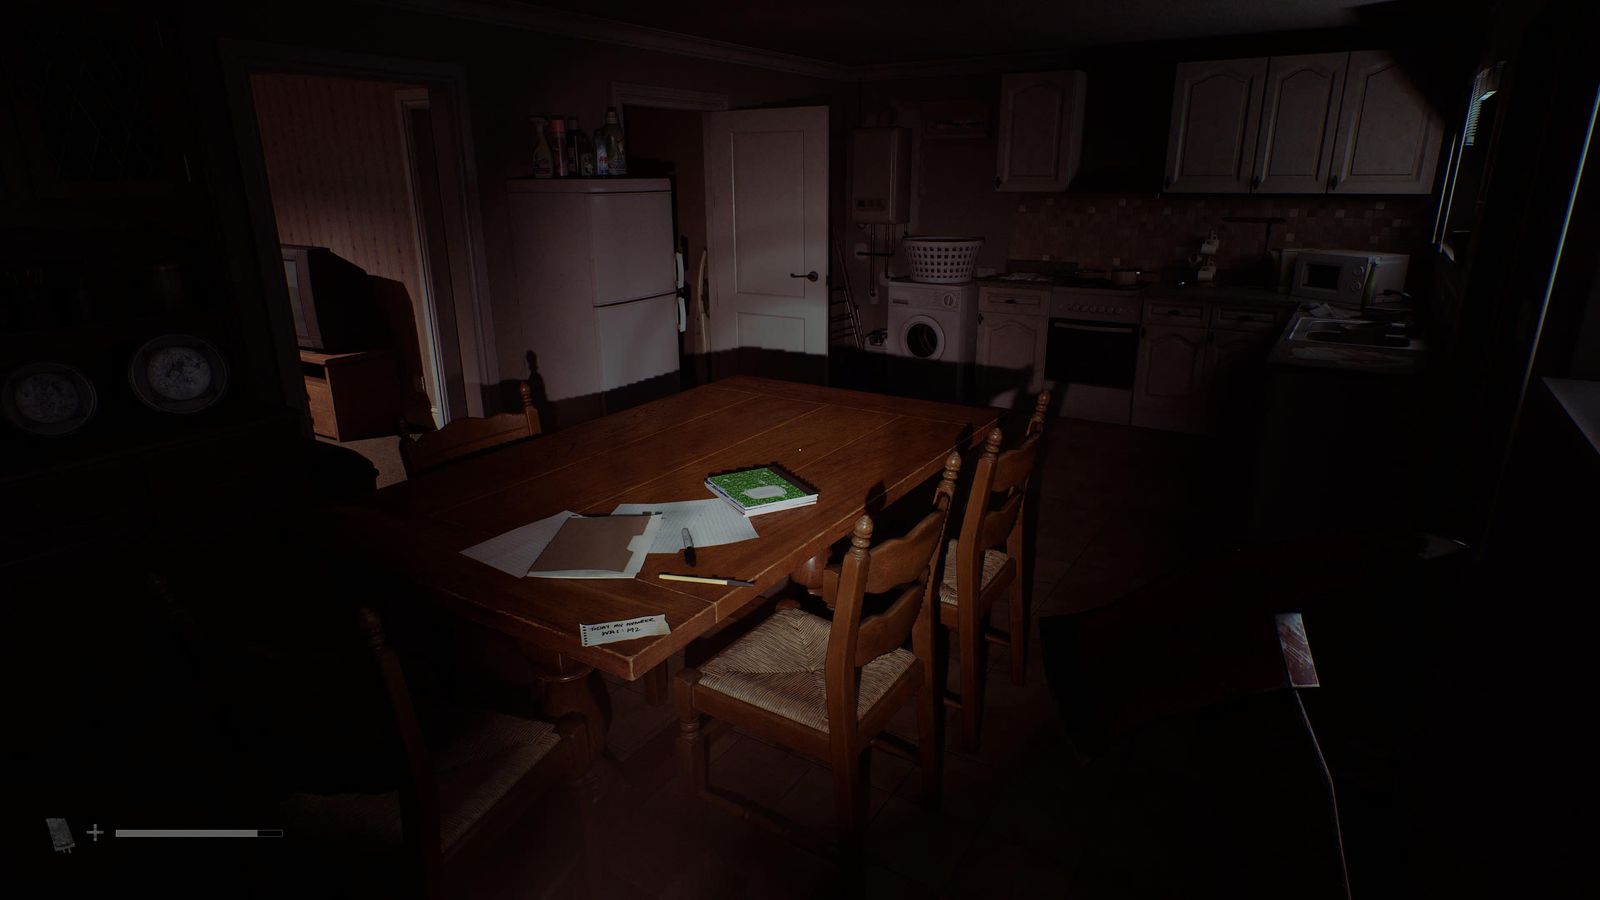
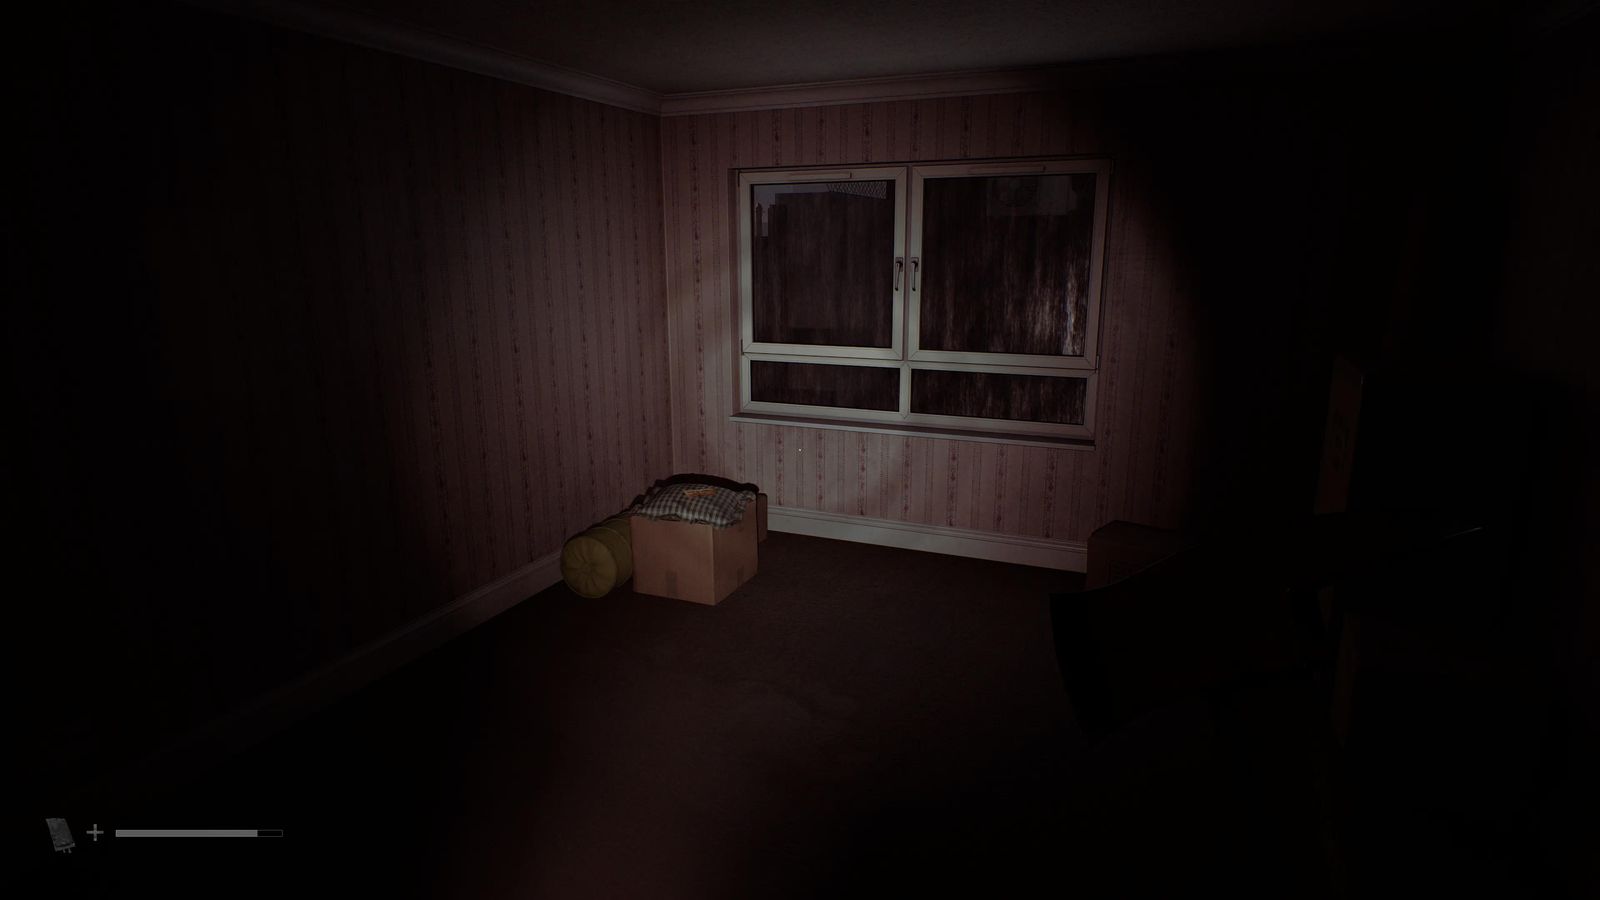
Upper Braes #5 living room, on the boxes in the corner.
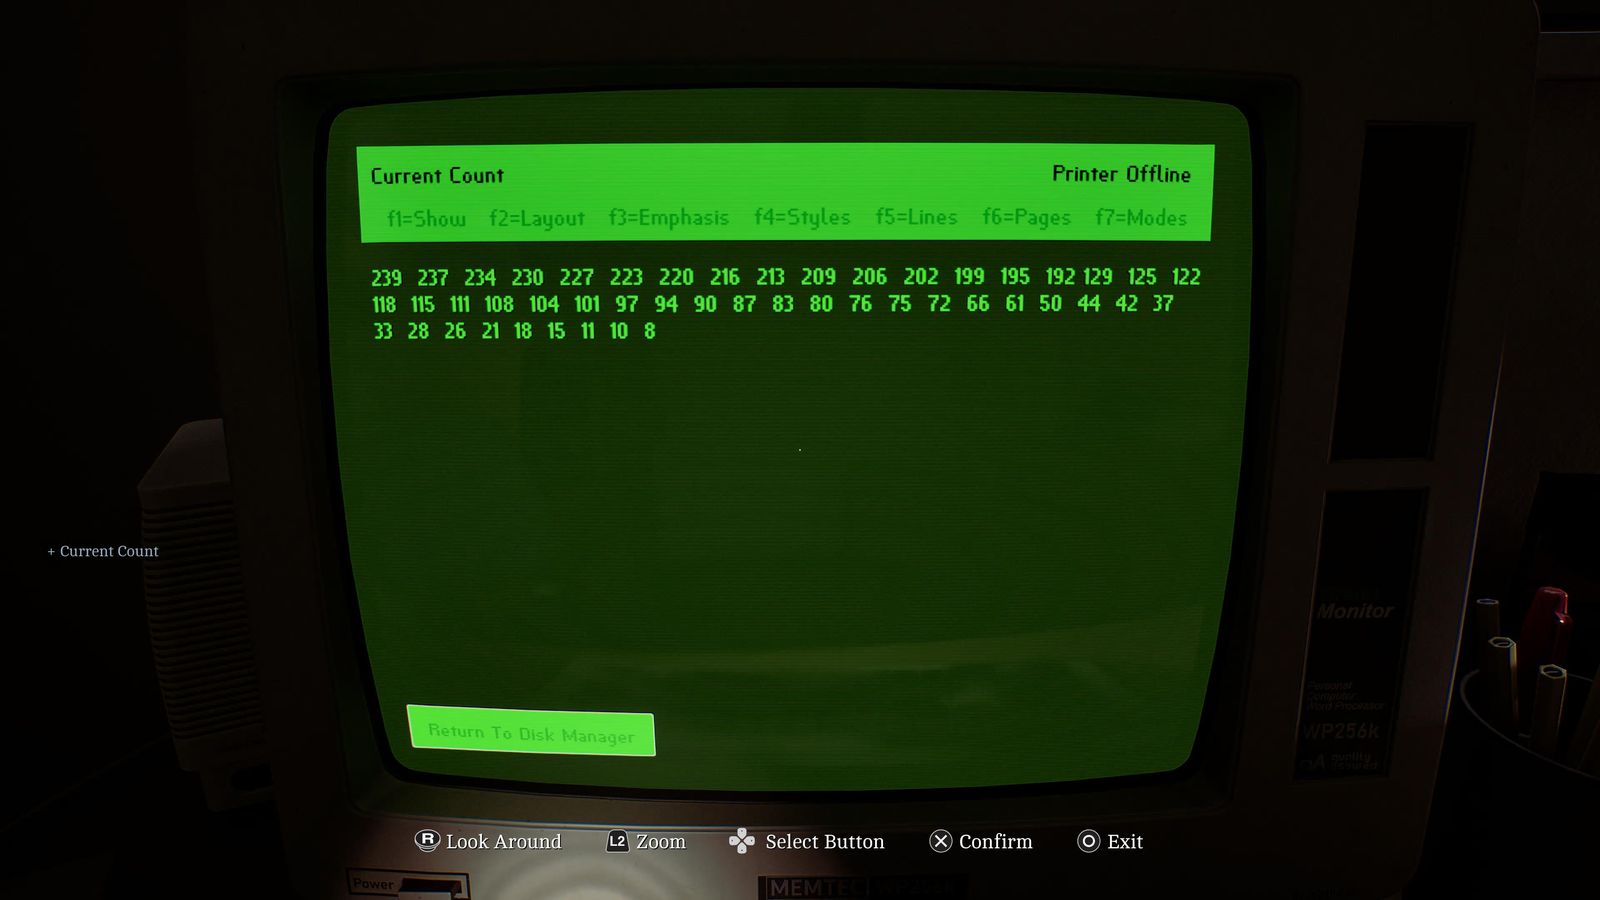
Upper Braes #5: insert the Ammonite Disk in the desk computer and read the file.
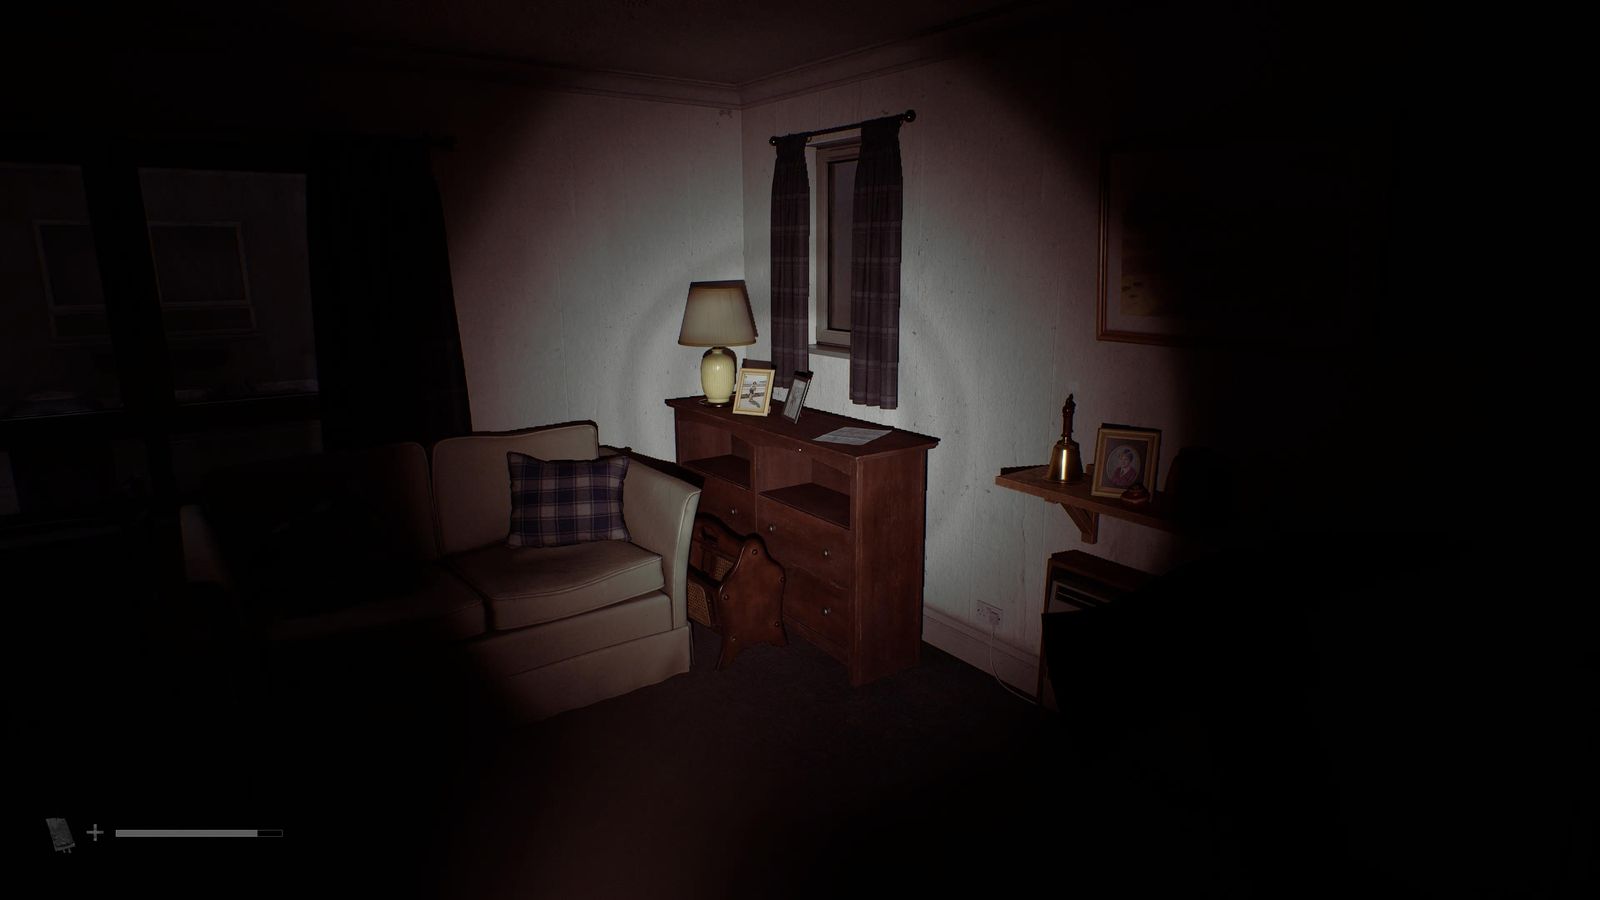
Apartment Block #1, flat 1A (first on the right): living room, on the corner drawers.
CEG HQ #56–63
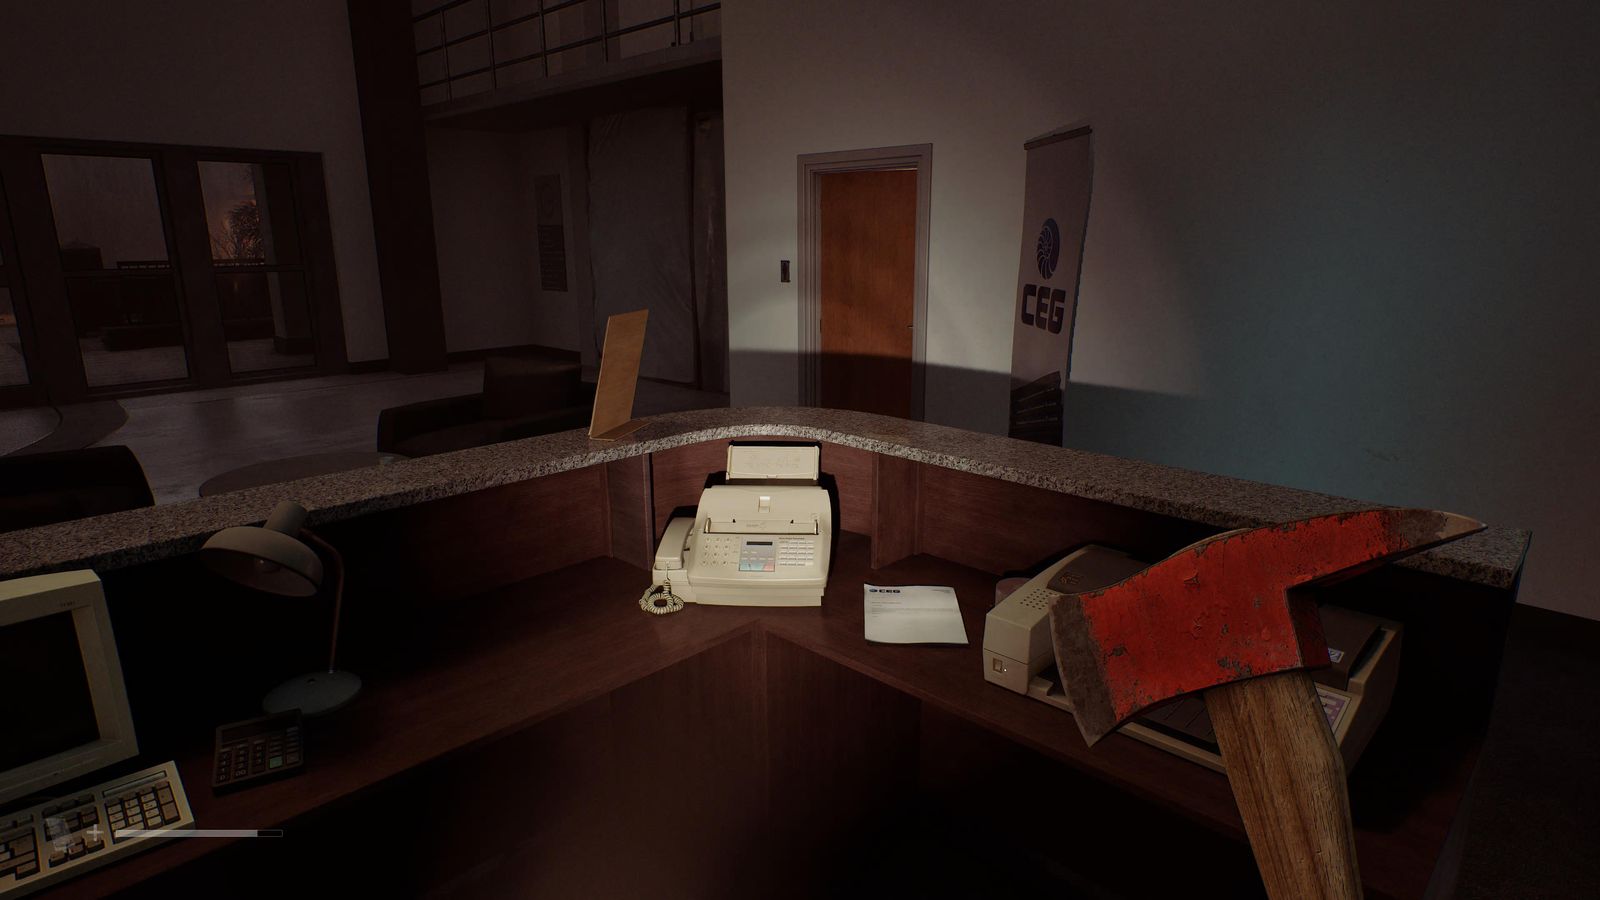
CEG HQ reception counter, right of the map.
Security room (4895), the second computer.
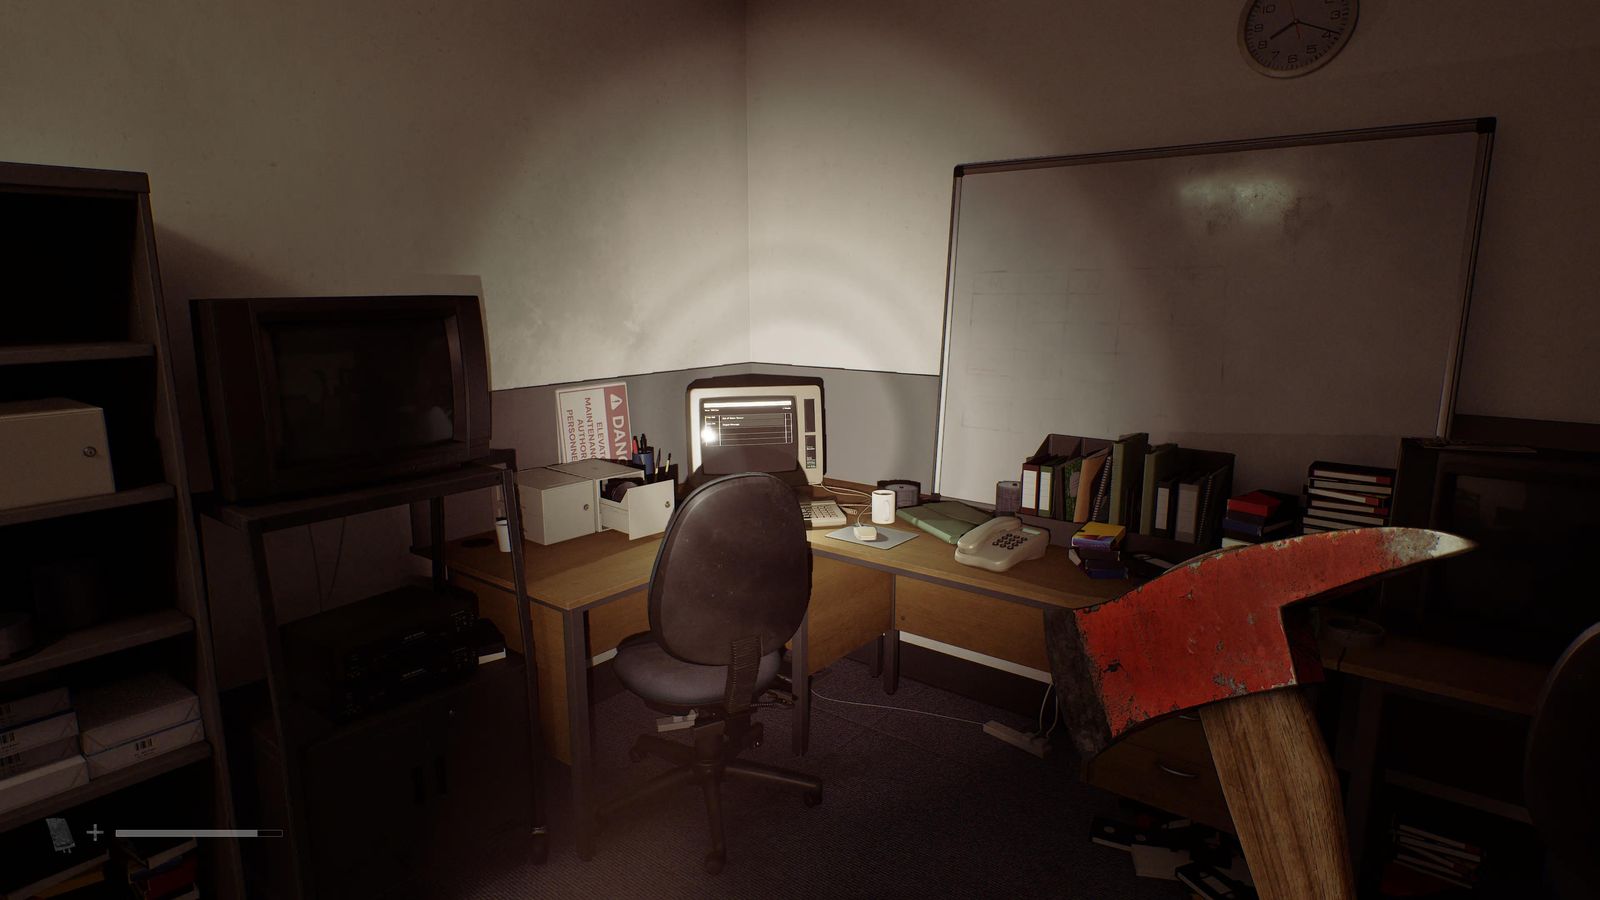
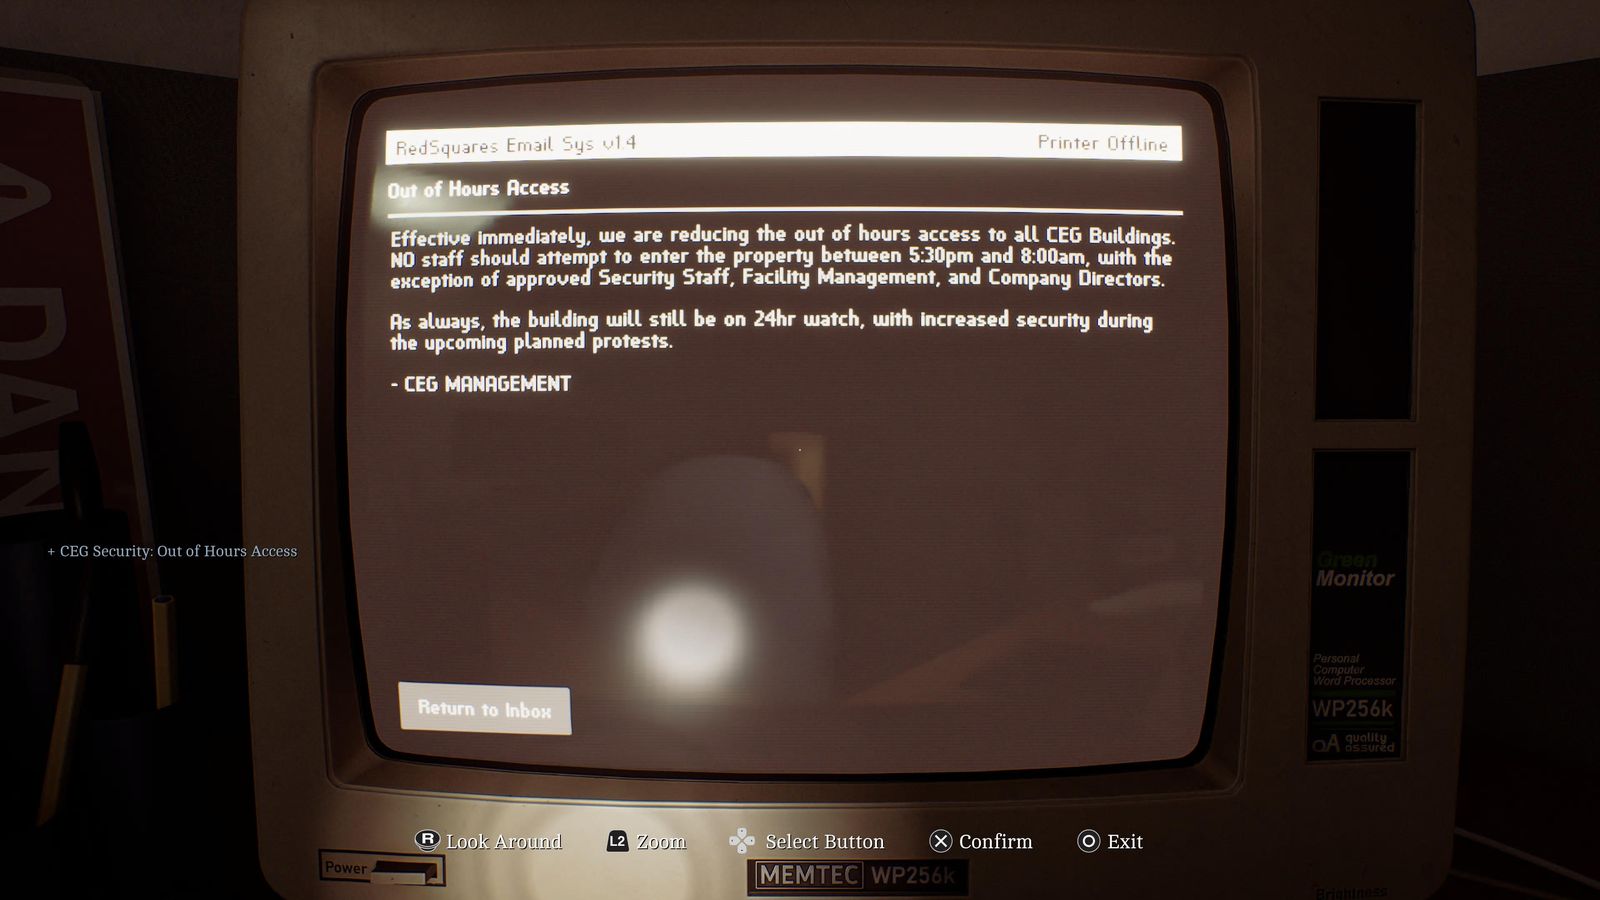
Same Security computer.
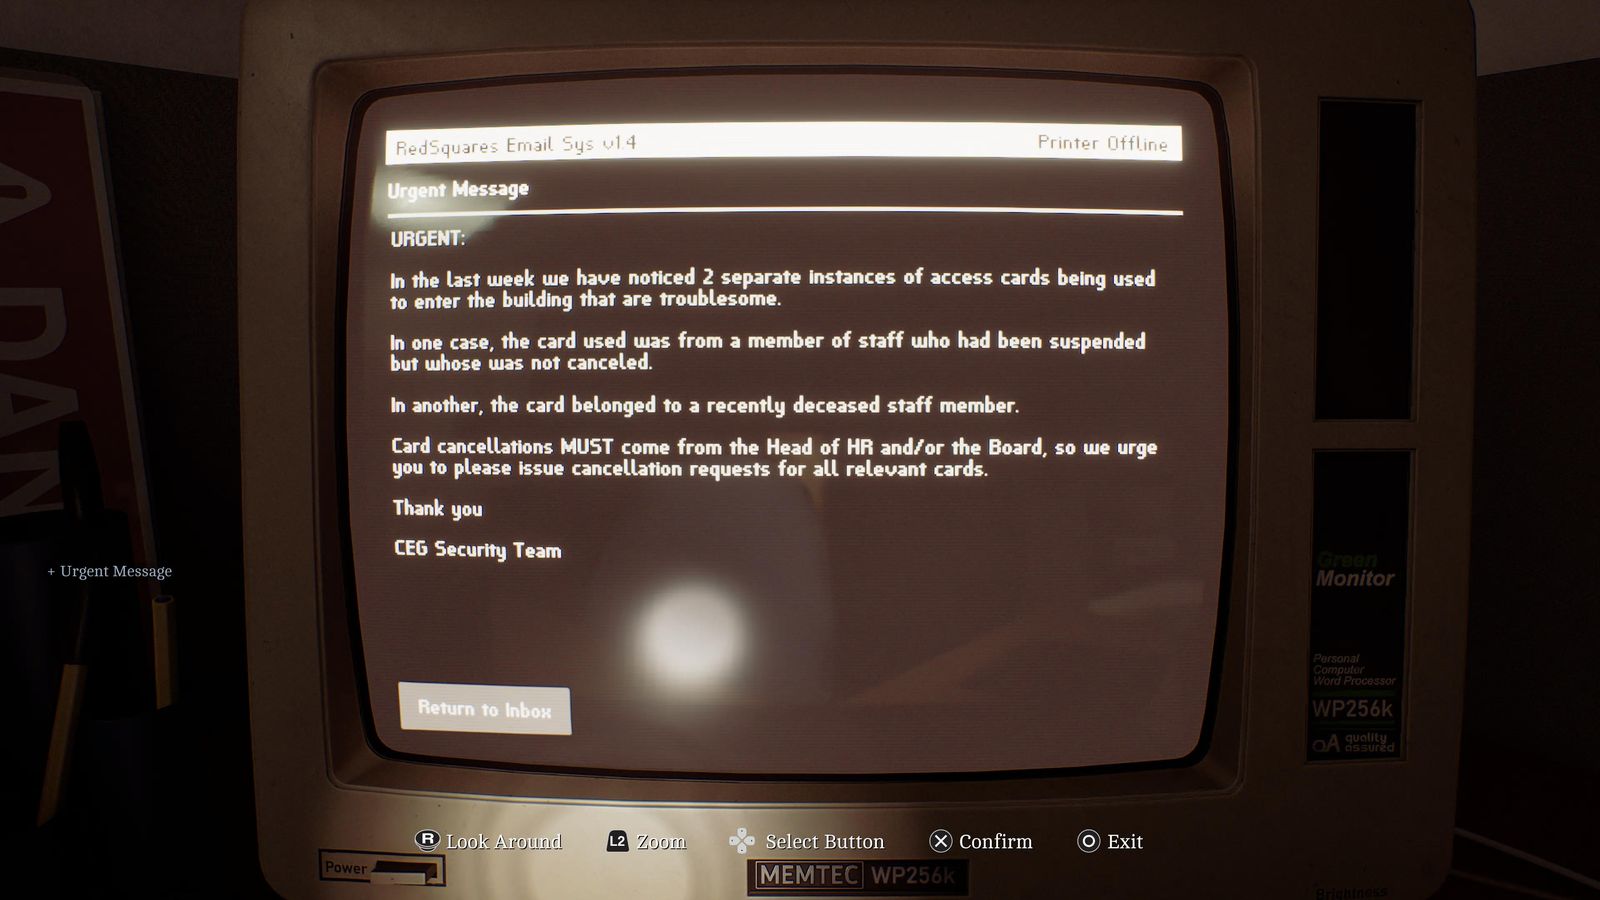
Security room, small bin on the floor to the right.
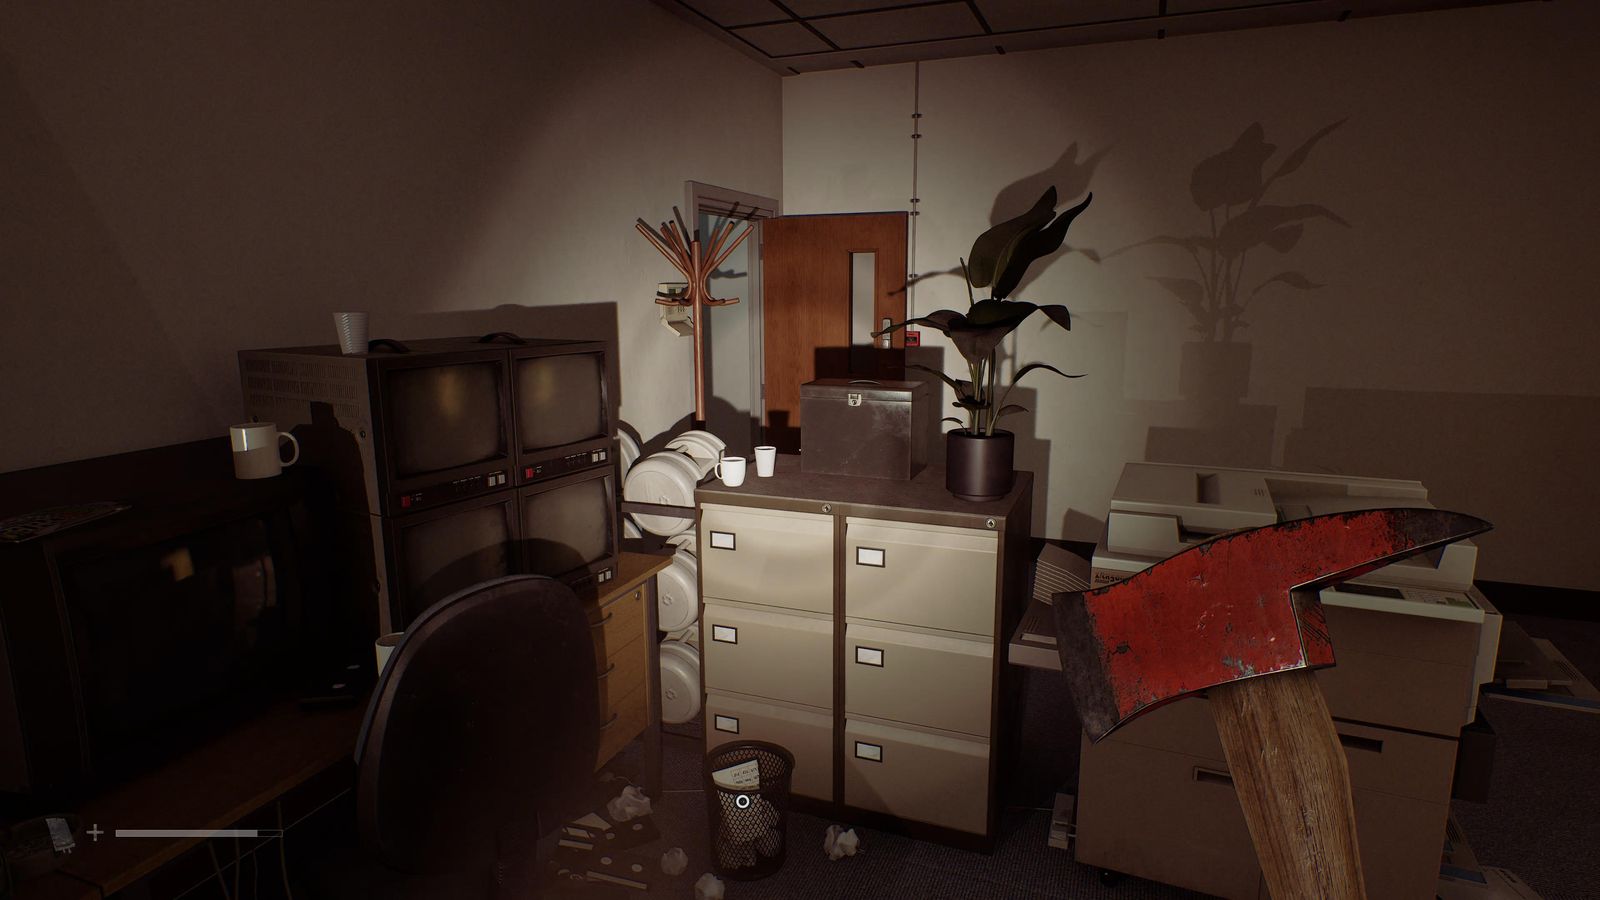
Maintenance room behind the north-west lifts, in the bin by the desk.
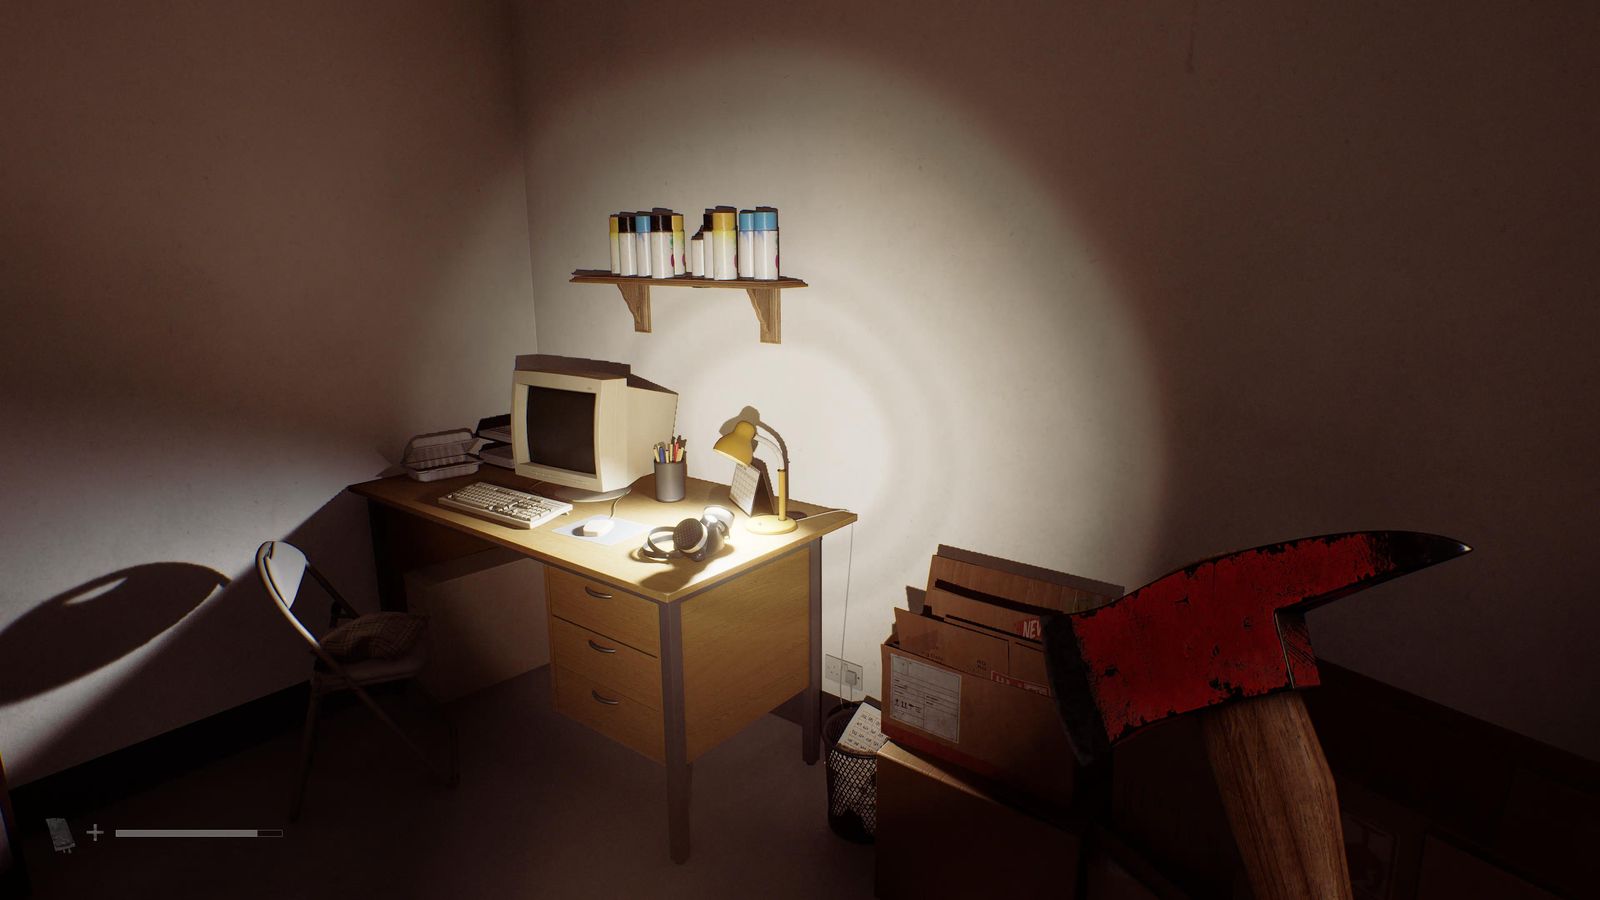
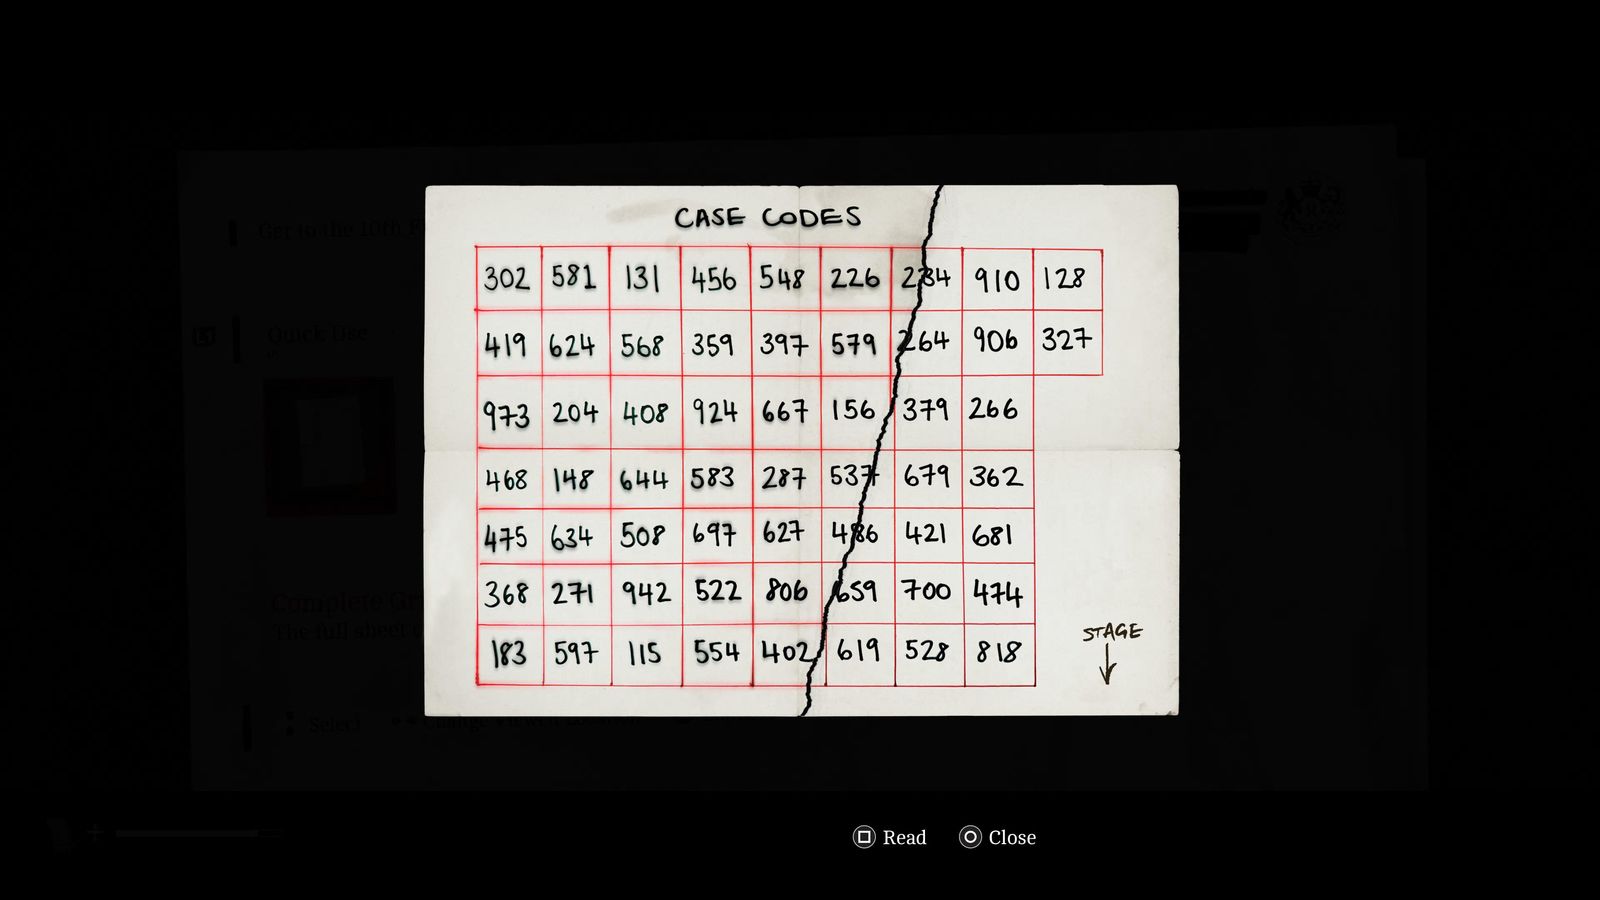
Combine the two grids in your inventory.
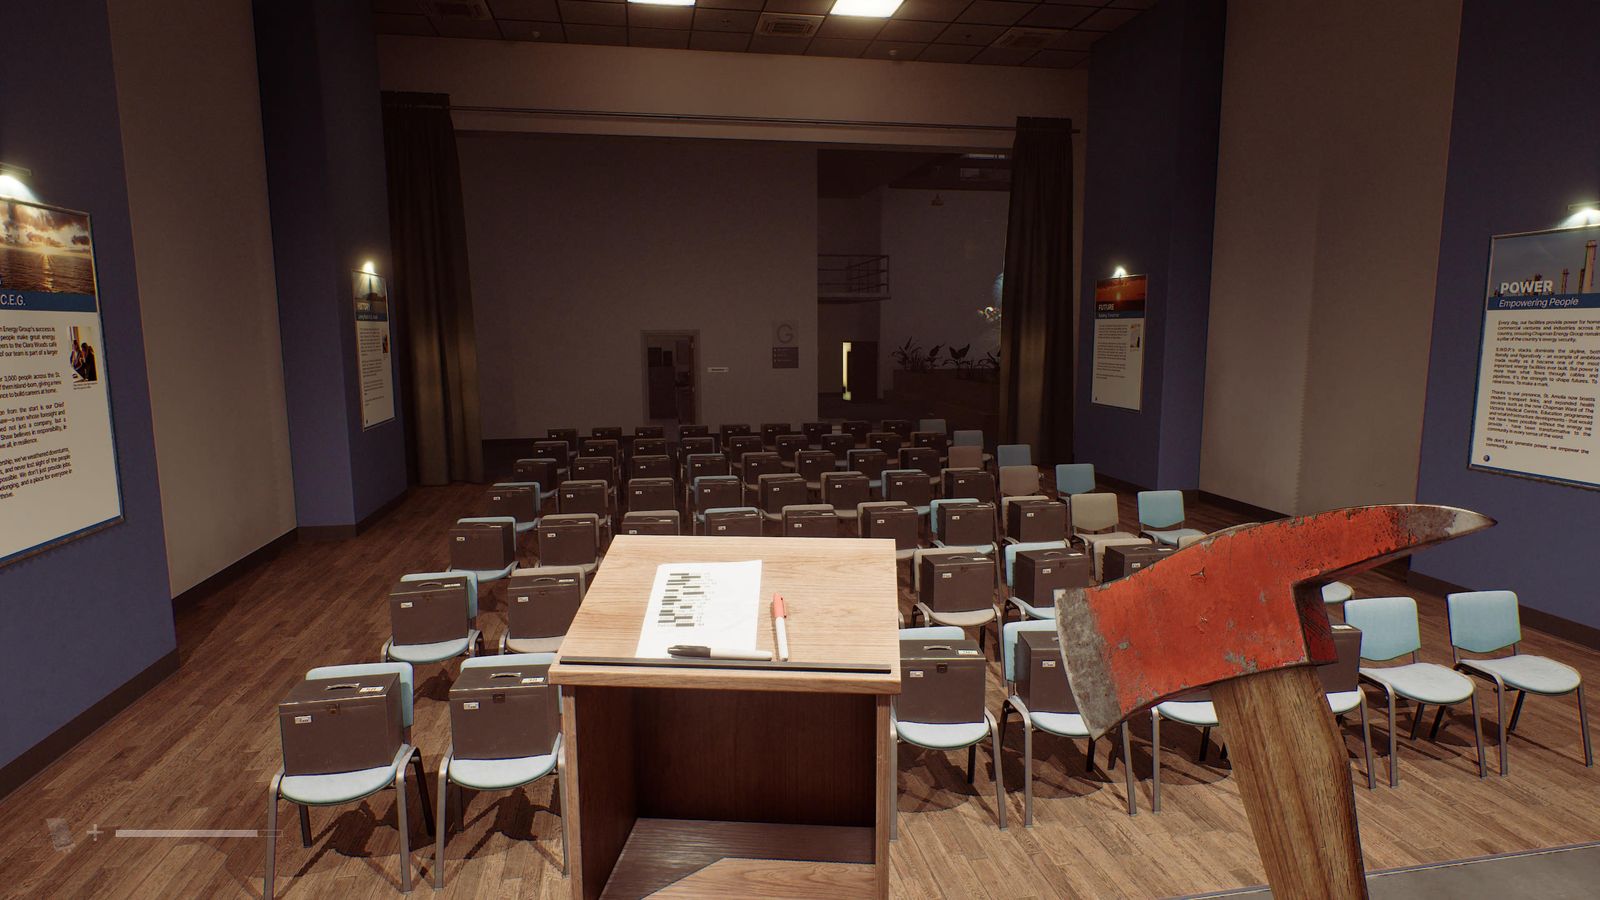
On the stand of the south-west podium.
Audience box 36 (row 3, seat 6), code 486.
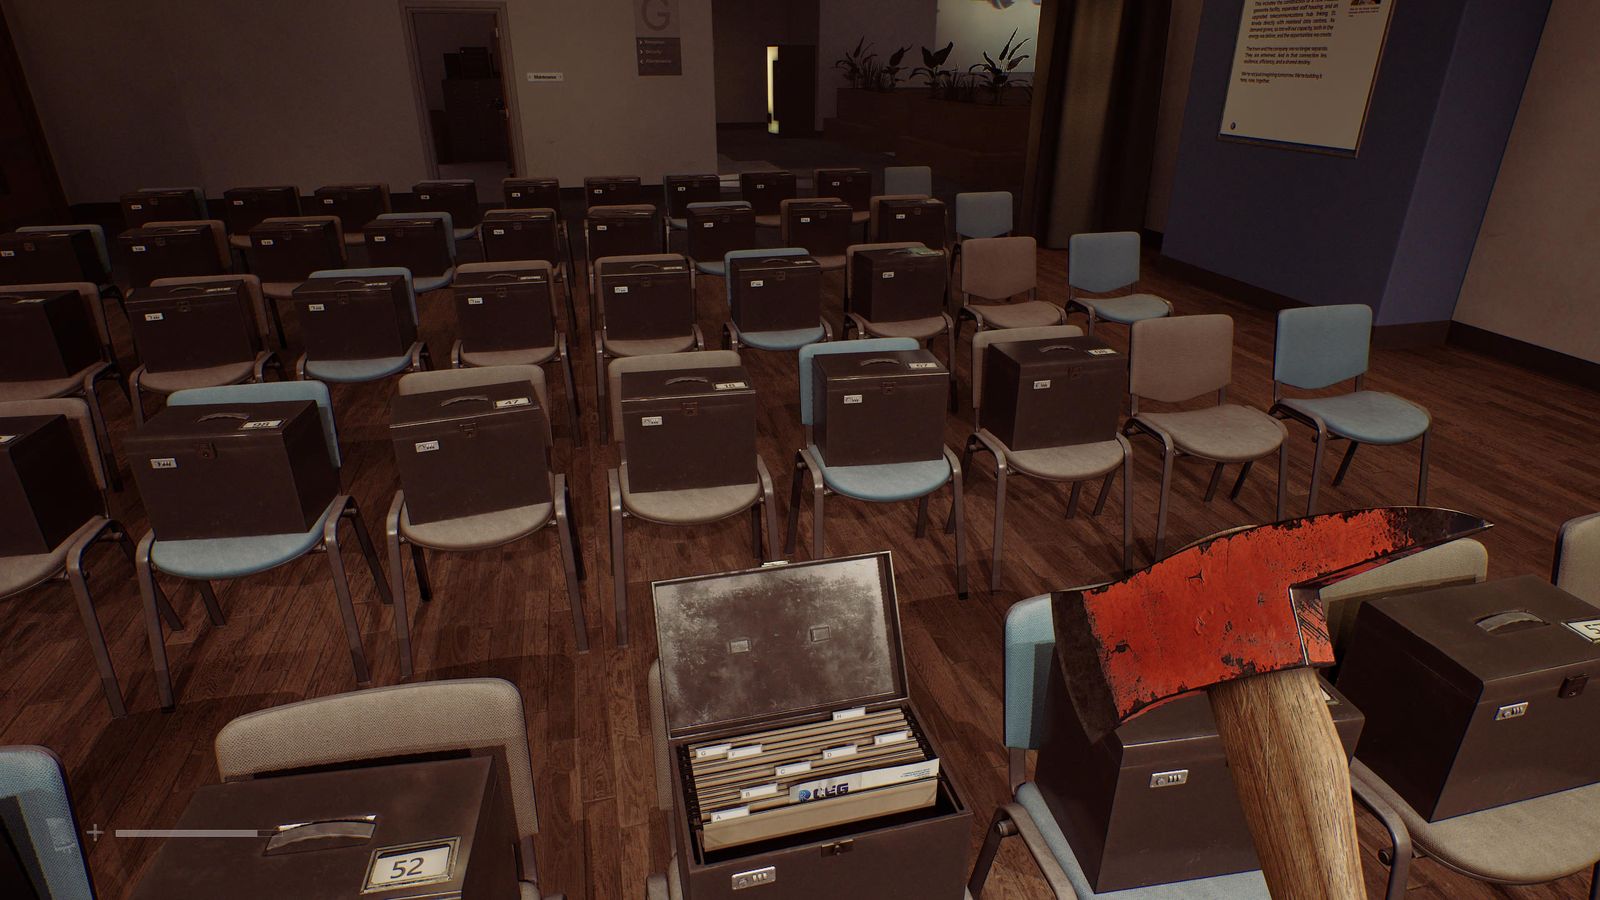
Richard #64–68
CEG grounds maintenance building: garage, table on the right.
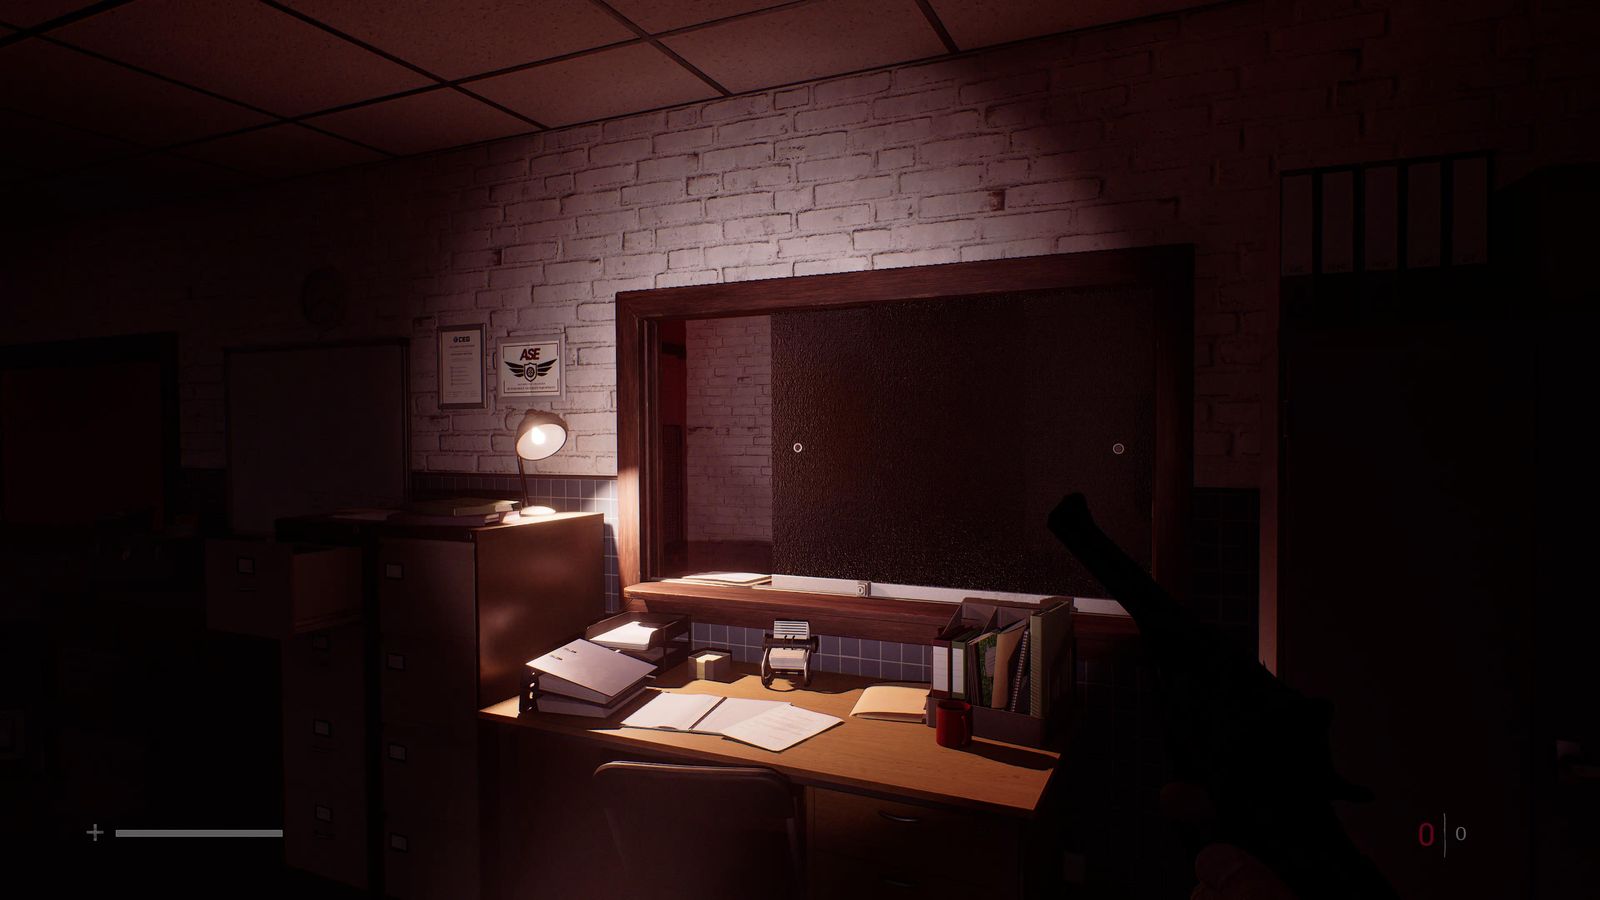
Managers Office, a desk at the back of the room.
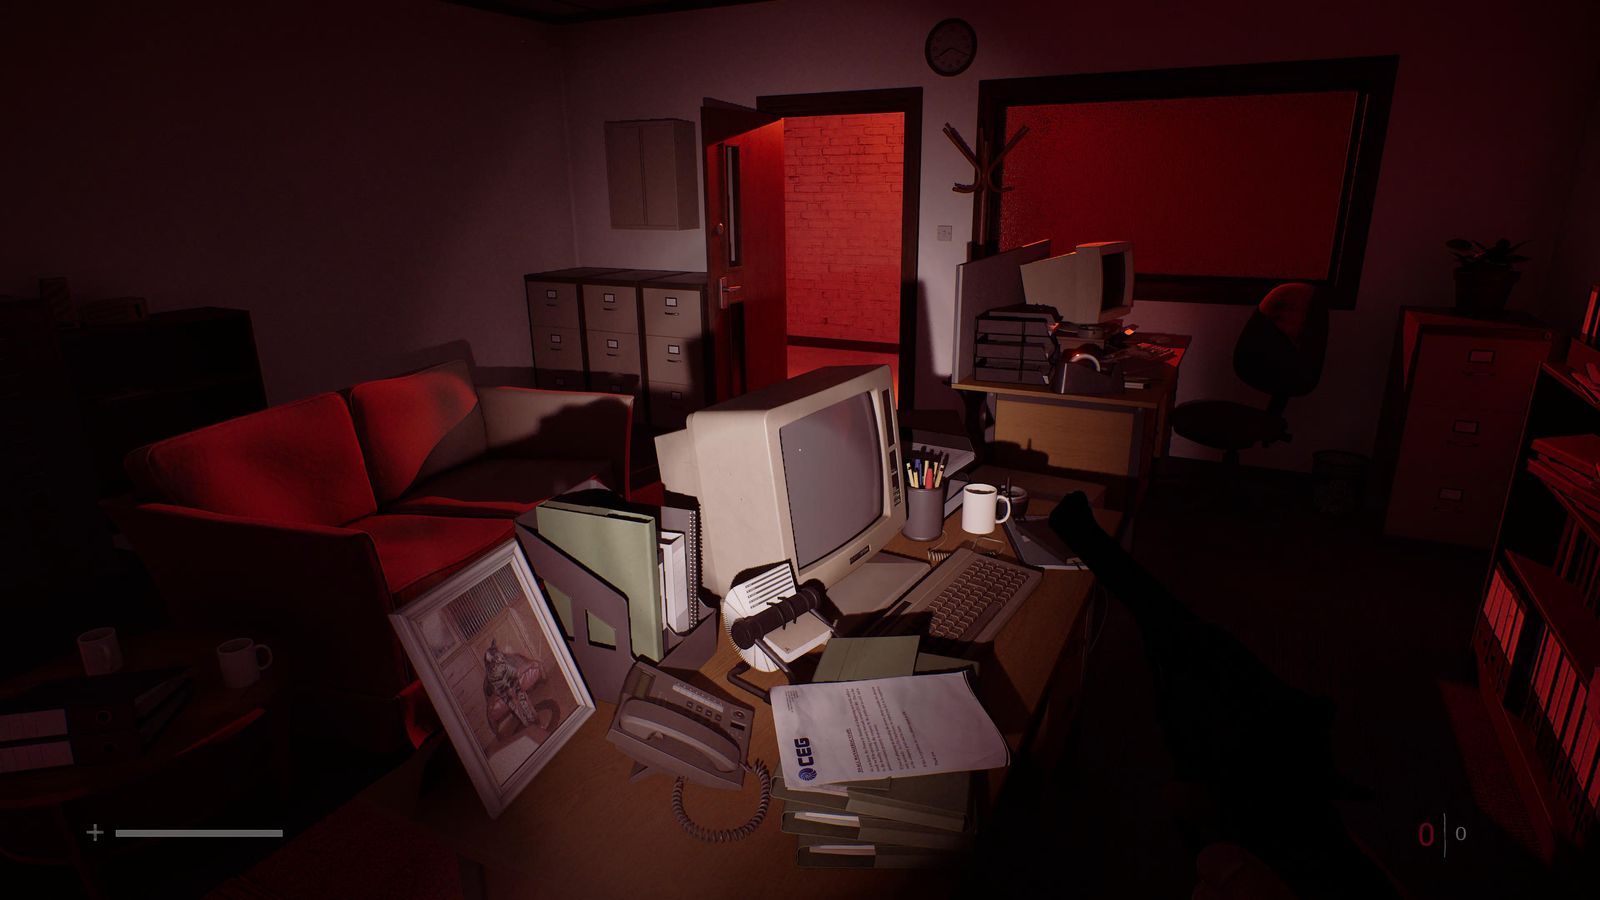
Visitor building right of the main gate (after the power is on): far-left room, back desk.
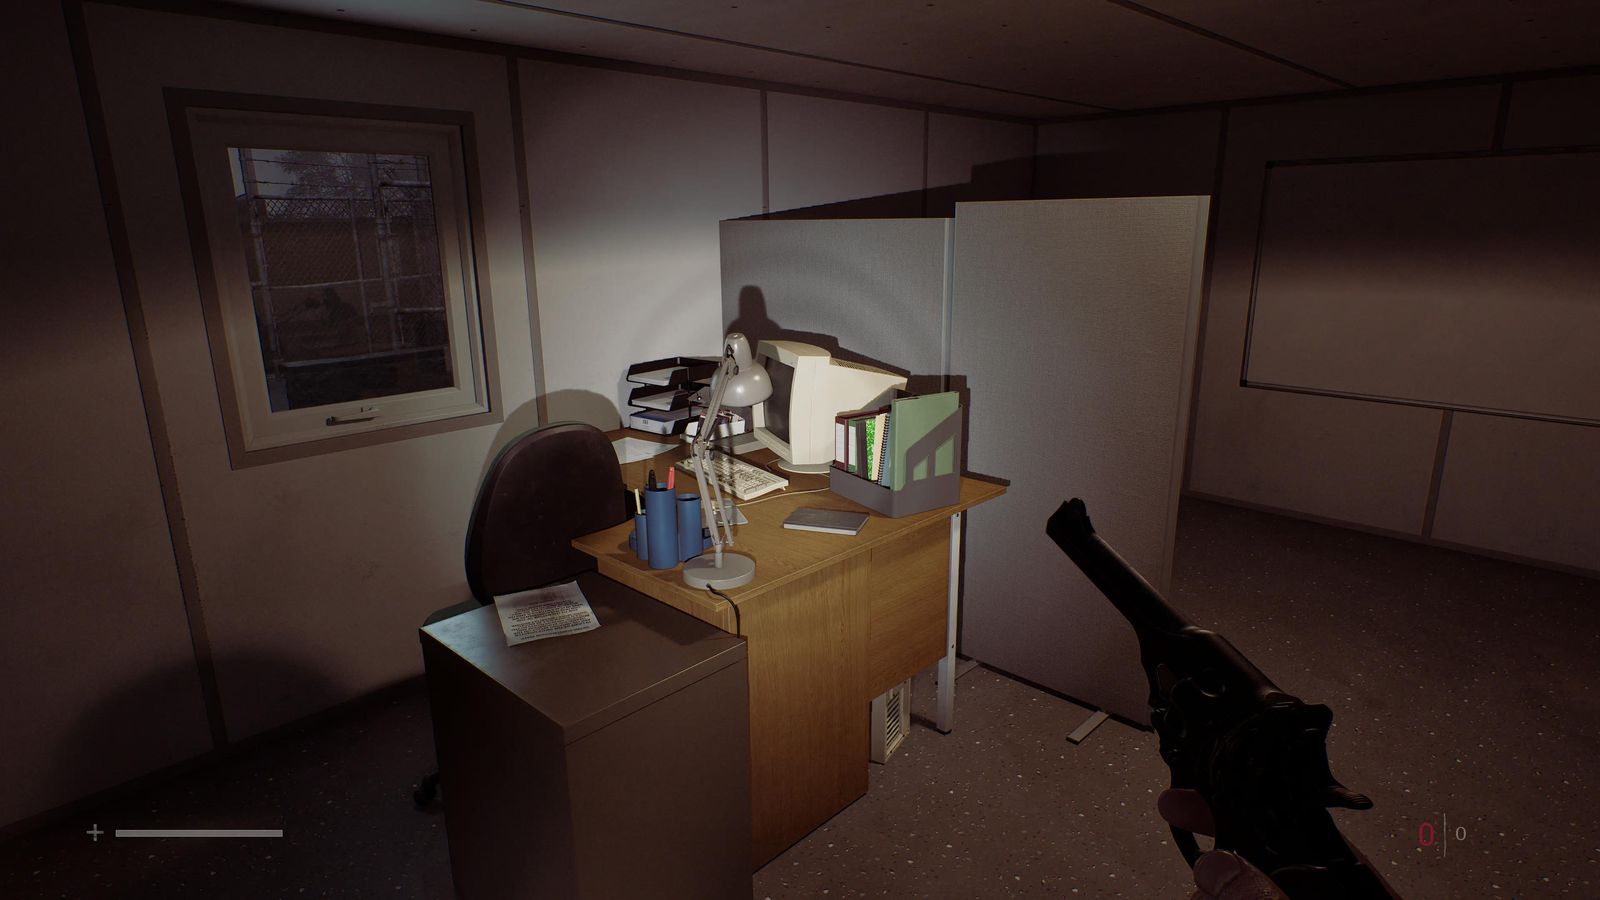
Visitor building, far-right room computer.
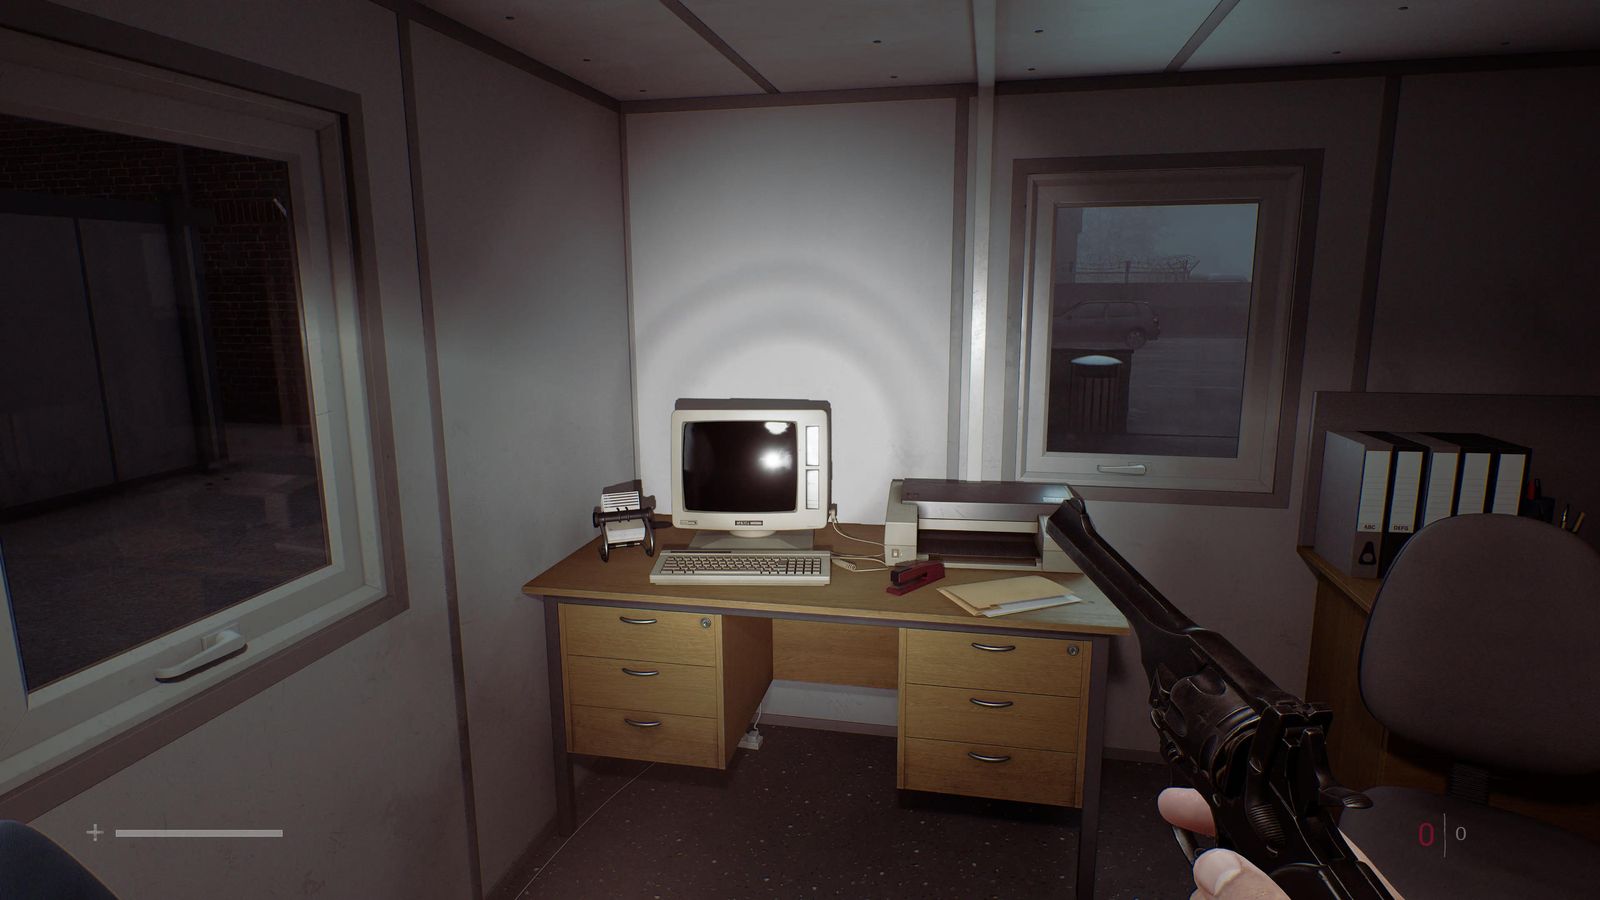
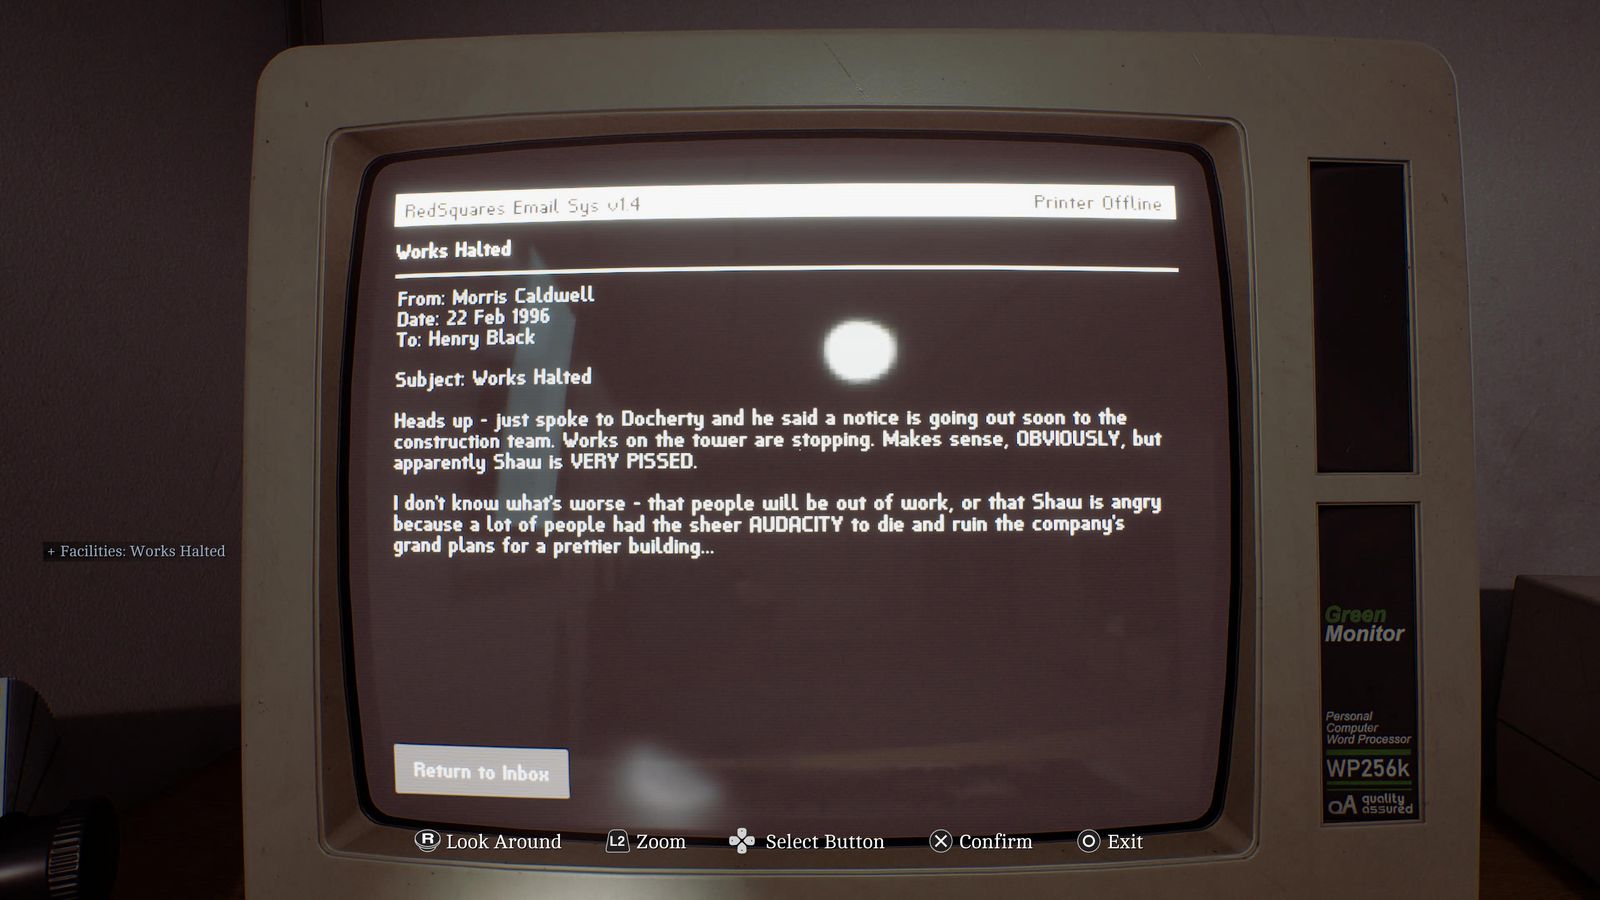
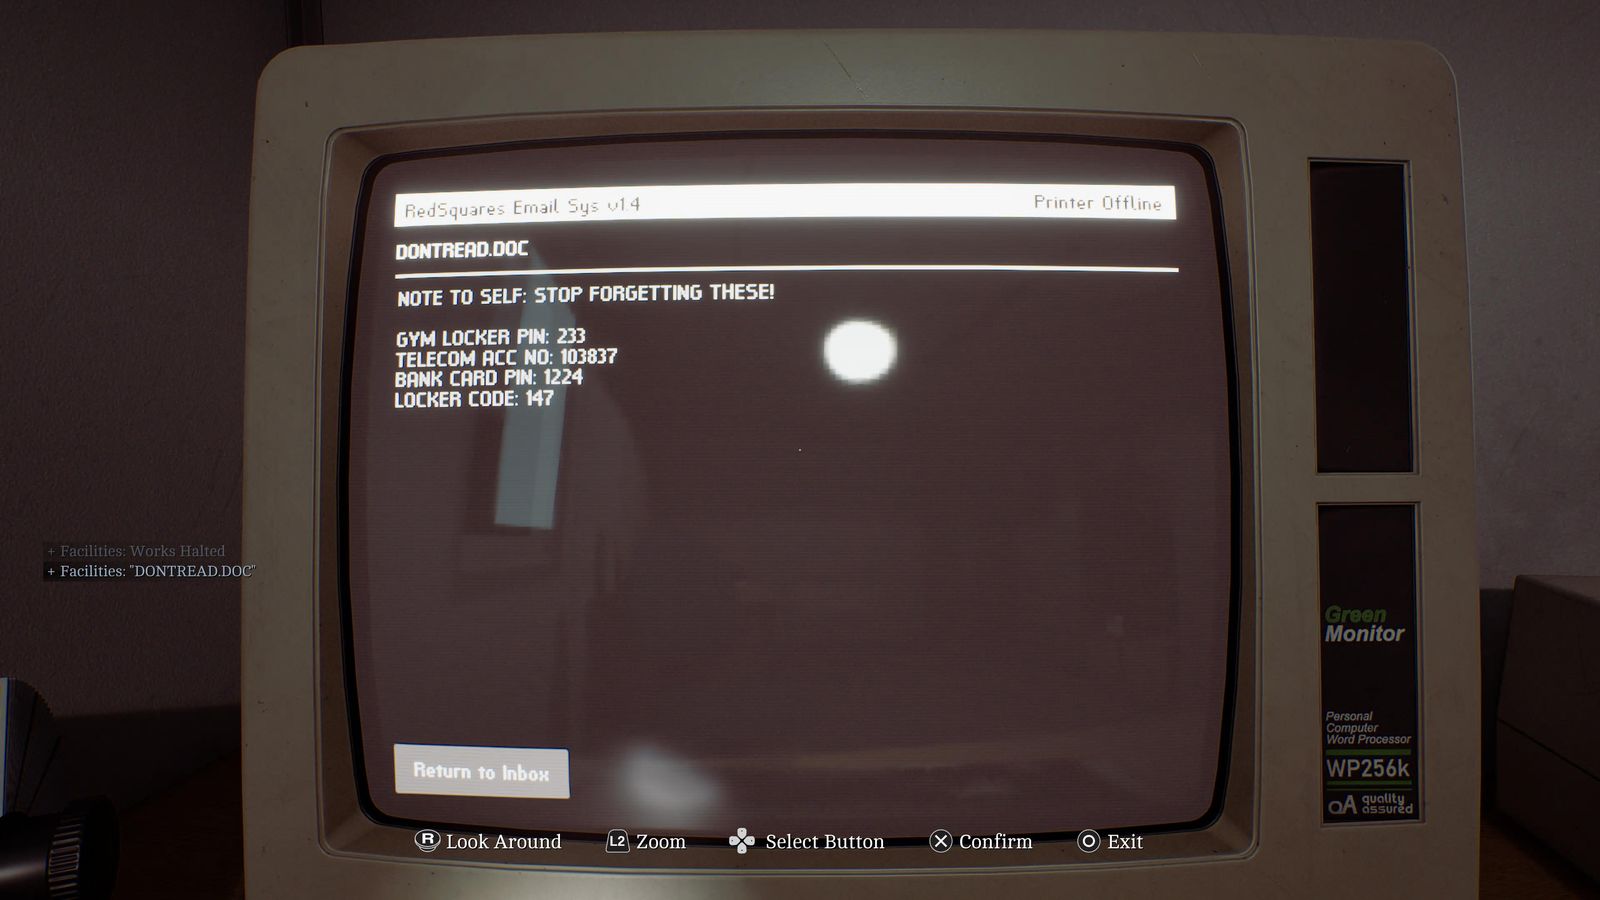
Same computer (it gives the 147 locker code).
Another Attempt #69–75
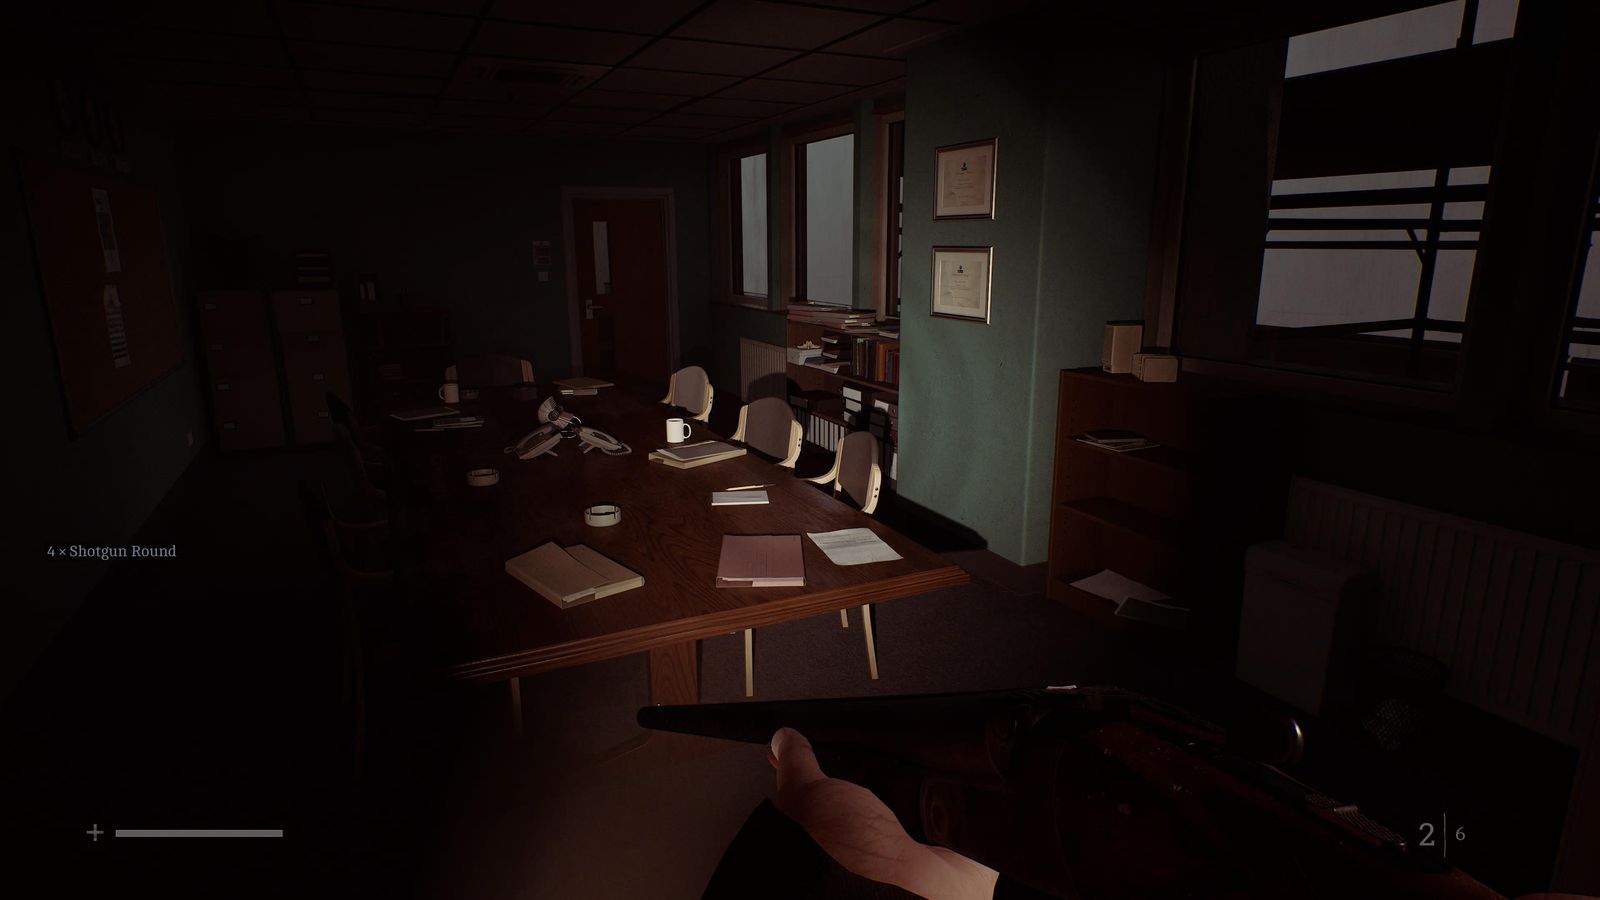
Floor 3, Meeting Room on the left, on the long table.
P.R. area: computer in the small office with a phone, just on the left.
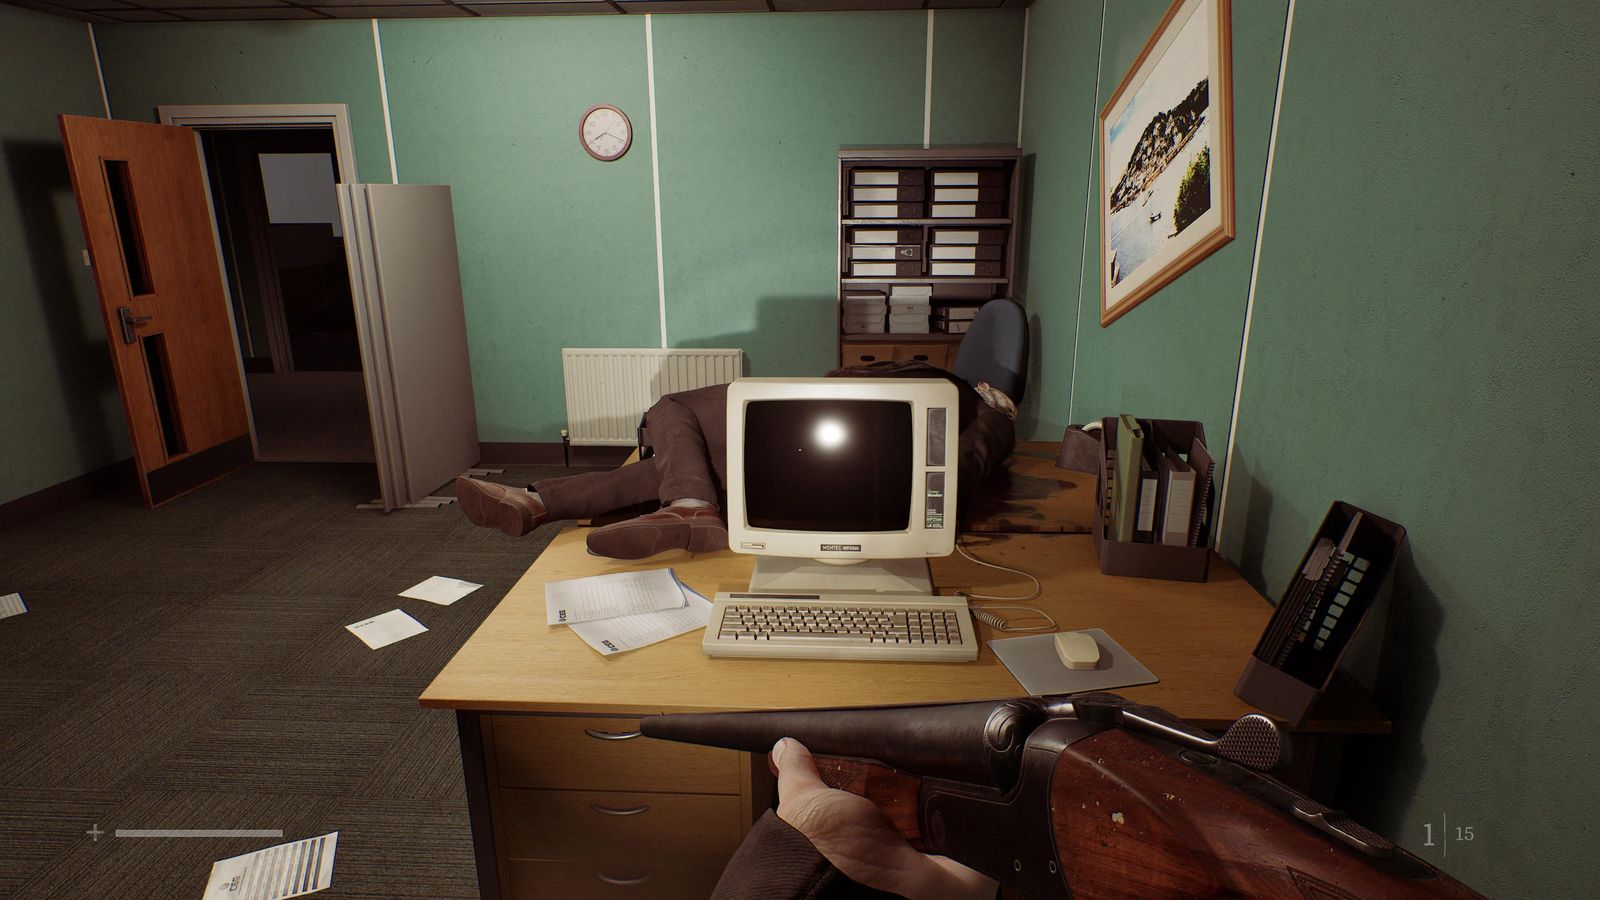
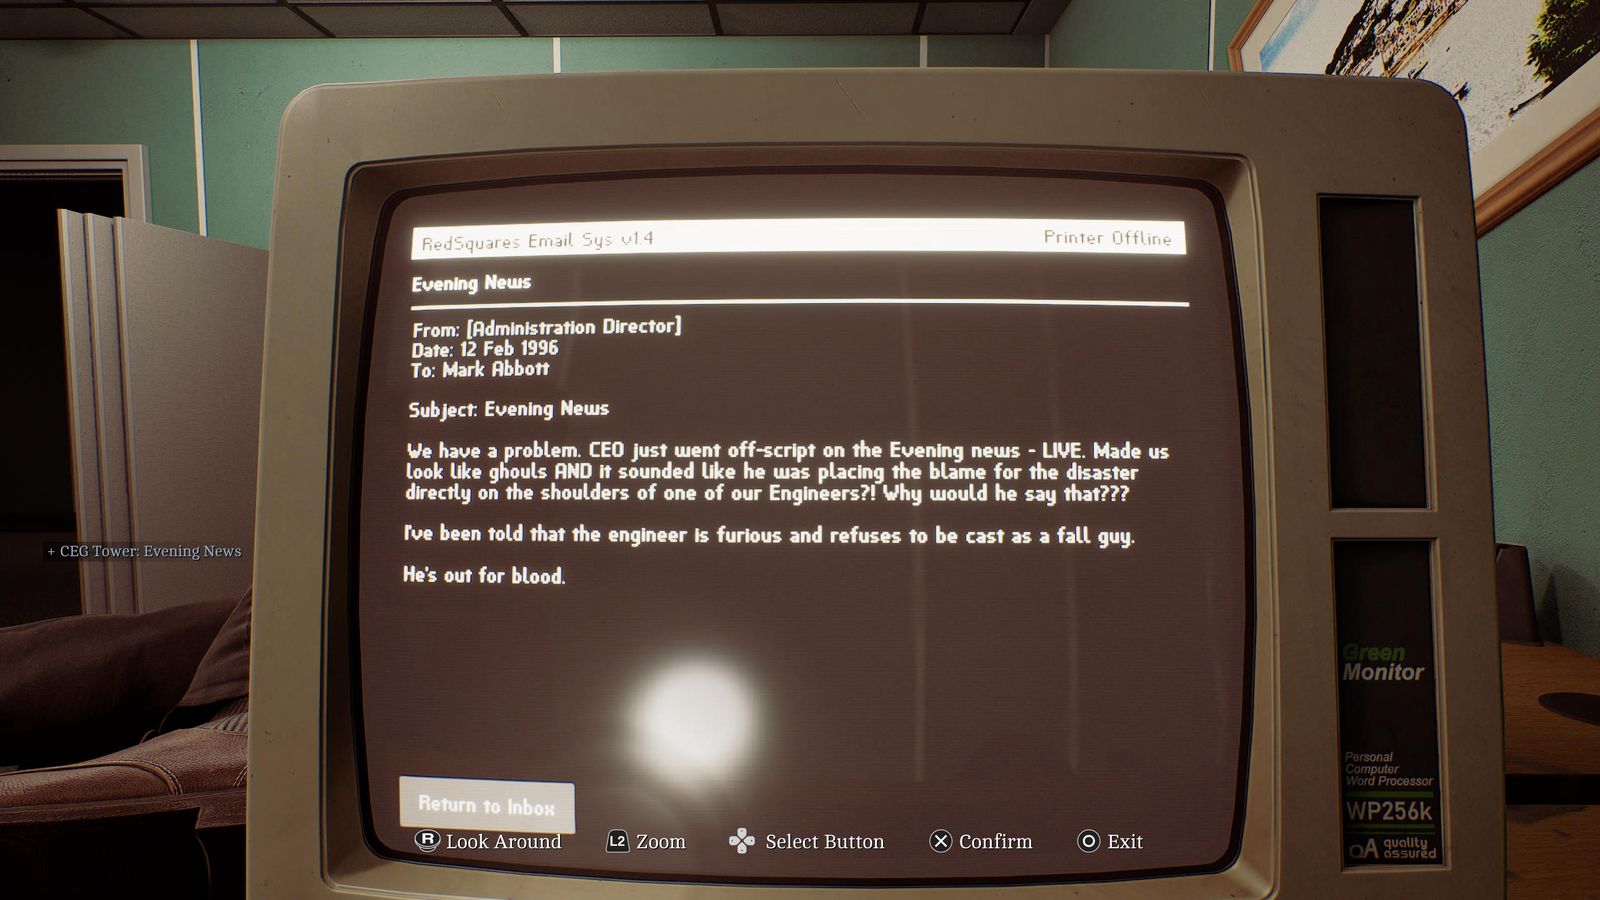
Same P.R. computer.
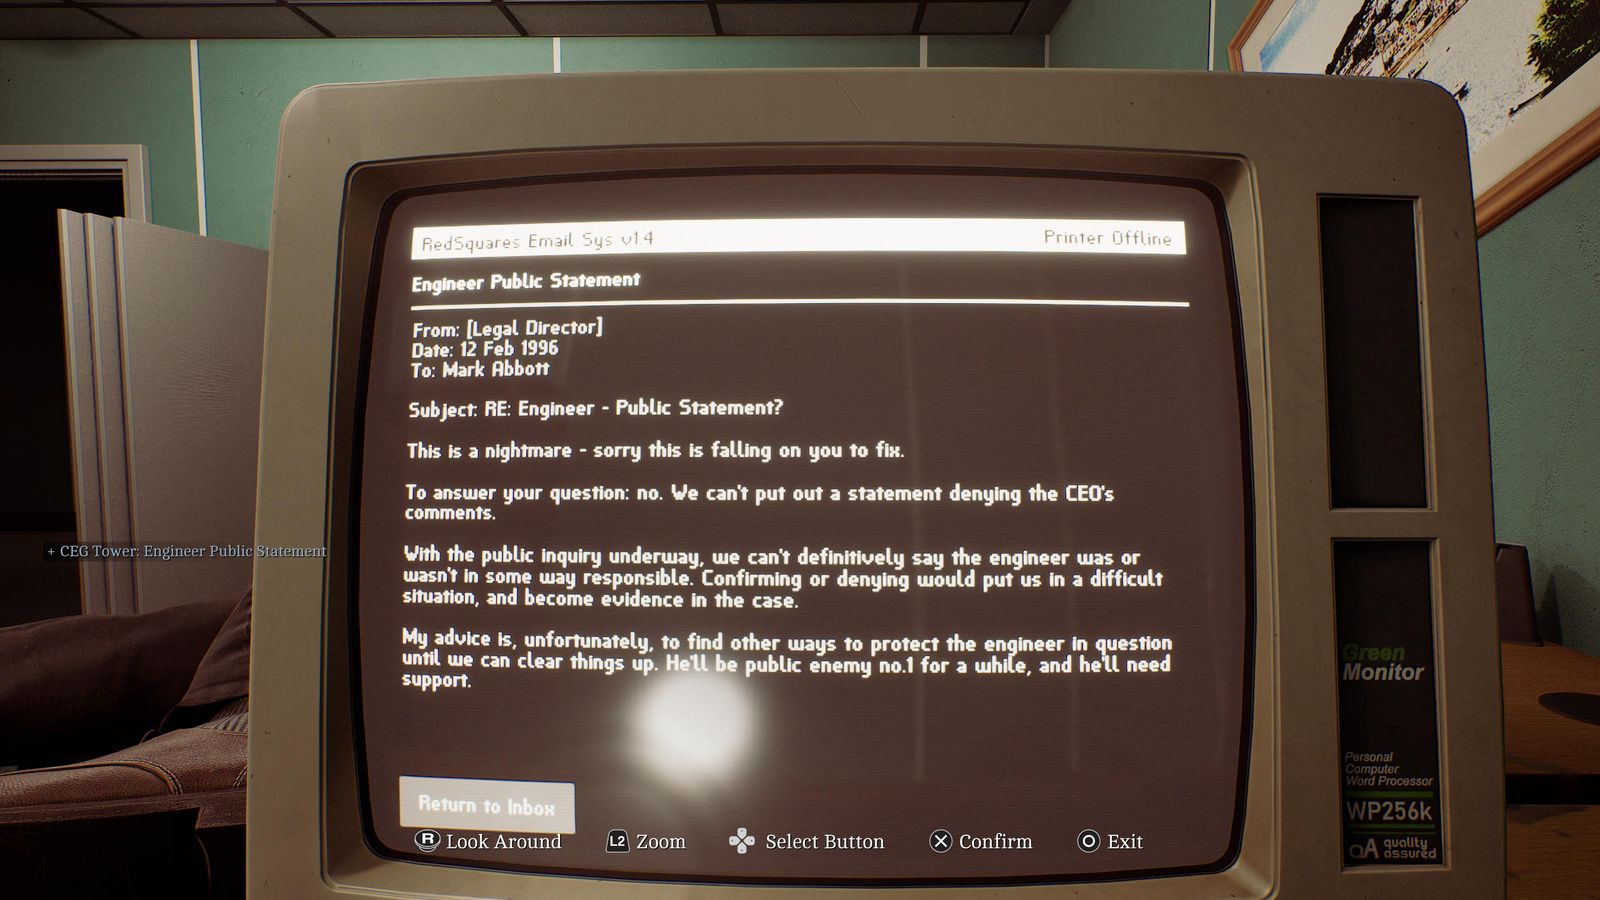
Same office, in the metal drawers.
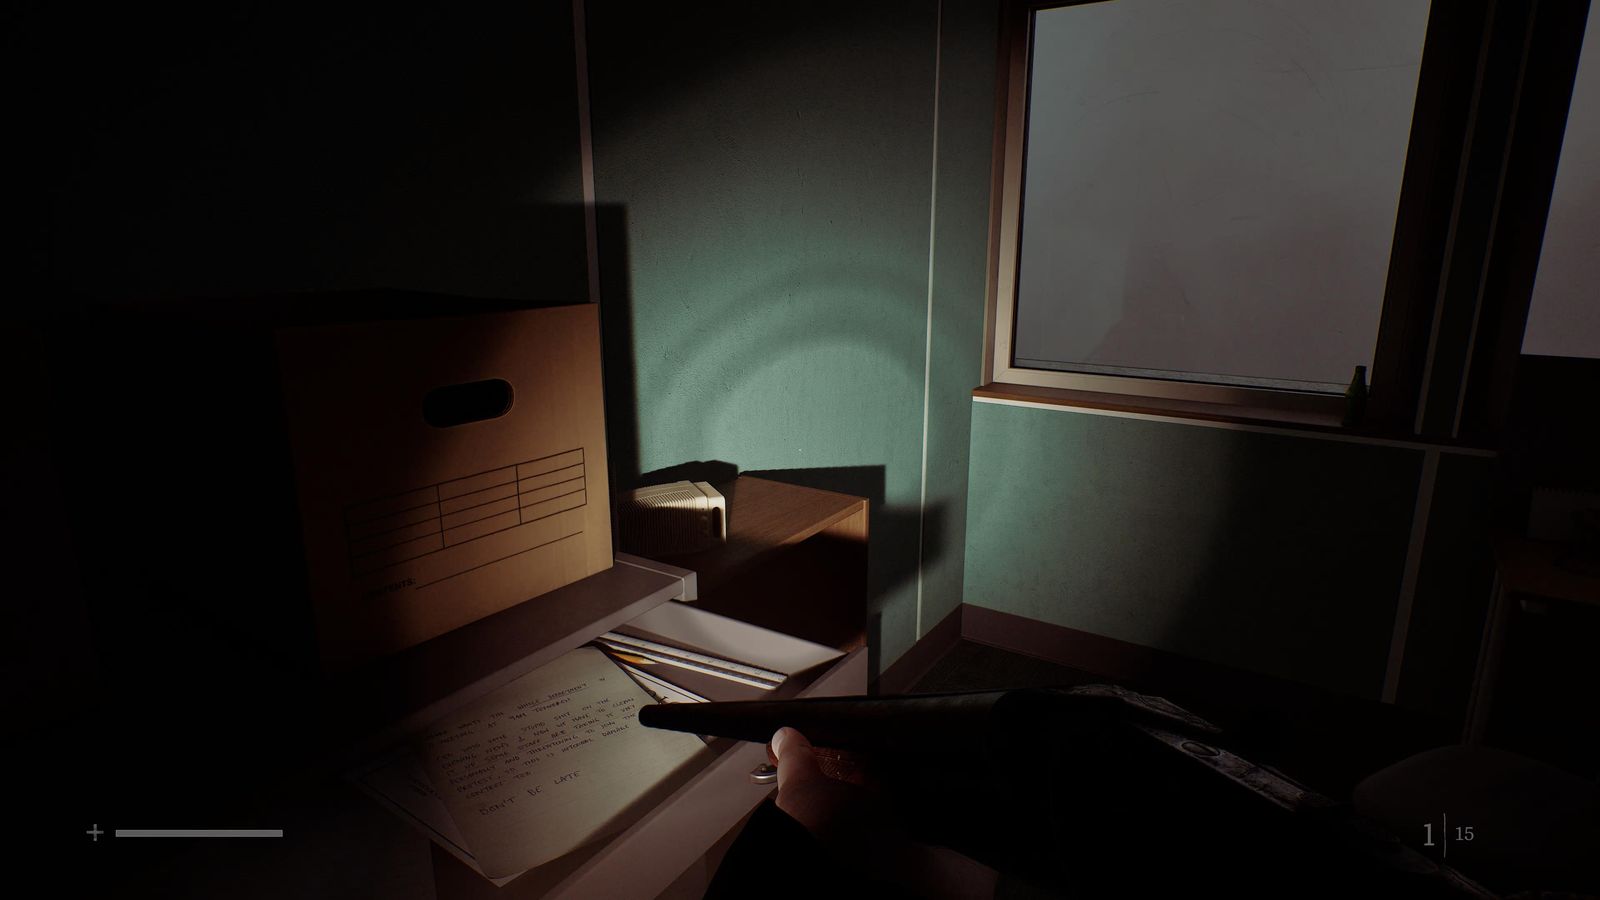
P.R. long room on the right, by the corpse at the end.
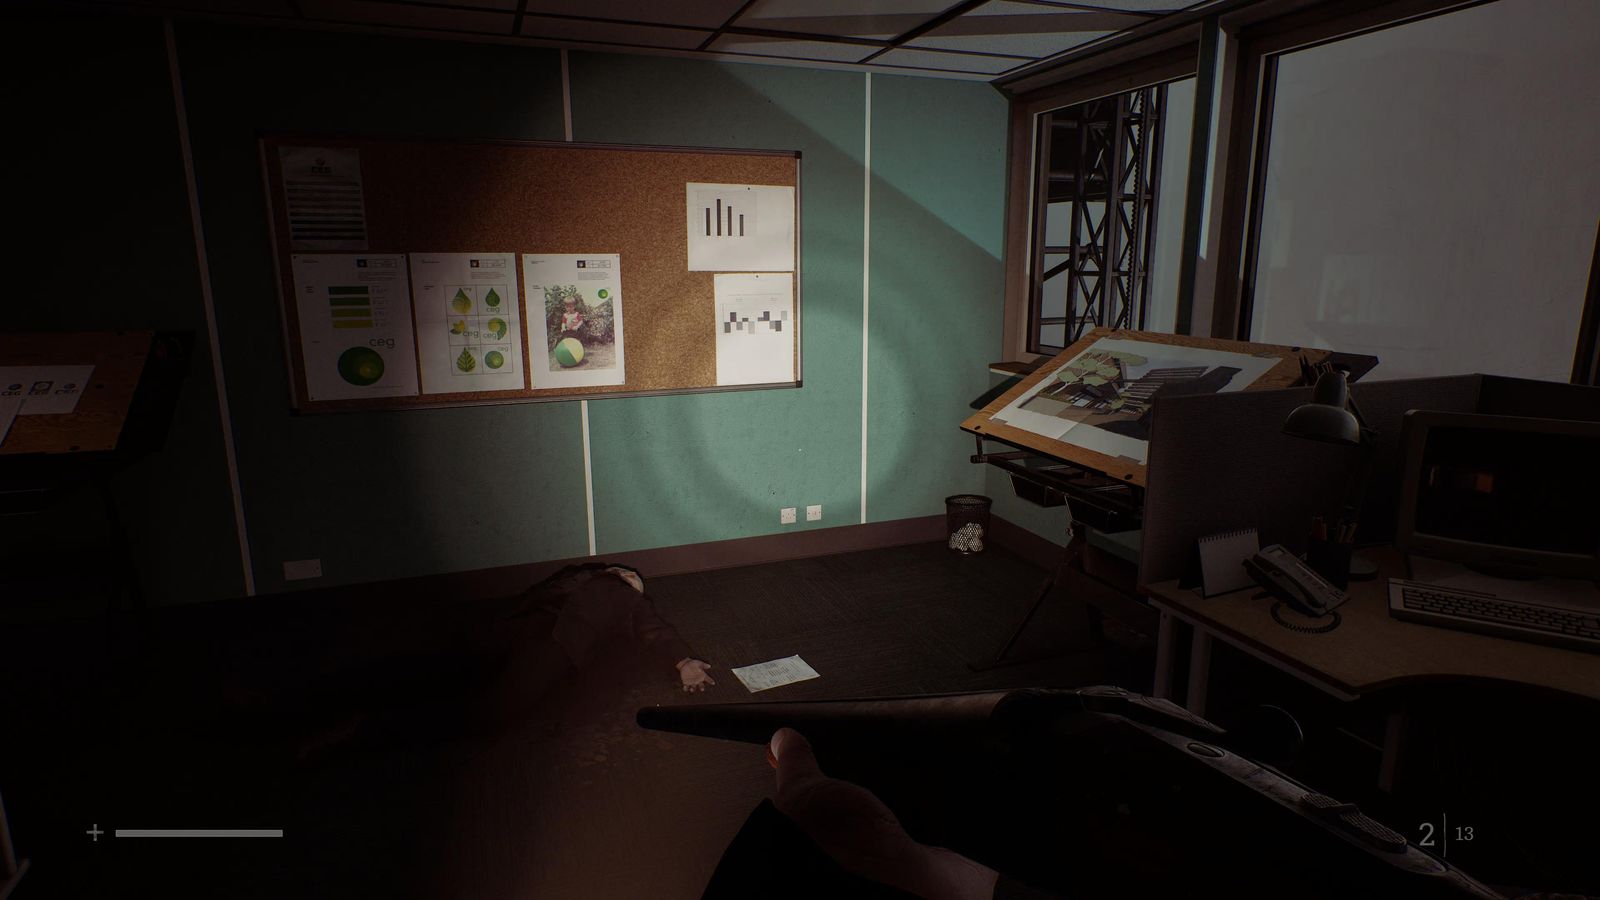
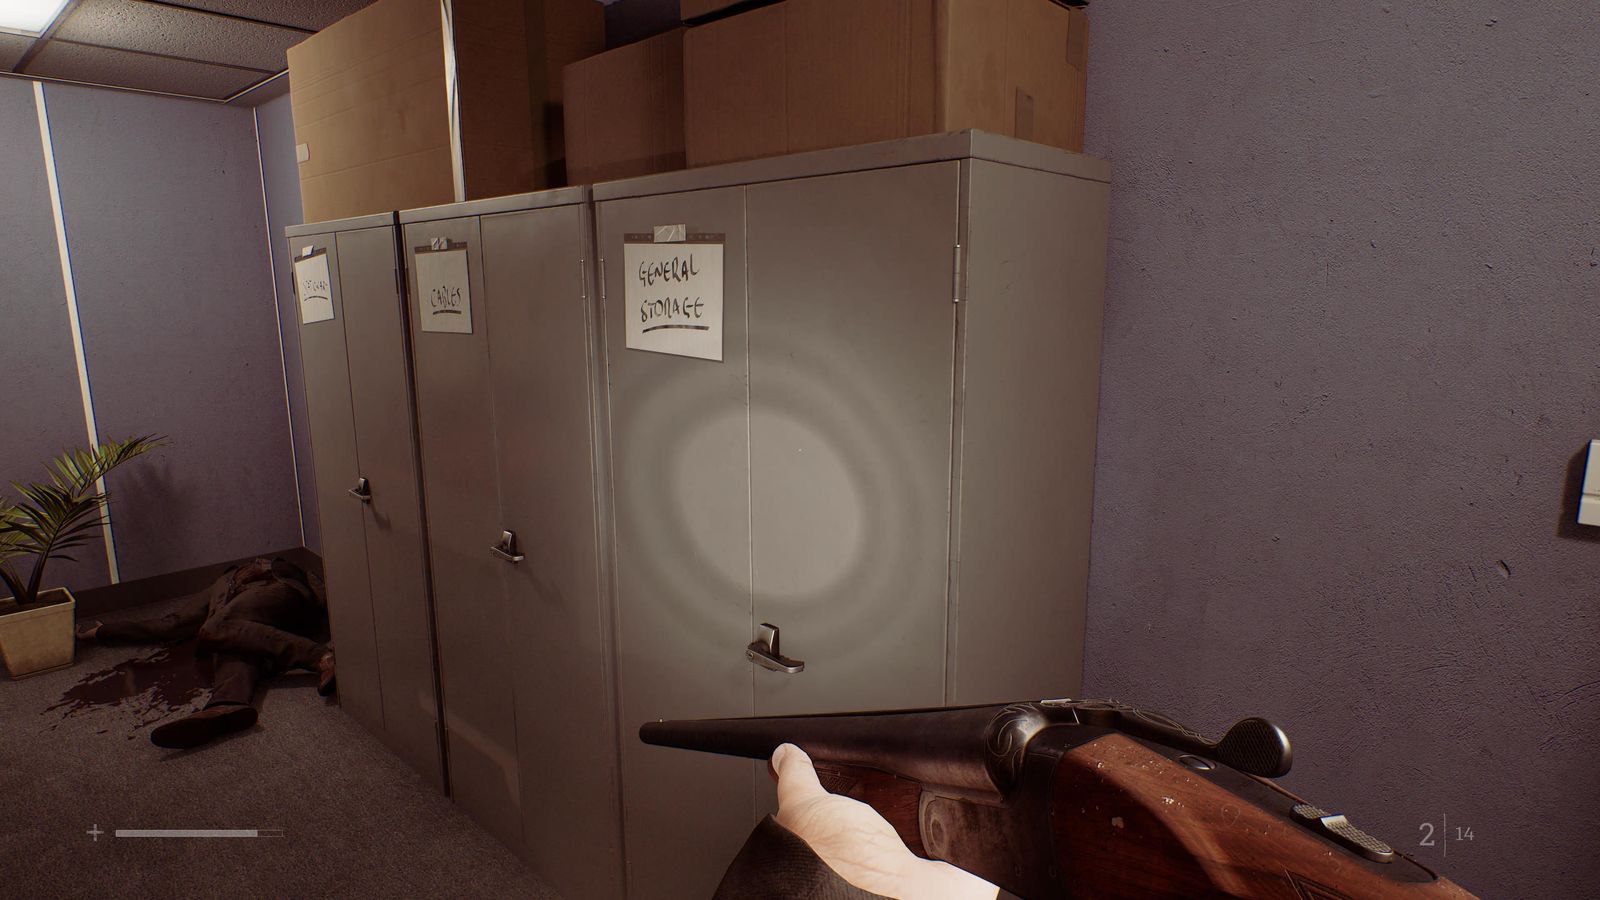
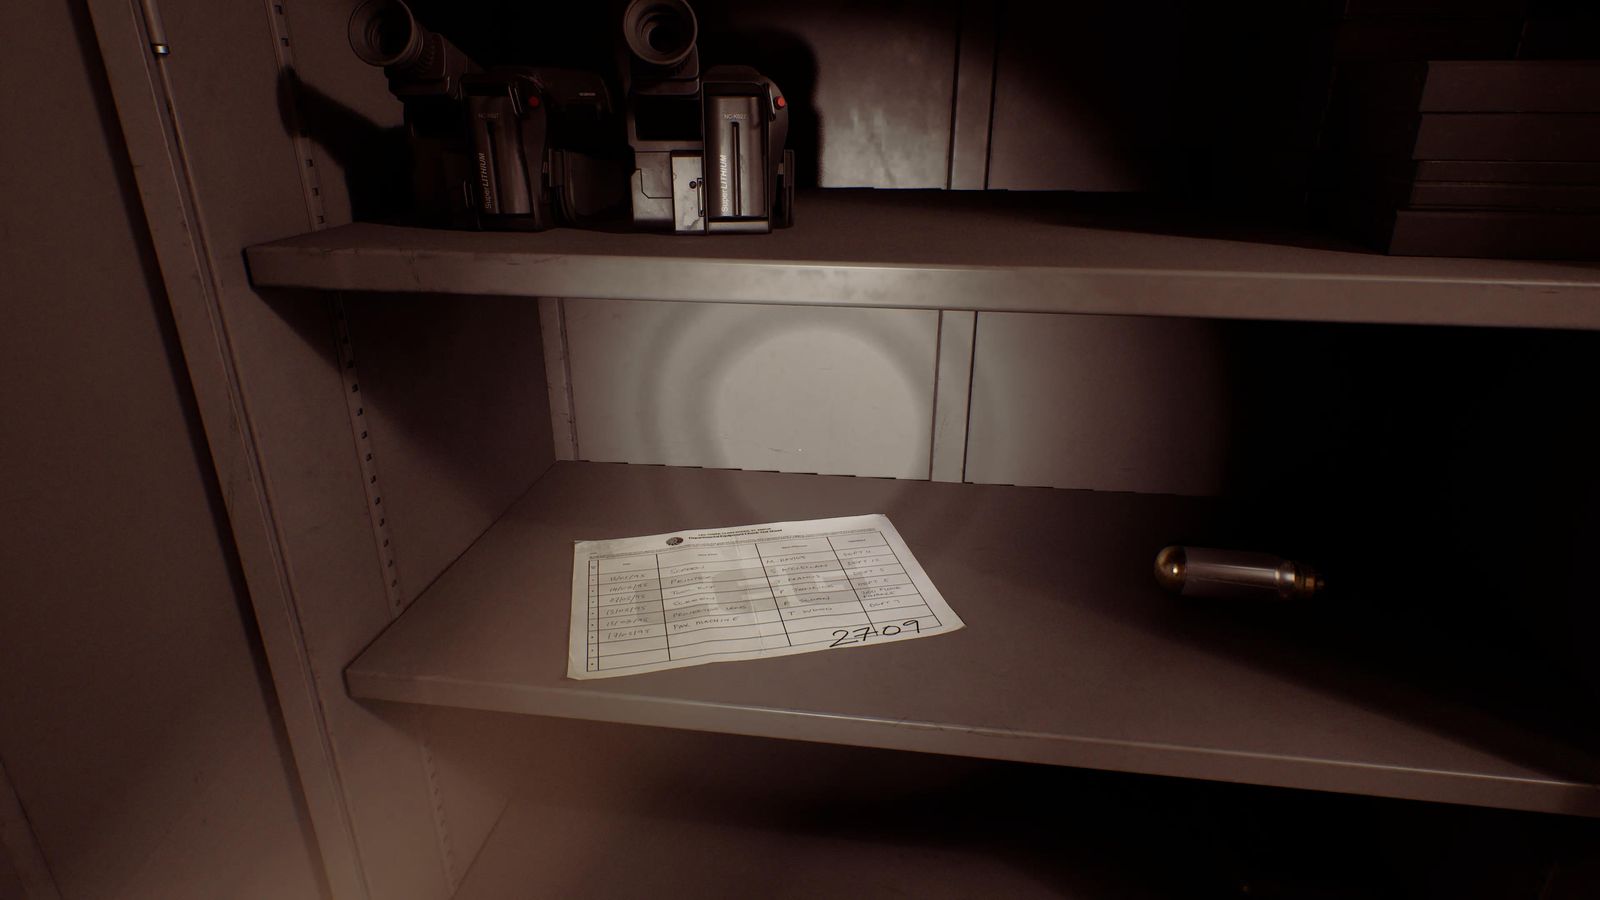
CEG Storeroom, in the General Storage locker.
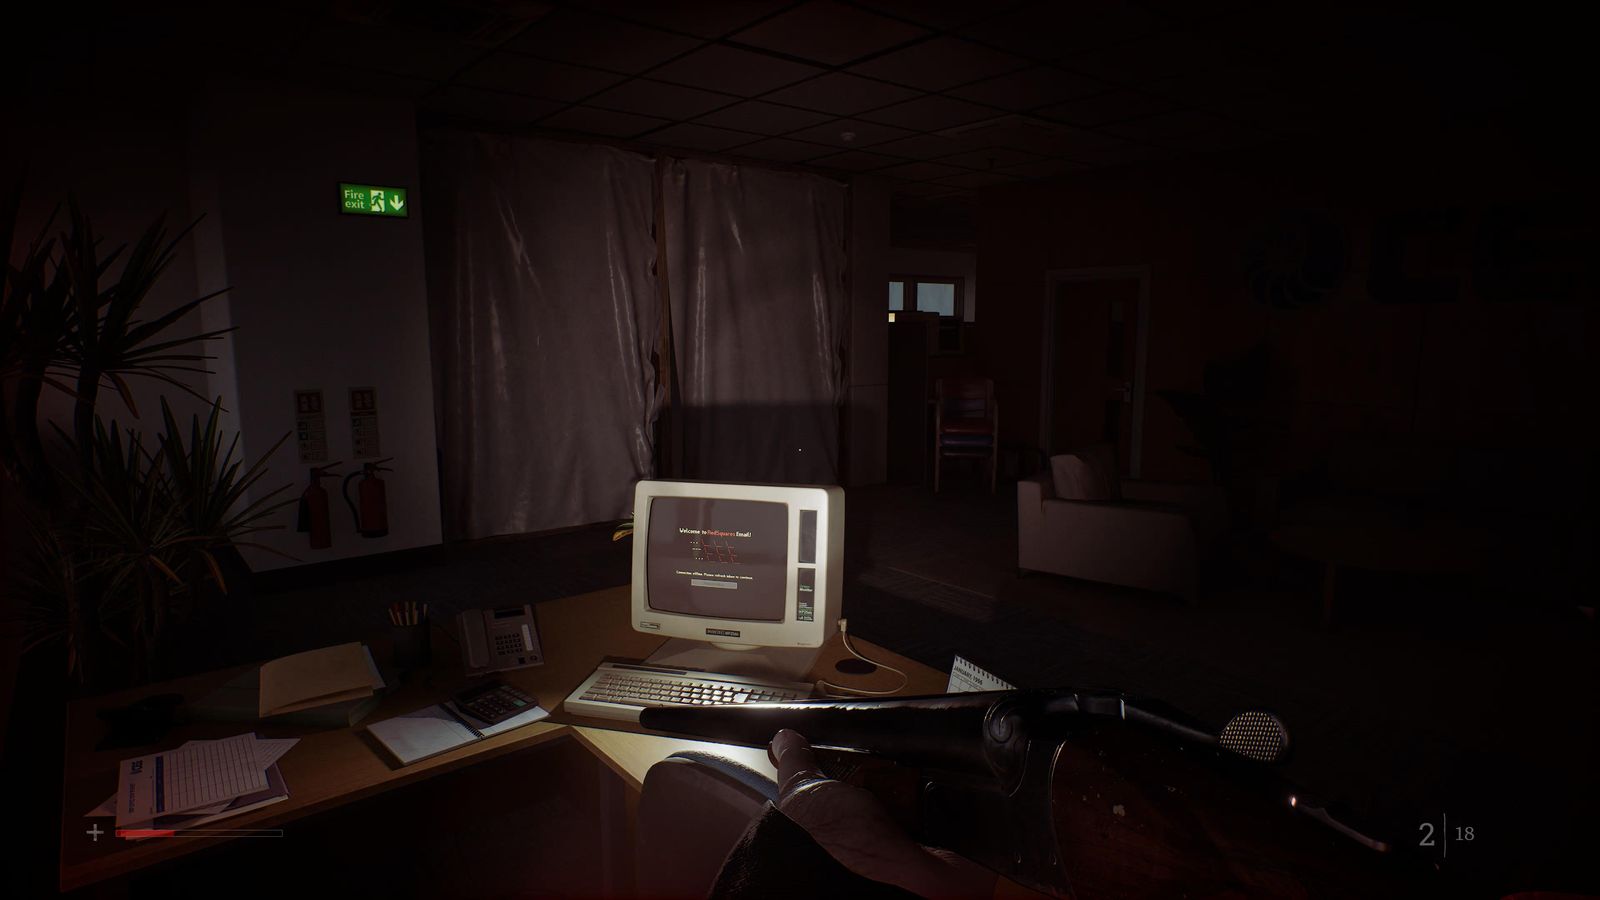
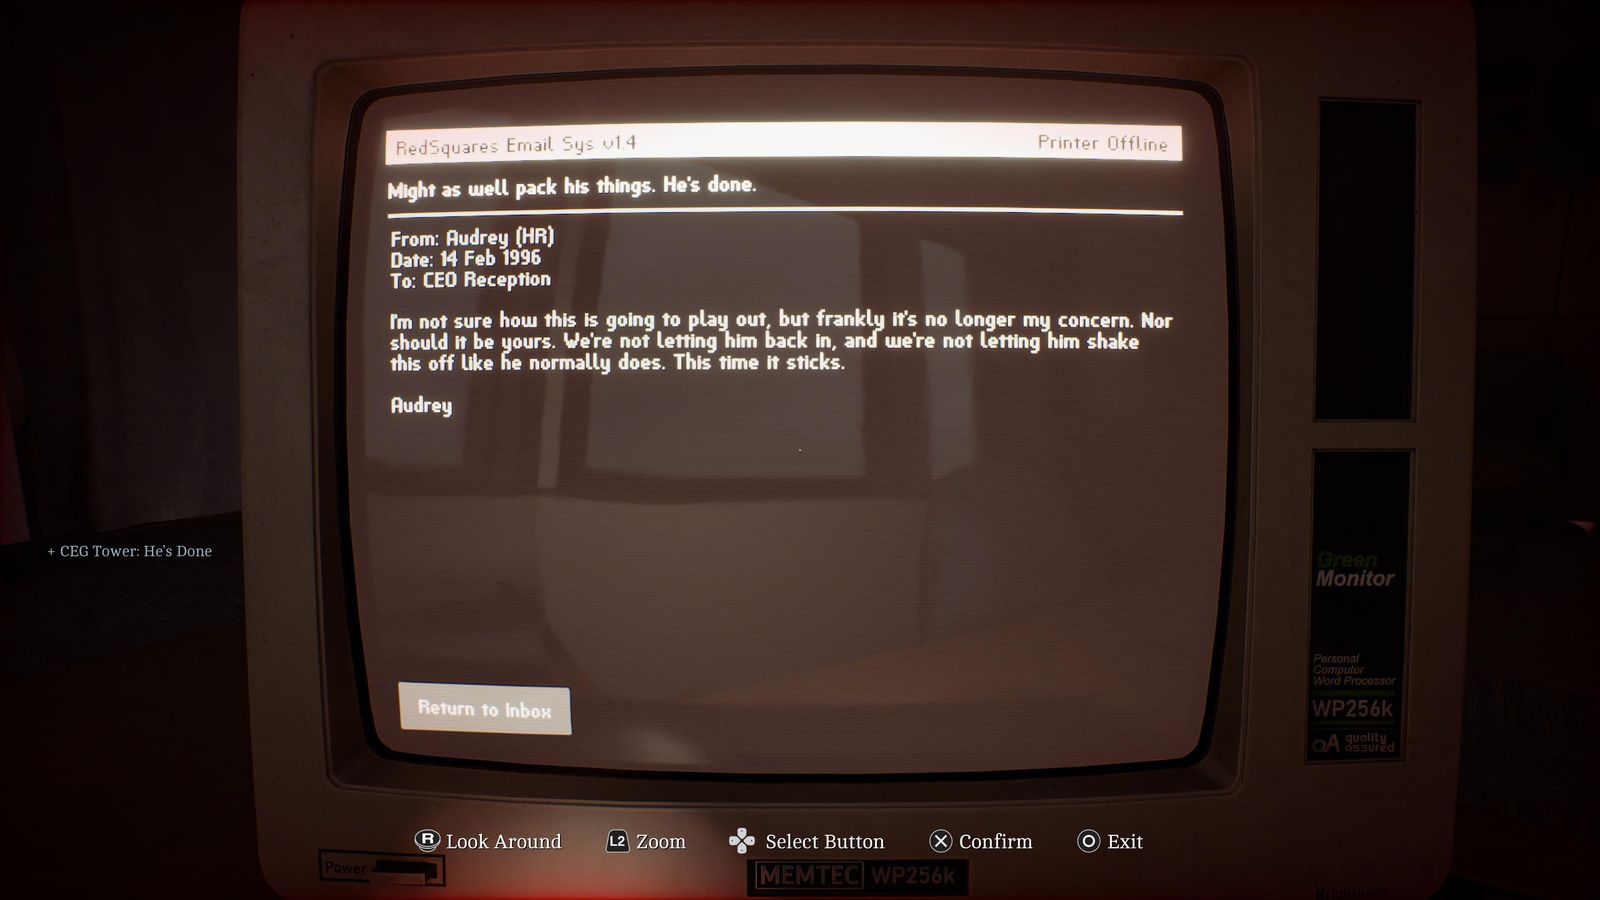
Floor 10: the far computer as you leave the lift. Read it BEFORE entering the main office.
Fix This #76–78
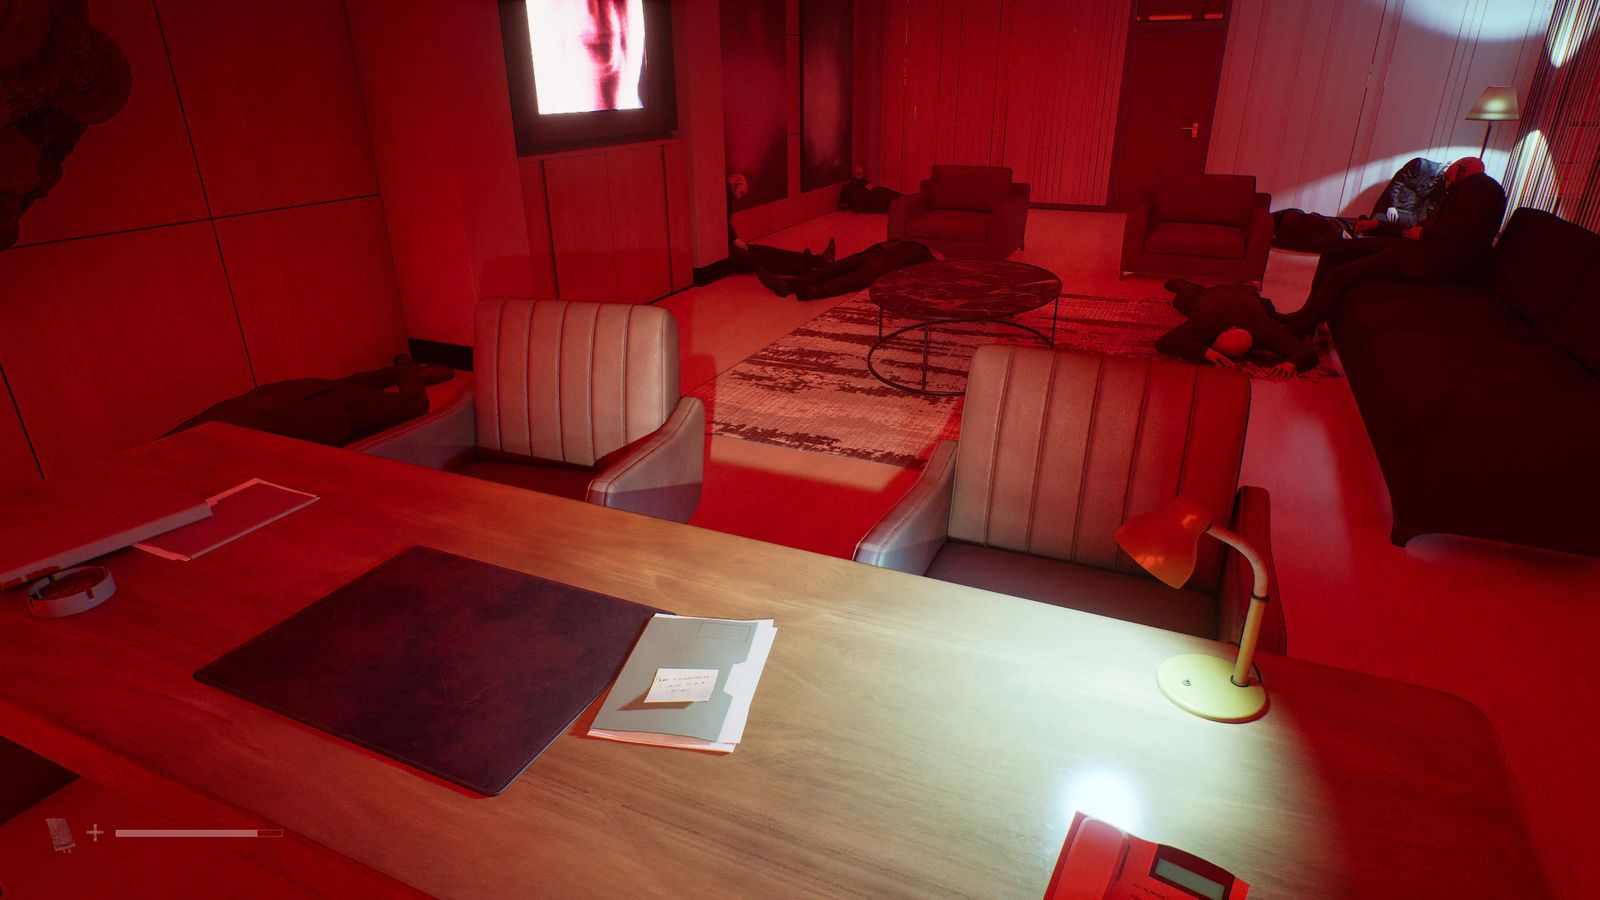
CEG HQ (Different) floor 2 office, on the desk in front of you.
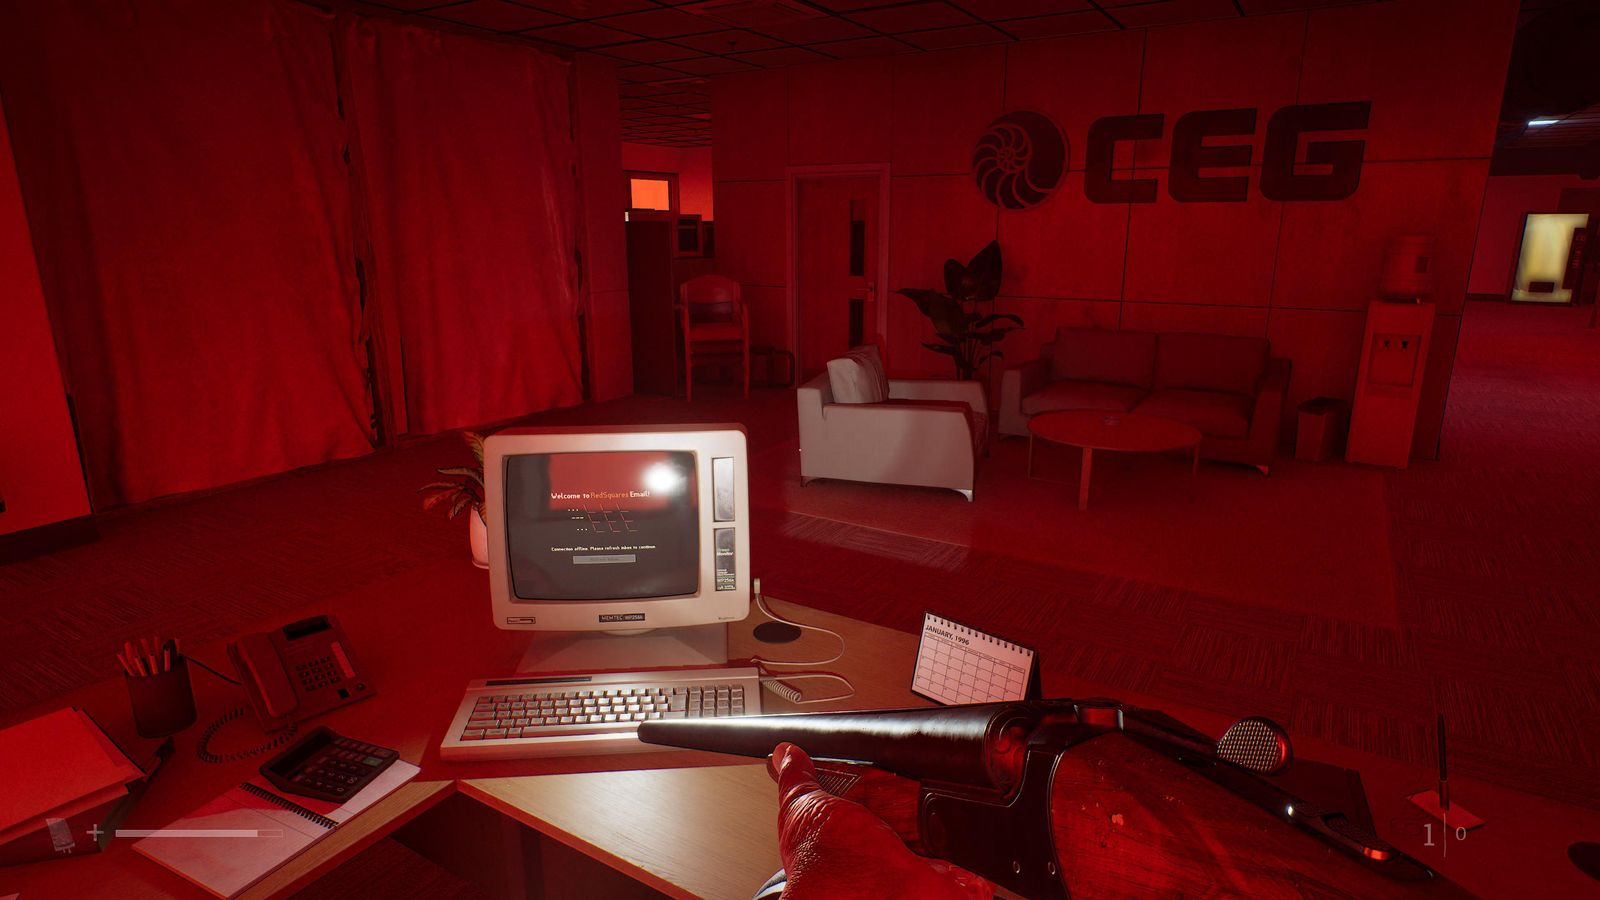
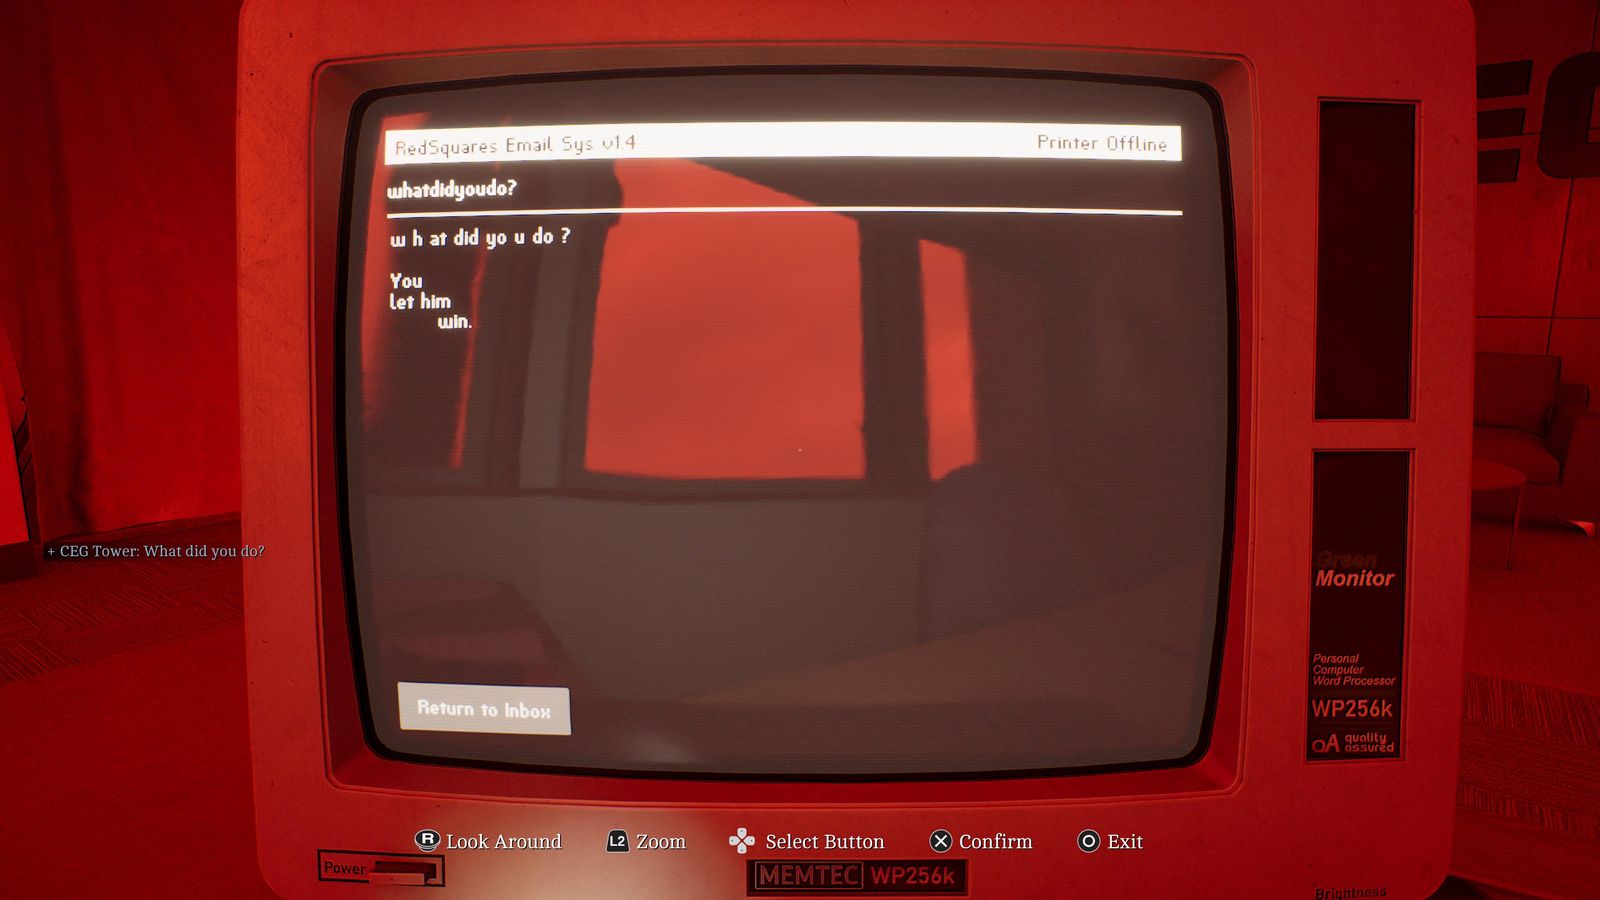
Computer just outside that office, on the left.
On the workbench (the same one with the channel 43 tuner).
Trying Again #79–84
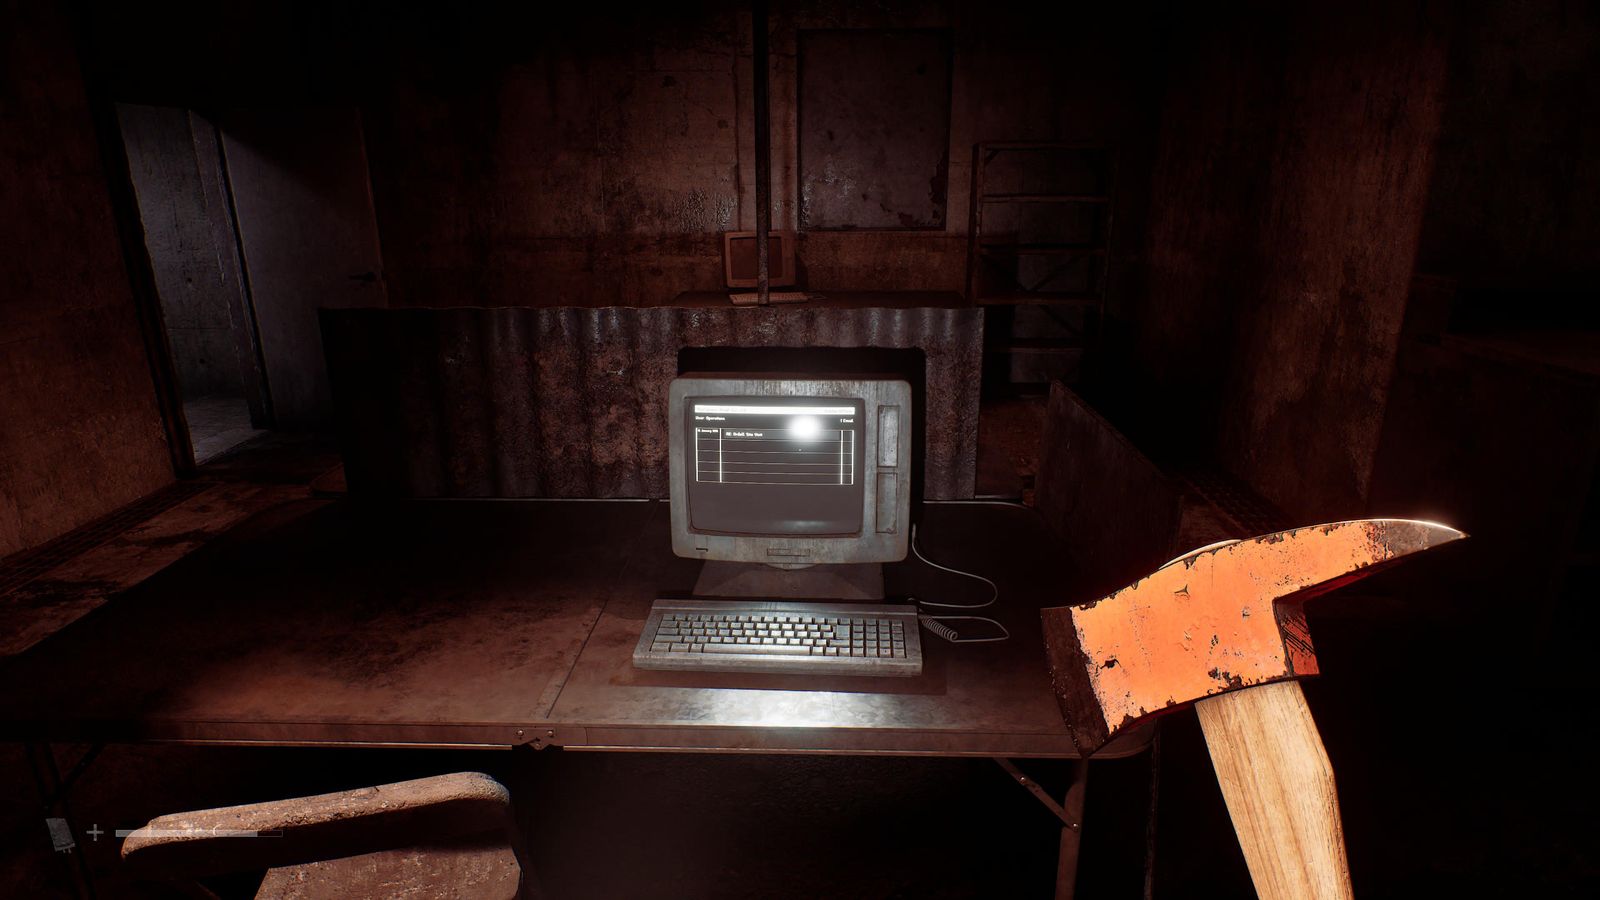
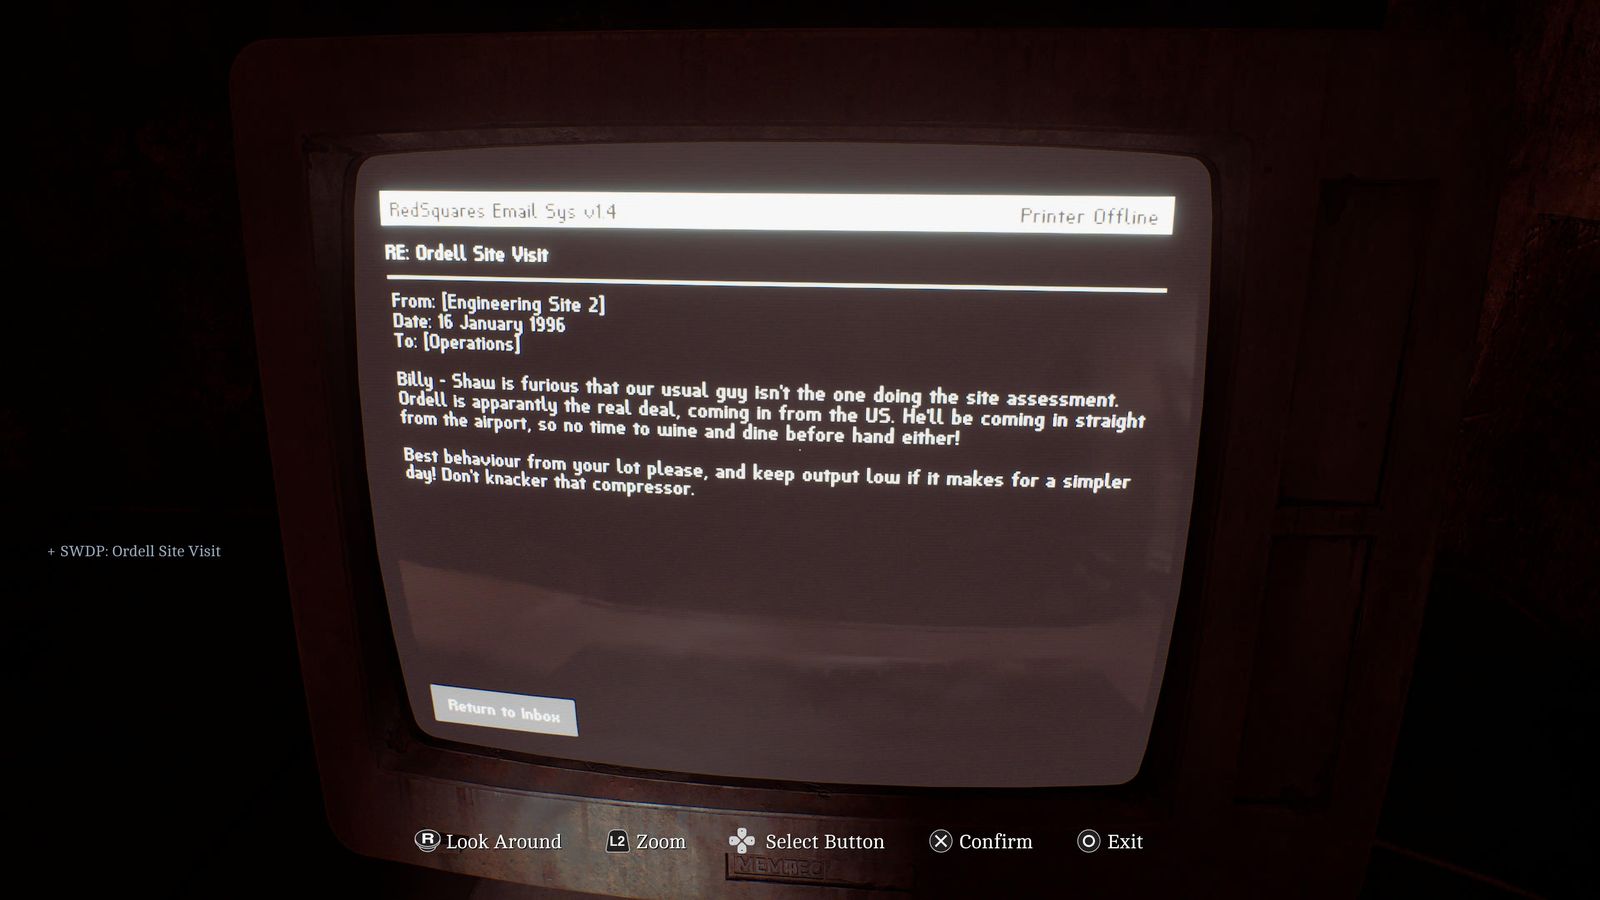
SWDP first floor, north-east computer room: the computer near the middle.
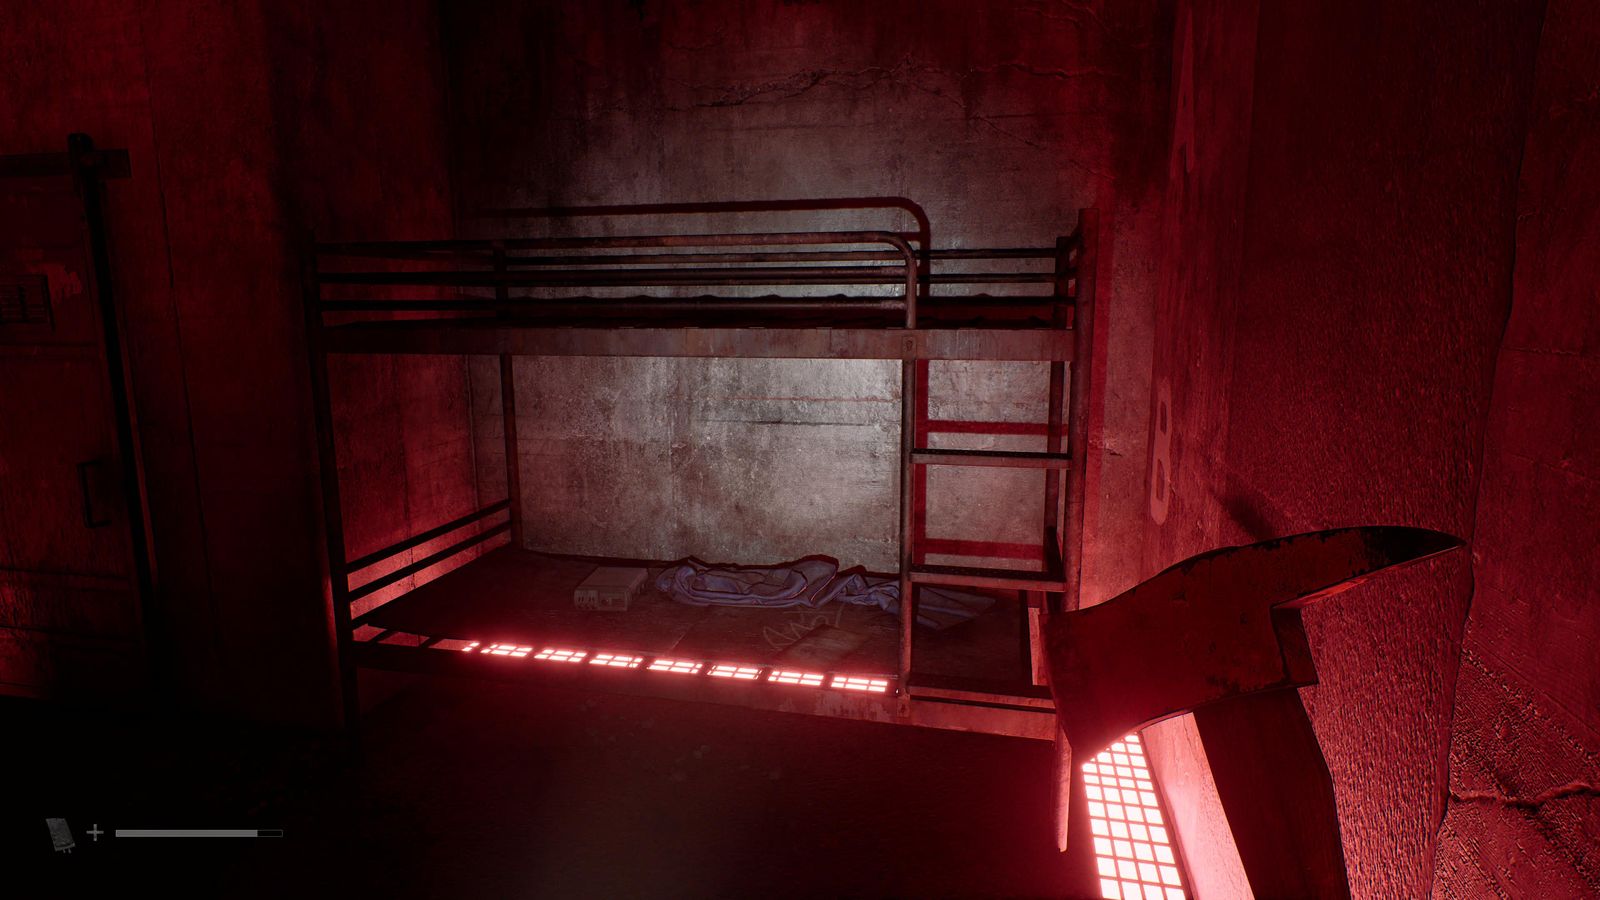
SWDP south-east room (shimmy through the gap in the JOE room), on the bunk bed.
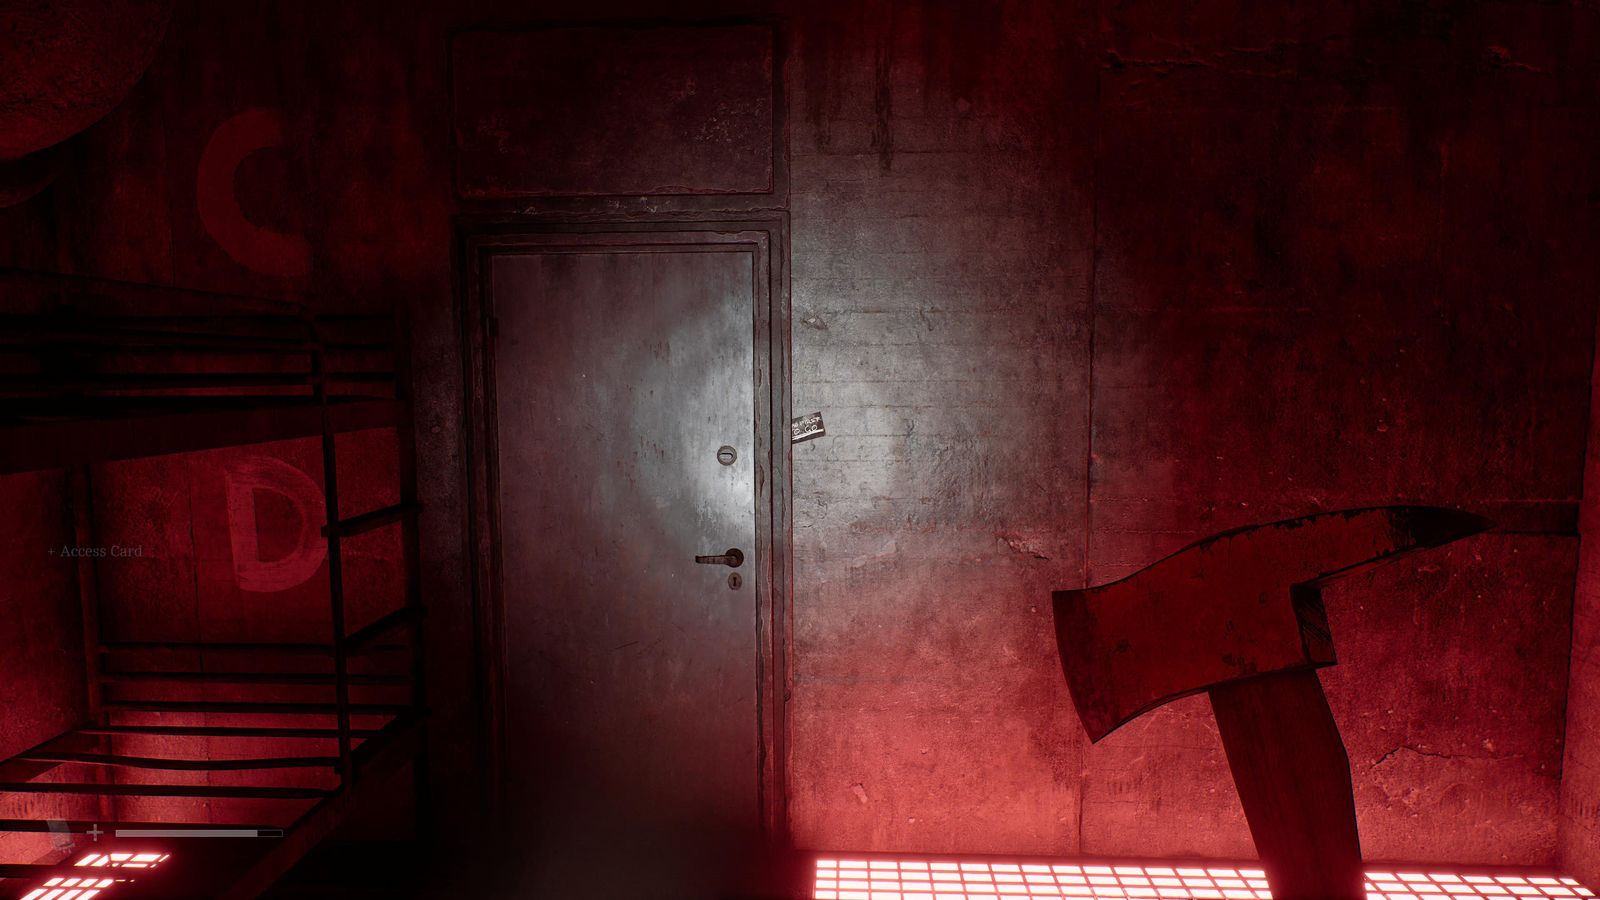
Same room, stuck in the side of the door frame.
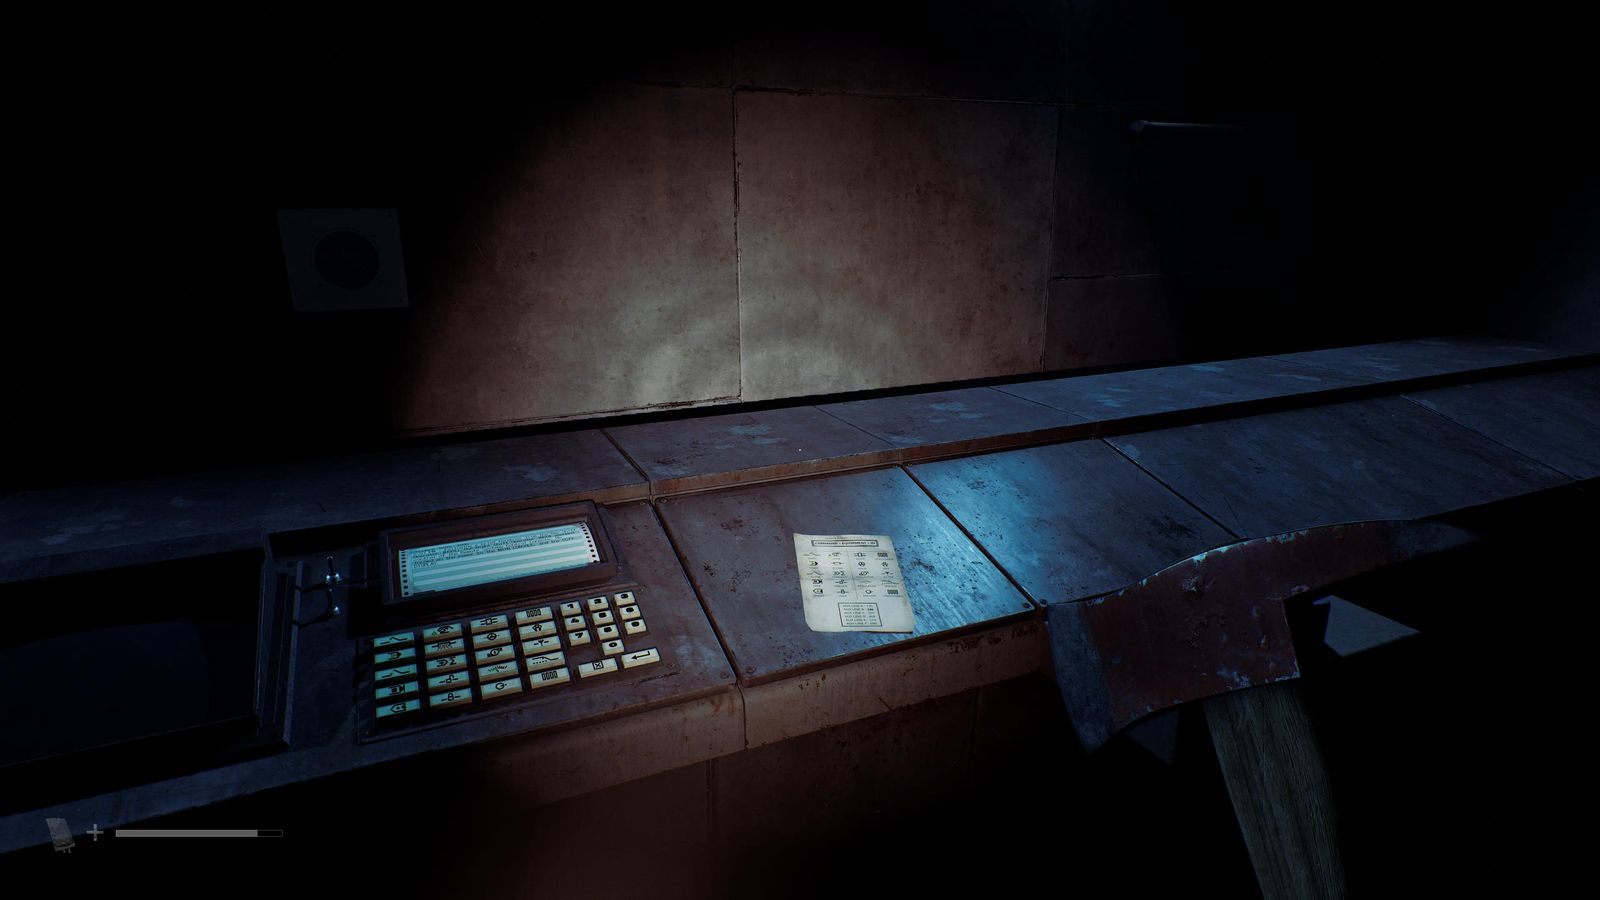
SWDP control room, on the east console beside the keypad.
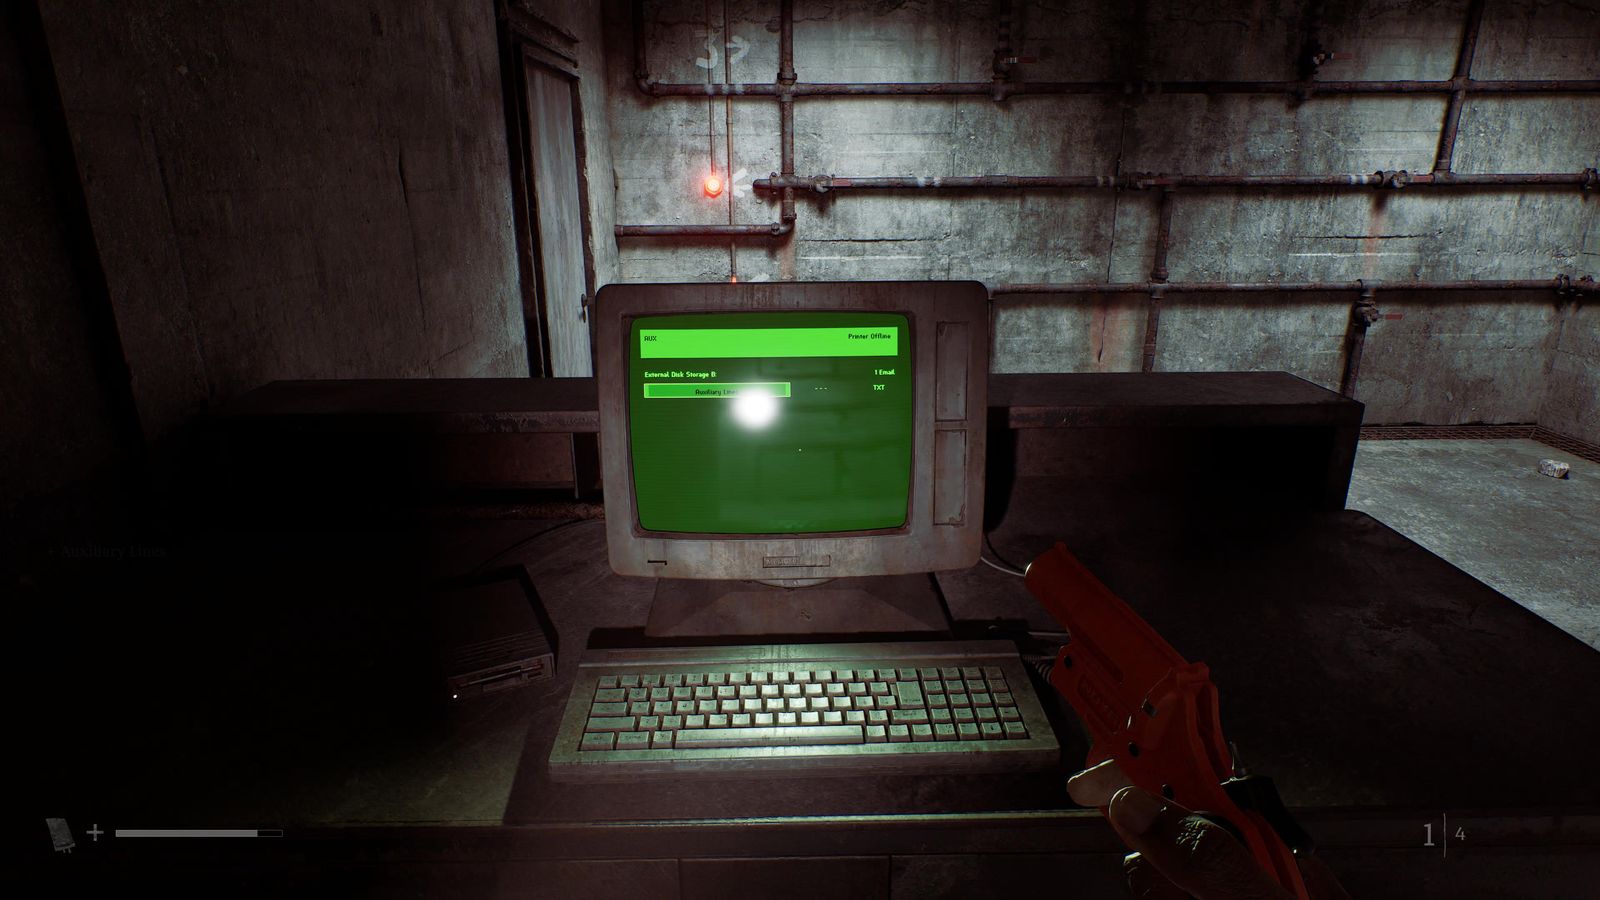
AUX room: put the AUX Disk in the drive and read it on the computer.
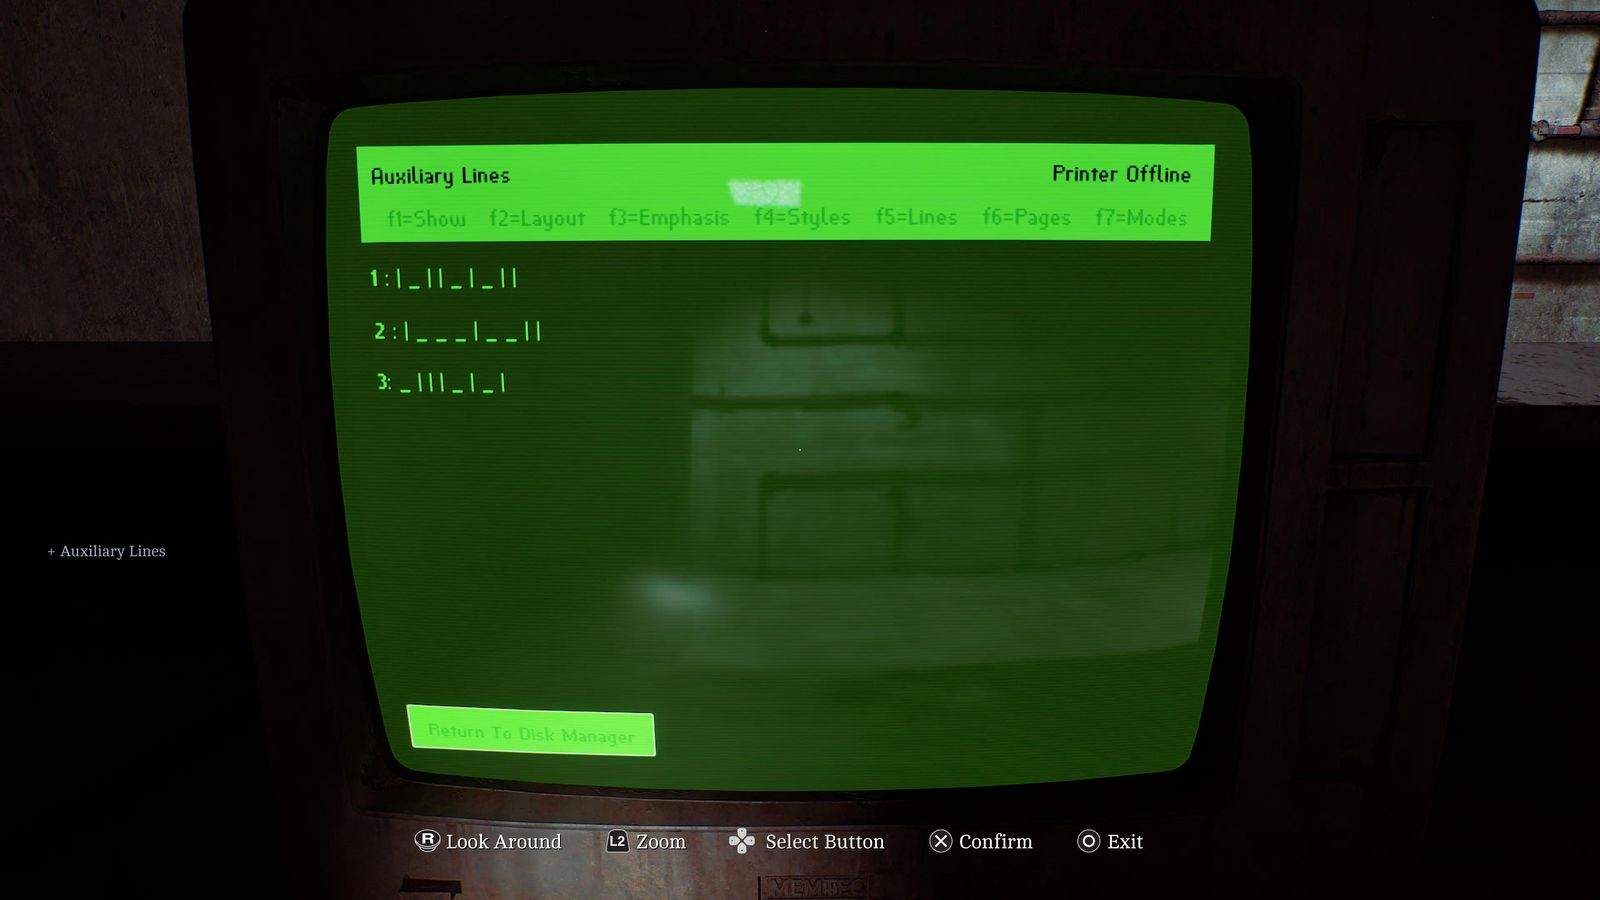
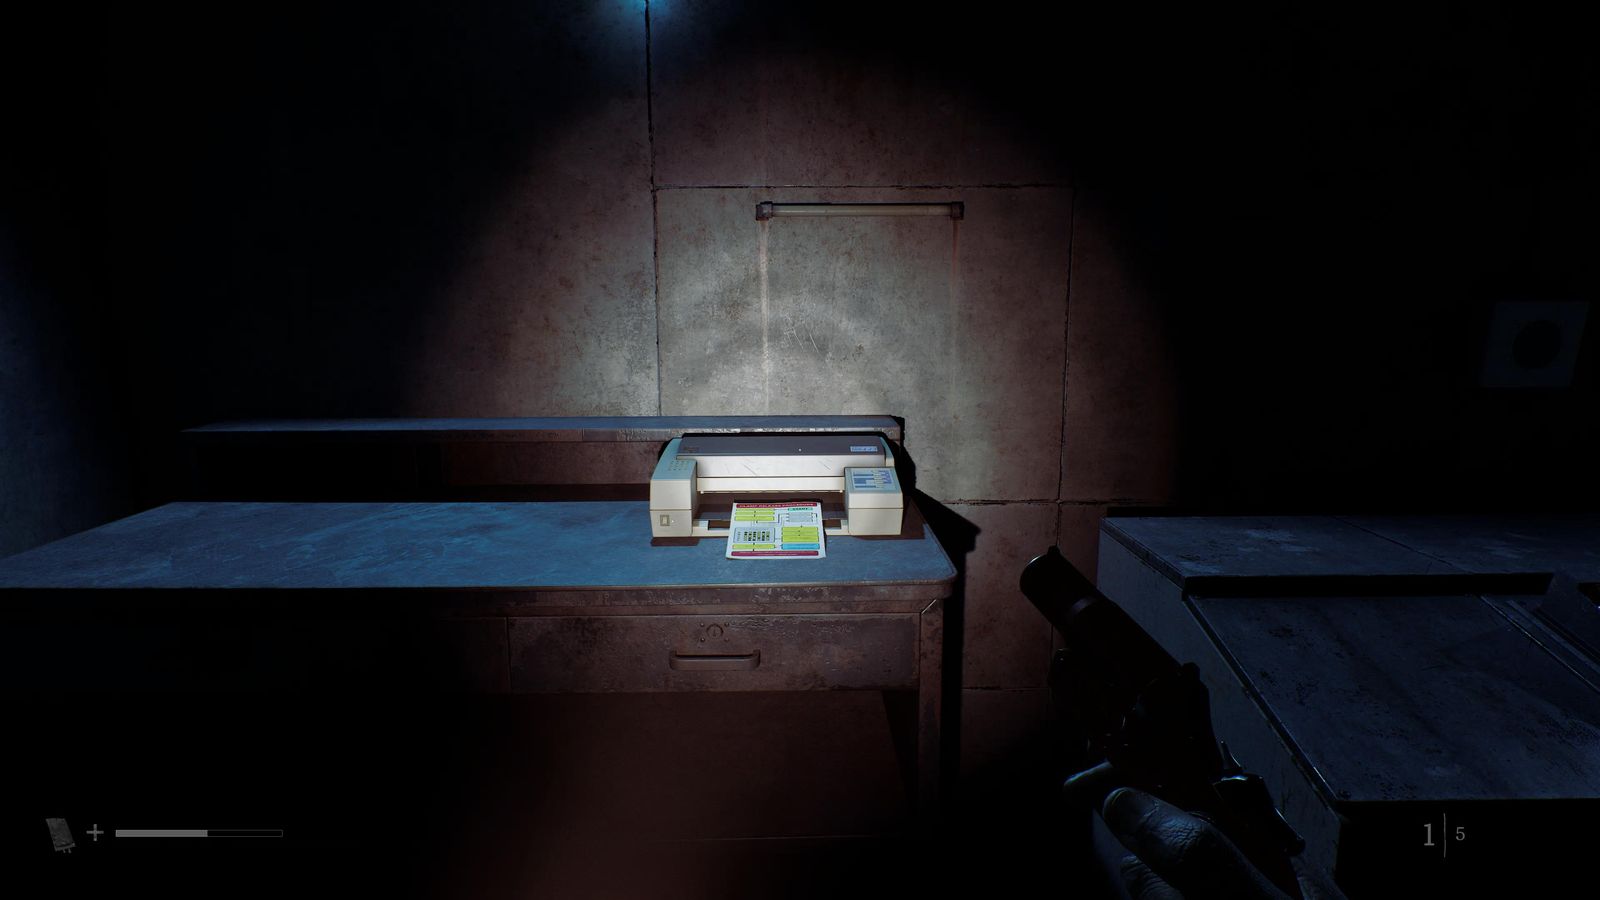
Control room, printer tray on the left console (after Valve F).
Ending #85–85
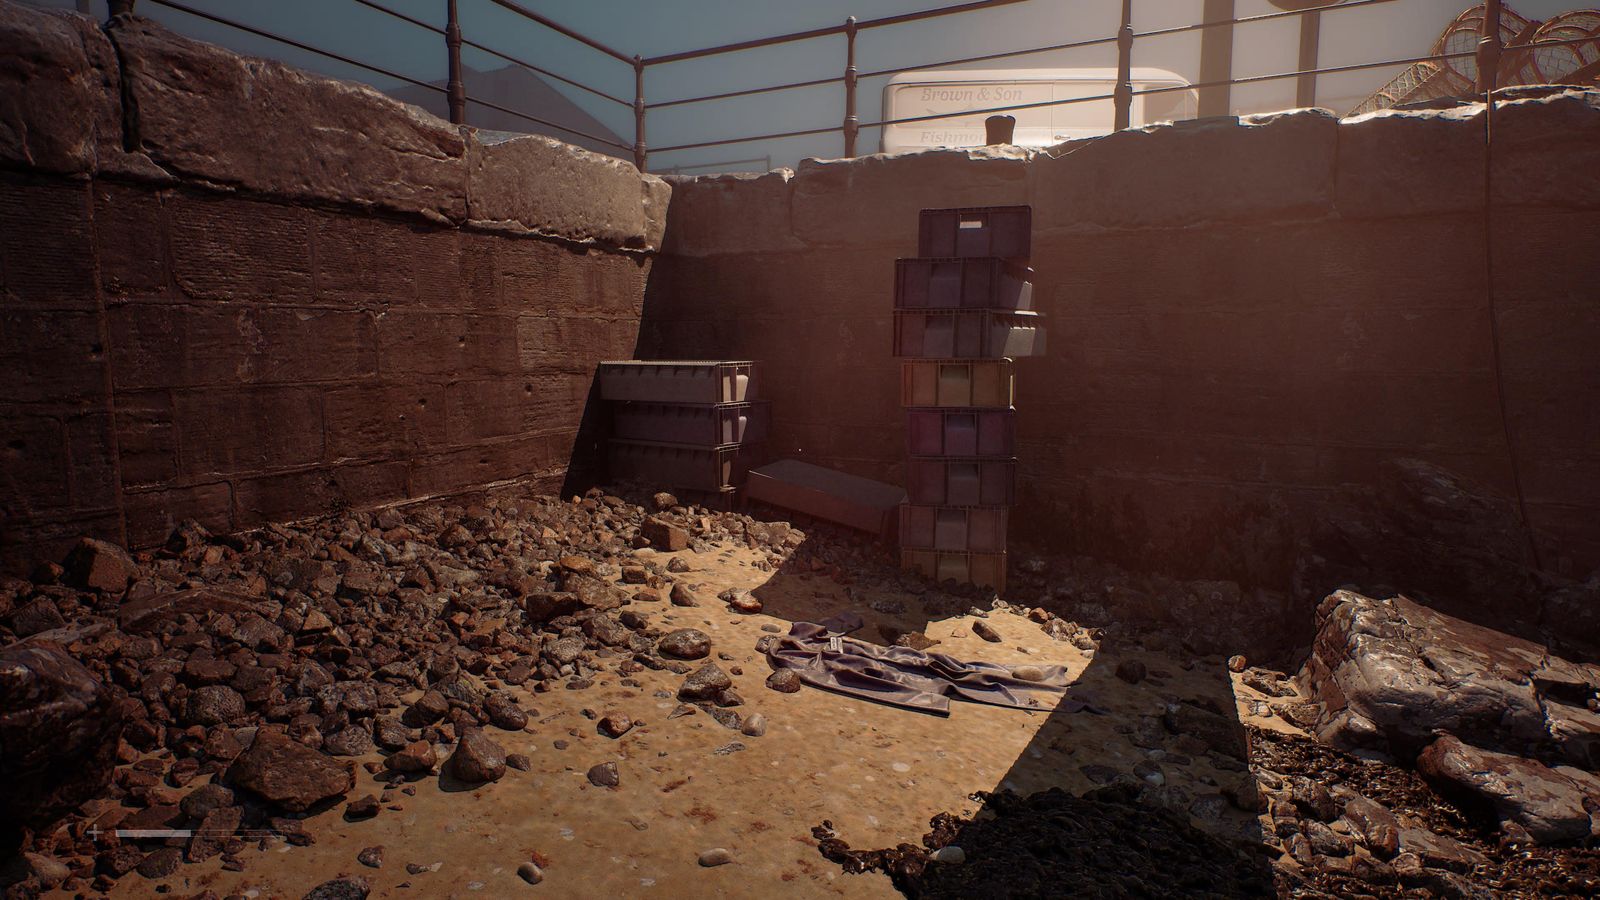
After the final boss, down on the coast: follow it east to the far stairs and look on the ground behind them. Picked up on the Dog-ending reload.
All 15 strange postcard locations
The postcards are numbered on the card itself, which isn't the order you find them; both are shown.
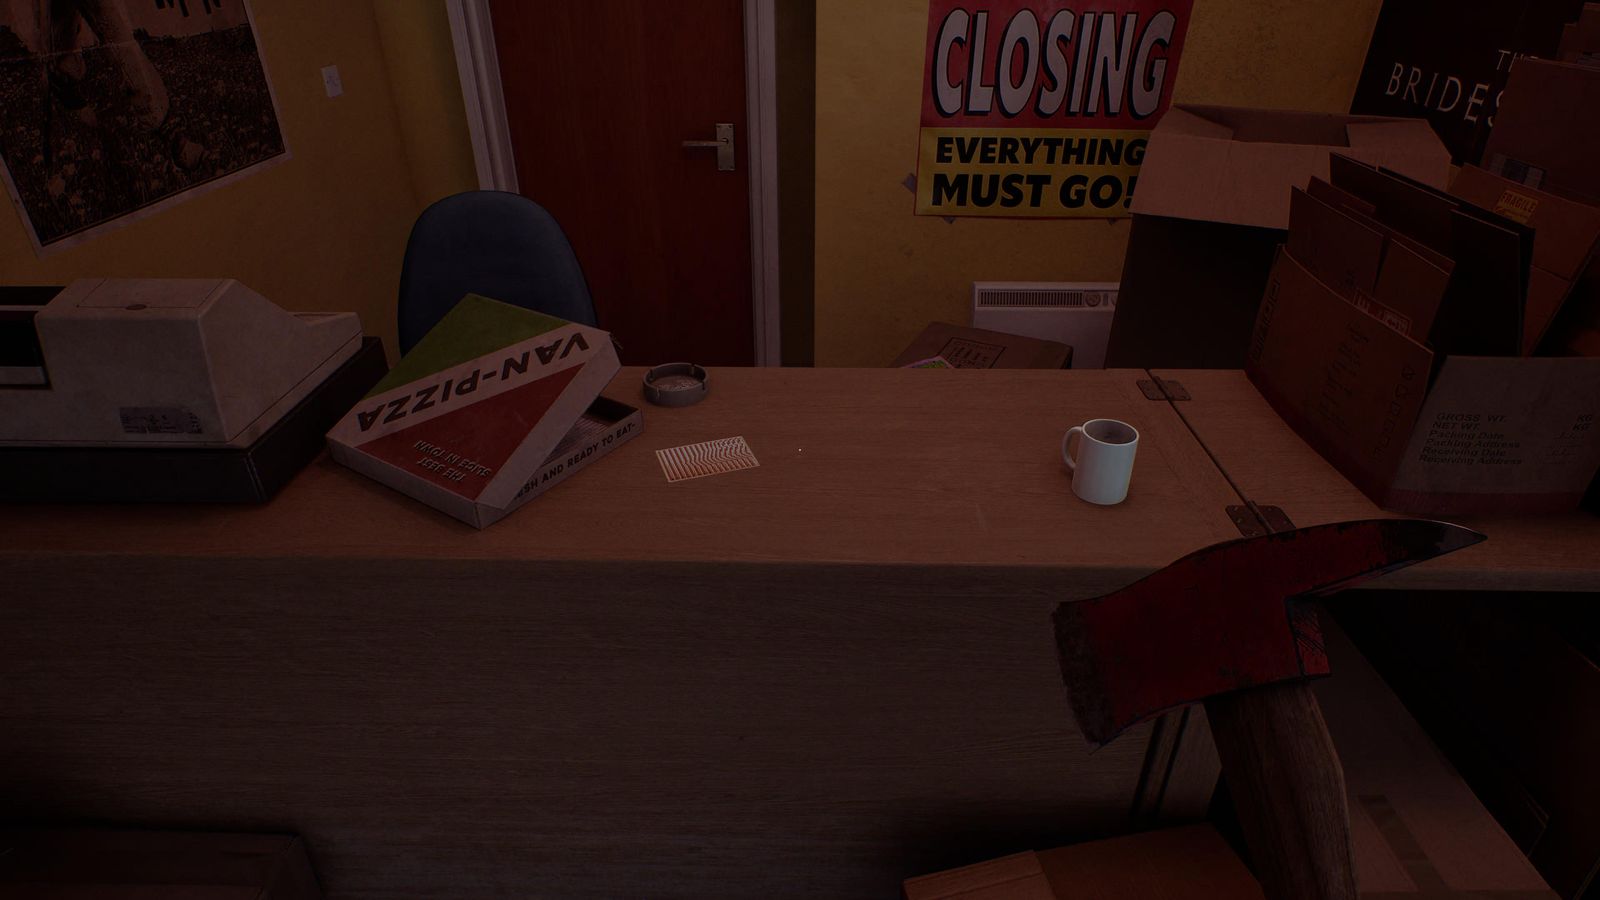
Video Star (1) at the far end of West Shore Road, on the counter.
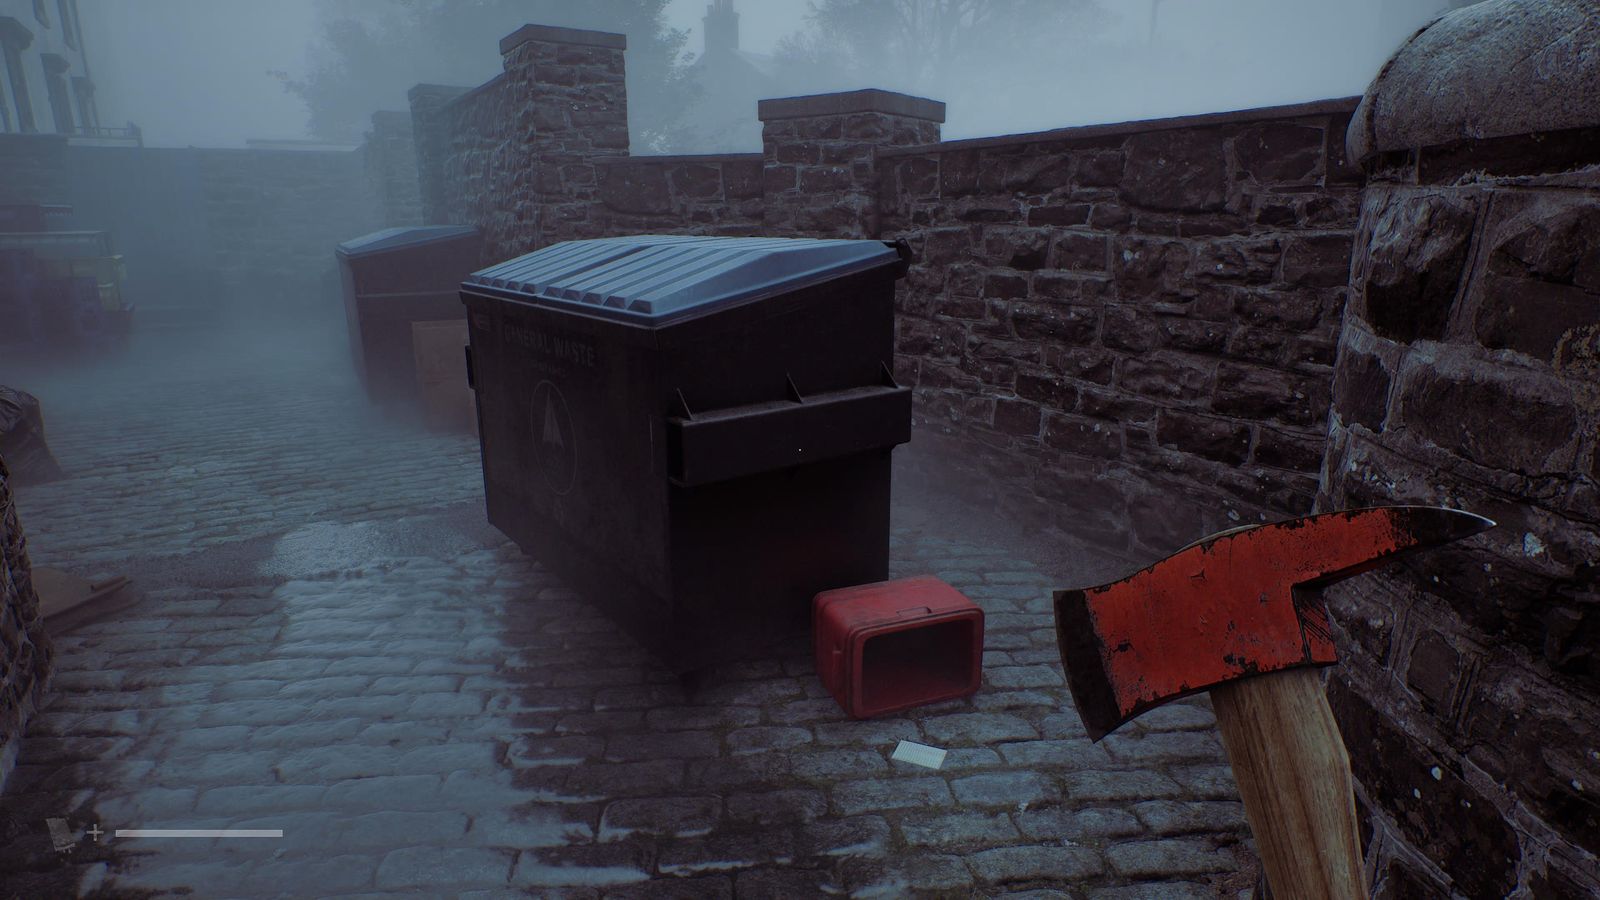
St. Amelia Park, south-west back alley behind building 3: on the ground by the red container next to the dumpster.
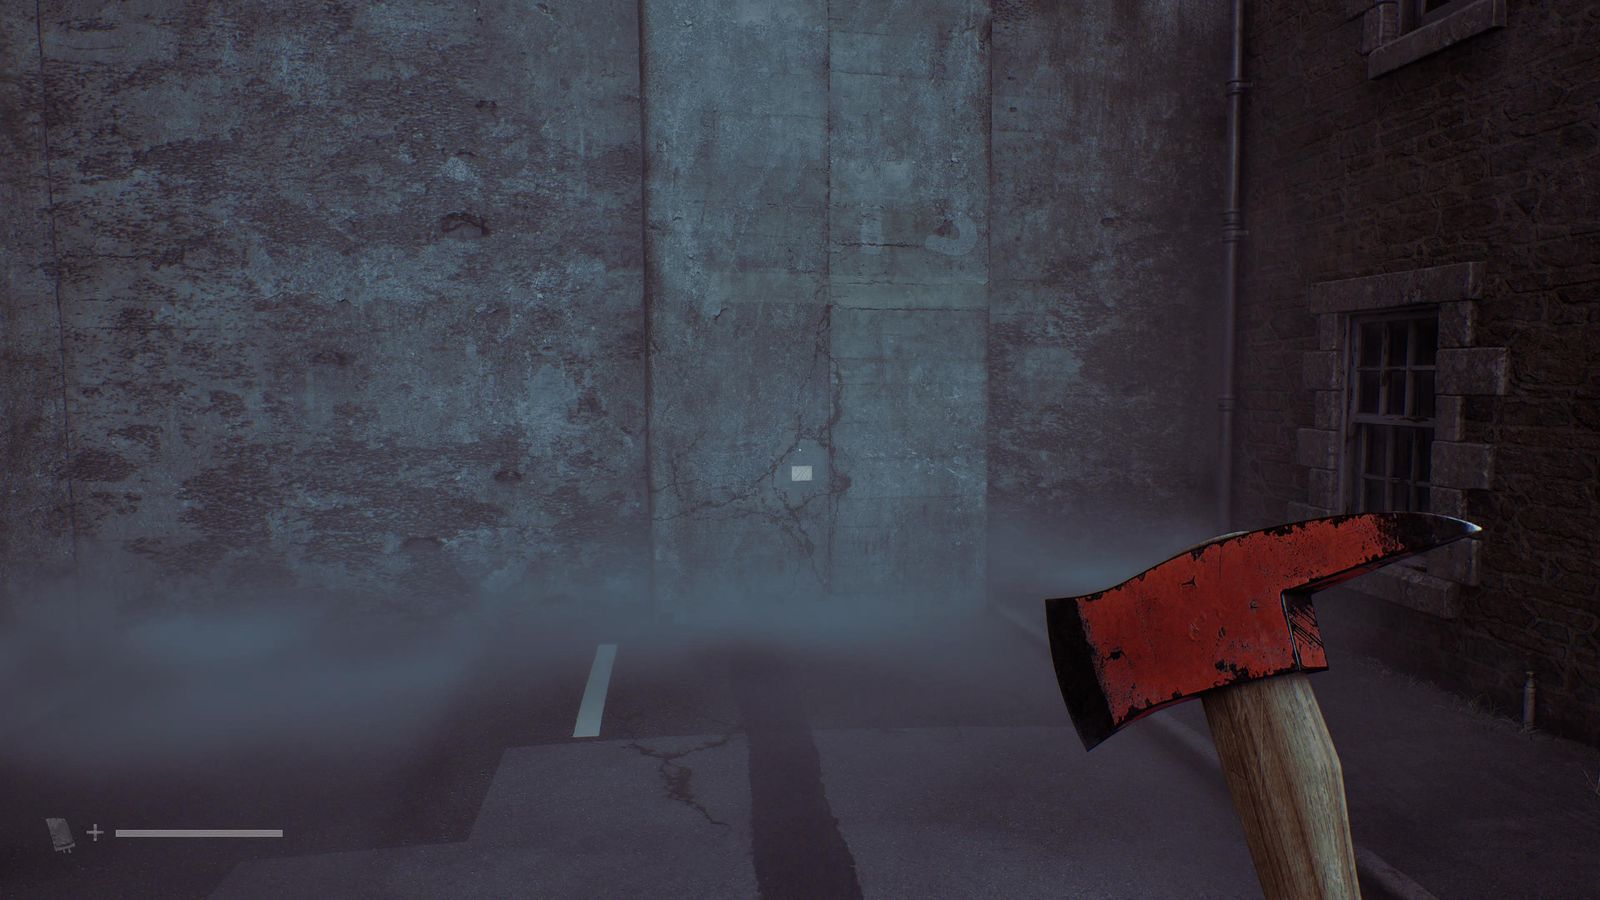
North-west end of Farrow Street, stuck on the far wall.
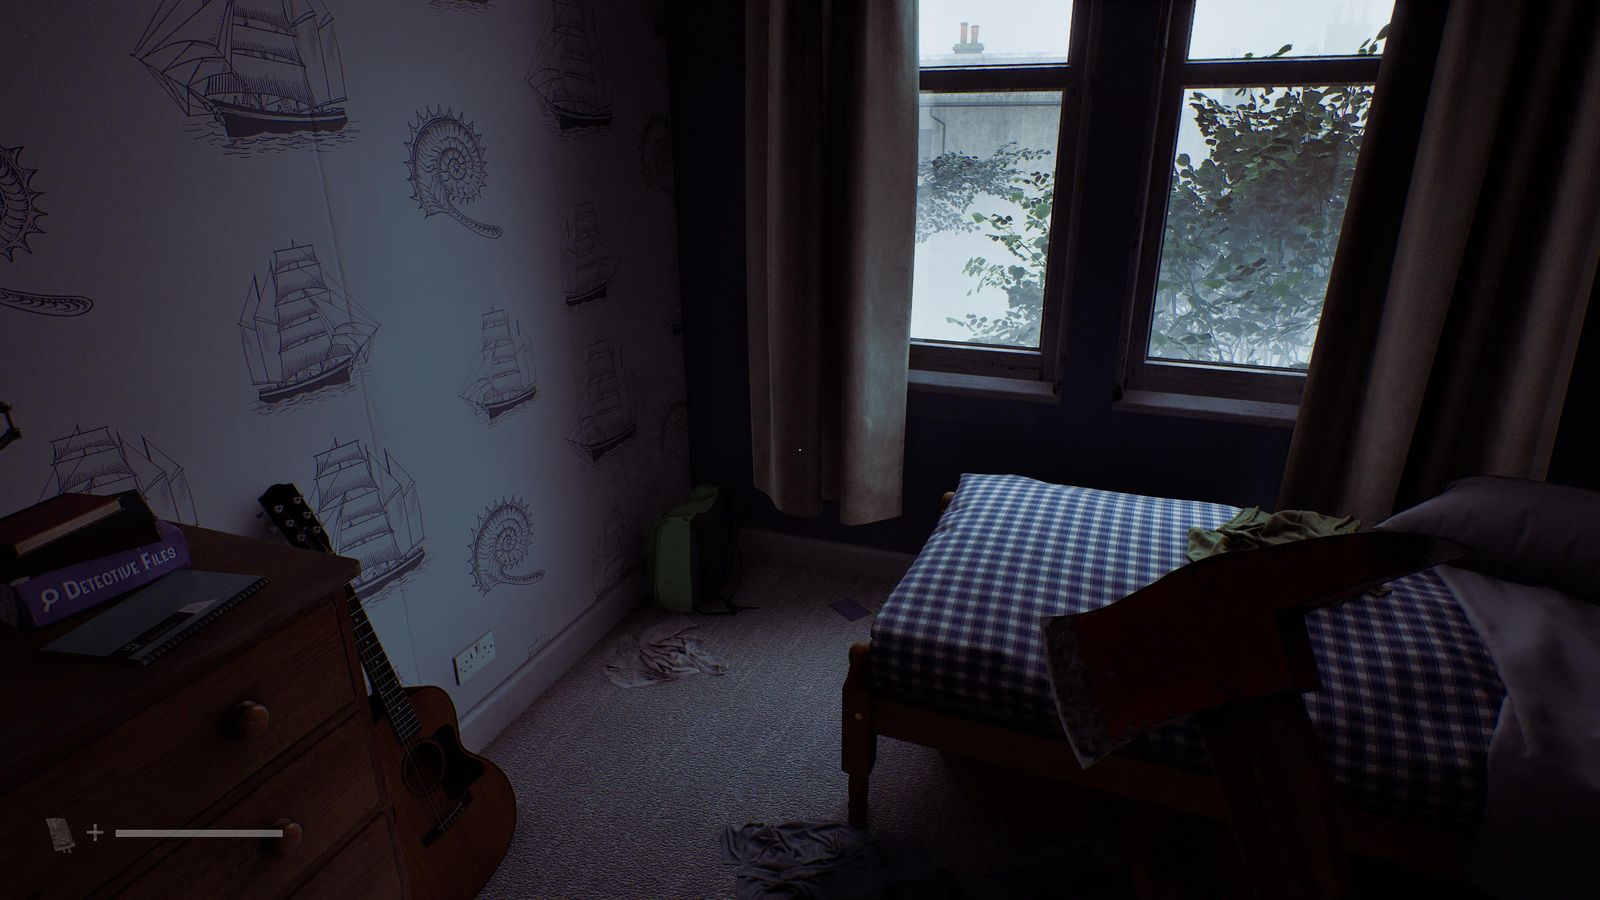
Block 16 flat 1/2: second room on the right, on the floor at the foot of the bed.
Merchant Lane: just after the enemy past the east fork, at the bottom of the steps (next to a Bottle).
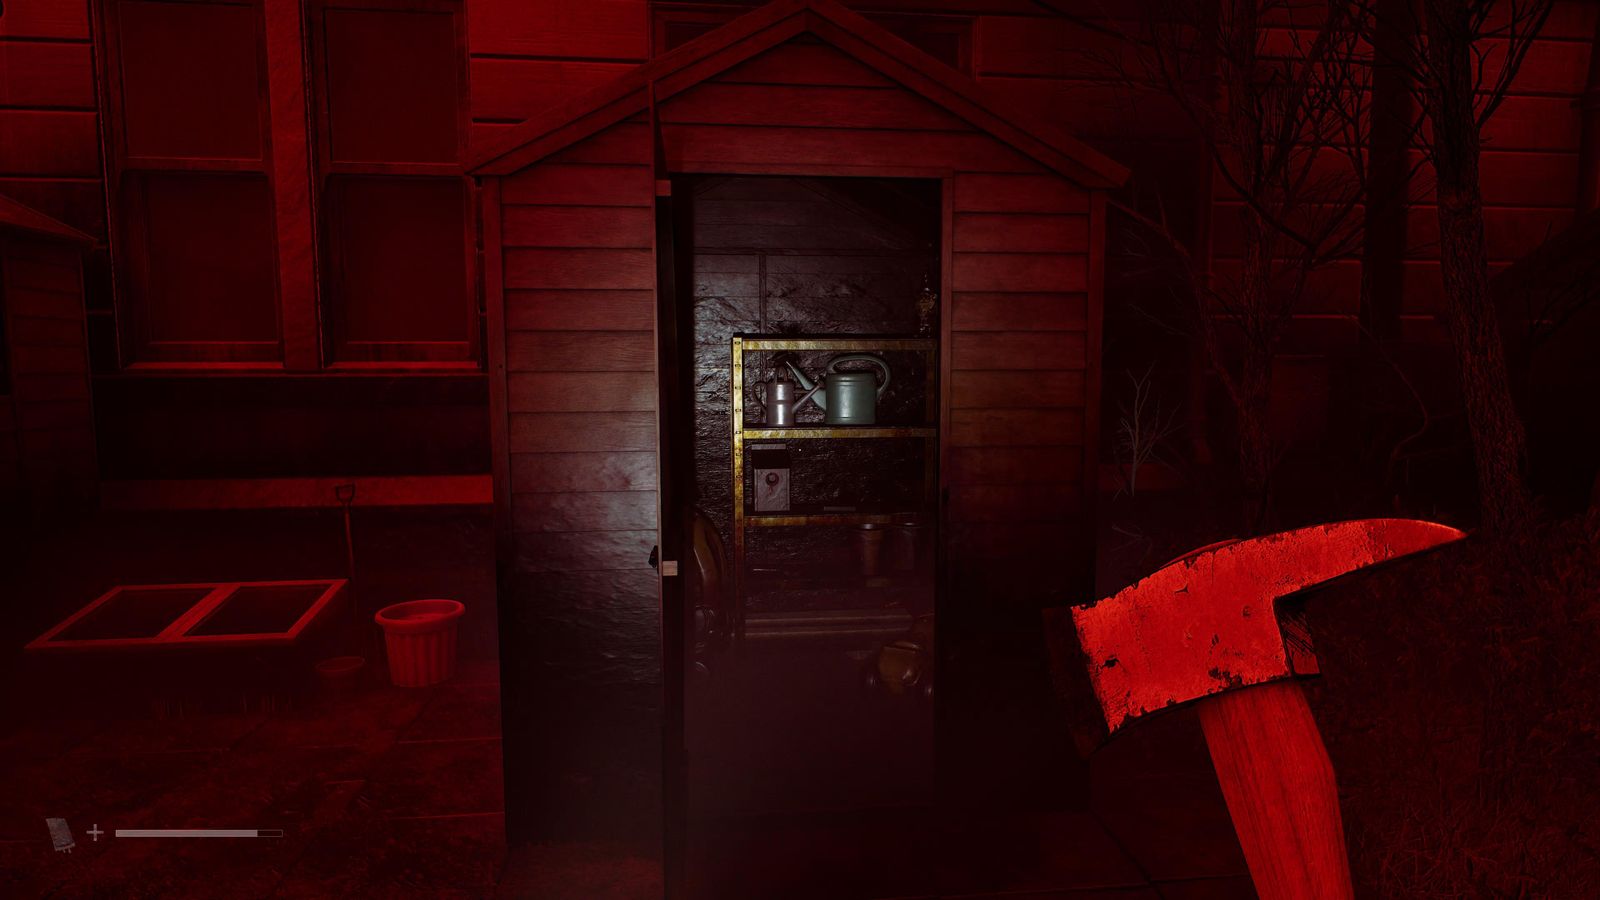
Station Apartments A: out the back door into the gardens, last shed on the left, on a shelf.
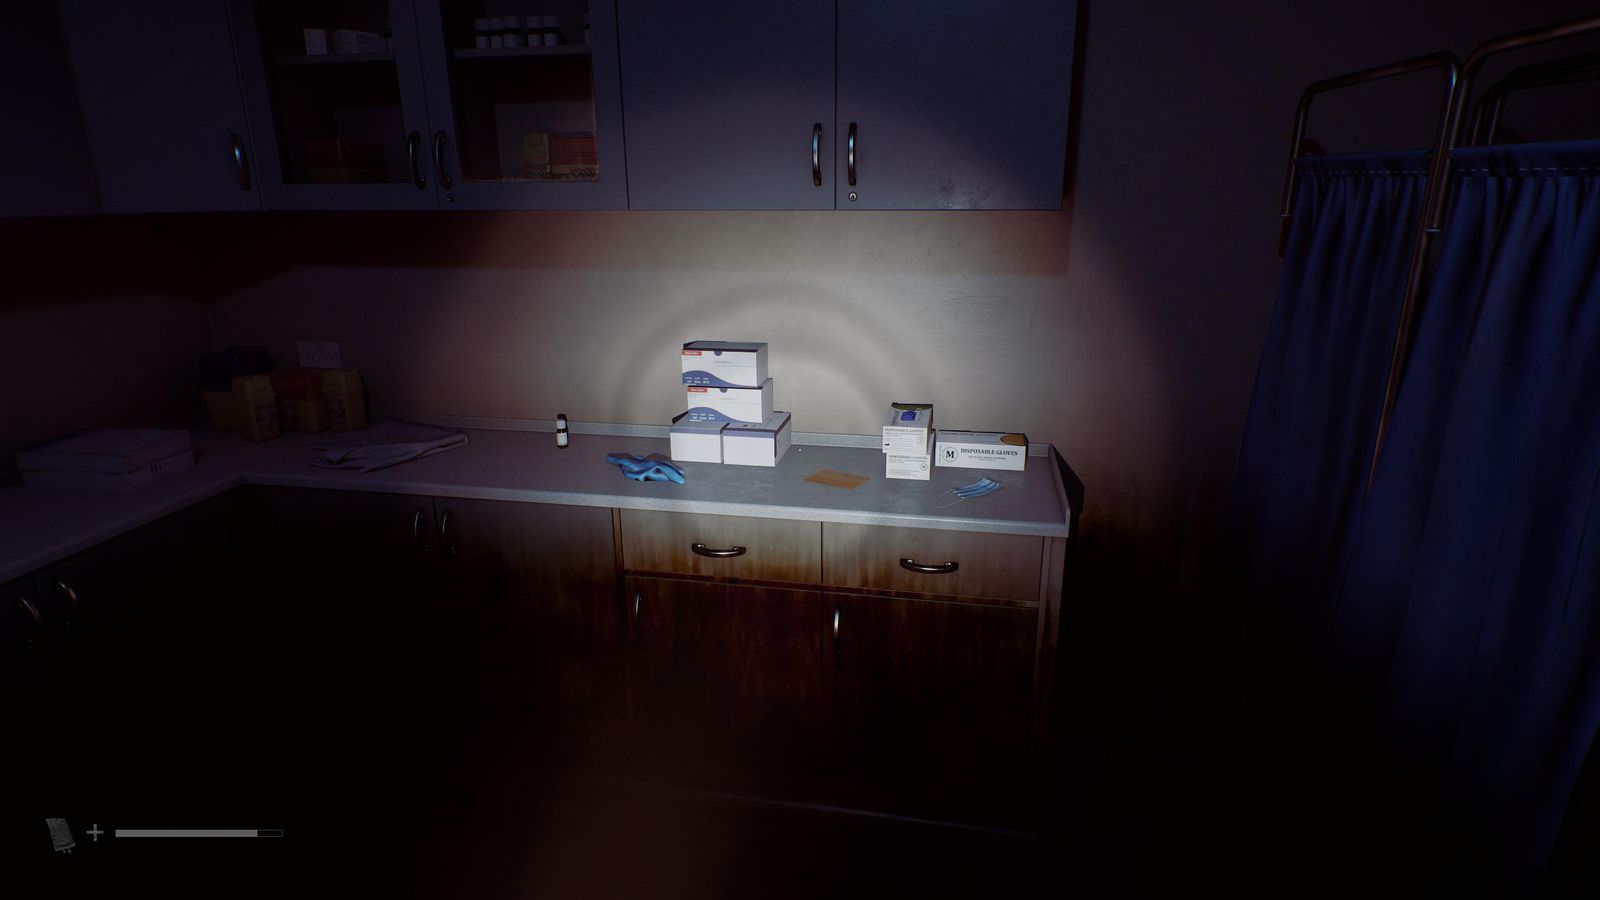
Room 7103 (Otherworld surgery side room), on the back counter.
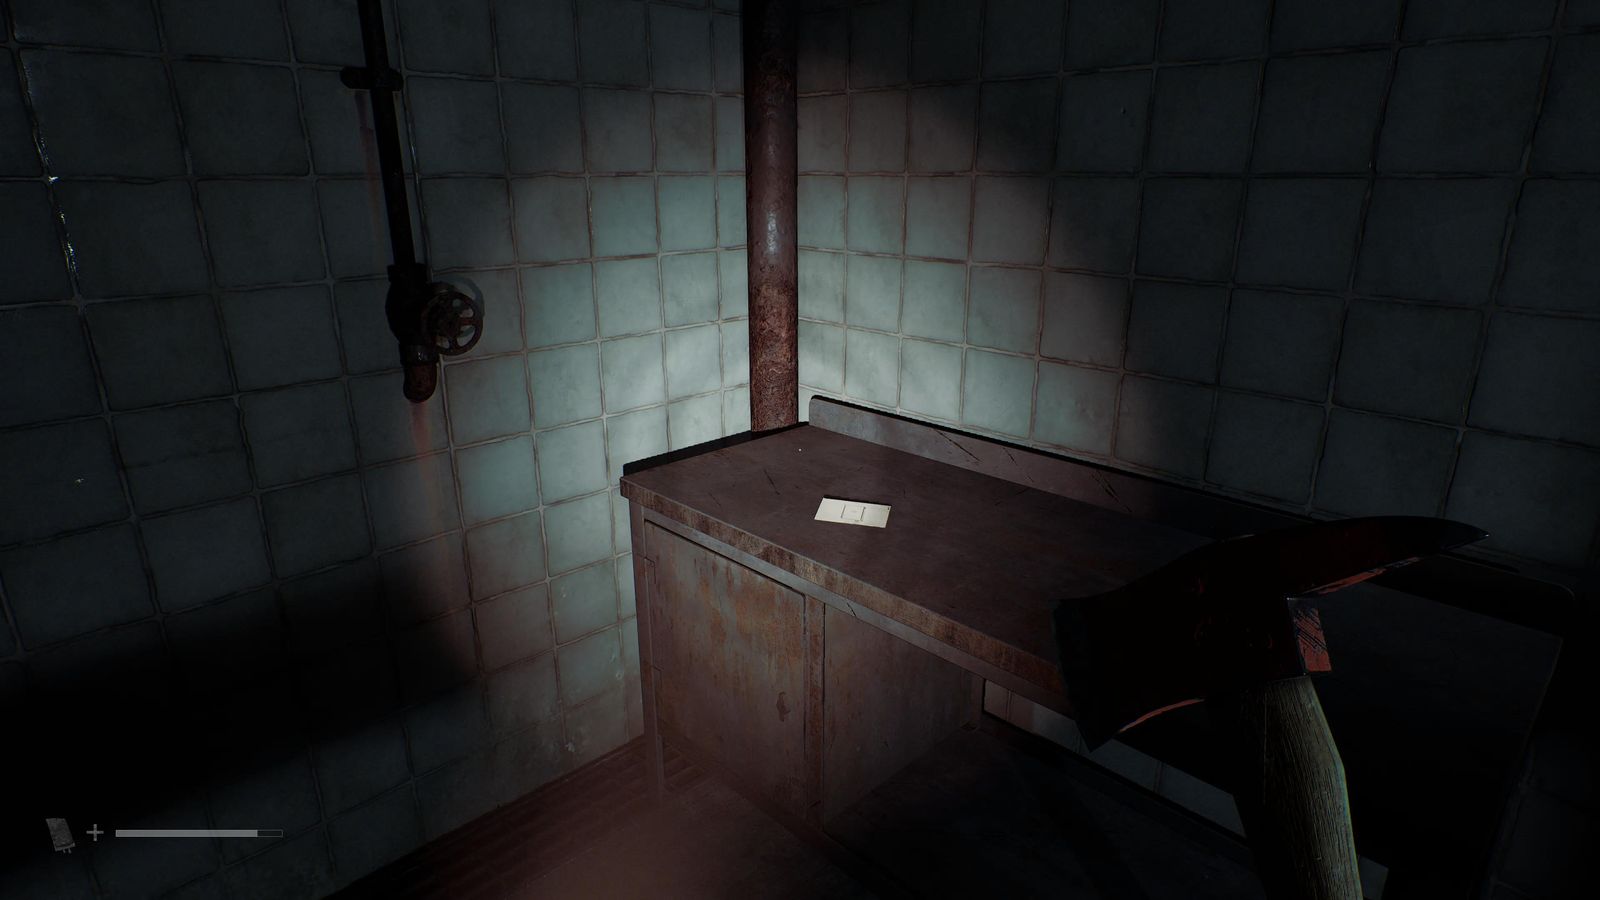
W Block, room W06 (second door), on the table.
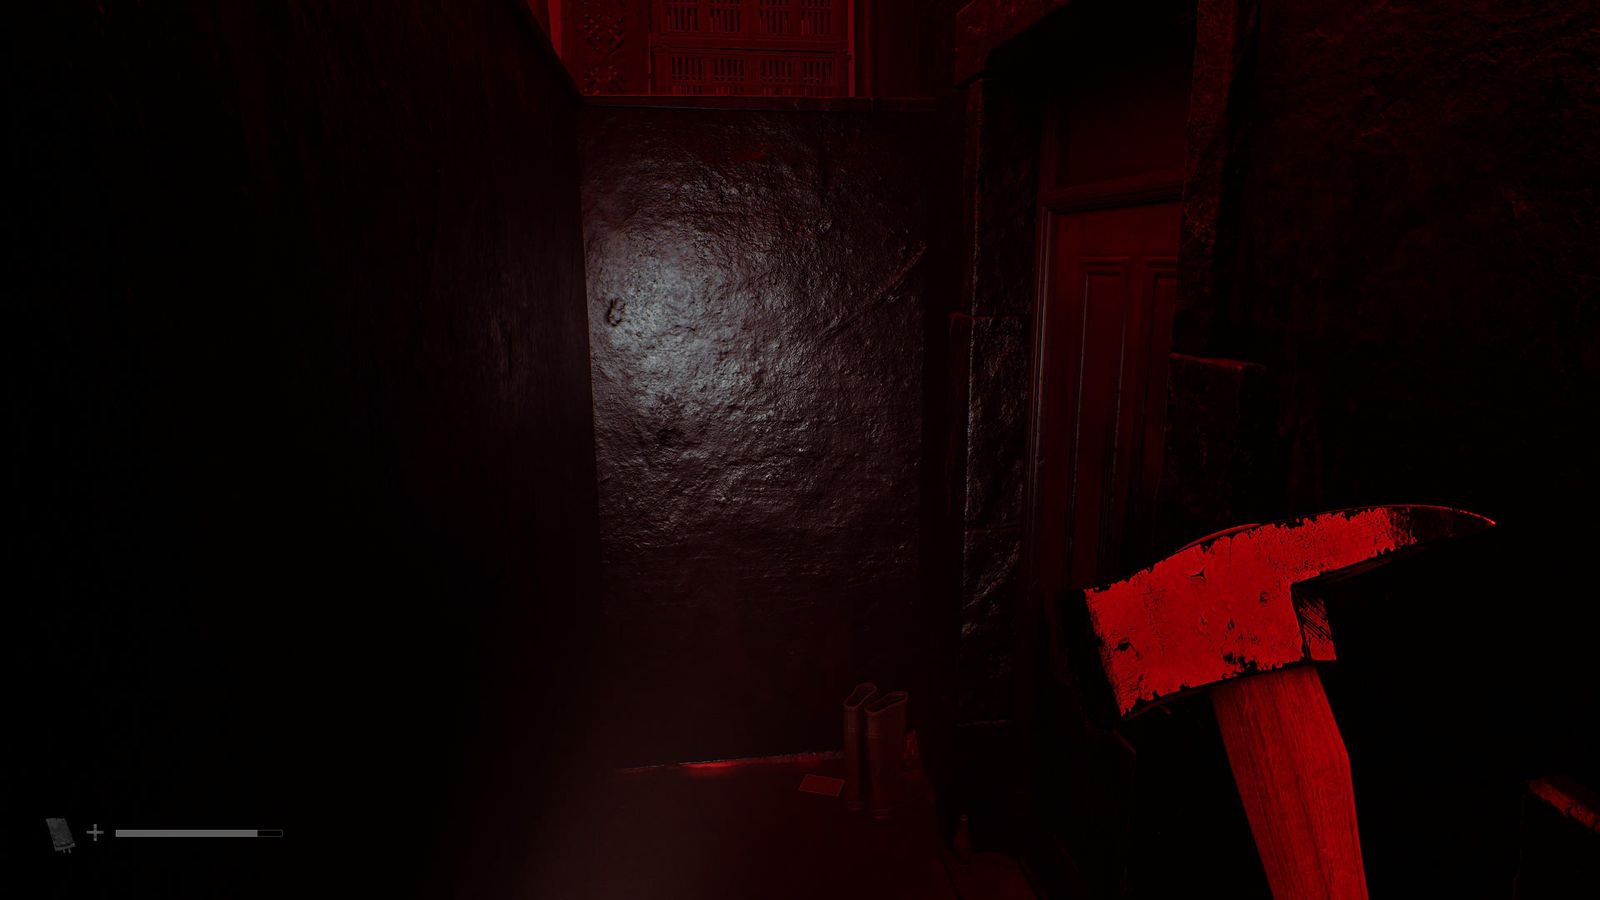
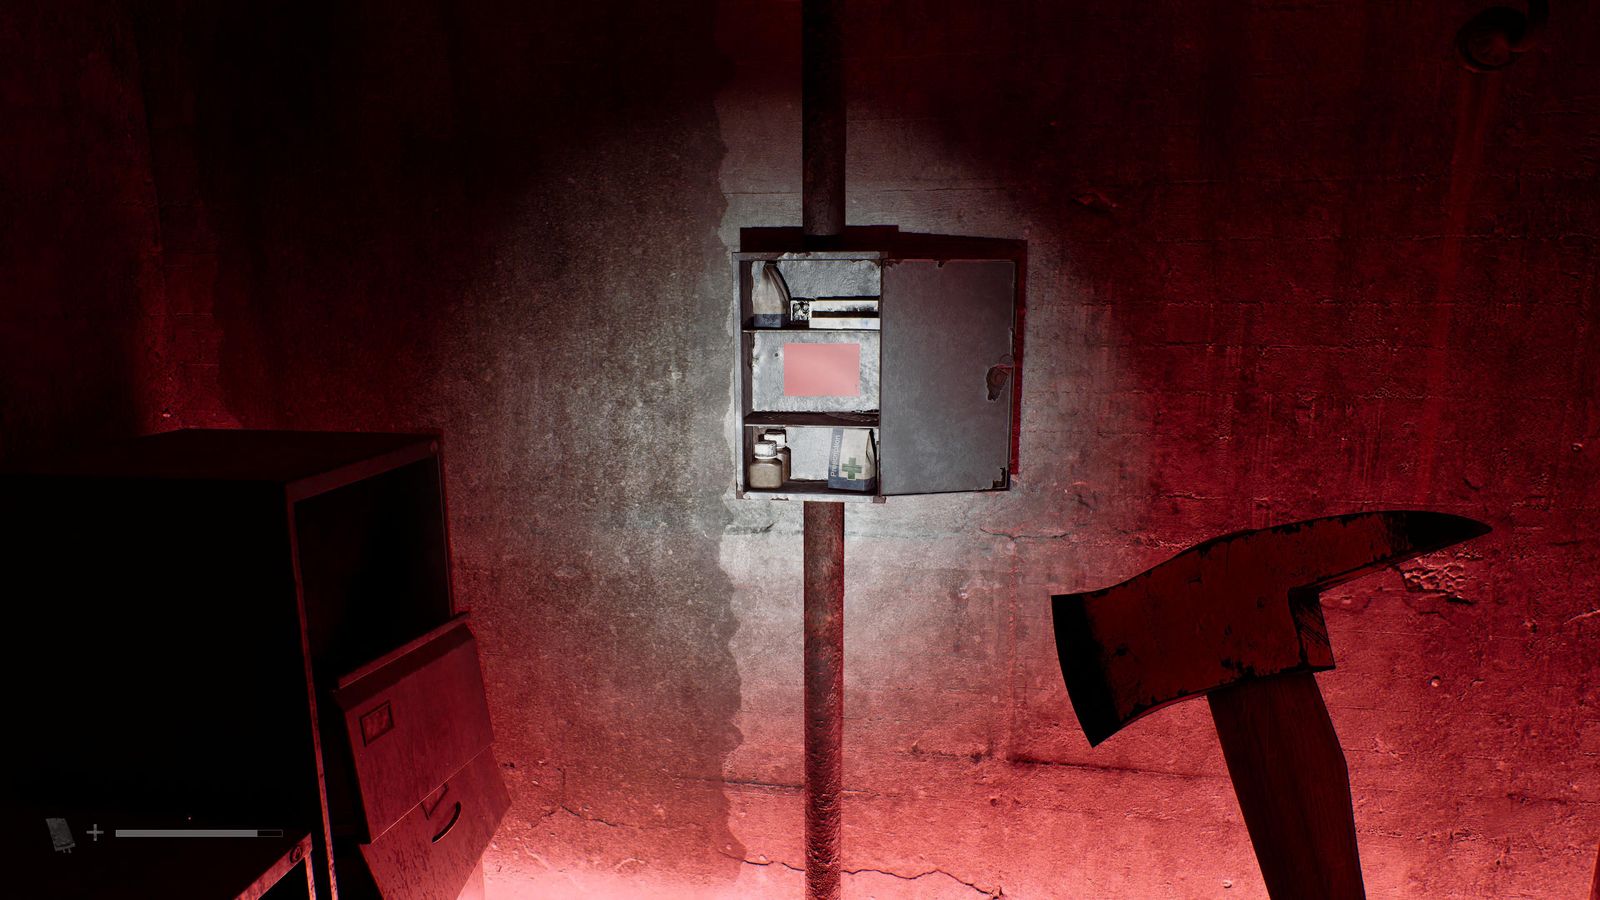
P Block, room P08, inside the wall box.
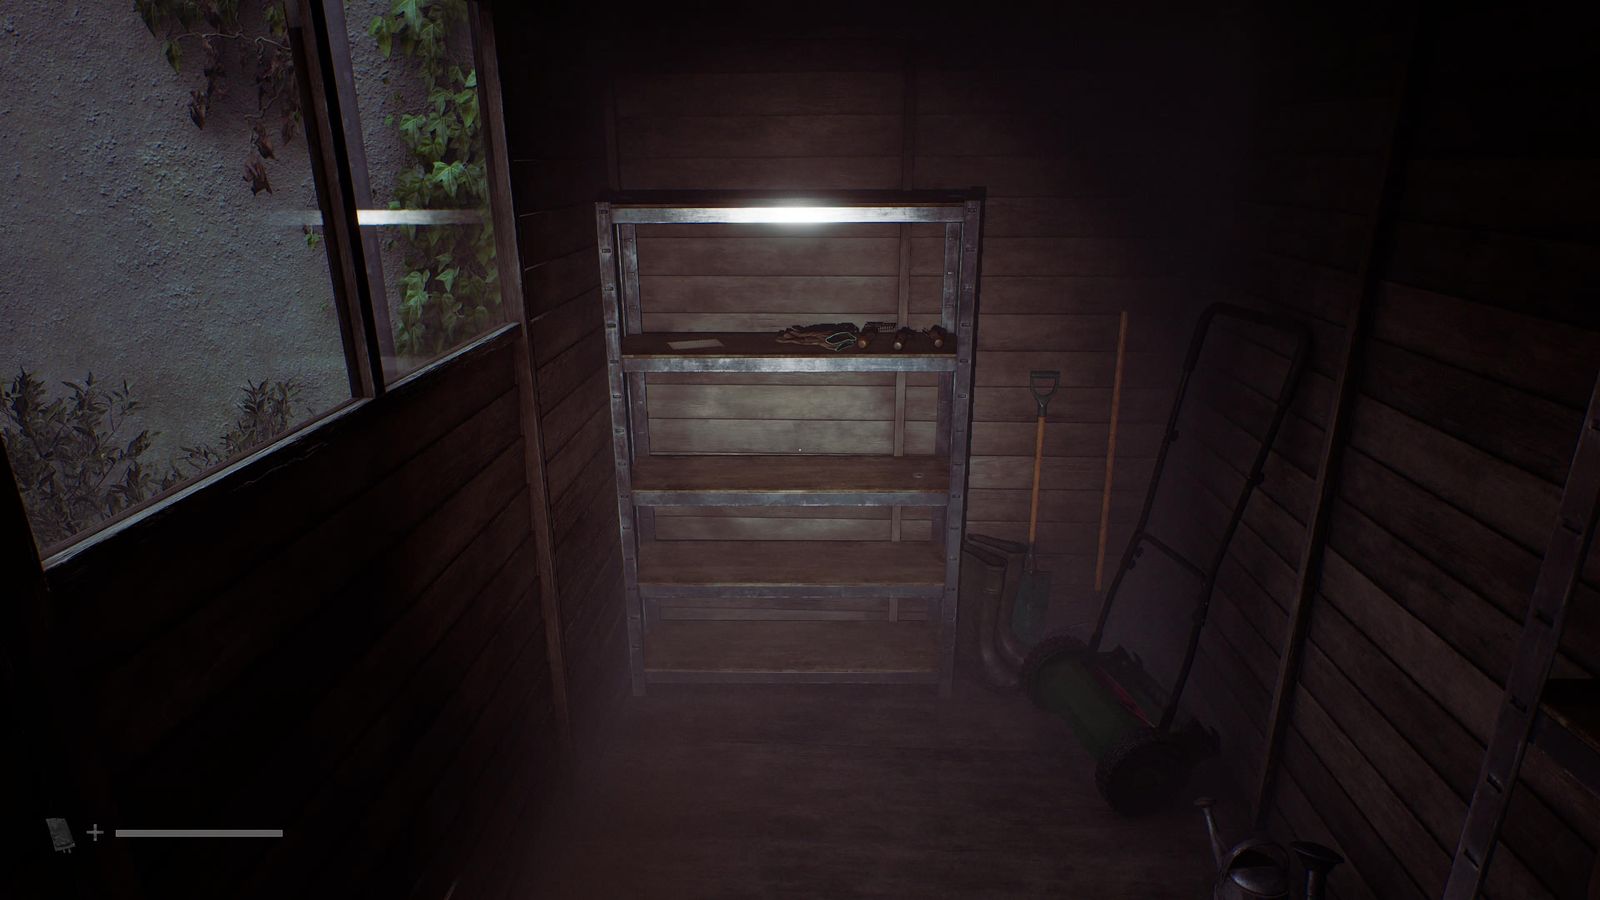
Bridge Burn Road: past the gate where the dormant enemy waits, in the shed at the end (with the Silver Coin).
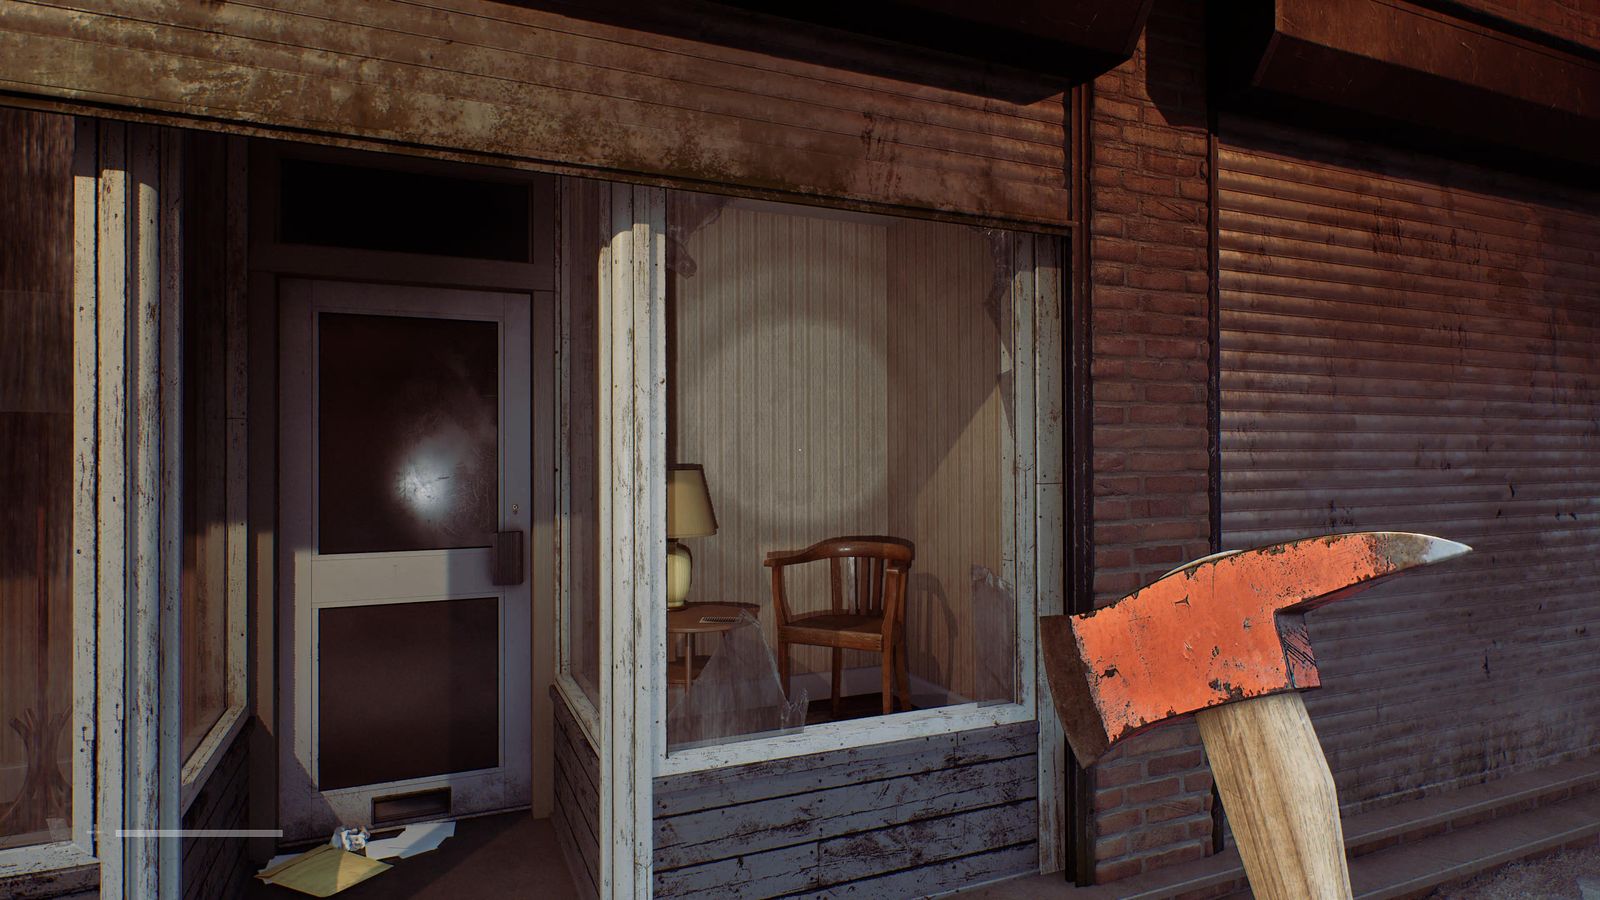
Atlas Way: break the shop window on the left almost opposite Atlas Computers, on the small table inside.
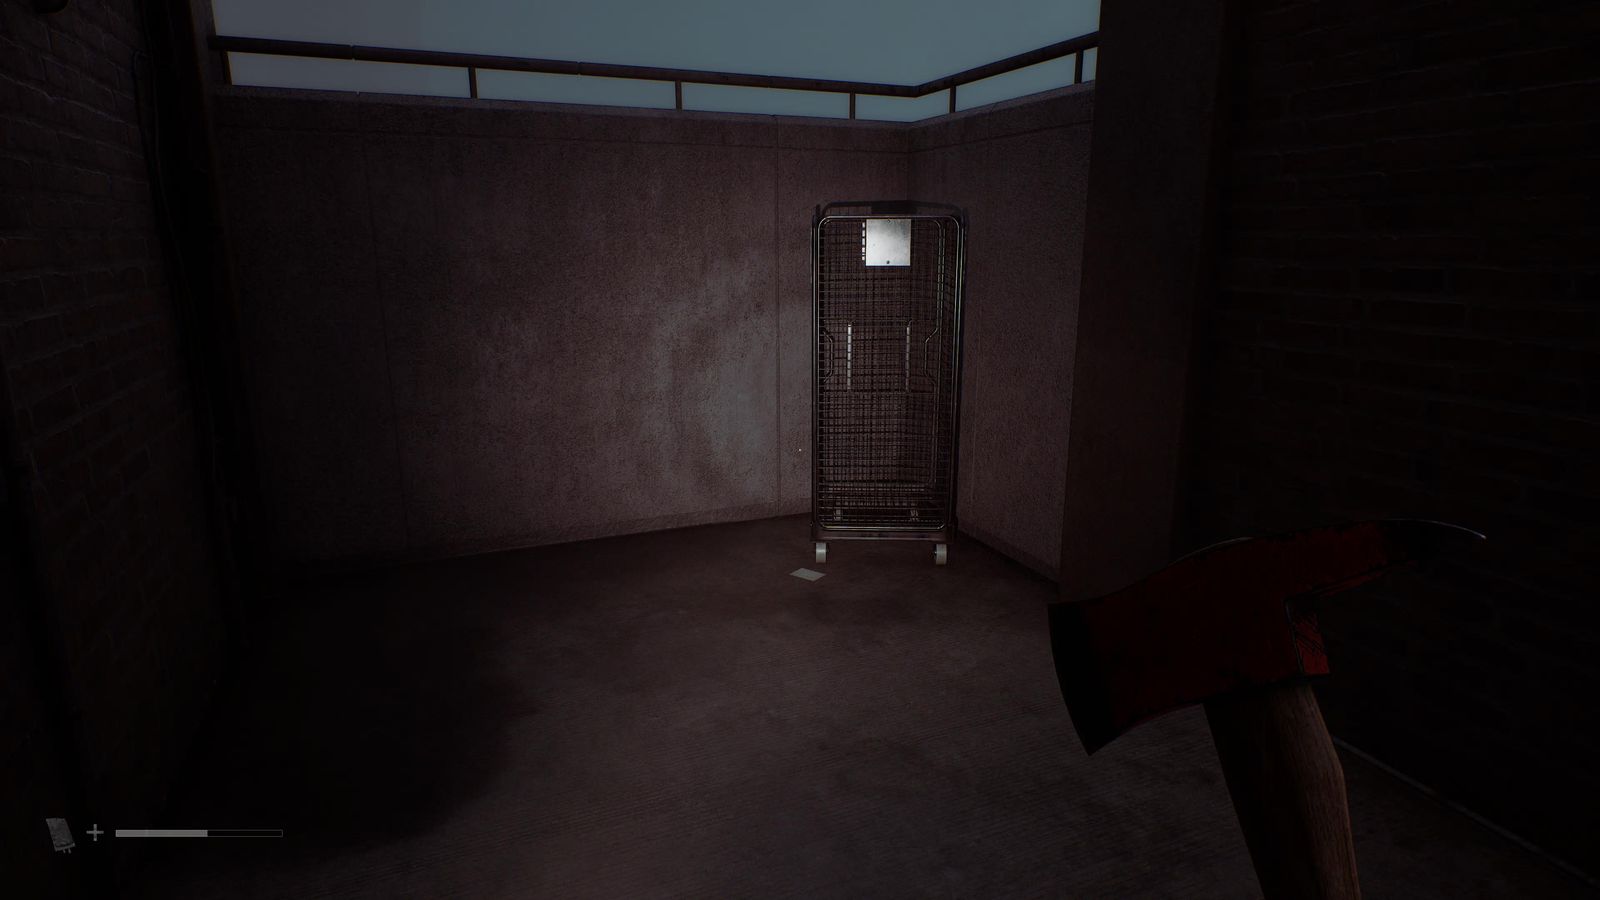
The Overpass: left at the fork (kill the crawler behind the low wall), south-east corner.
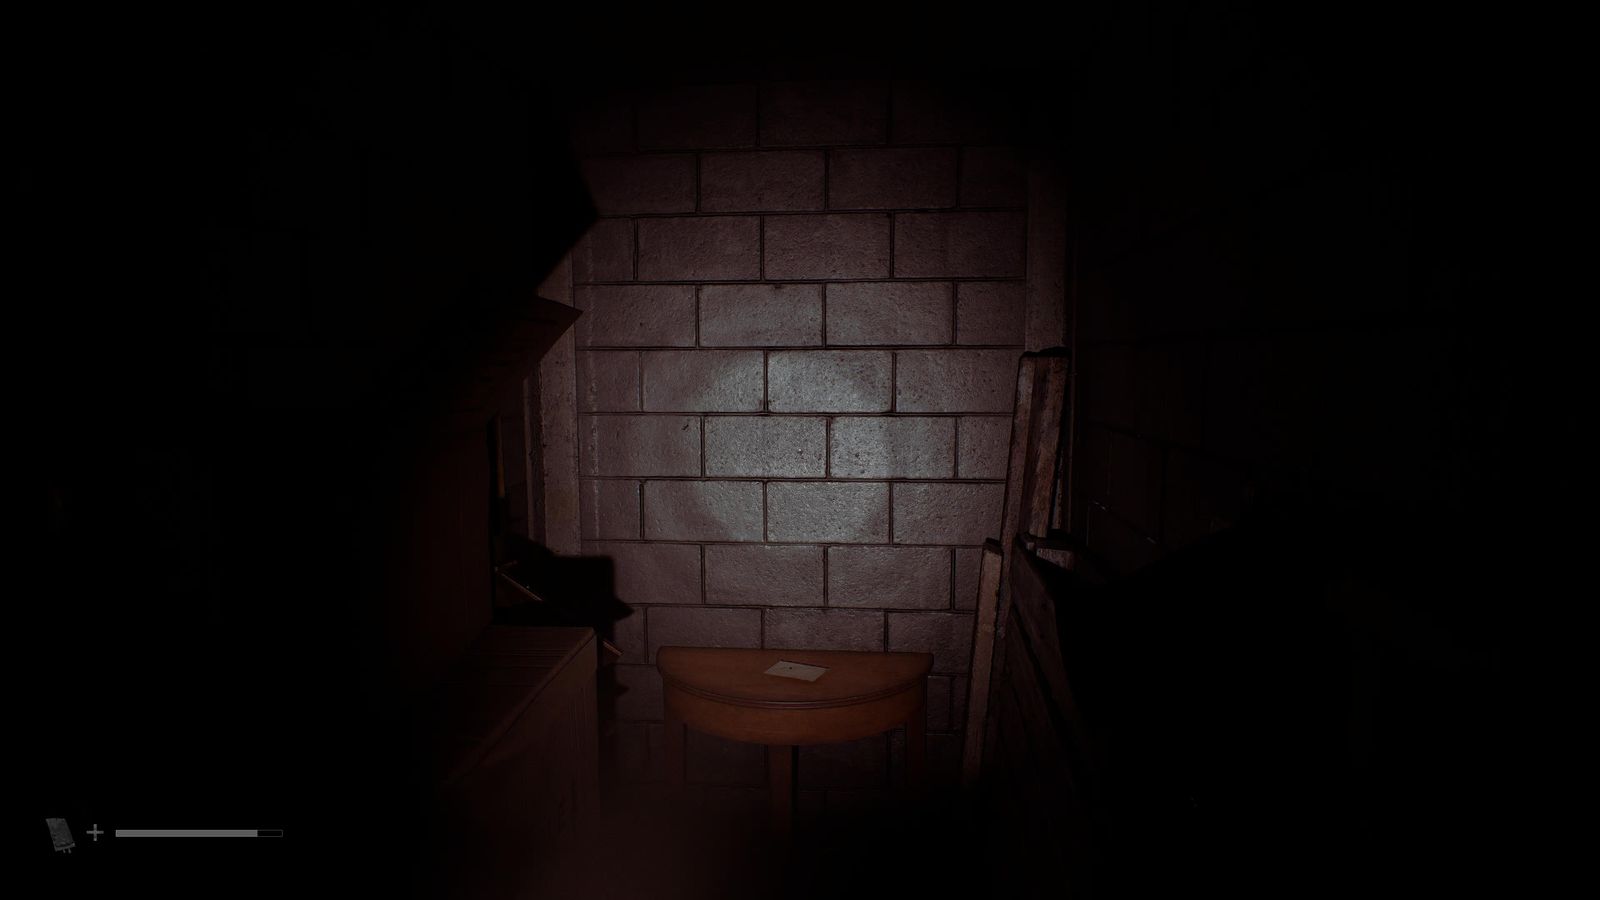
Upper Braes #5 back alley (Back Door Key): go left, crouch into the last open space on the right, small table.
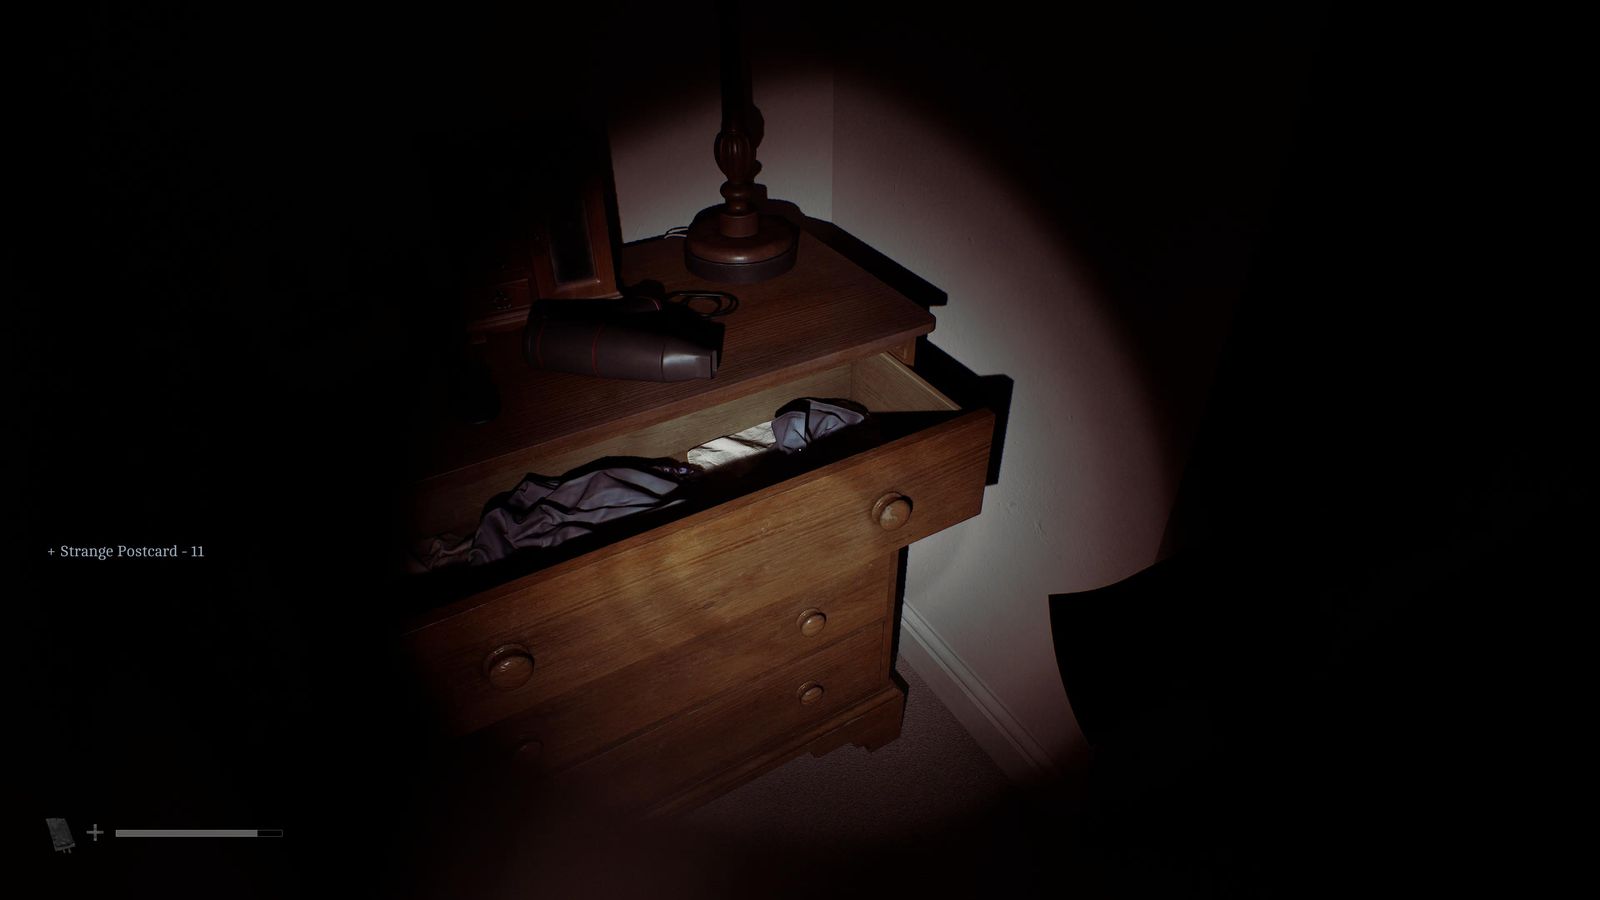
Apartment Block #1, flat 1B: far-left room, top drawer.
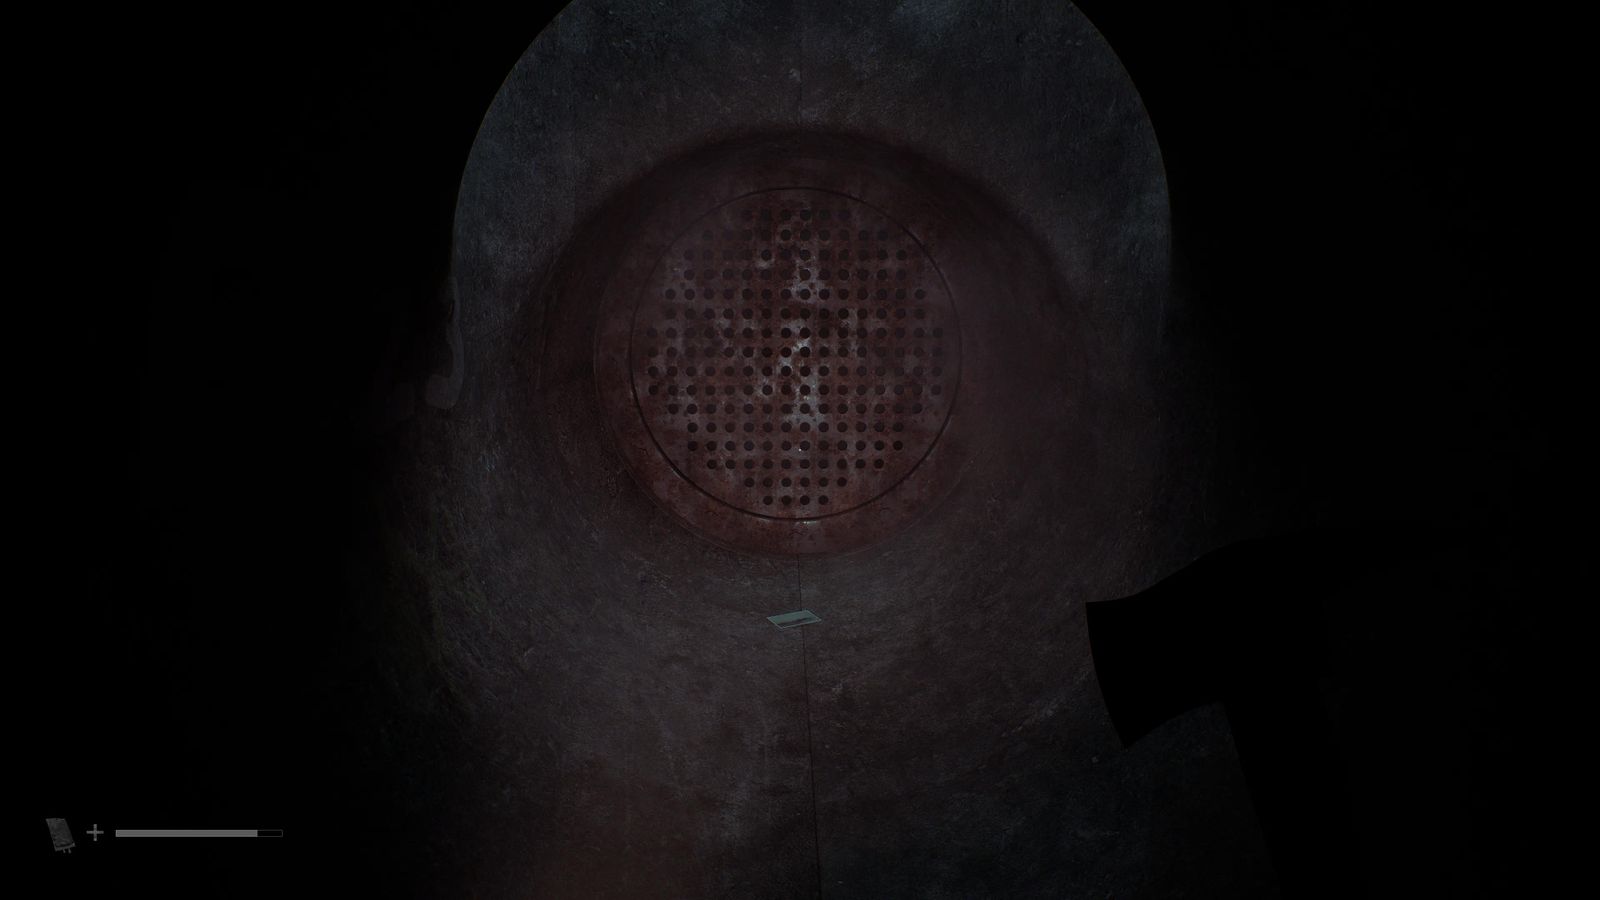
CEG HQ (Different) floor 4 vents: take the second right, then the next left, to the dead end.
All 19 CRTV signal locations
Hold the CRTV out and listen for static. Where there's a tuner on a table, interact with it and follow the calibration until it locks onto the channel. Several signals only appear at a set story moment, so tune them when you're there.
| # | Channel | Chapter | Where |
|---|---|---|---|
| 1/19 | 48 | Escape | Hotel room 204, before opening the bathroom. |
| 2/19 | 62 | Escape | Same spot, second frequency. |
| 3/19 | 47 | A Connection | Town Square, as soon as you have control after the hotel. |
| 4/19 | 21 | Searching for Zoe | Zoe's house, by the front door. |
| 5/19 | 30 | Searching for Zoe | Pharmacy (7): tuner on the desk. |
| 6/19 | 64 | Journey to Medical | Otherworld town square, as soon as you have control. |
| 7/19 | 26 | Journey to Medical | Station Apartments B flat 1/1: tuner on the table by the windows. |
| 8/19 | 28 | Many Into One | Otherworld workshop: tuner on the workbench. |
| 9/19 | 63 | Begin Again | Bridge Burn Road, Locals store: tuner on the middle table. |
| 10/19 | 63 | Missing Parts | Inspect the pipe slot at the Atlas Way gate first, then walk back towards the Post Office with the CRTV out. |
| 11/19 | 67 | Missing Parts | After the passage between CEG Staff Parking and CEG Lockers. |
| 12/19 | 29 | Missing Parts | South Braes #5: tuner in the living room. |
| 13/19 | 59 | Missing Parts | Becomes available after you collect the Boltcutters. |
| 14/19 | 29 | Missing Parts | Outside Upper Braes #5 after the tape house. |
| 15/19 | 65 | Missing Parts | Once you hold all three Mechanical Parts. |
| 16/19 | 61 | CEG HQ | Security room: tuner on the right. |
| 17/19 | 43 | Fix This | Tuner at the end of the workbench (with the Reference Sheet). |
| 18/19 | 43 | Fix This | Pipe tunnels: tuner in the small tunnel left of the metal cabinet. |
| 19/19 | 57 | Trying Again | SWDP south-east room: tuner on the bunk bed with the RCU Refit Note. |
All 13 phone numbers
A number only counts once you've called it and let the call play out. Never confirm a save while you're on the phone.
| # | Number | Who | Where / when |
|---|---|---|---|
| 1/13 | 900 | Emergency | Logged automatically in the Town Square phone scene. |
| 2/13 | 010 | Operator | Same scene. |
| 3/13 | 100 | Save line | Same scene (the number you dial to save). |
| 4/13 | 496 0496 | Tourist Centre | Call from the Town Square phone box; let it finish. |
| 5/13 | 496 0244 | Haldane Hotel | Same phone box. |
| 6/13 | 496 0842 | Unknown | Same phone box. |
| 7/13 | 496 0103 | Zoe Ellis | Notepad in the little case next to Mr. Stewart's hall phone; call from there. |
| 8/13 | 01632 960595 | St. Amelia District Council | Same notepad. |
| 9/13 | 496 0556 | Dr. Glenn | Station Road phone box; then press extensions 3, 2, 2, 1. |
| 10/13 | 5353 | Hospital Storage | Medical Centre reception phone (story-required: it calls the lift). |
| 11/13 | 946 | WHO Dial Back Service | Atlas Square phone box (Clara Woods). |
| 12/13 | 496 0112 | Unknown | Same phone box. |
| 13/13 | 496 0993 | CEG Lockers | Same phone box. |
All 7 resource container locations
Each container needs a Lock Box Key, always found shortly before it; the screenshots show the key first, then the box. Full route with directions: all Lock Box Key and Resource Container locations.
Key: Jess's house (the back door right of shop 14 on Farrow Street, opened with the 21 Farrow St. Back Door Key): the key is in the cupboard under the kitchen sink.
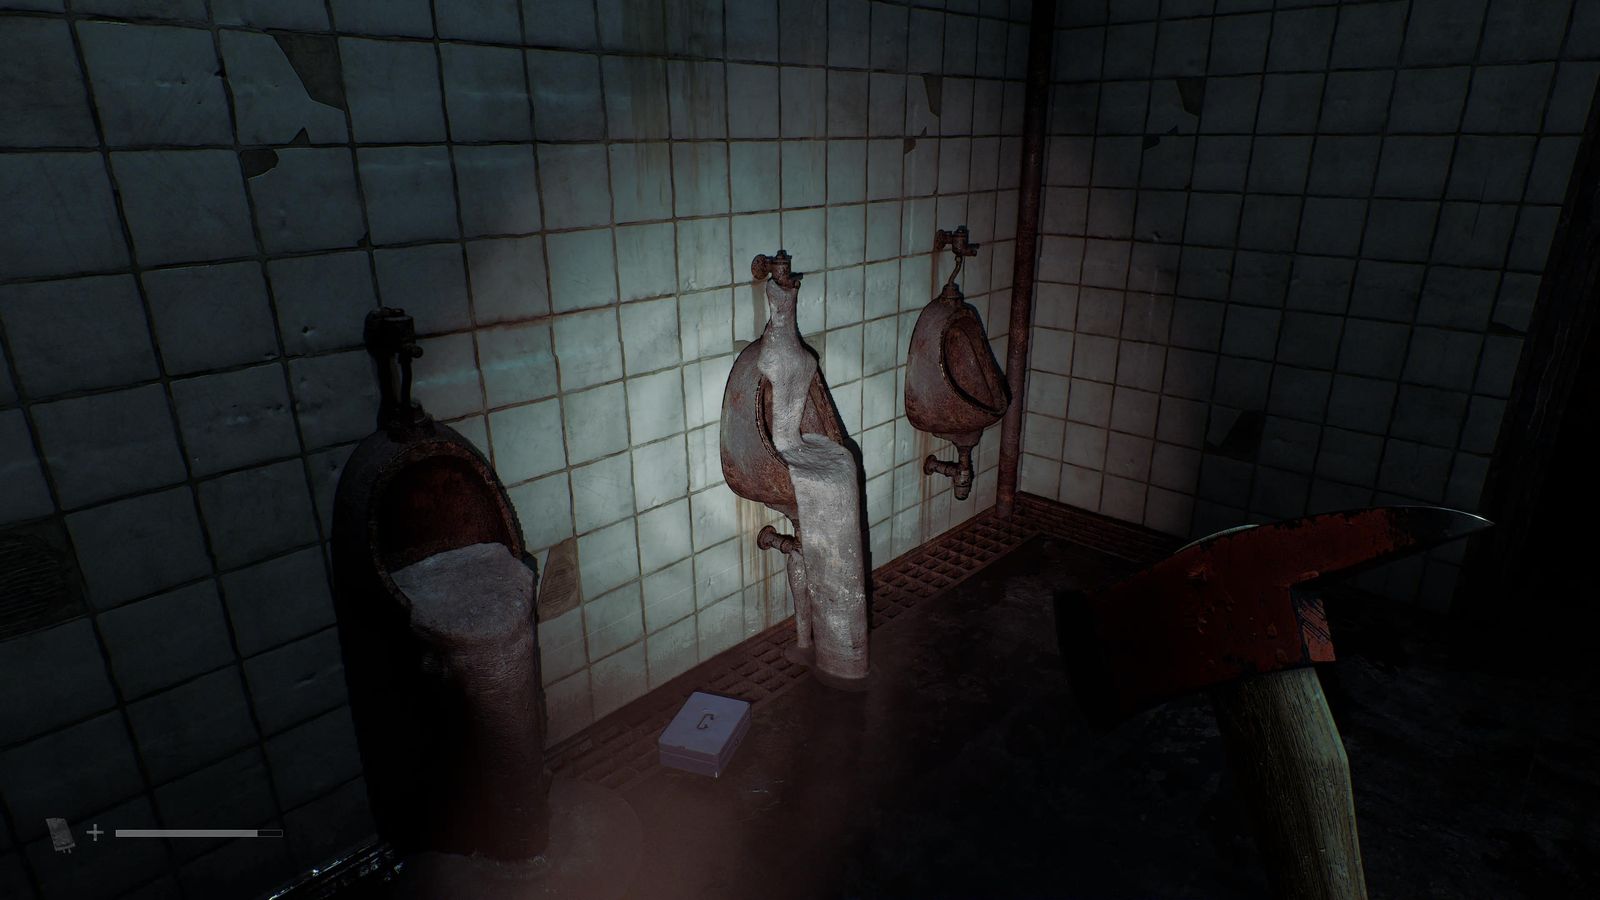
Container: Leave by Jess's front door and cross the road to Apartment Block 16 (the building with the blue door). Go in and take the ground-floor flat on the right, 0/1: in the living room, the container (a small dark-blue lock box) sits on the round, dark coffee table next to a mug.
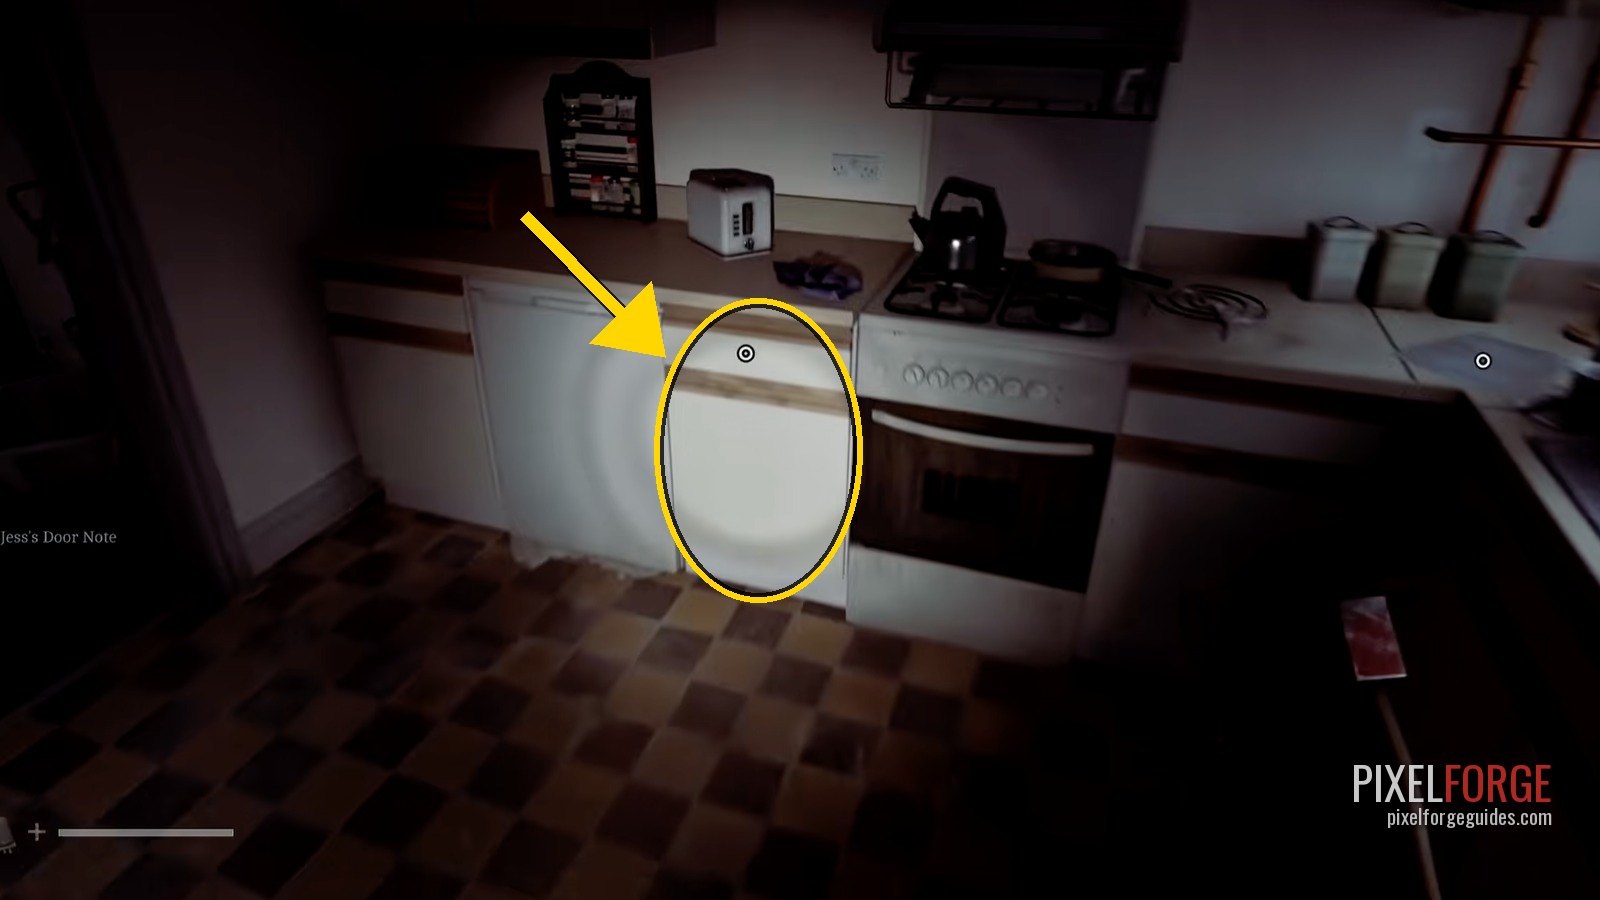
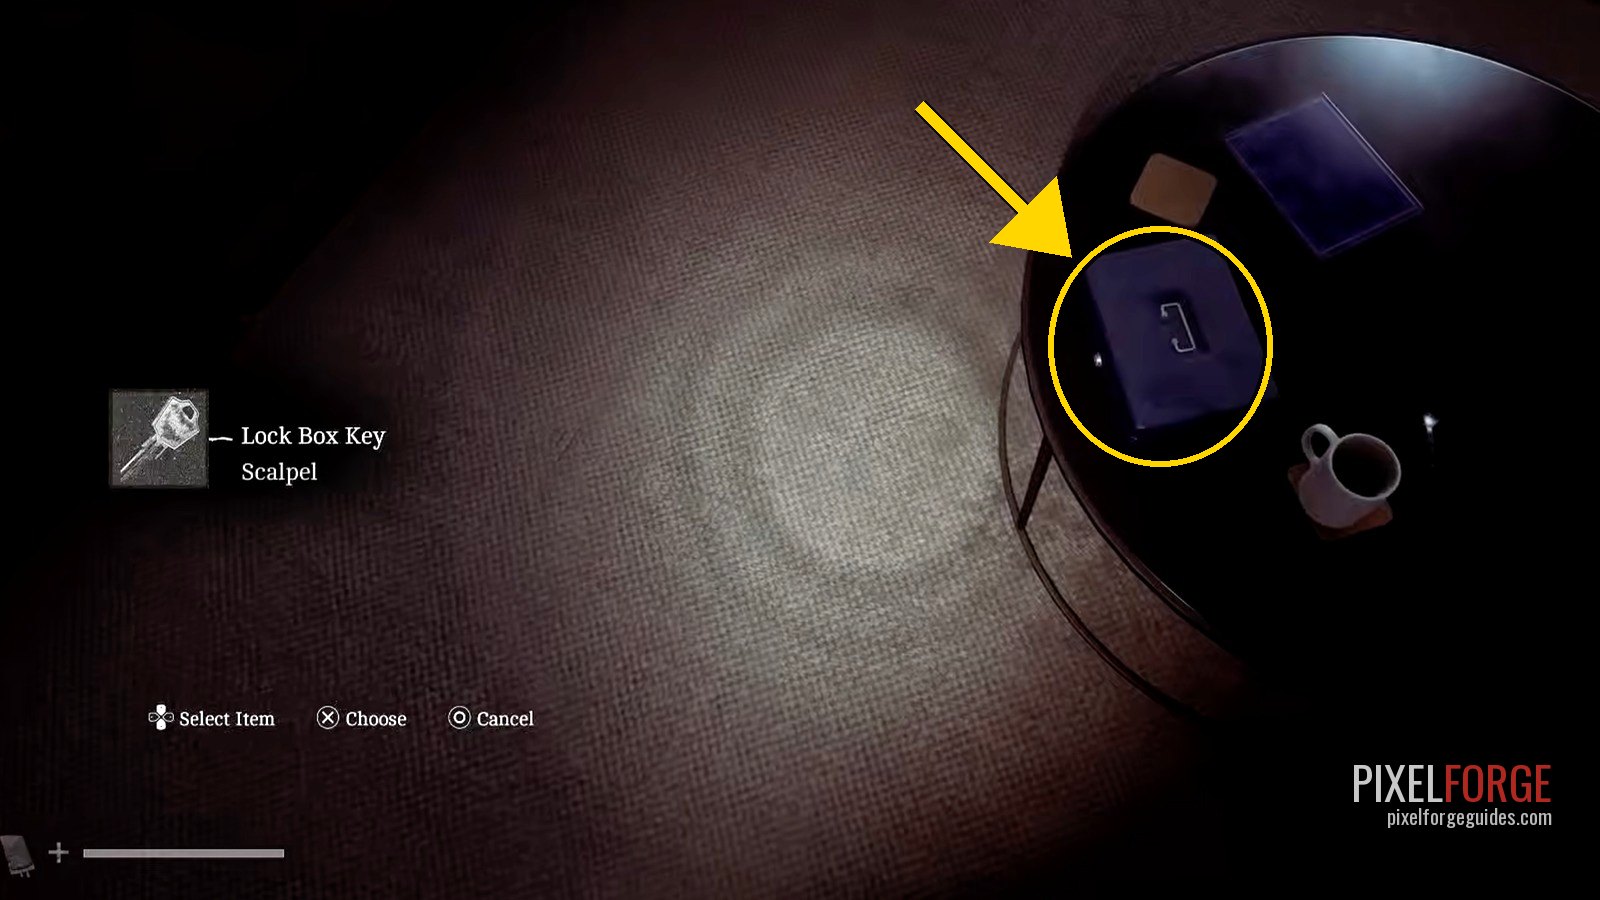
Key: Station Apartments A: from the scaffolding window go down one floor to flat 1/1, then into the first bedroom on the right (an enemy waits there). The key is on the bed.
Container: Back out on the landing, climb the stairs to the top floor: the container is on the low table at the top.
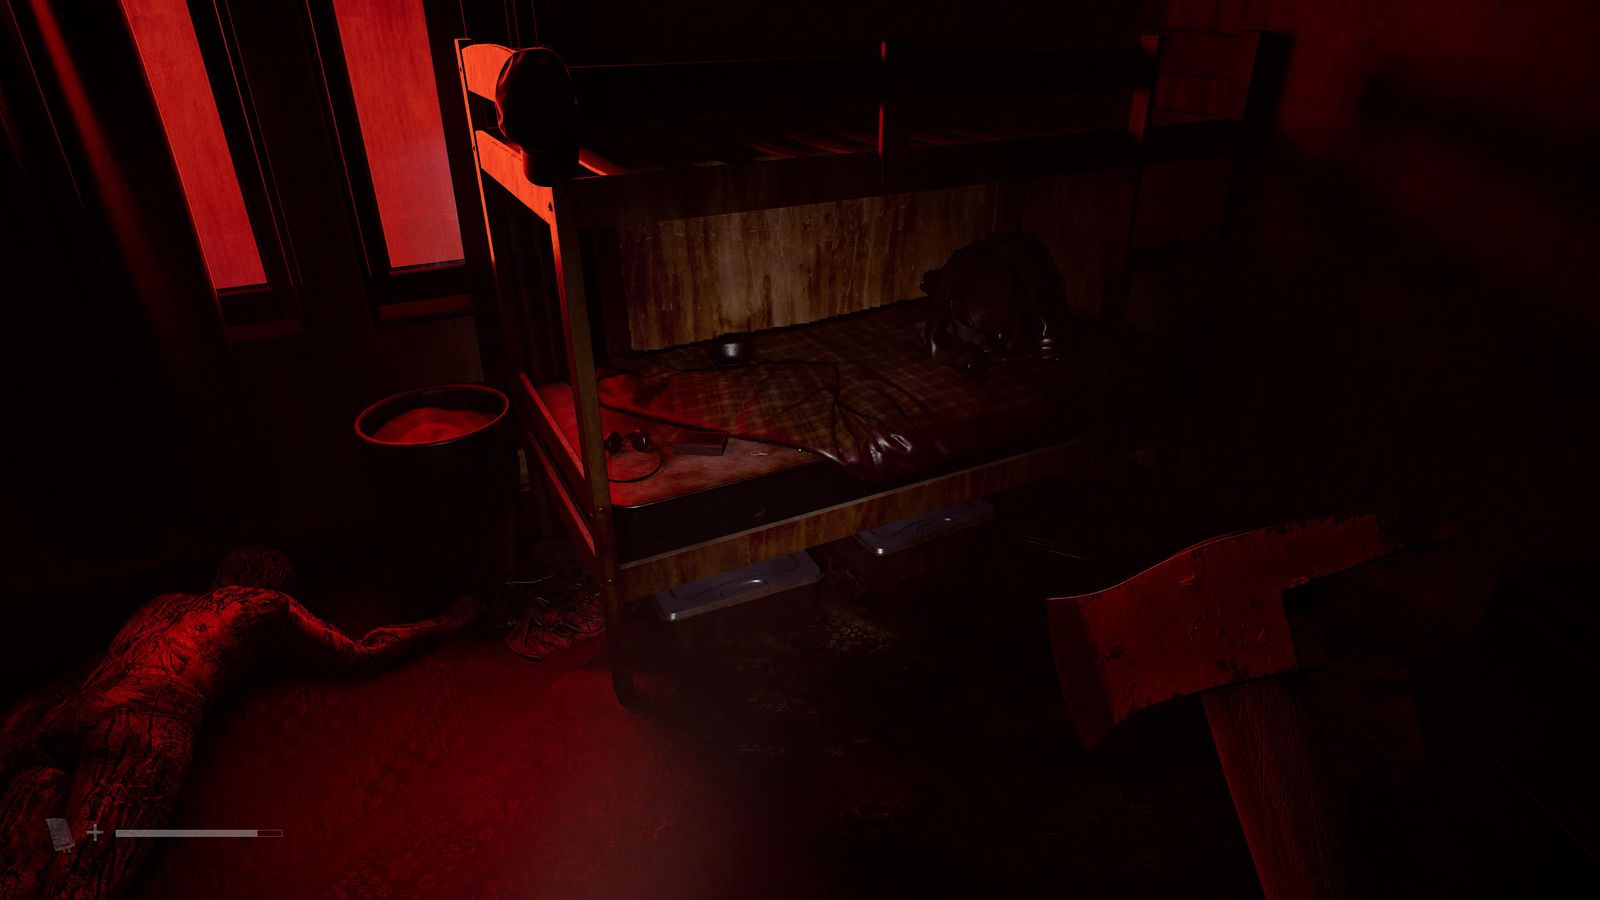
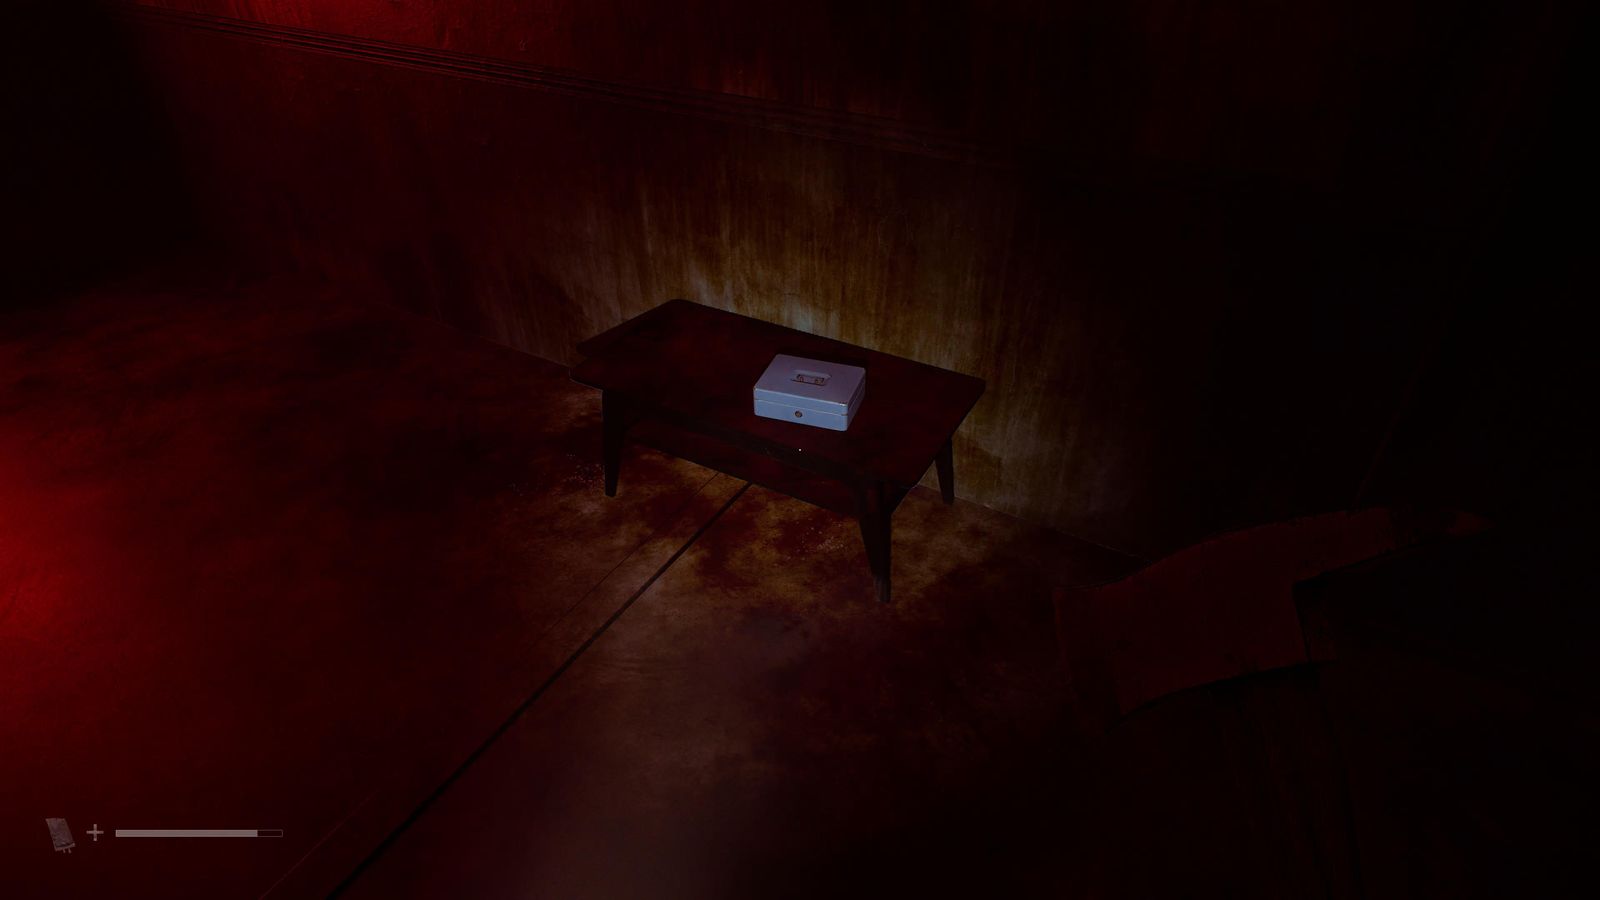
Key: Otherworld hospital, W Block: follow the W corridor left to room W11 near the north-east corner (one enemy inside). The key hangs in the right-hand one of the two key cabinets on the wall.
Container: S Block, room S01 (the middle room of the S corridor, the one with the locker you hide in for Isolating Experience): when you step out of the locker, it's on the floor to your left.
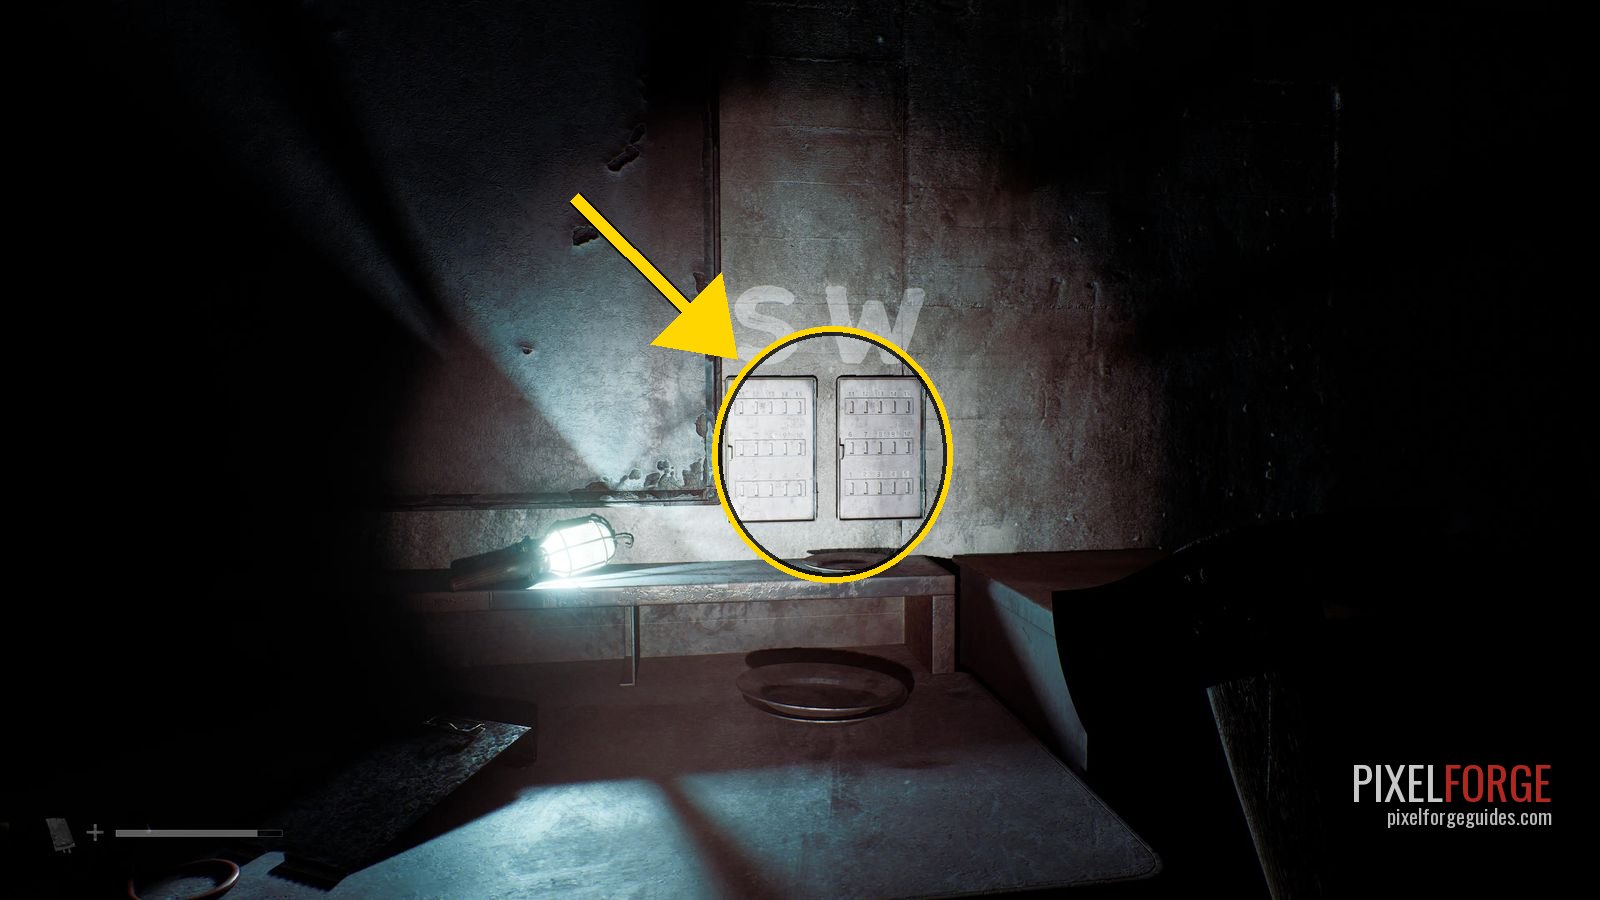
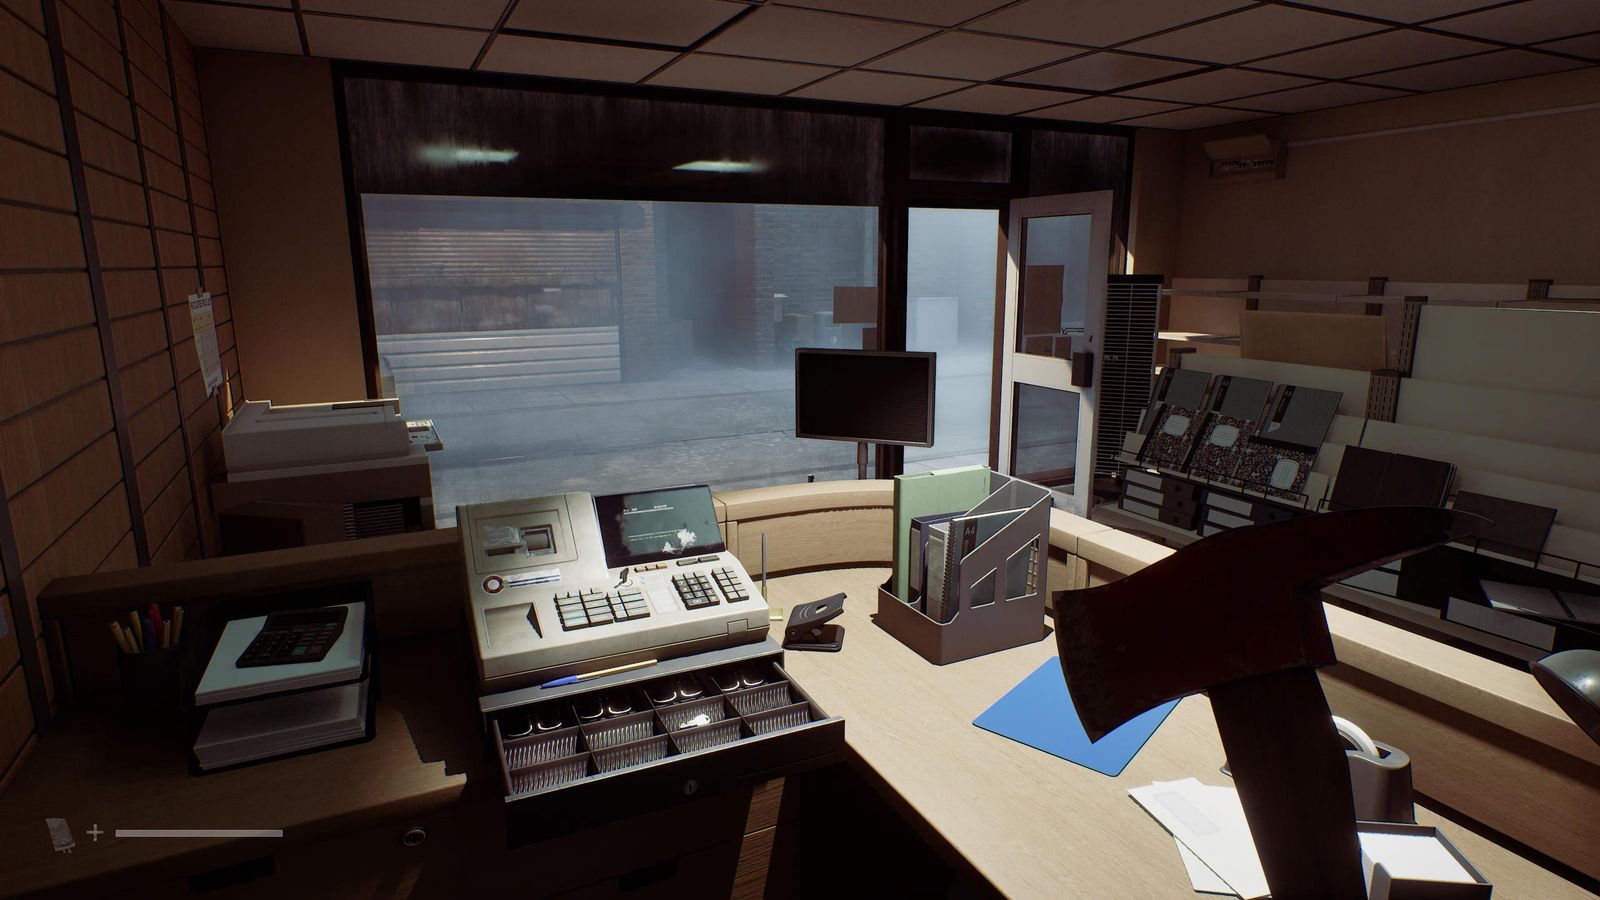
Key: Atlas Way, Clara Woods: the Post Office on the square. Go behind the counter: the key is in the open cash-register drawer.
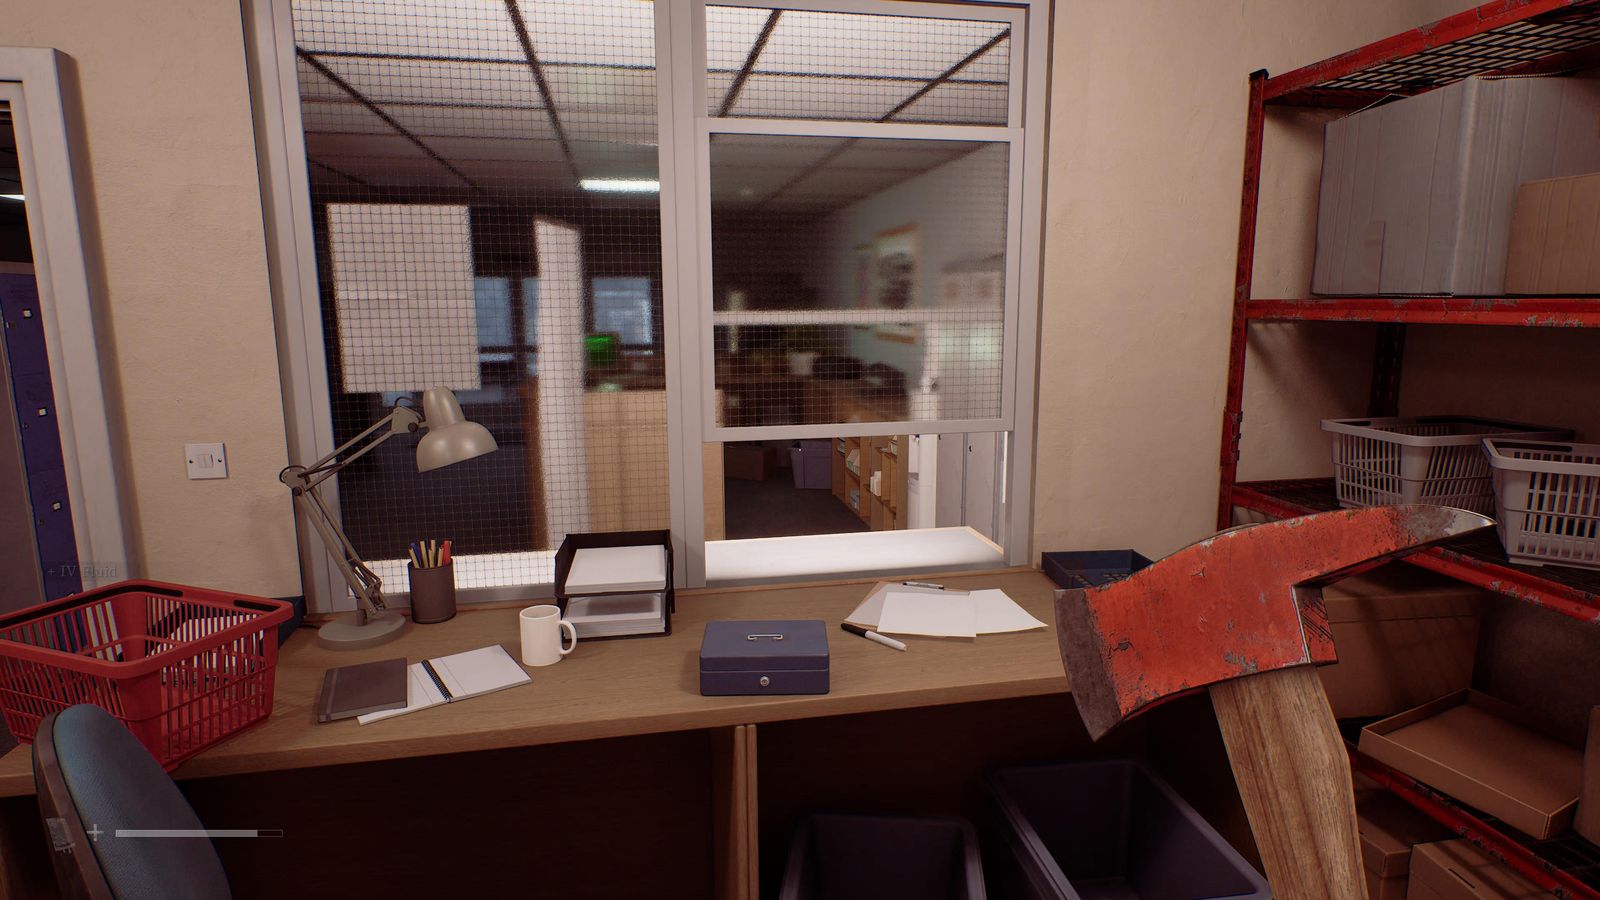
Container: CEG Lockers (through the underpass off Prosperity Way and the building in the south-west corner of CEG Staff Parking): the back room behind reception, on the desk.
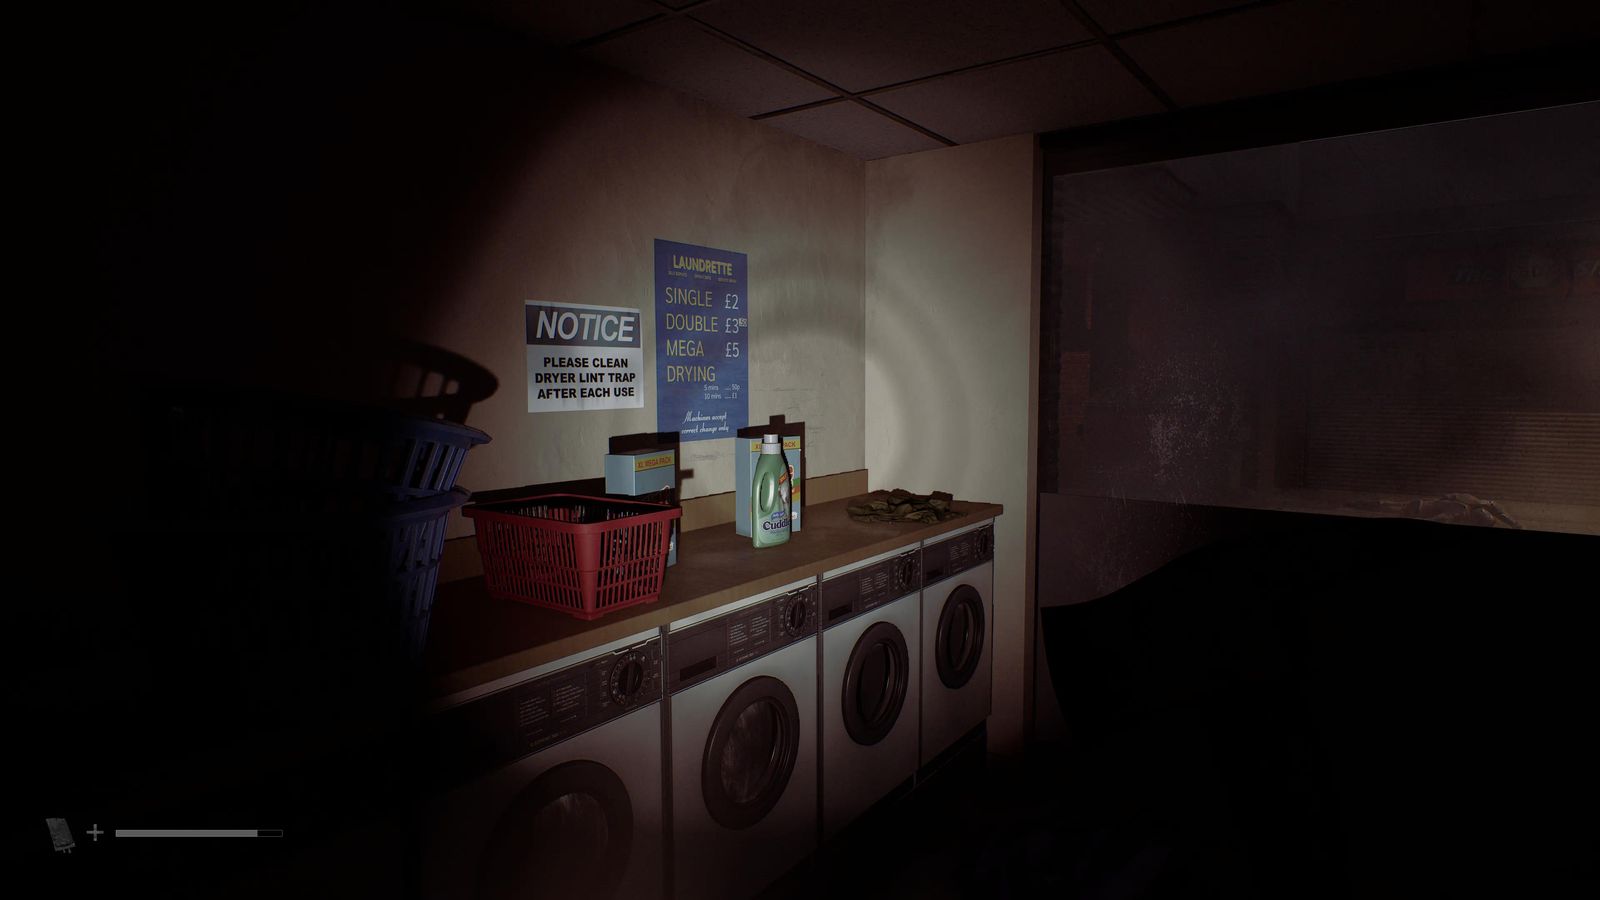
Key: The Laundrette: head south past Clara Woods News, take the alley on the left and cut the east gate with the Boltcutters, then go in through the back door. The key is hidden under the brown cloth on the counter above the washing machines.
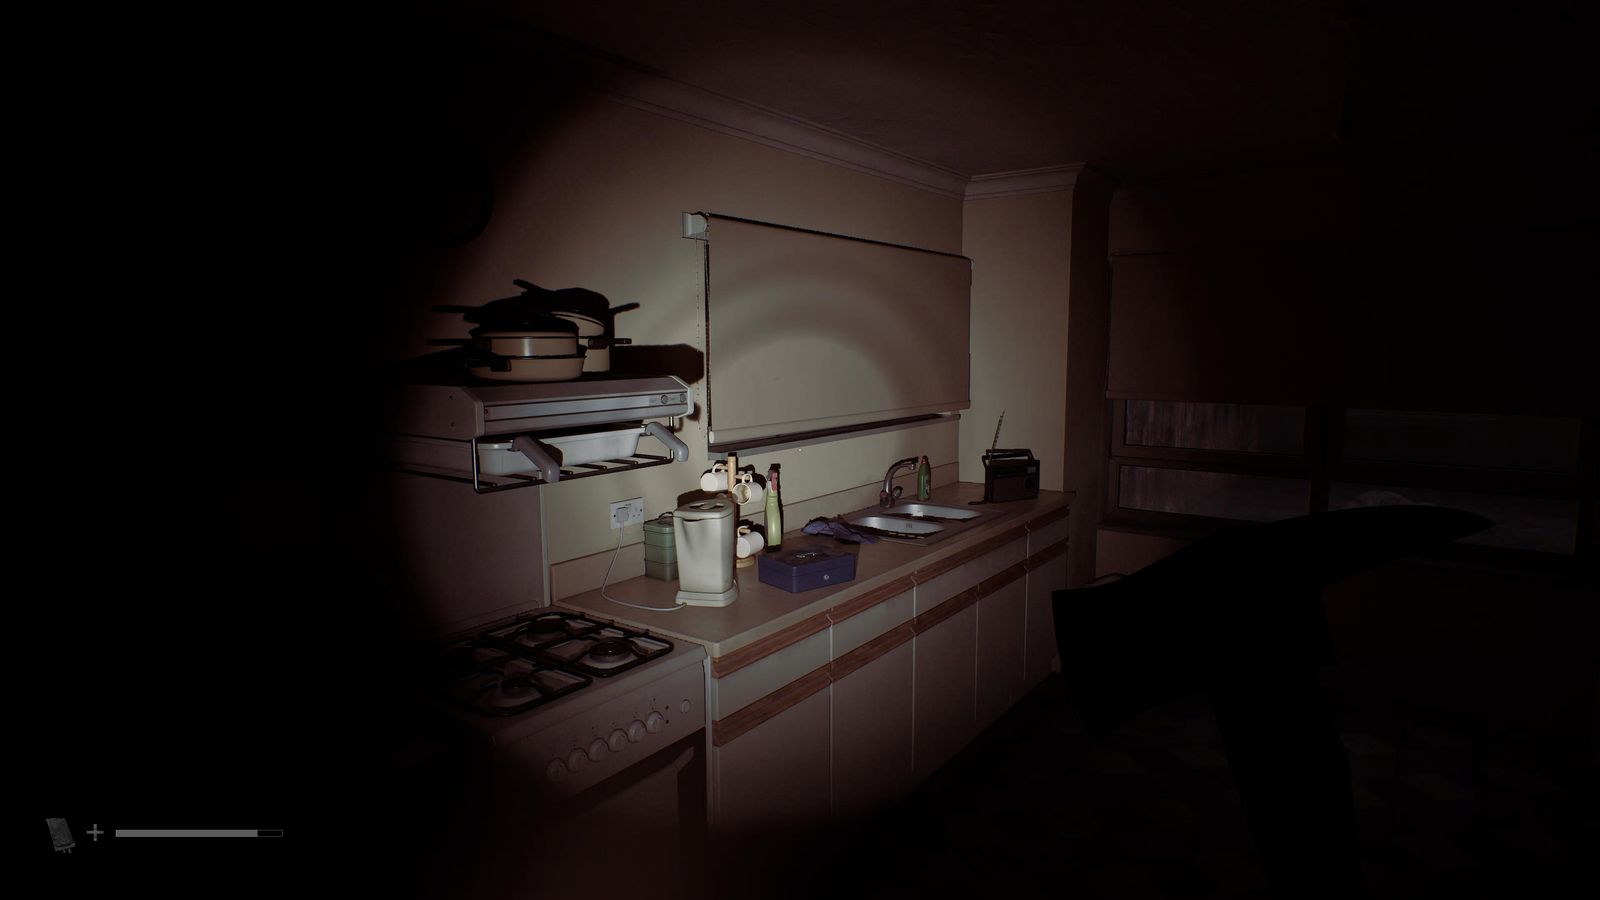
Container: Apartment Block #1 on the north-west corner of Atlas Way: flat 1A (first door on the right), kitchen worktop next to the kettle.
Key: SWDP ground floor (upper): unlock the north and south doors of the control room, then go into the south-west room on the same level and pull out the console tray.
Container: Back in the control room, on the console right next to the keypad.
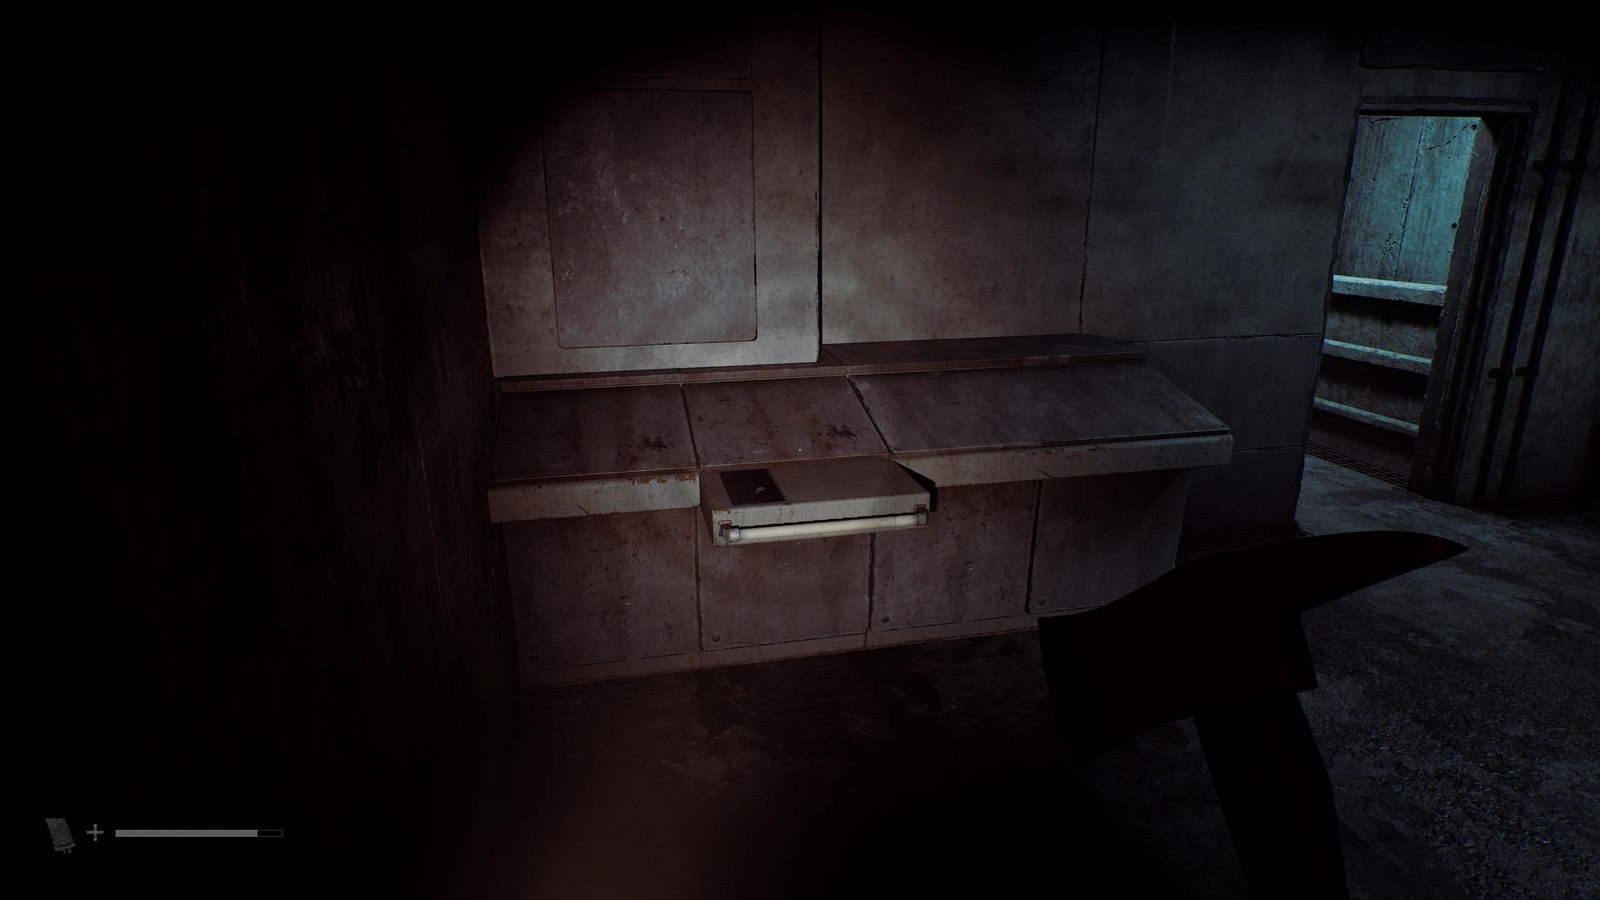
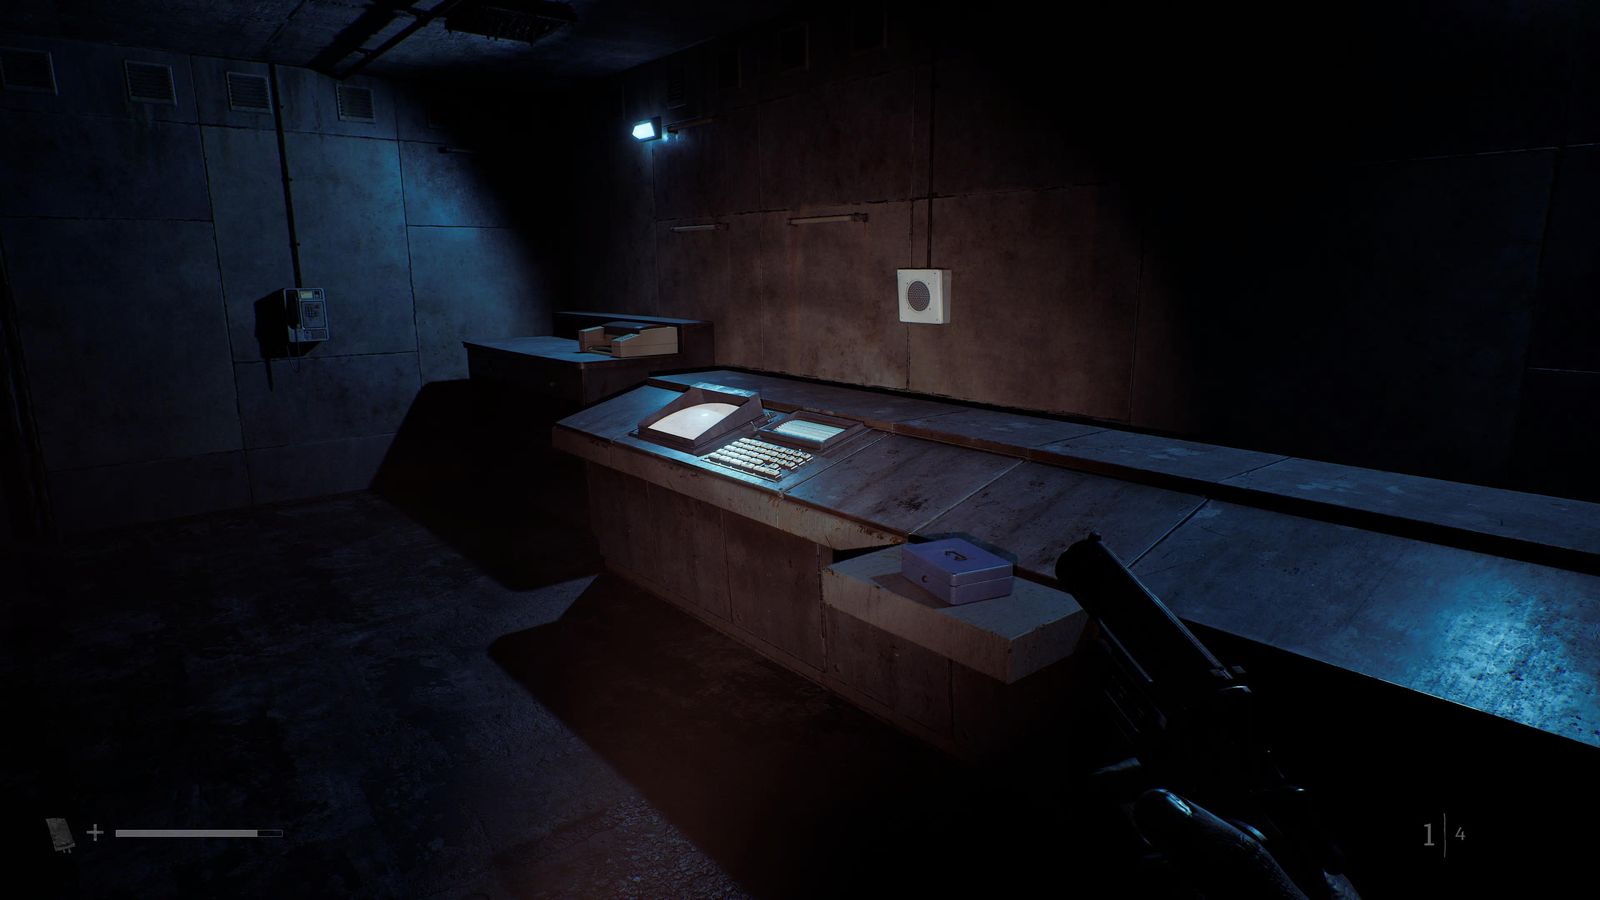
Key: SWDP basement (unlock it first by entering 047 on the console): walk straight to the far wall and turn right. Room 047 is in the north-west corner; the key is on the back corner of its console with two pistol rounds.
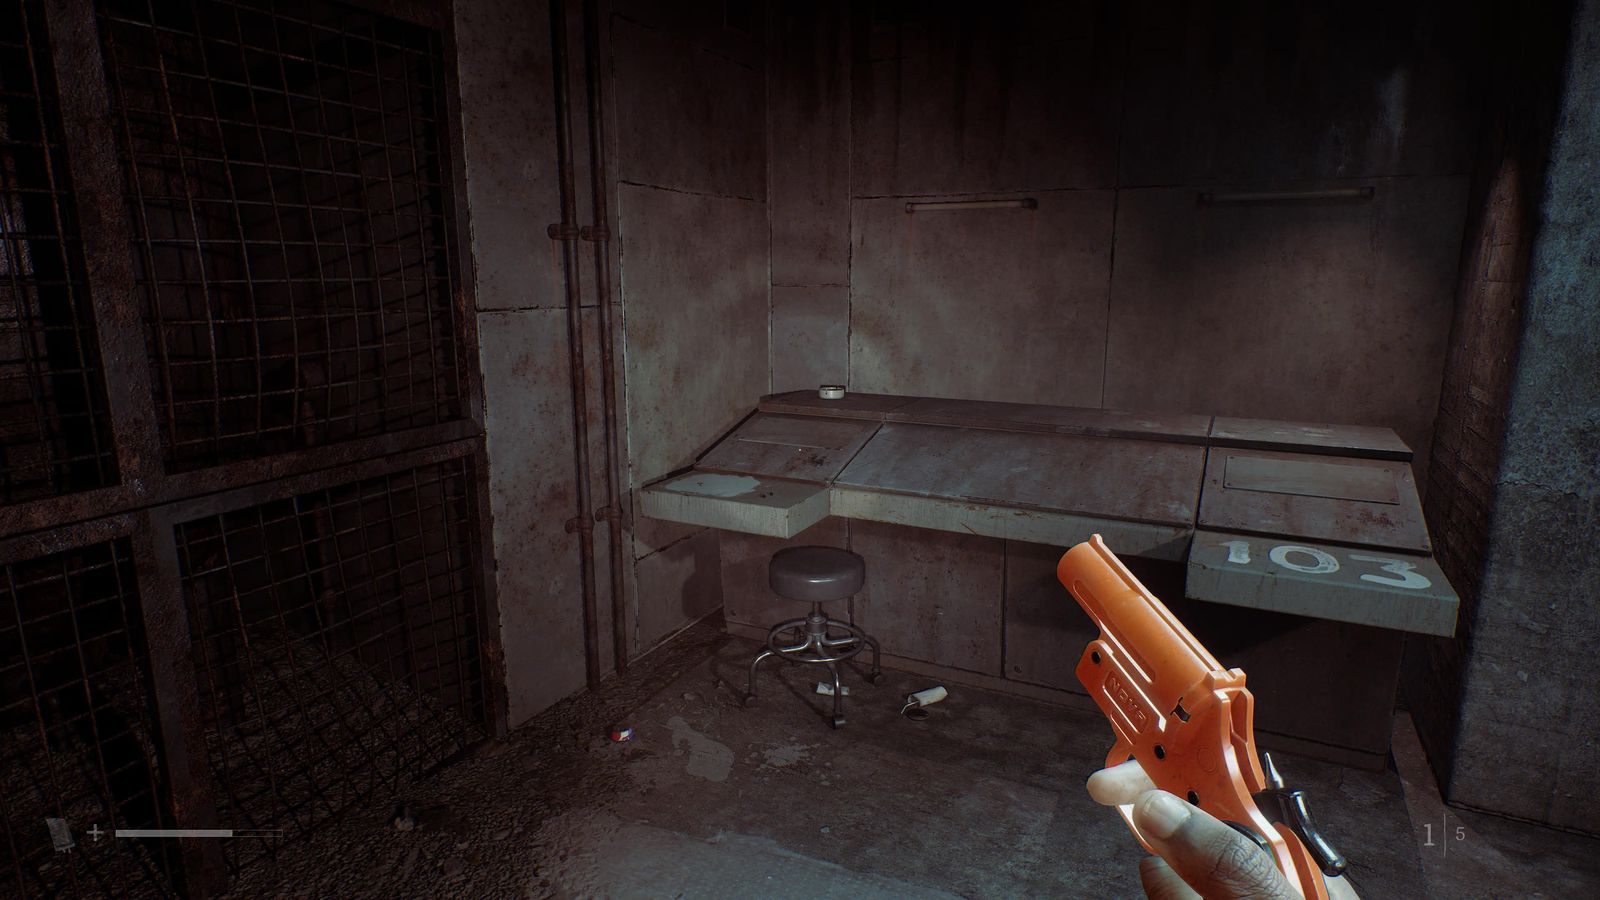
Container: From the central junction turn left and go round clockwise: past room 793 (Gold Coin), room 621 near the south-west corner. The container is on the console in the far corner, with Strange Book #3 beside it. (Basement rooms 047, 793 and 621 only open after you enter those codes on the control-room console.)
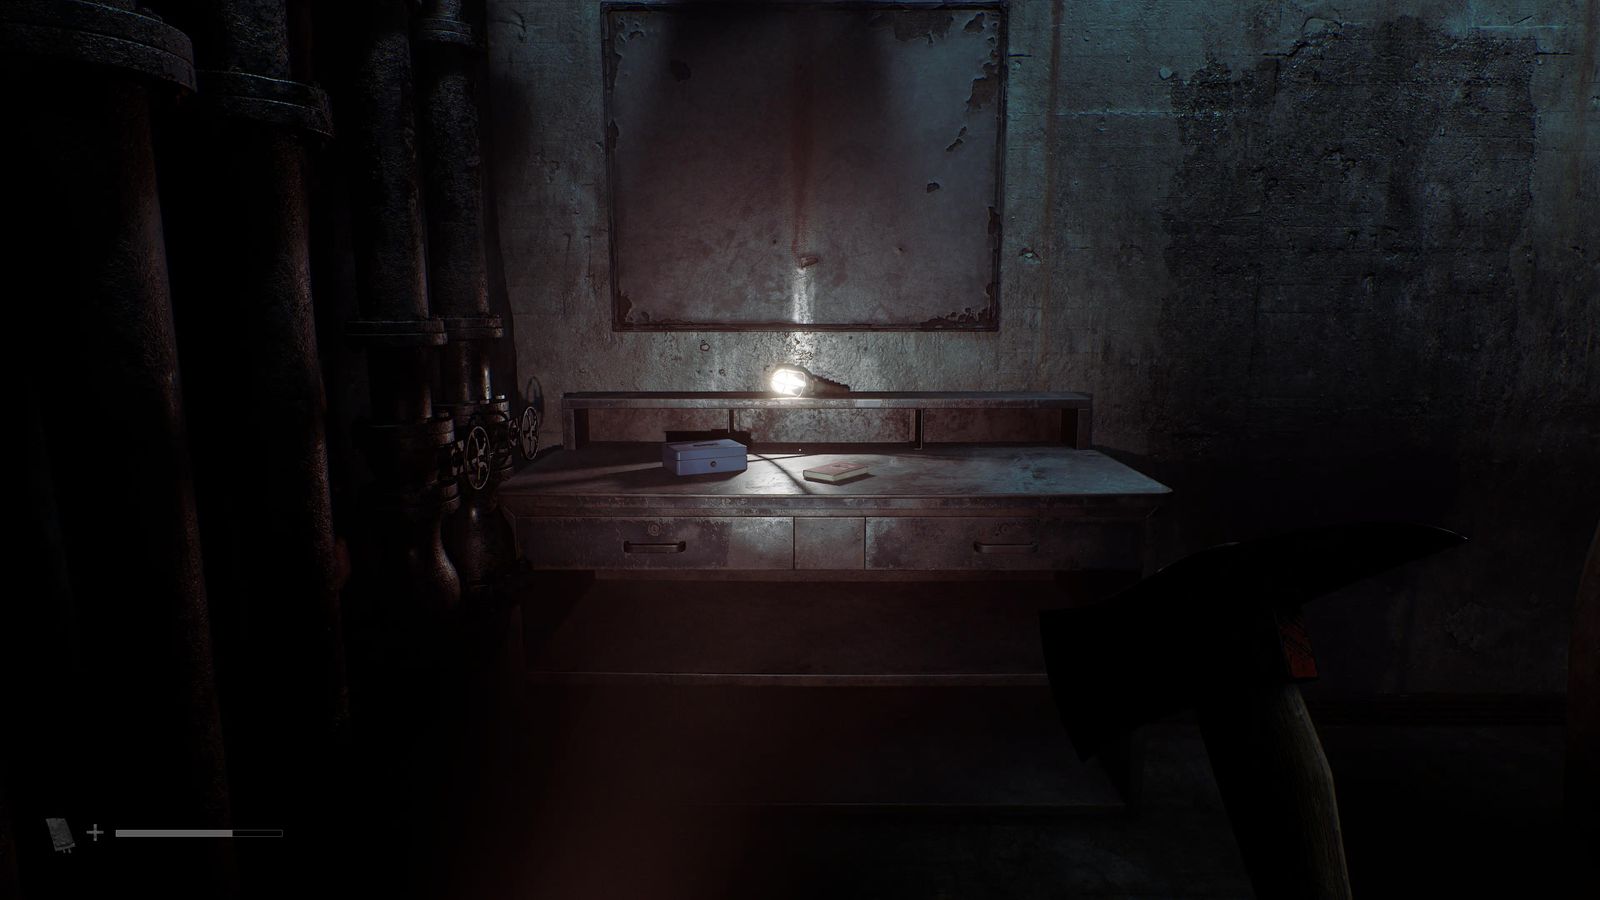
Guide-dog coins and strange items (Dog & Sci-Fi endings)
Not counted as collectibles, but you need all three coins in the three guide-dog boxes for the Dog ending, and all three Strange Books plus the Strange Access Card for the Sci-Fi ending. See the endings guide for how to trigger each.
Video Star (1), left shelf in the back room. Put it in the guide-dog box right before the Pharmacy.
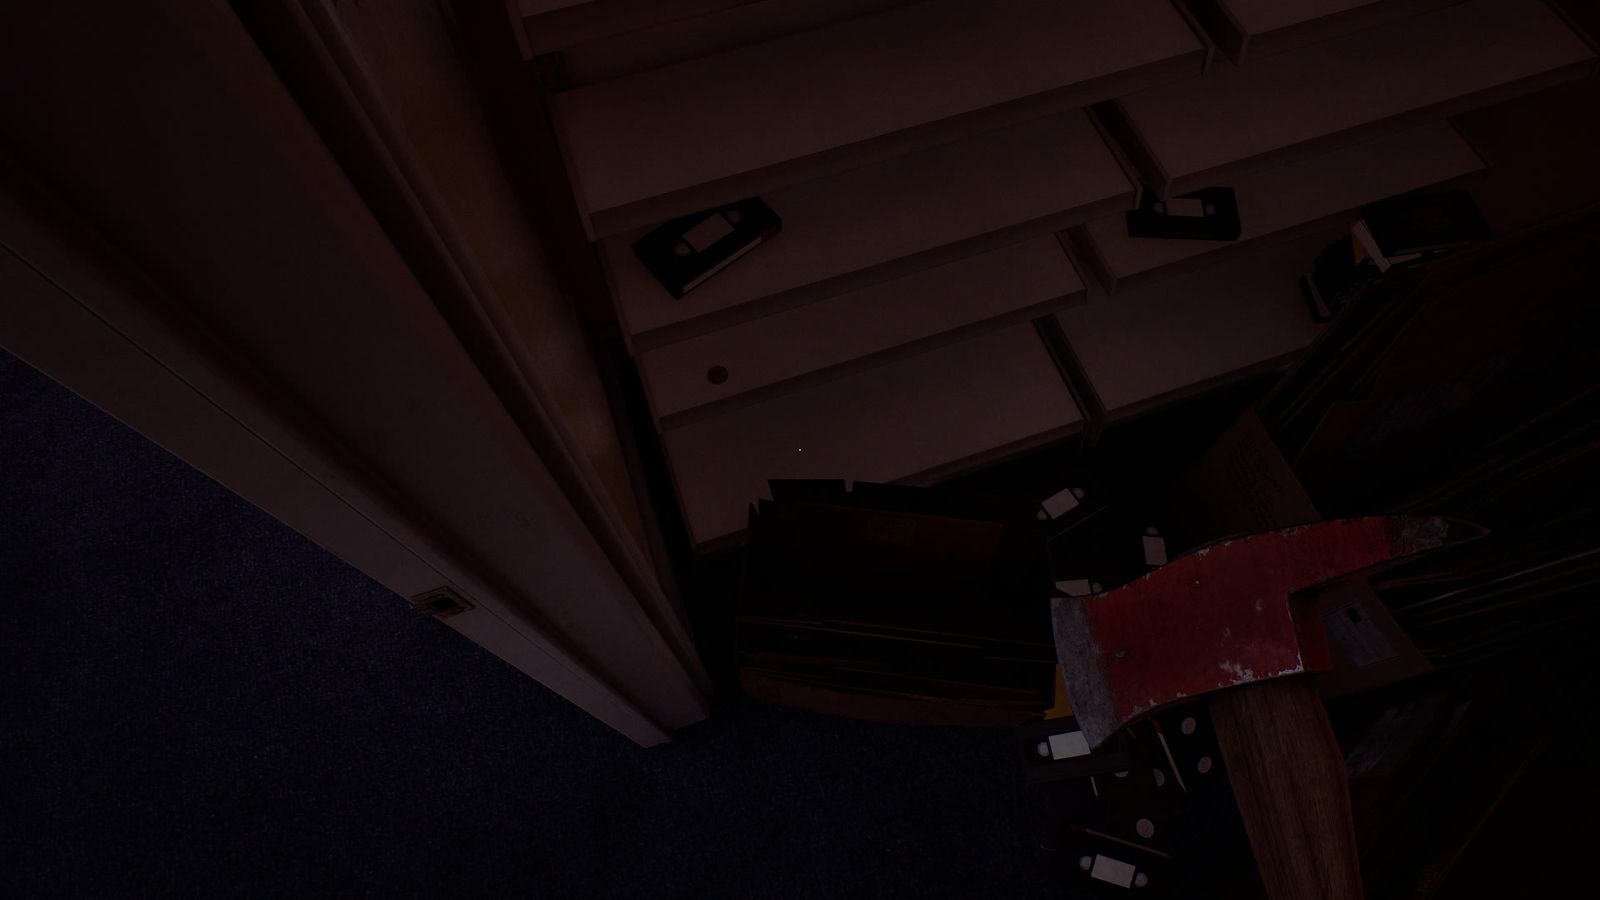
The Bridge Burn Road shed with postcard 10. Guide dog: by the till in the Laundrette.
SWDP basement room 793, on the console. Guide dog: straight on at the final junction, at the end.
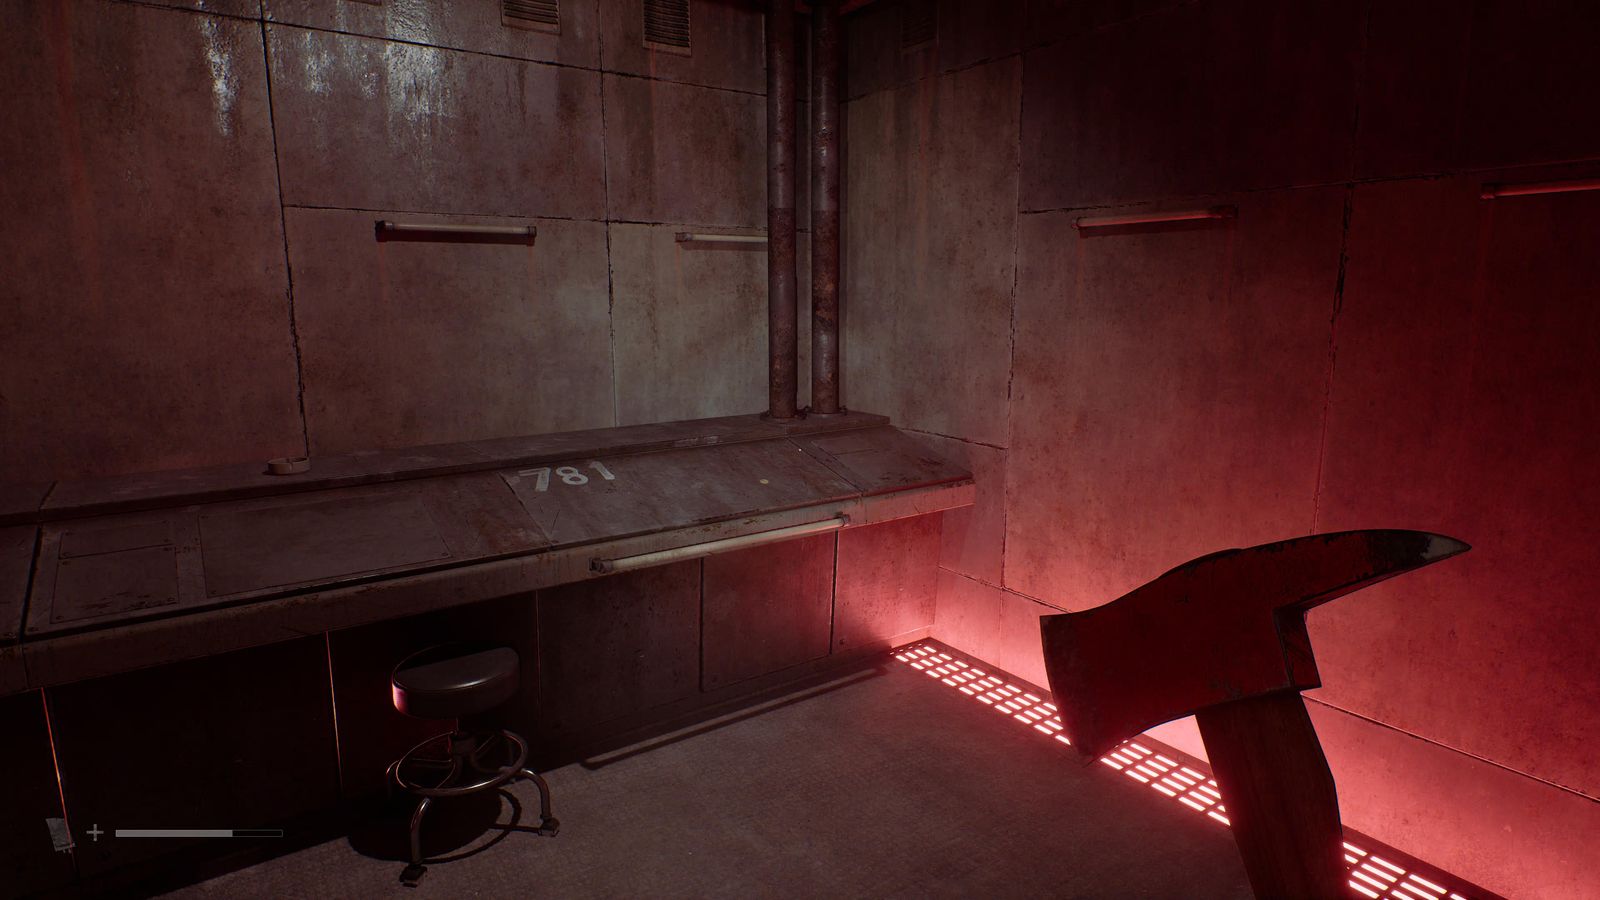
Zoe's house, last bedroom: under the bedside drawer (crouch).
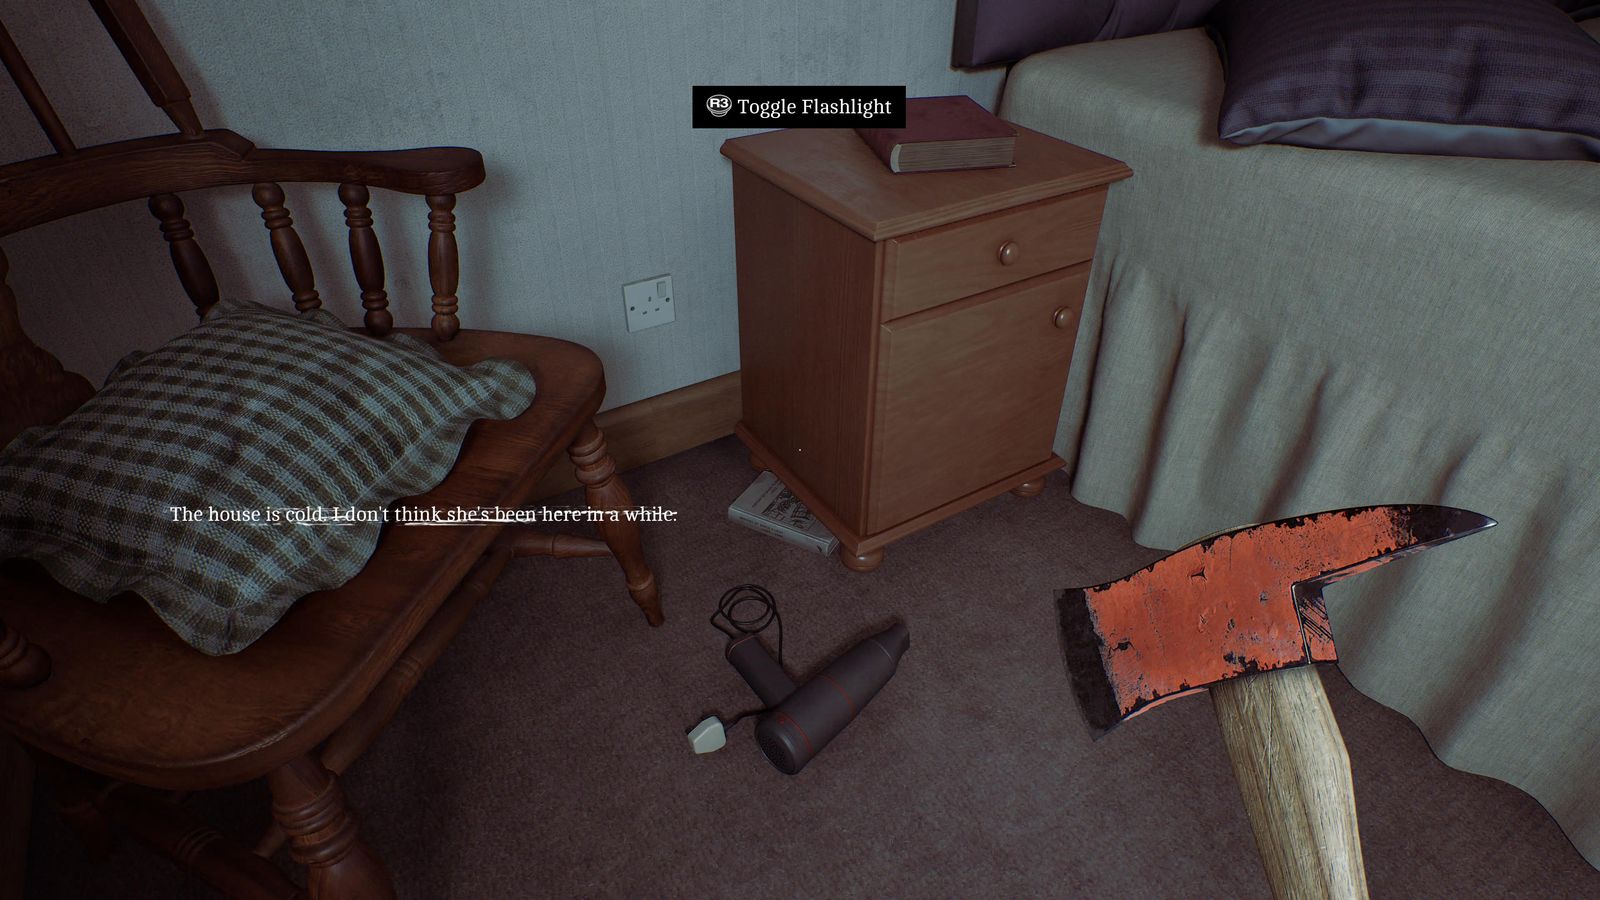
Otherworld Haldane Hotel upstairs, behind the symbol door, on the drawers to the right.
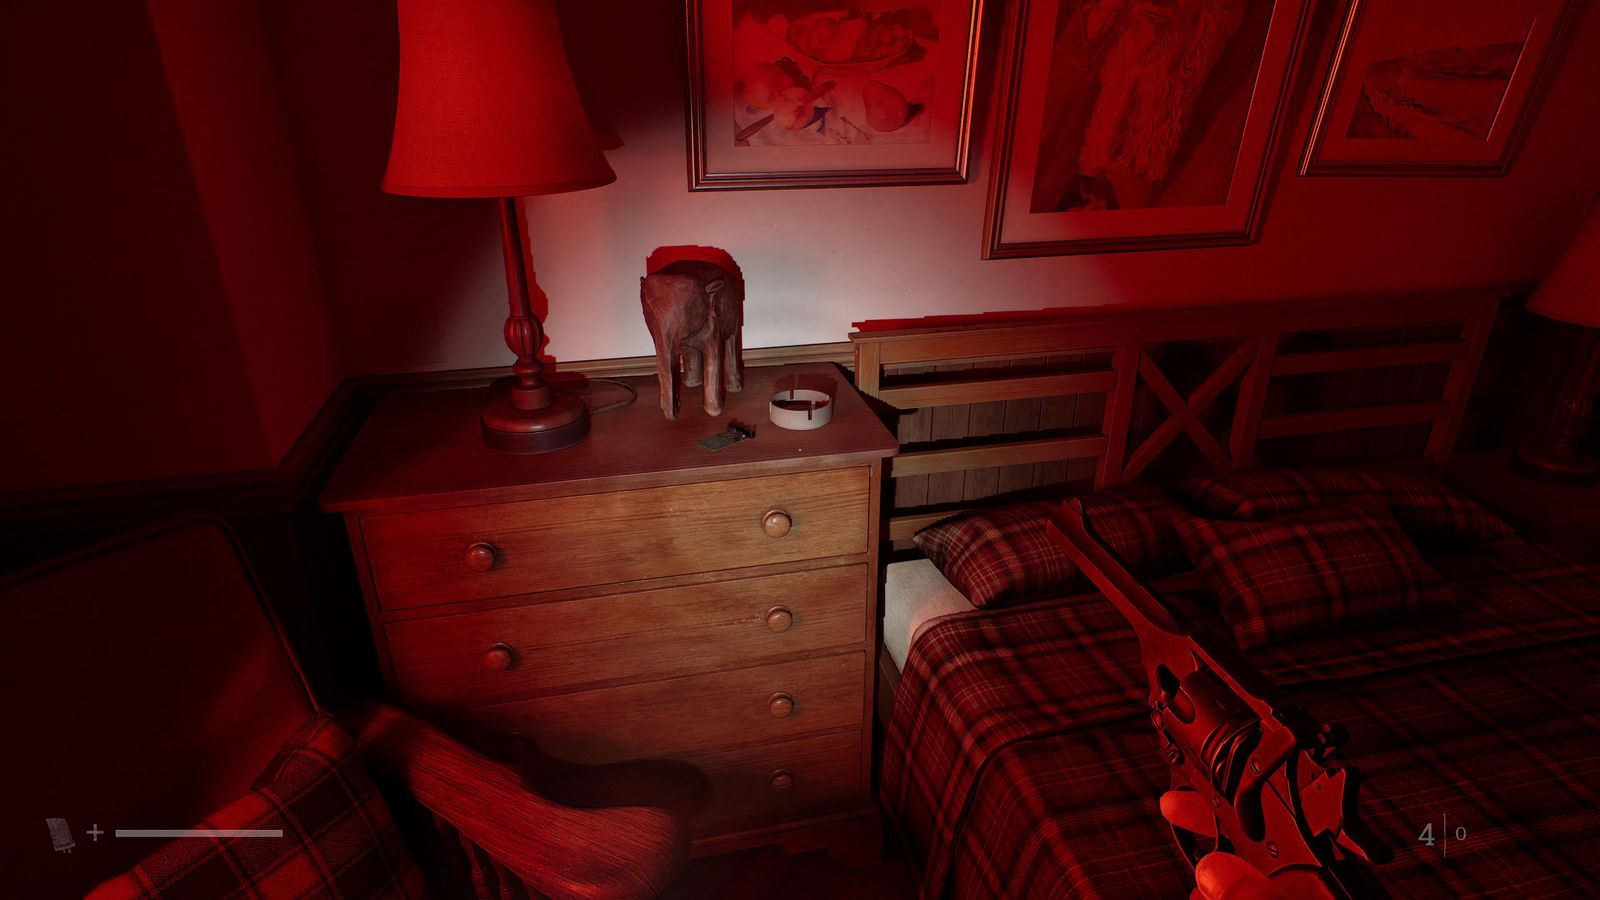
Stenhouse, south-west corner of Atlas Square: first shelf on the left.
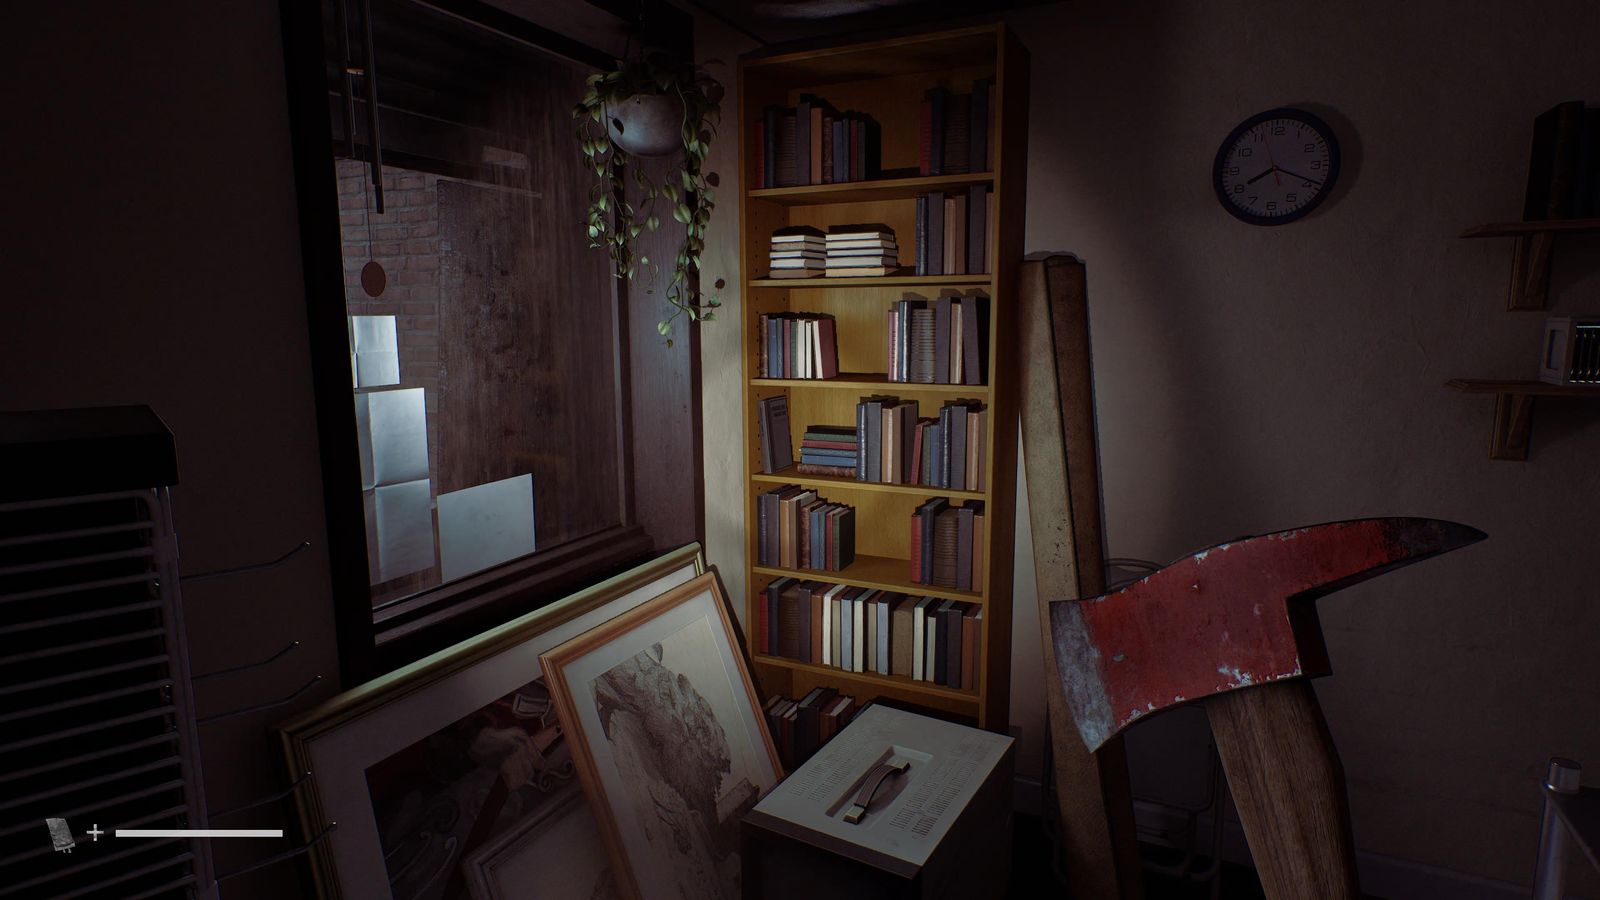
SWDP basement room 621, beside Resource Container 7.