Platinum Walkthrough
This is our Silent Hill: Townfall platinum walkthrough: the exact route we used for the platinum, chapter by chapter, with every collectible location shown on our own screenshots, every puzzle answer (with a video of the solve) and each trophy where it pops. It's two playthroughs: a fast one with no saves, then a New Game+ run that picks up all 85 discoveries, 15 postcards, 19 CRTV signals, 13 phone numbers, 7 resource containers, the guide-dog coins and the strange items, and finishes four endings from one save.
Roadmap
- Playthrough 1 (New Game): Story difficulty, Hinted puzzles. Never save manually and finish in under 4 hours. Ignore collectibles. You get the Abandoned ending plus Fleeting Visit and Reject The Help.
- Playthrough 2 (New Game+): collect everything, hit the single-run challenges, make one manual save right before the finale and load it for the Sci-Fi, Dog, Justice and Forever endings.
- Start NG+ again just to pick up the Pistol-3000 from the garage near the Axe. Platinum.
Puzzle difficulty doesn't affect any trophy. All puzzle answers are also on one page: Silent Hill Townfall all puzzle solutions.
How the ending points work
The three main endings come from a hidden score. Every discovery (document or clue) is +1, every enemy Simon kills is −2 (Zoe's kills and the crawling enemies don't count), every revive −4 and every mistake with Zoe in the Surgery −3.
- Justice: 20 points or more.
- Forever: 1 to 19 points.
- Abandoned: 0 or less.
On the 100% run, with every discovery and no revives or surgery mistakes, keep your Simon kills in the high twenties (heal only with First Aid Kits, and reload the autosave whenever you slip). That keeps you safely in Justice, and the five extra kills during the final boss then drop you into Forever. The details for every ending are on the endings page.
Playthrough 1: speedrun, no manual saves
New Game, Story difficulty, Hinted puzzles. Answer the save phone each time the story asks, dial 100, and back out without saving.
Cold Open St. Amelia Shorefront
East Shore Road
- Watch the opening scenes. From the pier, follow the path to the locked gate, take the stairs down on the left and climb the ladder behind them, then just follow the path.
- After the next scene, walk to the end of the road and turn down the alley on the right; it takes you out onto the high street.
Main Street → Town Square
- Turn left and follow the street into the red fog. The St. Amelia Shorefront map is added automatically after the scene.
- Answer the ringing phone on the west corner of the square. Pick it up again and dial 100: this is how you save in this game, but do NOT save. Skip the scene that follows from the pause menu only (skipping with a button press can confirm a save by mistake), then back out of the save screen without saving.
Escape A Different Place
Tunnels
- Unlock the door, follow the passage to a fork and go left. Crouch under the debris into a room with pillars and open the vent on the right.
- In the vents take the right fork, squeeze through the gap at the end, crouch under the pipes, climb the ladder and enter room 204 on the upper walkway. You pick up the CRTV radio here.
Haldane Hotel
- Solve the bathroom door lock with the date 18 January 1996. 🧩 Hotel Room 204 Door solution
- Take the Room 204 Key from the bathroom and use it on the front door.
- Walk along the walkway, call the lift, ride it down and leave through the foyer's main entrance. 🏆 Welcome To St. Amelia
A Connection St. Amelia Shorefront
Zoe's house
- Zoe's house is the one left of the building marked (3) on the map, entered from its north side: go west along the street and north through the alley by the newsagents (2).
- Kitchen drawer by the washing machine: Flashlight (no batteries). Upstairs bathroom cupboard: Gauze. Small drawer in the next bedroom: AA Batteries. Combine them in Key Items.
- In the cupboard under the stairs, take the Power Credit Card Guide next to the power box.
Peters Newsagents (2)
- The newsagents opens up once you have read that file. Go round to its back door on the south side; after the scene head left, then right through the eating area towards the back.
- Run around the cages to slip past the enemy, get inside and grab the Plank from the front counter. Block its first swing (L2), then finish it with R2.
- Prepaid Power Card: in the till on the front counter. Unlock the front door and go back to Zoe's.
Zoe's house
- Under the stairs, use the Prepaid Power Card in the power box, add £5.00 of credit and flip the bottom-right switch. 🧩 Power Box solution
- Switch on the living-room computer (bottom-left power button) and open the email “FW: For Attending SURG04GE_+ON”: it holds the organ codes.
- Kitchen organ: left lock 956, right lock 133. Zoe's Lanyard is inside. 🧩 Organ Lock Puzzle solution
Searching for Zoe St. Amelia Shorefront
Shorefront Family Clinic (6)
- Go back to the square and up to the clinic. One enemy always comes to check the shutter once you open it, so kill it first (block its opening swing, then three hits). Open the shutter with Zoe's Lanyard and lock the door behind you.
- The reception door code is 2896 (only needed for the phone and files). Dr. Harford's desk drawer: Empty IV Bag. B. McMillan's locker, bottom shelf: IV Fluid. Z. Ellis's first-aid box: Scalpel.
Pharmacy (7)
- Cut through the steel shutter with the Scalpel. Back-room metal cabinet: First Aid Kit. Rusty locker at the back, code 6539: Prescription Dosage Error Note.
St. Amelia Park → Farrow Street
- Use the Scalpel on the steel door north of the square into the park (11). Cross it north-west into the alley between the back gardens, enter the last garden on the right, crawl through the hole and shimmy past the shed.
- On Farrow Street, enter the big building (16) with the blue door, run upstairs into flat 1/2 and lock it. 21 Farrow St. Back Door Key: far-left table.
- Leave by the front, run along the left side of shop 14 to the back streets, and open the back door of the building right of shop 14 with the key.
Jess's house
- Kitchen drawer: Lock Box Key. Bed in the far-left room: Broken Stethoscope. Leave through the front door and use the shortcut gate south-east of the car park (13) back into the park.
Clinic (6)
- In Z. Ellis's room, solve the scales: Broken Stethoscope left, Prescription Dosage Error Note middle, Zoe's Lanyard right. 🏆 Resignation 🧩 Clinic Scales Puzzle solution
▶ Watch the solve
Zoe: Rounds St. Amelia Shorefront
Community Gardens
- From Zoe's house go through the square and the park, then east into the community gardens. First shed on the left, code 1993: Alcohol and the Community Garden Key. Unlock the east garden gate and follow the path to the road.
Mr. Stewart's house
- Take the second right into Church Avenue (16), turn left at the bottom, pass behind Mr. Stewart's house, go into the last garden on the left and through the broken fence into his garden. Enter by the back door.
- Trying the bathroom door next to the front door starts a monster encounter. Back into the kitchen, switch on the radio to lure it, run round to the front door, then grab Mr. Stewart's Key and a First Aid Kit from the bathroom and leave by the back door.
Church Avenue → Station Road (18)
- Open the garden gate and creep down the alley. A Bottle sits on the metal bin the patrolling monster walks past. Head north-west to Station Road through the alley between Church Avenue and East Shore Road; save the Bottle for the enemy just after the car alarm.
- Take the Medical Security Note from the gatehouse window, then use the phone box on the west corner: call 496 0556 and press extensions 3, 2, 2, 1. 🧩 Dr. Glenn Phone Extensions solution
St. Amelia Medical Centre (19)
- Through the open gate, go left around the hospital to the north-west car park, through the white gate into the container yard, and in through the far-left garage door of the Ambulance Service Building.
- Press the button on the office desk to open the east gate, leave by the fire exit and enter the hospital's main entrance. 🏆 A Long Night Ahead
Journey to Medical St. Amelia Shorefront (Different)
Town Square → Merchant Lane (10)
- Back at the clinic, go to the middle of the square and open the small wooden box by the monument (choose Yes). In the other town you have the Pistol.
- Go up the alley right of the pharmacy into Merchant Lane, take the east fork, keep east past the phone box (15), go through the little gate into the left back garden and pull two planks off the north fence to crawl through.
Commercial Road → Flemington Street
- Pistol rounds wait in the box right after the fence. Open the gate on the right of the house, head west and take the next right into Flemington Street; open the steel door on the right with the Scalpel.
- Go into the first garden on the right, shimmy between the sheds (Empty IV Bag in the shed straight after), then cross the gardens west to the middle house and go in by the back door.
Station Apartments B → A
- Climb to the top floor, go into flat 3/1 and climb out of the living-room window onto the scaffolding. Climb down a floor and get in through the window of Apartments A.
- Kitchen drawer: First Aid Kit. Go down a floor into flat 1/1, drop through the hole in the living-room floor, then leave by the front entrance and walk into the hospital.
Zoe: The Patient Medical Centre
Surgery
- Tell Dr. Glenn the readings over the intercom: second monitor from the side door 70 / 40 (systolic / diastolic), third monitor 160 (pulse), far-left monitor by the whiteboard 80 (SpO2 %). 🧩 Surgery Monitor Readings solution
- Unlock the side door with 7103 and take the skull and chest X-rays. 🧩 X-Ray Puzzle solution
- Put the X-rays on the light box by the intercom and look at both.
Victoria / Chapman wards
- Press the big square button by the double doors. East wing: a Plank by the fire exit between the Pharmacy Store and Consult Room C (kill the enemy; you will pass here often). Pharmacy Store first-aid box: Tensobromide 11mg.
- Chapman Ward 1st floor, Bay 6: Dextracyclate 2.5mg on the monitors above the bed. Chapman Ward ground floor, Records Room code 2605: Hydroxalene 3mg in the metal cabinet.
- Back in the Surgery, load the three pumps: Dextracyclate 15, Hydroxalene 7, Tensobromide 8, then press Start on the small box left of the bed. 🧩 Infusion Pumps solution
Basement → Surgery
- From the Reception phone call Hospital Storage on 5353, wait for the lift and ride it to the Basement. Lure the corridor enemy into the Staff Room with its radio, then shimmy into Storage for the Medical Intubation Kit.
- Back upstairs, intubate the patient: rotate the cursor and hold R2 each time the red circle flashes (three insertions). 🏆 The Patient 🧩 Intubation solution
Many Into One A Different Place
Blood Transfusion Machine Foyer
- Climb down the ladder, shimmy into the workshop, go through the vent and the bathroom to the foyer. The Different map is on the middle counter.
- East corridor, first open room: First Aid Kit; through the vent opposite: Alan Duncan Blood Bag. Place it at the S.W. shutter and press Transfuse.
S / W Blocks
- S Block: Sarah Watson Blood Bag by the bed in S05. Down the west stairs into W Block: Ward W Master Key on the table in W04 (stay crouched; the large monster here kills instantly).
- Open W13 with the key and climb its ladder to S12: IV Fluid and the Lesley Greer Blood Bag. Crawl through the vent to S11 and climb back to the foyer; use the Greer bag at the D.P. shutter.
D / P Blocks
- D Block: D03 then D02, press the lift button to send the Matthew Clark Blood Bag down to P Block. Use the corner vent into D06, go through D07 and drop to P Block through the broken floor.
- P10: George McEwan Blood Bag and the Ward P Master Key. P03: the Pipe and the Matthew Clark bag in the lift. Escape through P02's vent and the east stairs.
- D05: turn the valve fully. Hide in D10's closet for 20 seconds, turn its valve and climb the west ladder.
Foyer → the transfusion
- Counting clockwise from the phone: slot 1 Sarah Watson, slot 2 Matthew Clark, slot 3 George McEwan, then press the north Transfuse button. 🧩 Blood Bag Slots solution
- Ordell dial: outer ring left once, middle ring right once, inner ring left once, press the centre. 🧩 Ordell Dial solution
▶ Watch the solve
- Open the far door with the Room 204 Key. 🏆 Many Into One
Begin Again / Missing Parts Clara Woods
Bridge Burn Road → Atlas Square
- Some 'corpses' are alive: avoid the ones with little or no blood under them (they breathe) and the bodies hanging from lamp posts. Take the left at the fork into the Clara Woods estate; the map is on the big blue sign. Note South Braes house #5 on the way in.
- East along Atlas Way, up Prosperity Way (shoot the fast crawler), through the underpass, through the building in the south-west corner of CEG Staff Parking to the playground, and into CEG Lockers.
CEG Lockers
- Lost & found locker in the back room, code 772: South Braes House Key. Use Barcode 75 (behind the desk) on the scanner, then locker 75 code 184: Flare Gun. 🧩 CEG Lockers Codes & Barcodes solution
▶ Watch the solve
- Open the shutter south of the playground: it is a shortcut back to the square.
South Braes #5 → Atlas Computers → South Braes #5
- Kill the enemy straight ahead. Last bedroom, bedside drawer: Disk Case Key. Atlas Computers storeroom tray: “Fix-A-Disk!” software.
- Back at South Braes, repair and read the floppy disks, print the manual, then open the case with 956 for Barcode (South Braes) 17. 🧩 Floppy Disk Repair solution
▶ Watch the solve
- CEG Lockers: scan barcode 17, locker 17 code 575: Mechanical Part and the Boltcutters.
North Braes #6 → Upper Braes #5
- Cut the west gate of the Shopping Precinct, take the alley behind the flats and the first door on the right. Case on the table, code 736: Barcode (North Braes) 204.
- Out the back door, left twice and east through the gate into the Overpass; Upper Braes #5 is the last house on the left. Solve the cassette-tape house to get the Ammonite Disk and Barcode (Upper Braes) 94 (case code 129). 🧩 Upper Braes Cassette Tapes solution
▶ Watch the solve
CEG Lockers → the gate
- Scan 94 and 204. Locker 204 code 971 and locker 94 code 490 hold the last two Mechanical Parts. Combine the two disc parts first, then add the third. 🧩 Constructed Mechanical Device solution
▶ Watch the solve
- Go east along Atlas Way to the locked gate and insert the device in the slot on the left. 🏆 Key To The Castle
CEG HQ Inside CEG HQ
Ground floor
- Security room code 4895. Turn on the small printer, then on the computer search user 00007820518 and print the access card. 🧩 CEG HQ Access Card Printer solution
▶ Watch the solve
- Ride the north lift to floor 10 and walk into the office.
Richard: Getting Inside / Another Attempt CEG HQ (Grounds)
Access road & generator
- Open the main gate from the yellow booth, go into the far-left brick building and take the Generator Key from the key cupboard behind the Managers Office door.
- Behind the generator turn the third valve once (lever at 2 o'clock), use the key and push the lever down. Take the goods lift up and climb across the scaffolding into the building. 🧩 CEG Generator Valves solution
Floors 2-5
- Work up to floor 5, where the boardroom scene gives you the Level 3/4 Access Card. Finance on floor 3 opens with the card plus 2709: the Projector Lens is in the CFO's desk drawer.
- Media Department (floor 4): CEG Storeroom Key; its General Storage locker holds the Projector Bulb. Fit lens and bulb in the boardroom projector for the CEG Maintenance Key.
- Climb down through Maintenance to the Mezzanine meeting room for the Projector Slides, then go back to the boardroom: D, F, B, C, E, A. 🏆 Find Yourself 🧩 Boardroom Projector Slides solution
▶ Watch the solve
- Take the lift to floor 10 with the CEO Access Card.
Fix This / Trying Again CEG HQ (Different)
The silo
- Ground floor: Controller Key from the small case on floor 2. Left console: insert it, A5D7, OK. Command console: E3E3, OK. Valves: floor 1 left ×2, floor 2 left ×1, floor 3 left ×2, floor 4 left ×2. Then Gas Flow, Flow Test, IGNITE. 🧩 Different Floor Consoles, Valves & Ignition solution
▶ Watch the solve
- Take the far-left crawlspace down to the pipe tunnels, keep straight at the 4-way fork and climb out towards SWDP.
SWDP
- The Weight roams here and kills on contact: keep the Flare Gun ready to stun it. Basement room B34: generator lever. First floor: the JOE Key in the north-east computer room, the Access Card in the south-east room past the JOE room.
- Upper ground-floor control room: run the console commands, take the AUX Key, set the AUX valves on the first floor, run the next commands and turn Valve F in the basement. 🧩 SWDP Control Room Console solution
▶ Watch the solve
- AUX room valves (patched version). 🧩 AUX Pipe / Valve Puzzle solution
- Set the release console, turn the main valve, take the north shutter ladders, go right at the red 4-way junction and through the door. 🏆 Can't Change Things 🧩 Clamp Release Console solution
▶ Watch the solve
Eraser Clara Woods (Different)
Access road
- Ride down from floor 10 and leave the building. Grab the ammo that falls with the bodies on the way to the boss.
- The Weight: shoot until it is stunned, then pull a spear out with the QTE; three times in all. A combo that works: two shotgun blasts, one flare, reload while it burns. 🏆 Eraser 🧩 Final Boss: The Weight solution
Returning St. Amelia Shorefront
East Shore Road
- Follow the coast east, climb the stairs and walk to the end of the pier. 🏆 Just Making Things Worse
- The same ending also awards the run trophies if you stayed under 4 hours and never saved after meeting Richard. 🏆 Fleeting Visit
- No phone saves after meeting Richard. 🏆 Reject The Help
Playthrough 2: New Game+, 100% and four endings
New Game+, Story difficulty, Hinted puzzles. Every badge marked 📍 is a collectible, with our screenshot of where it is. The full list by type is on the collectibles page.
Cold Open St. Amelia Shorefront
East Shore Road
- Same opening. As soon as you have control, read the notice on the shed door behind you. 📍 Document 1/85
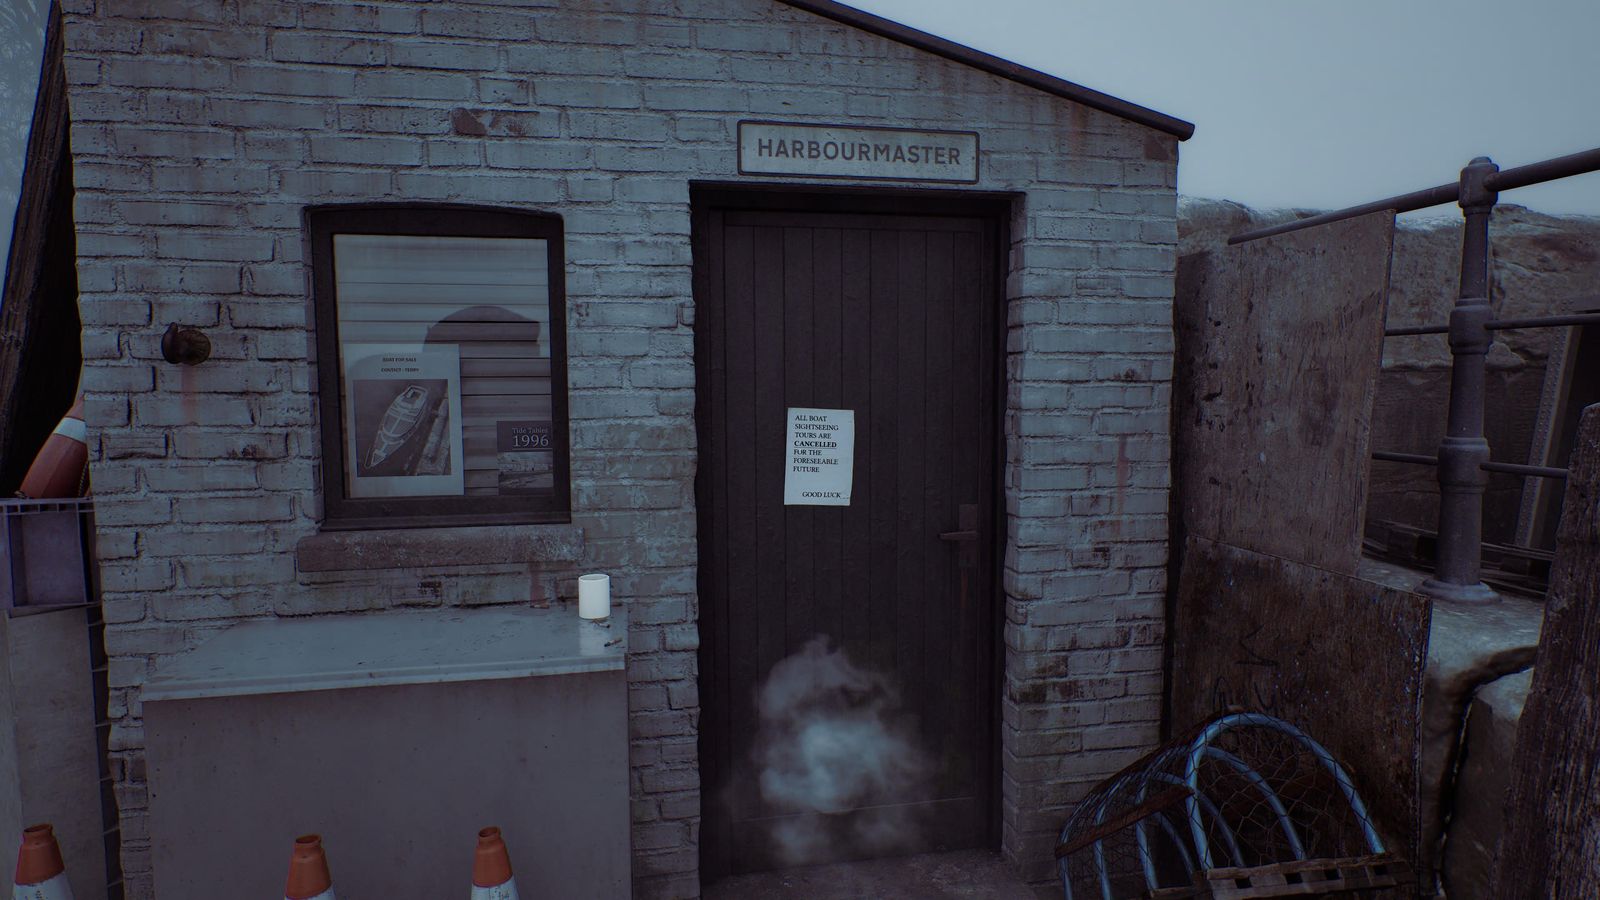
Document 1/85 · East Shore Road - Before turning left up to Main Street, go through the white gate to the garages: the Axe is in the open garage by the red bicycle. 🏆 Here's Simon!
Town Square
- Answer the phone, dial 100 and leave the save screen without saving, as in Playthrough 1. Numbers 900, 010 and 100 are logged automatically. 📍 Phone 1-3/13
Escape A Different Place
Haldane Hotel
- Before opening the bathroom, tune the CRTV to 48 and then 62. 📍 CRTV 1-2/19
- Room Service Card on the desk. 📍 Clue 2/85
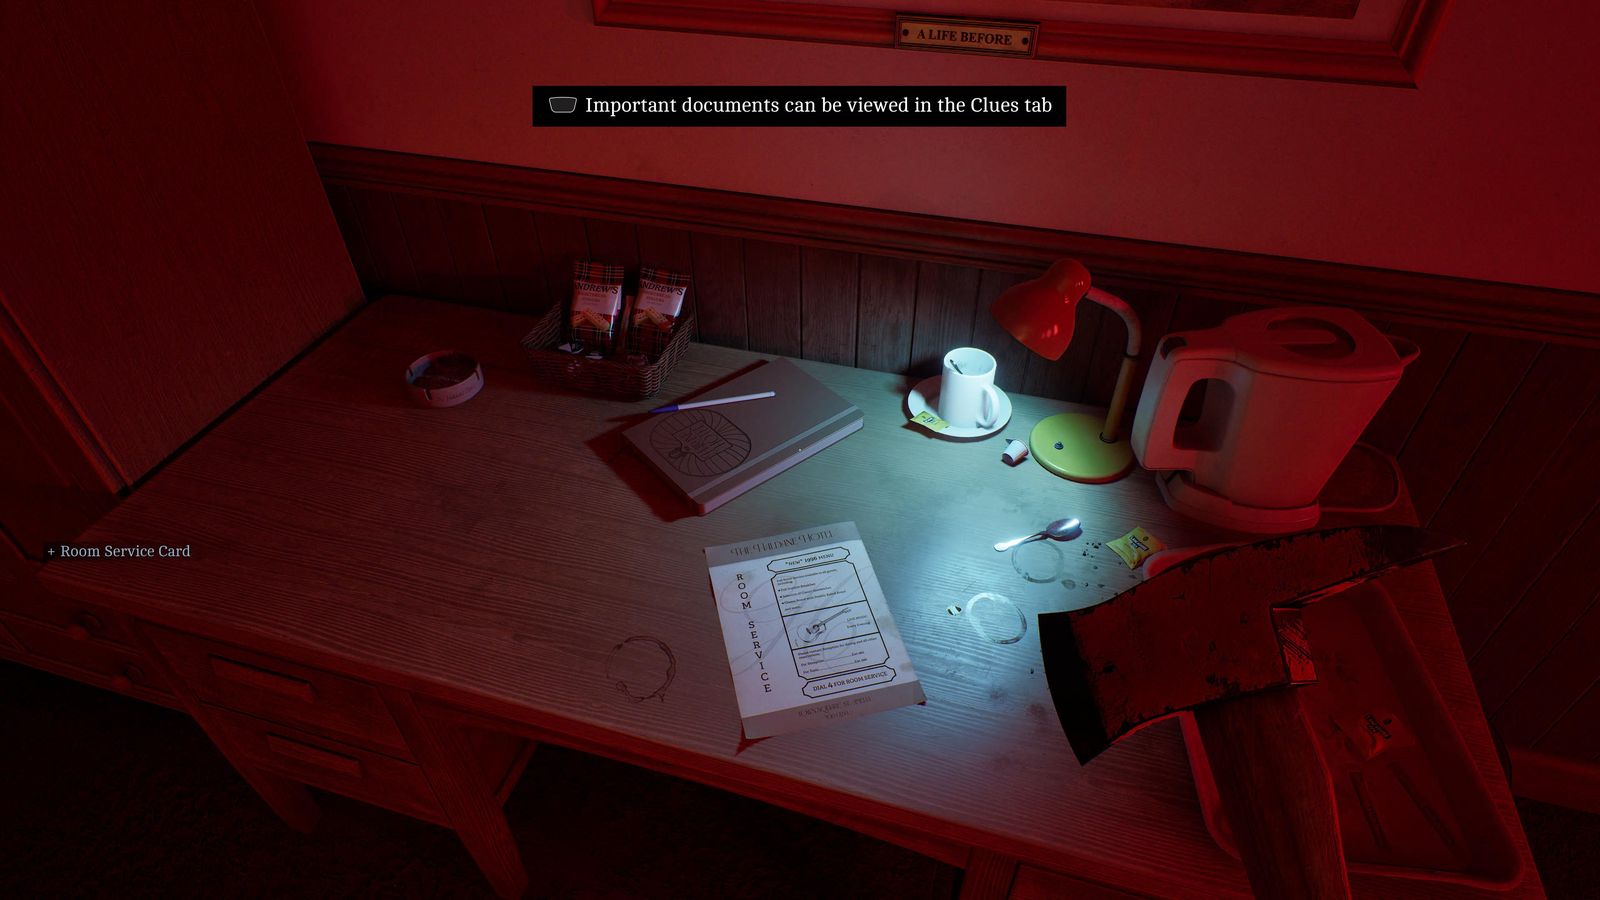
Clue 2/85 · Haldane Hotel - Bathroom: Room 204 Key and the Hotel Room Note. 📍 Document 3/85 🧩 Hotel Room 204 Door solution
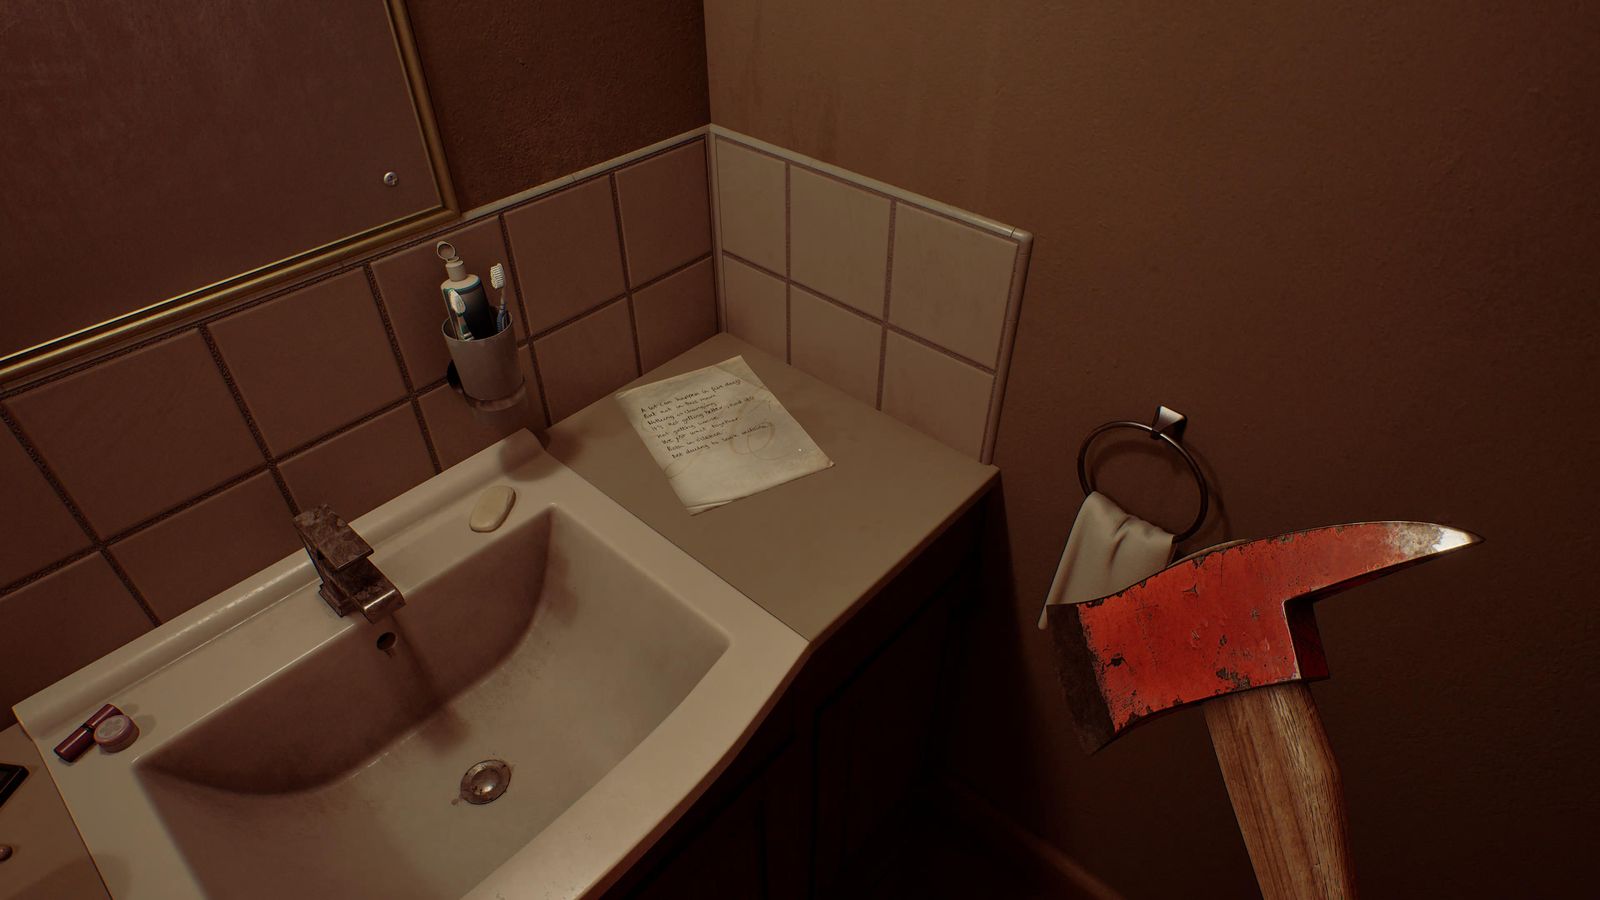
Document 3/85 · Haldane Hotel - Ground floor, behind the reception desk on the right. 📍 Document 4/85 🏆 Welcome To St. Amelia
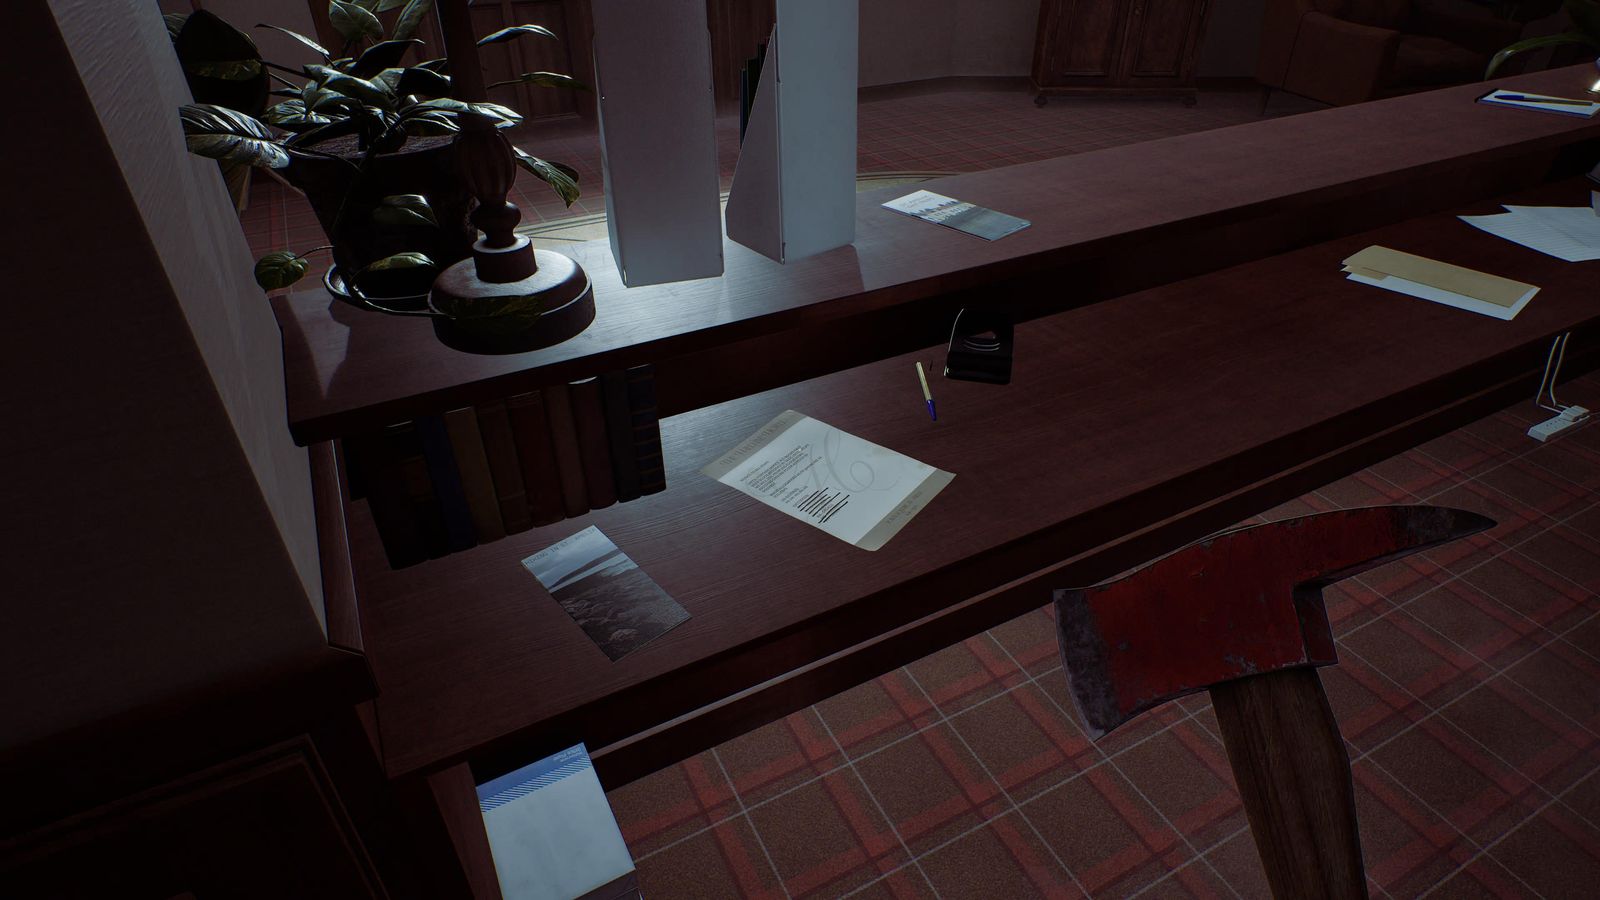
Document 4/85 · Haldane Hotel
A Connection St. Amelia Shorefront
Town Square
- Tune the CRTV to 47. 📍 CRTV 3/19
- Vigil & Protest Flyer on the bench west of the monument. 📍 Document 5/85
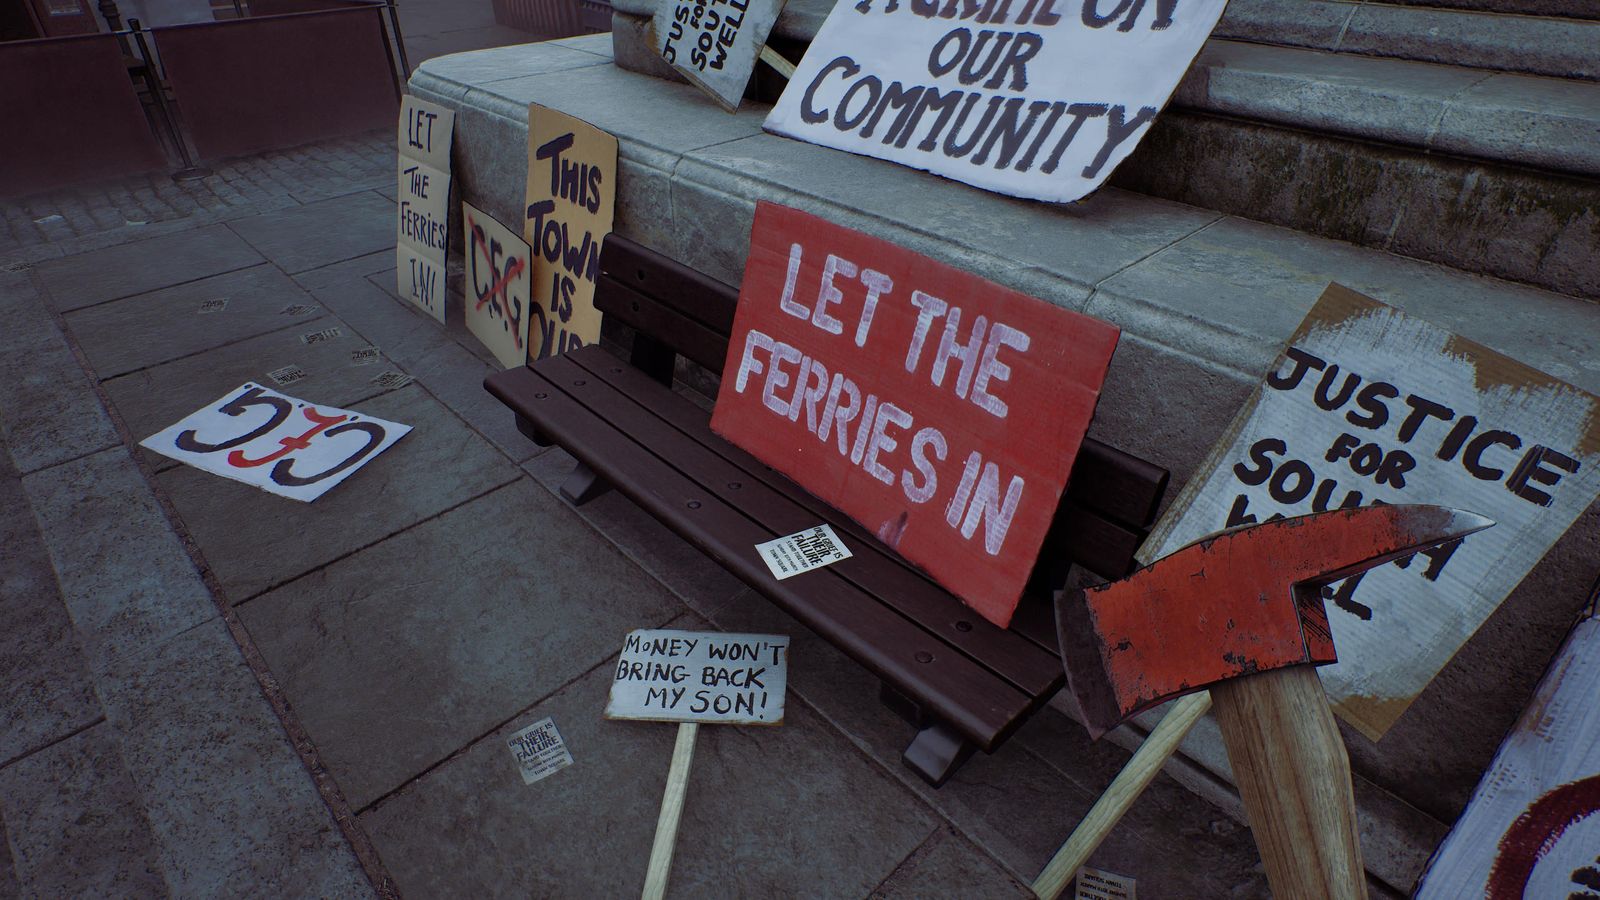
Document 5/85 · Town Square - From the phone box, call 496 0496, 496 0244 and 496 0842 and let each call finish (never save). 📍 Phone 4-6/13
- Video Star (1) at the far end of West Shore Road: Strange Postcard #1 on the counter, Bronze Coin on the left shelf of the back room. 📍 Postcard 1/15 + Bronze Coin
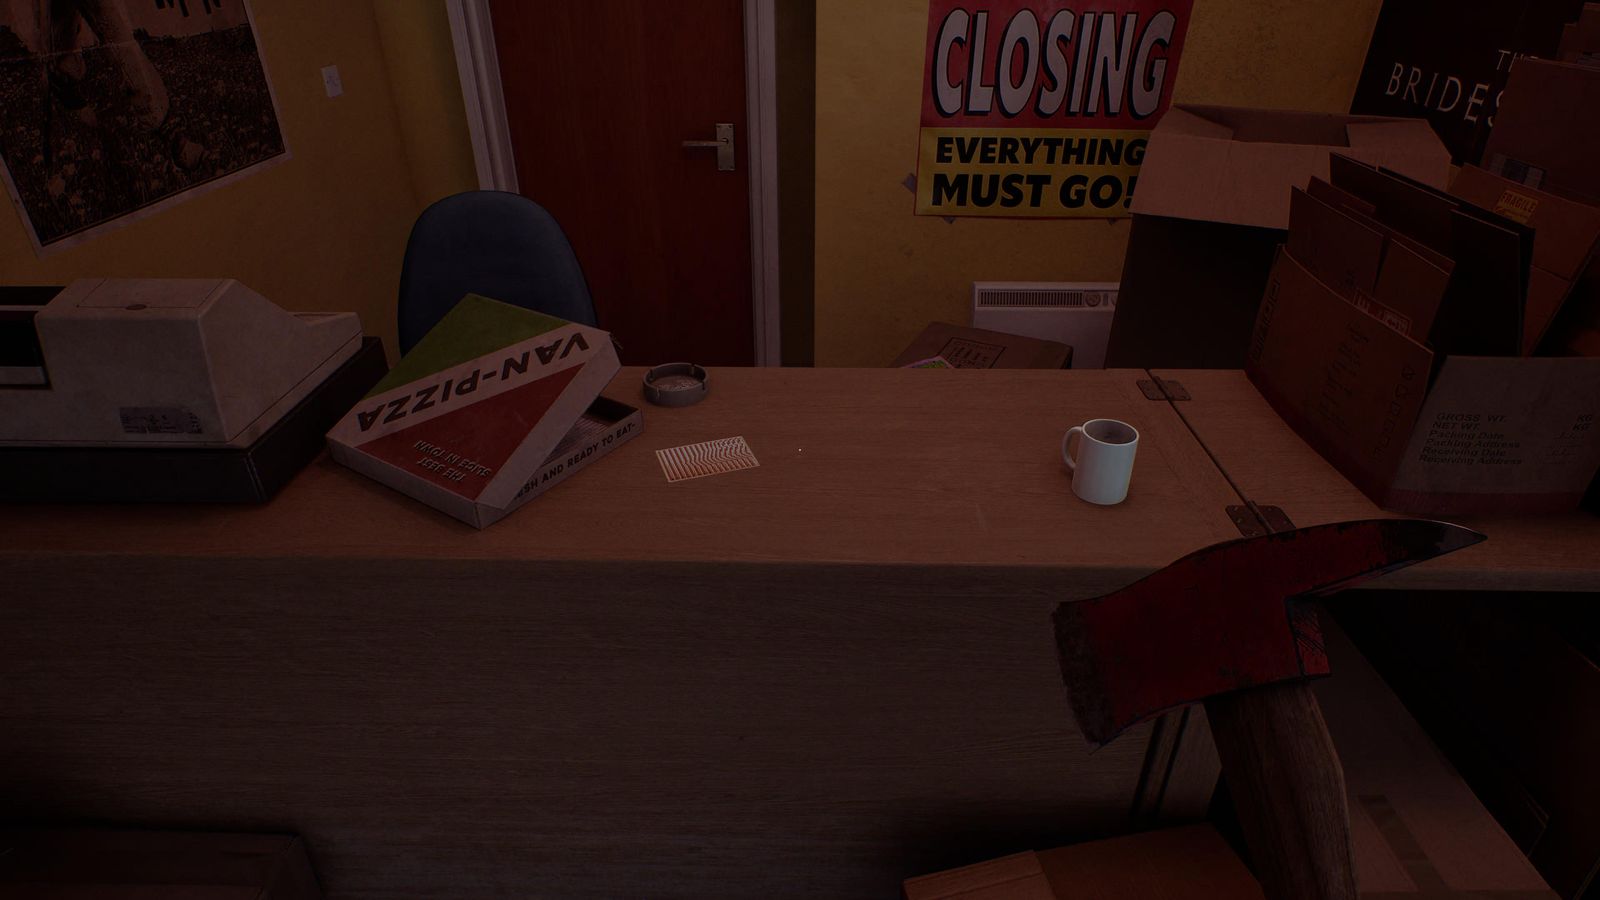
Postcard 1/15 + Bronze Coin · Town Square 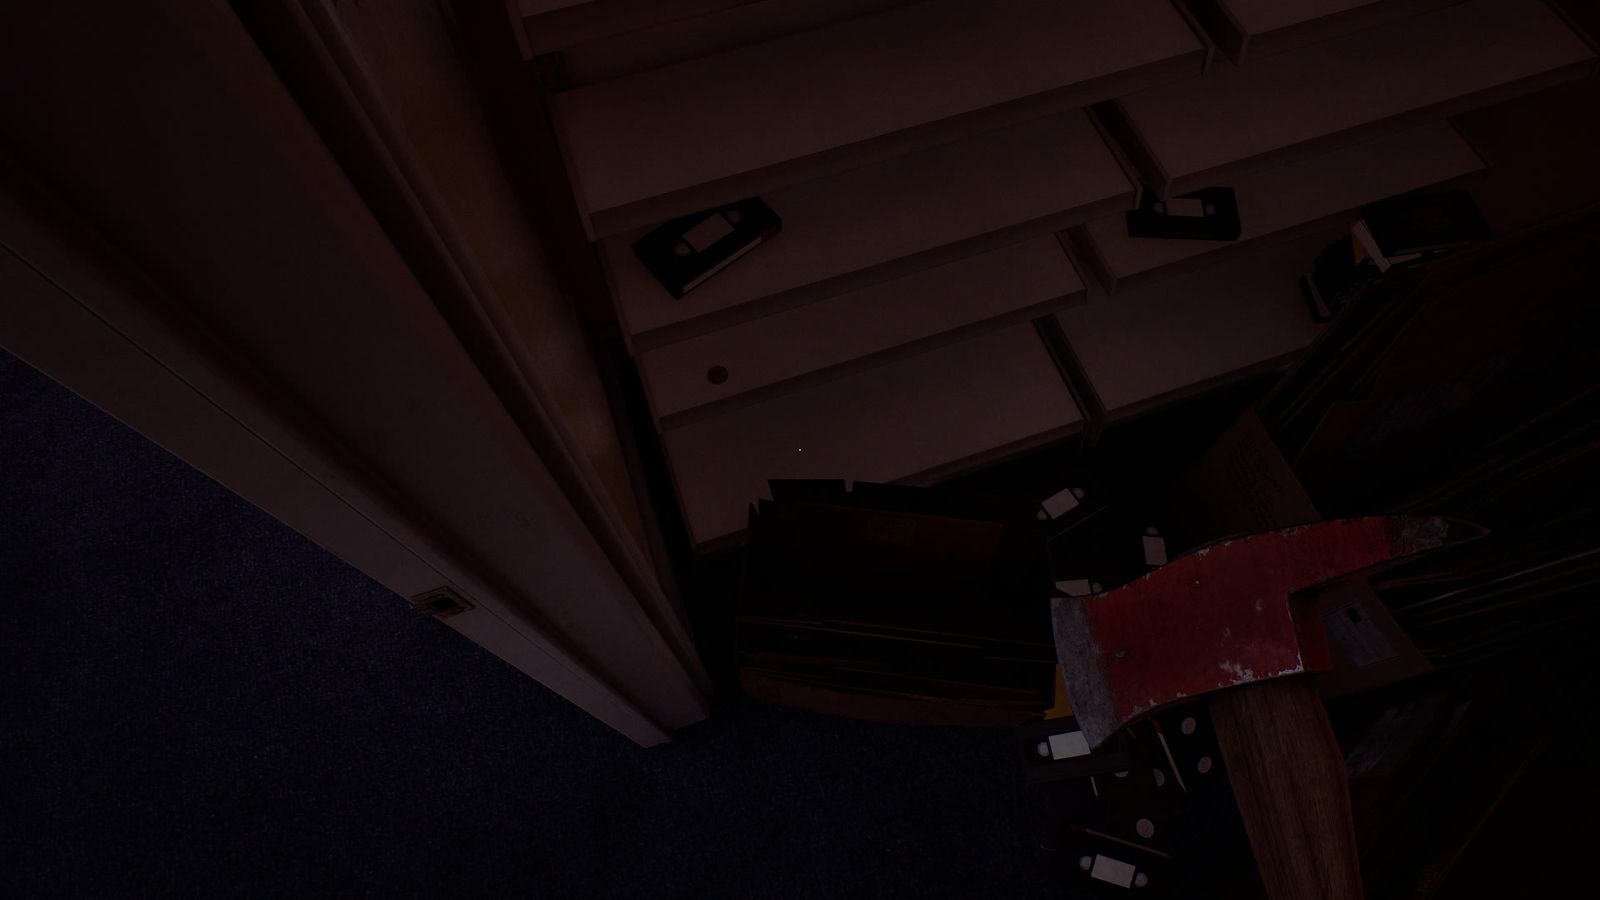
Postcard 1/15 + Bronze Coin · Town Square
Zoe's house
- Flashlight, Gauze and AA Batteries as before. Last bedroom: Strange Book #1 under the bedside drawer (crouch). It is needed for the Sci-Fi ending. 📍 Strange Book 1/3
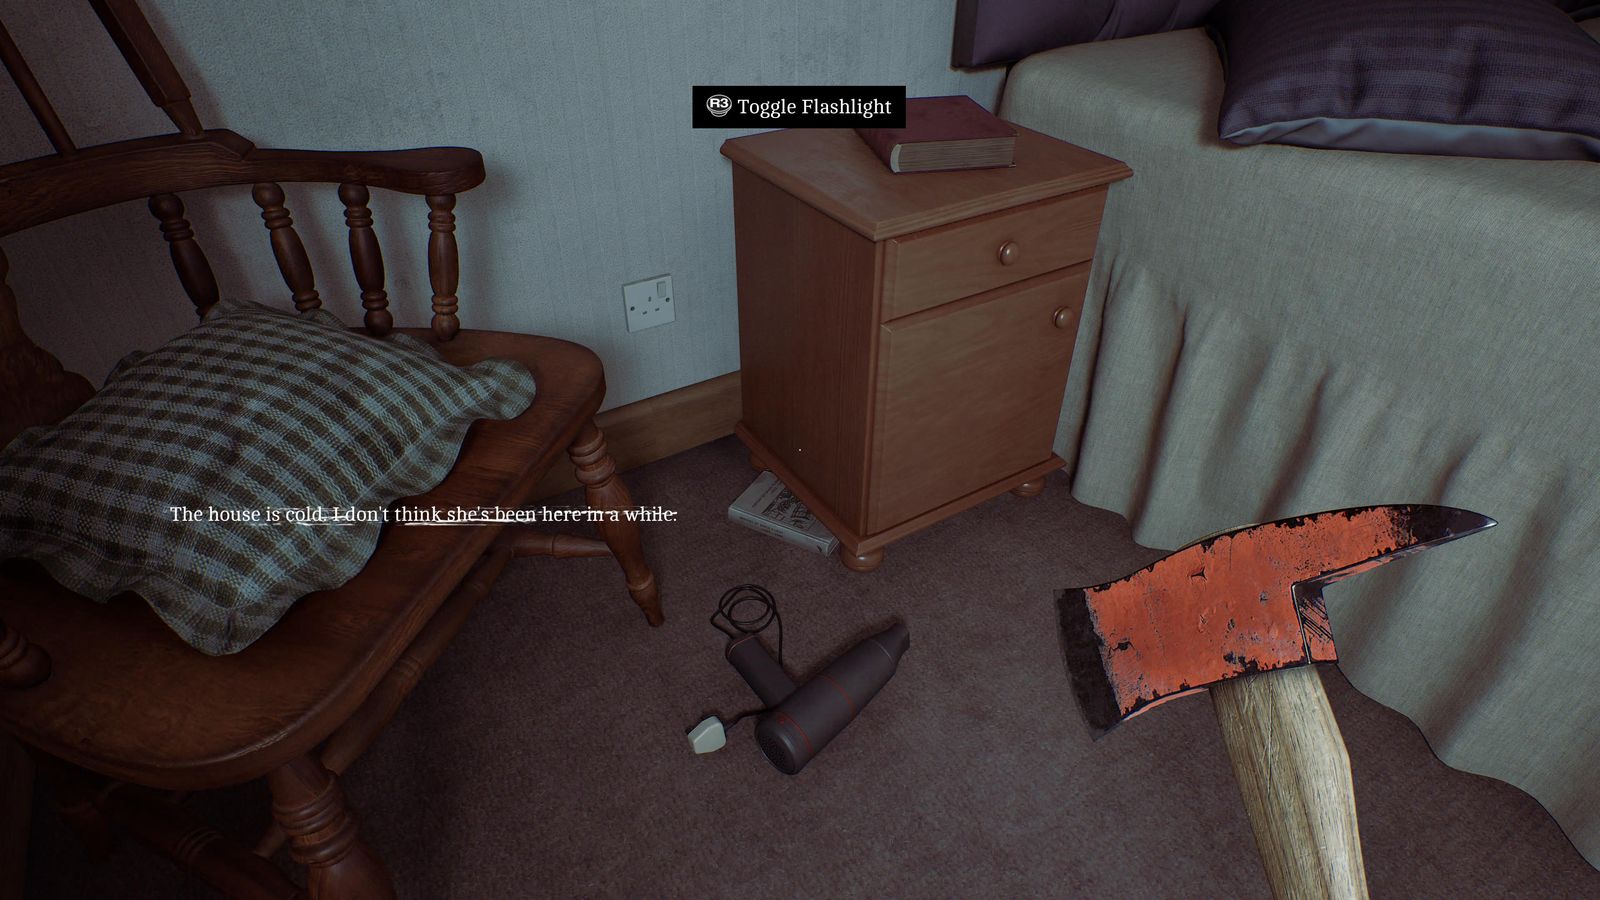
Strange Book 1/3 · Zoe's house - Same bedroom, on the en-suite floor: Organ Transplant Card. 📍 Clue 6/85
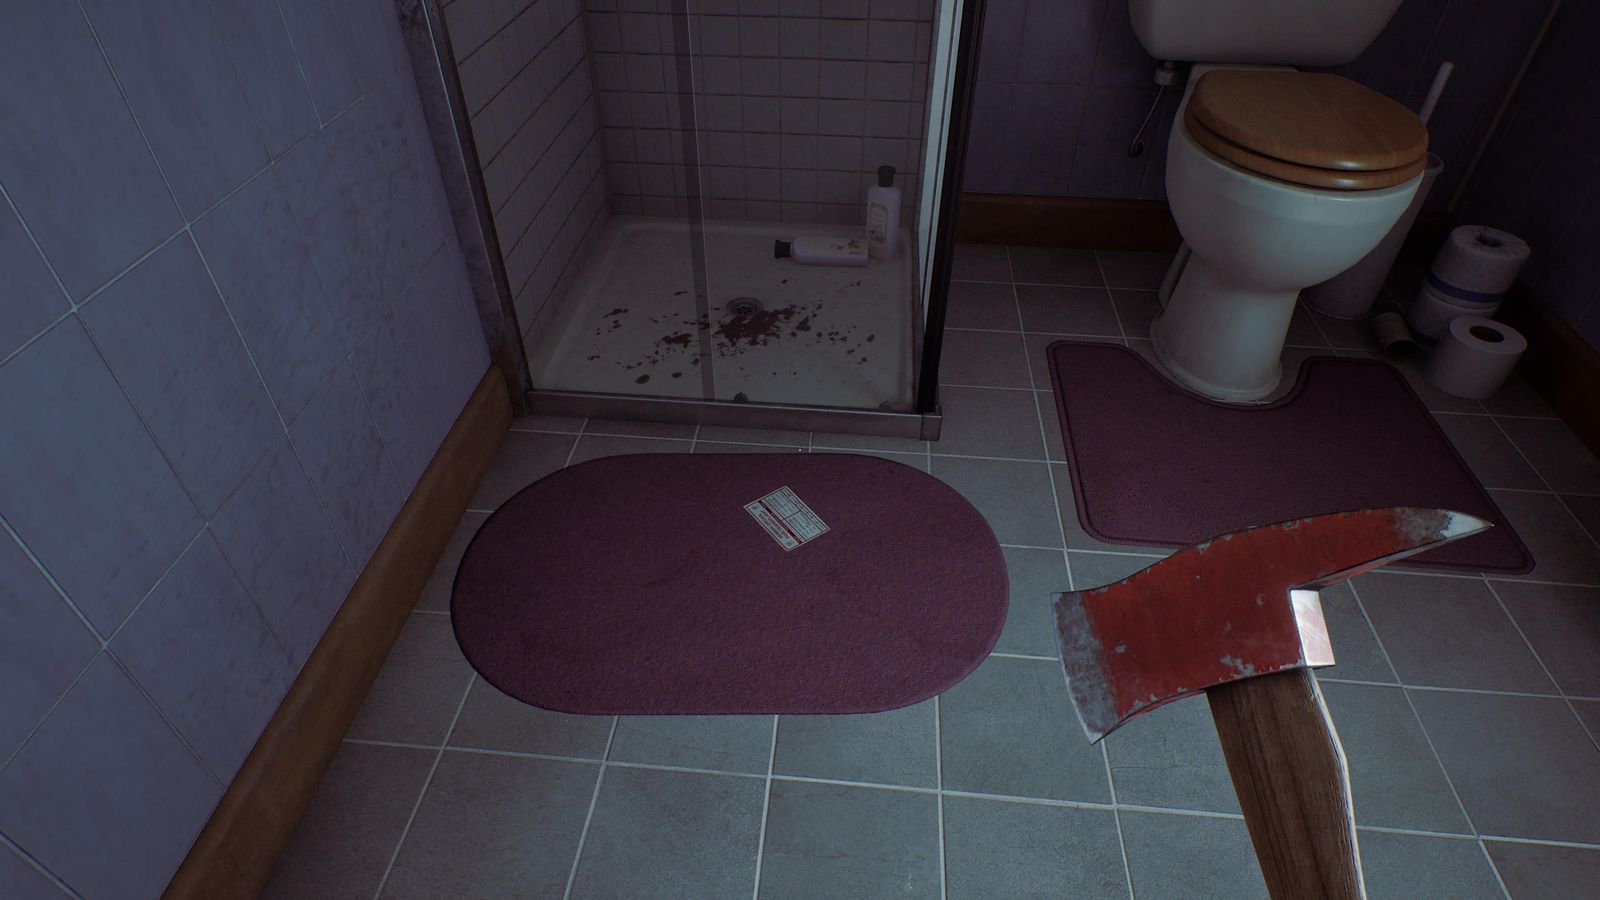
Clue 6/85 · Zoe's house - Power Credit Card Guide by the power box under the stairs. 📍 Clue 7/85
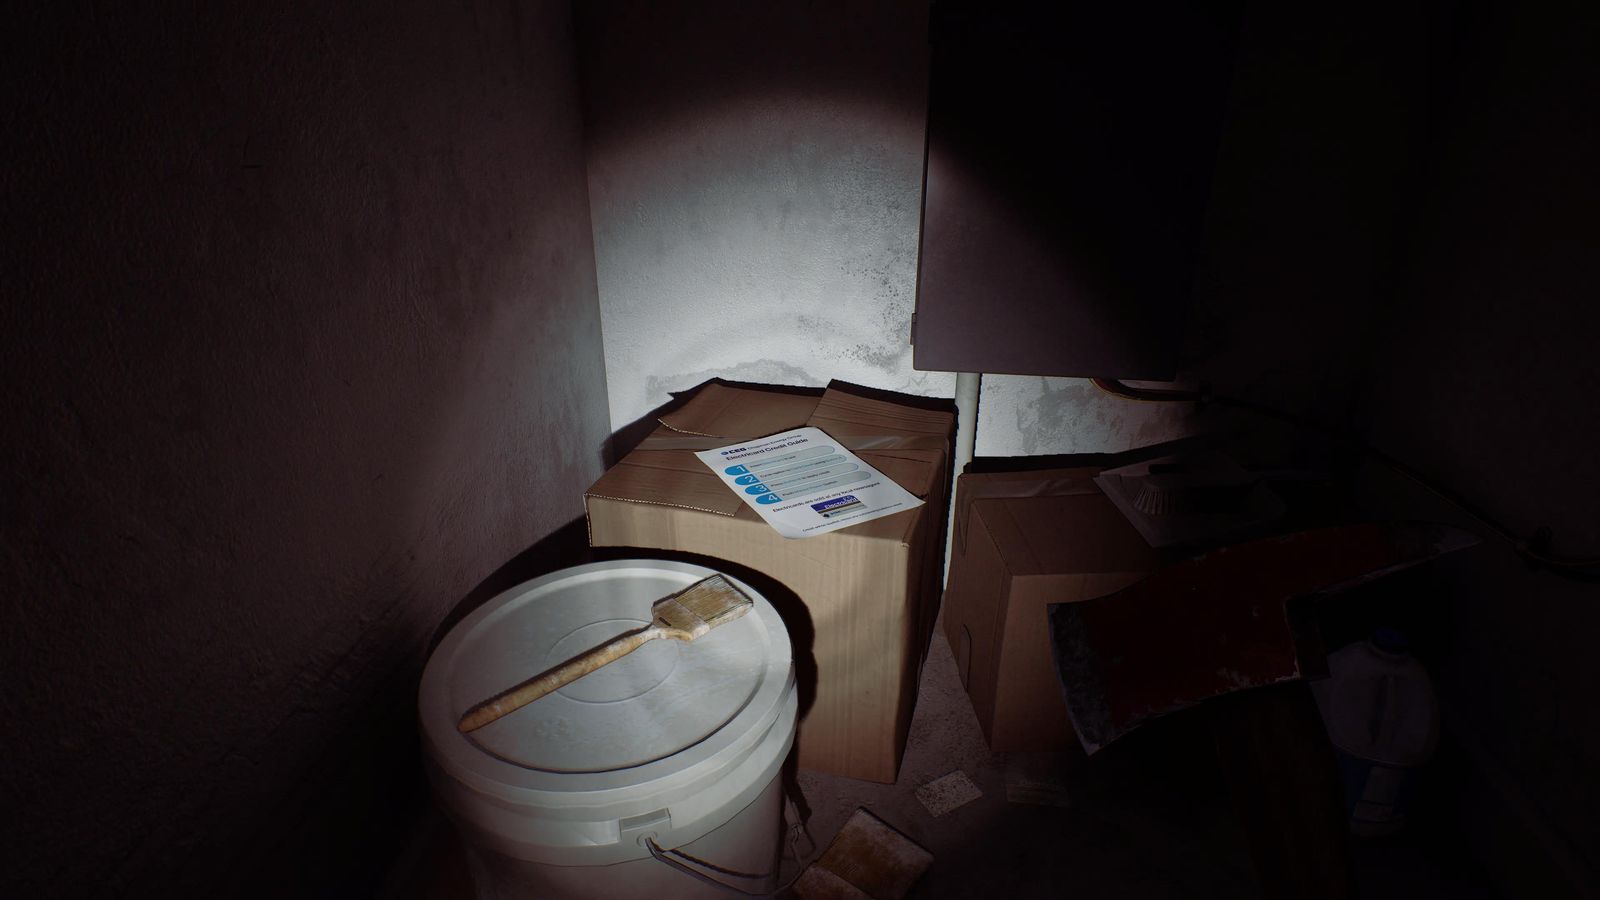
Clue 7/85 · Zoe's house
Peters Newsagents (2)
- Grab the Plank, kill the enemy with it (it counts for Creative Process; Zoe's kills never affect the ending), then pick the Axe back up. Prepaid Power Card in the till; the Newsagents Note beside it. 📍 Document 8/85
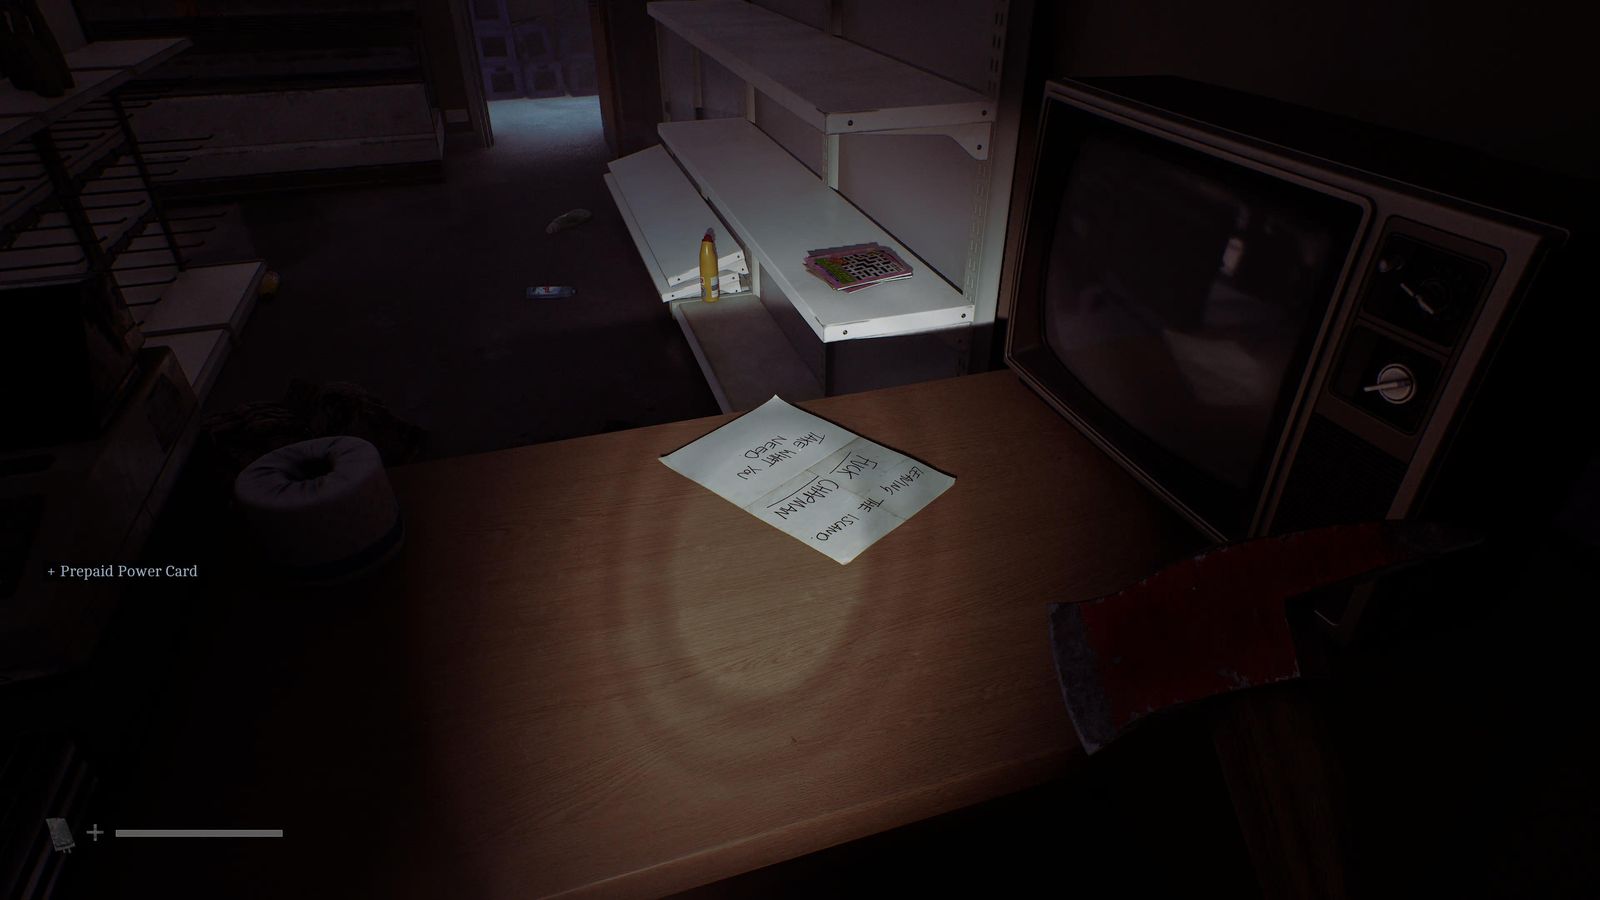
Document 8/85 · Peters Newsagents (2)
Zoe's house
- Power box and computer as before, but read all three emails this time. 📍 Docs 9-11/85 🧩 Power Box solution
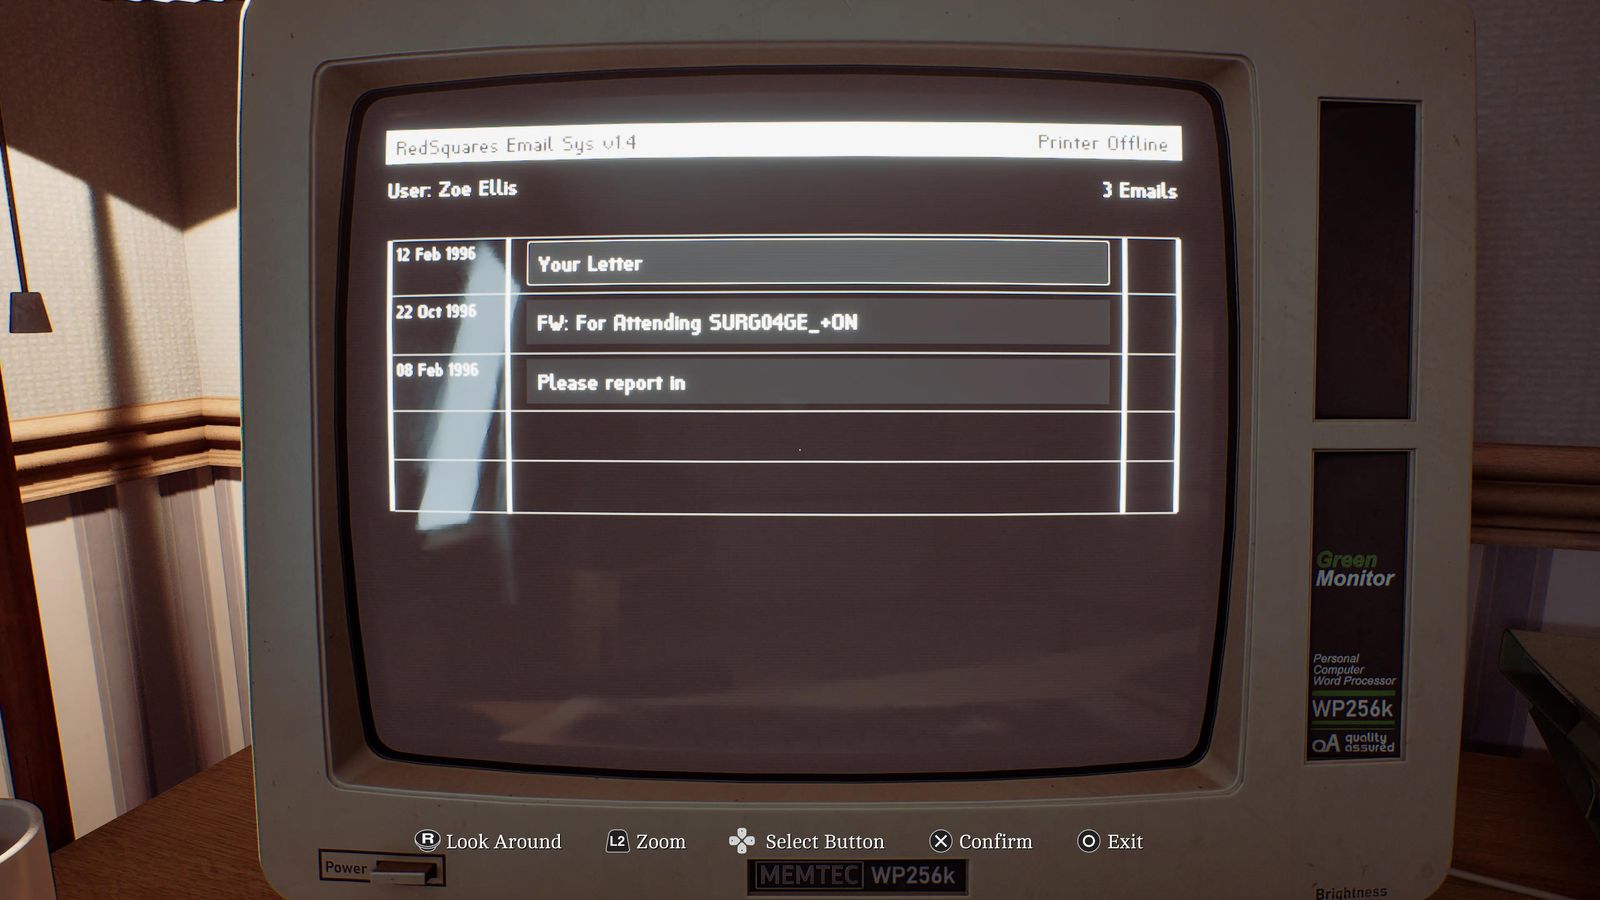
Docs 9-11/85 · Zoe's house 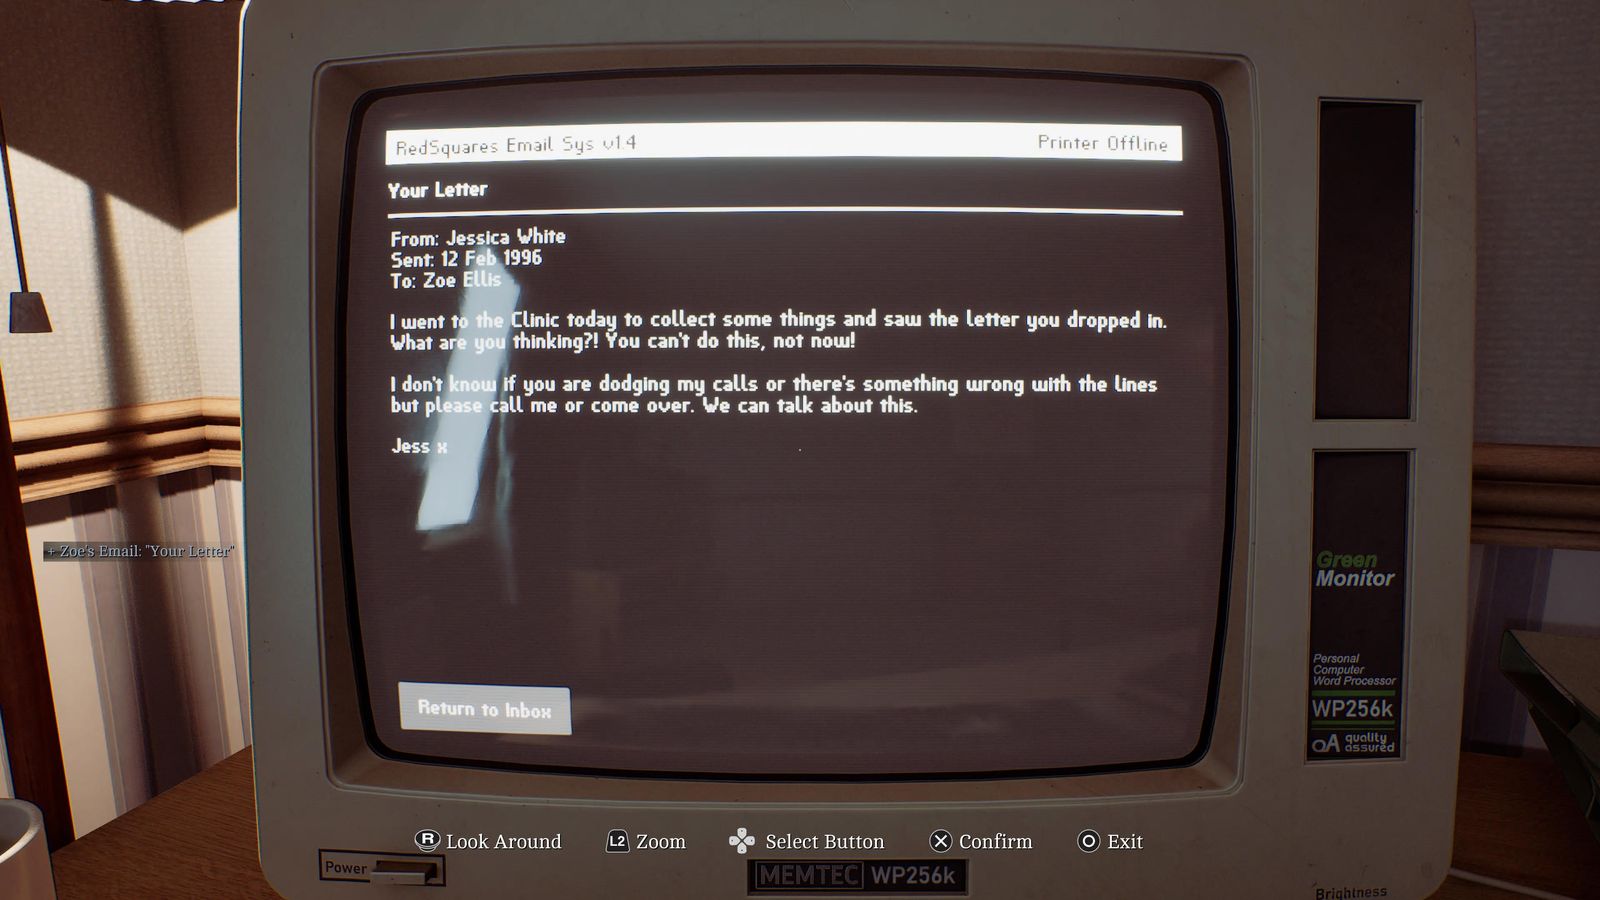
Docs 9-11/85 · Zoe's house 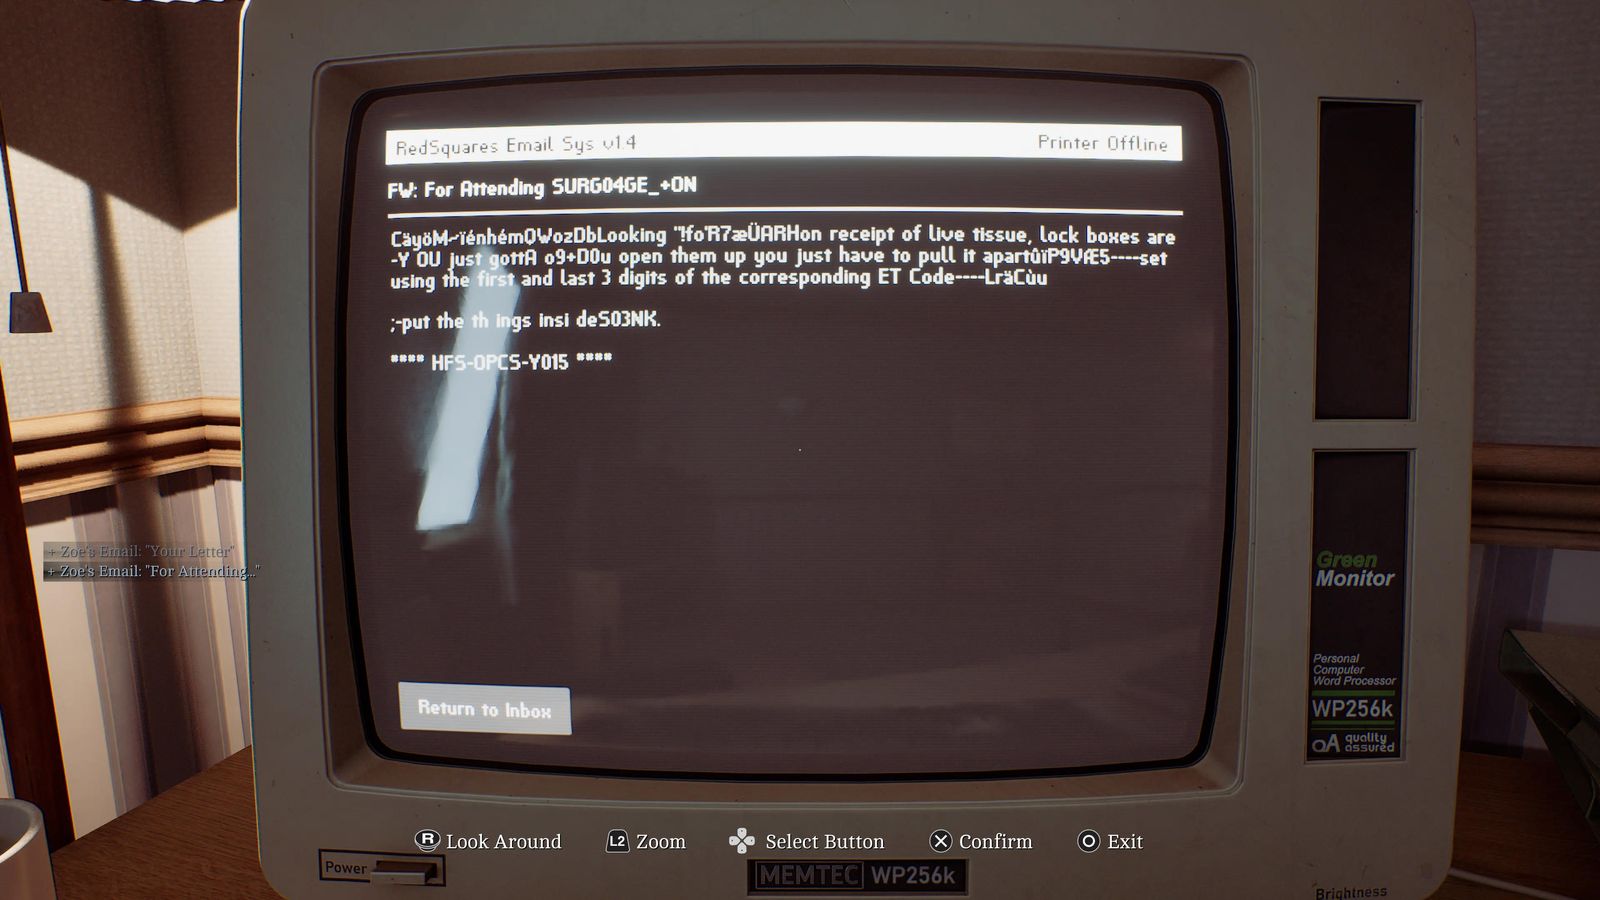
Docs 9-11/85 · Zoe's house 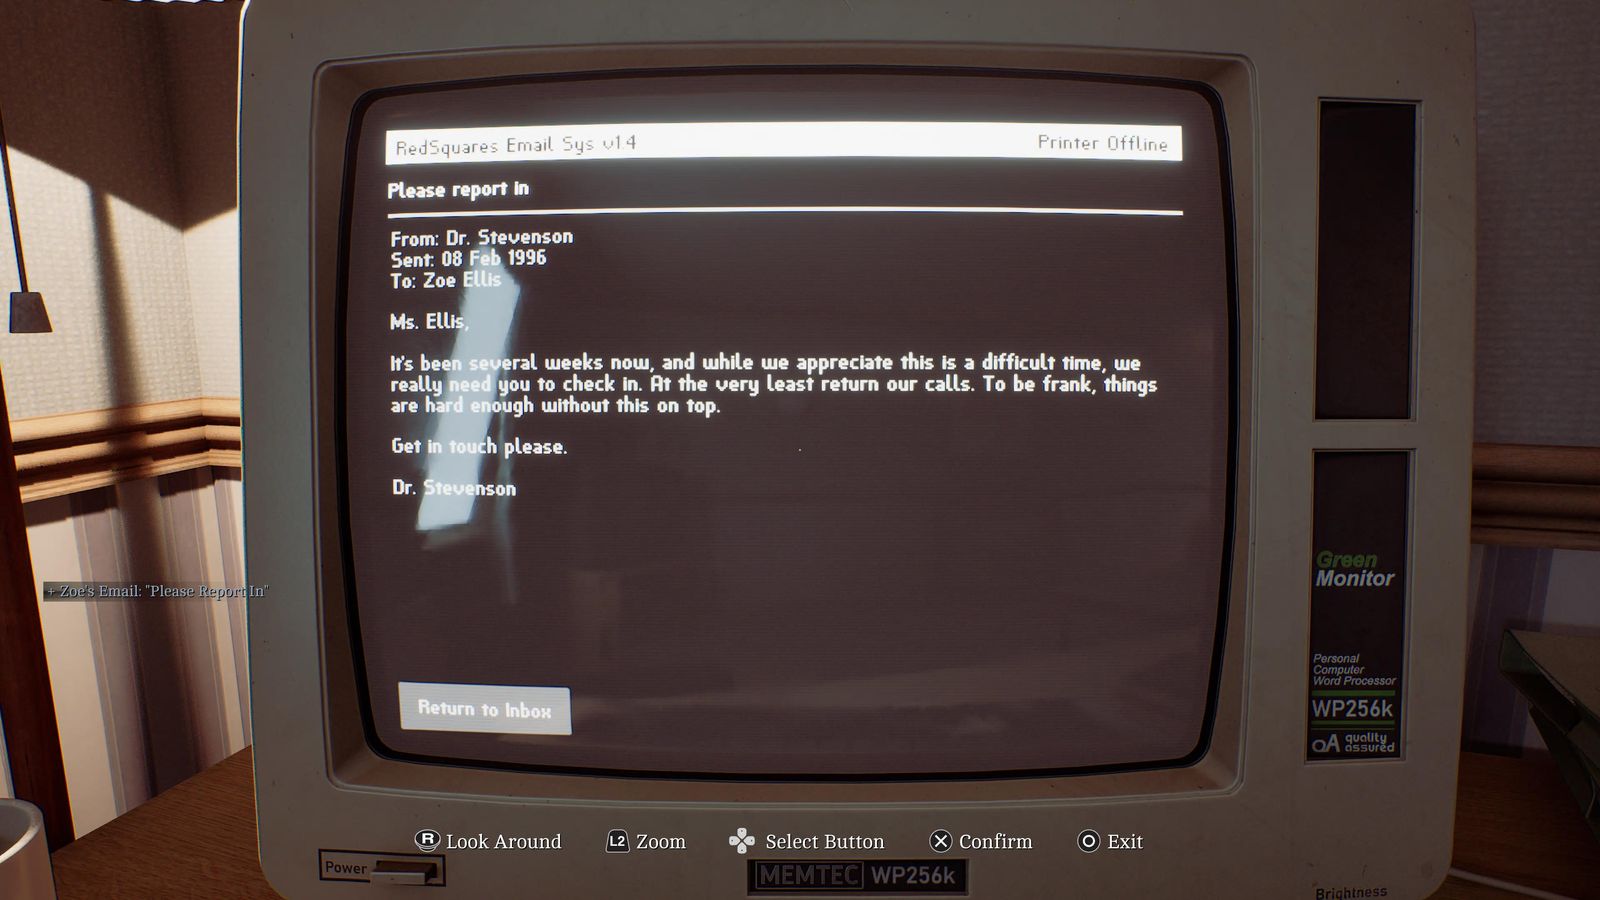
Docs 9-11/85 · Zoe's house - Hand Delivered Letter on the living-room coffee table. 📍 Document 12/85
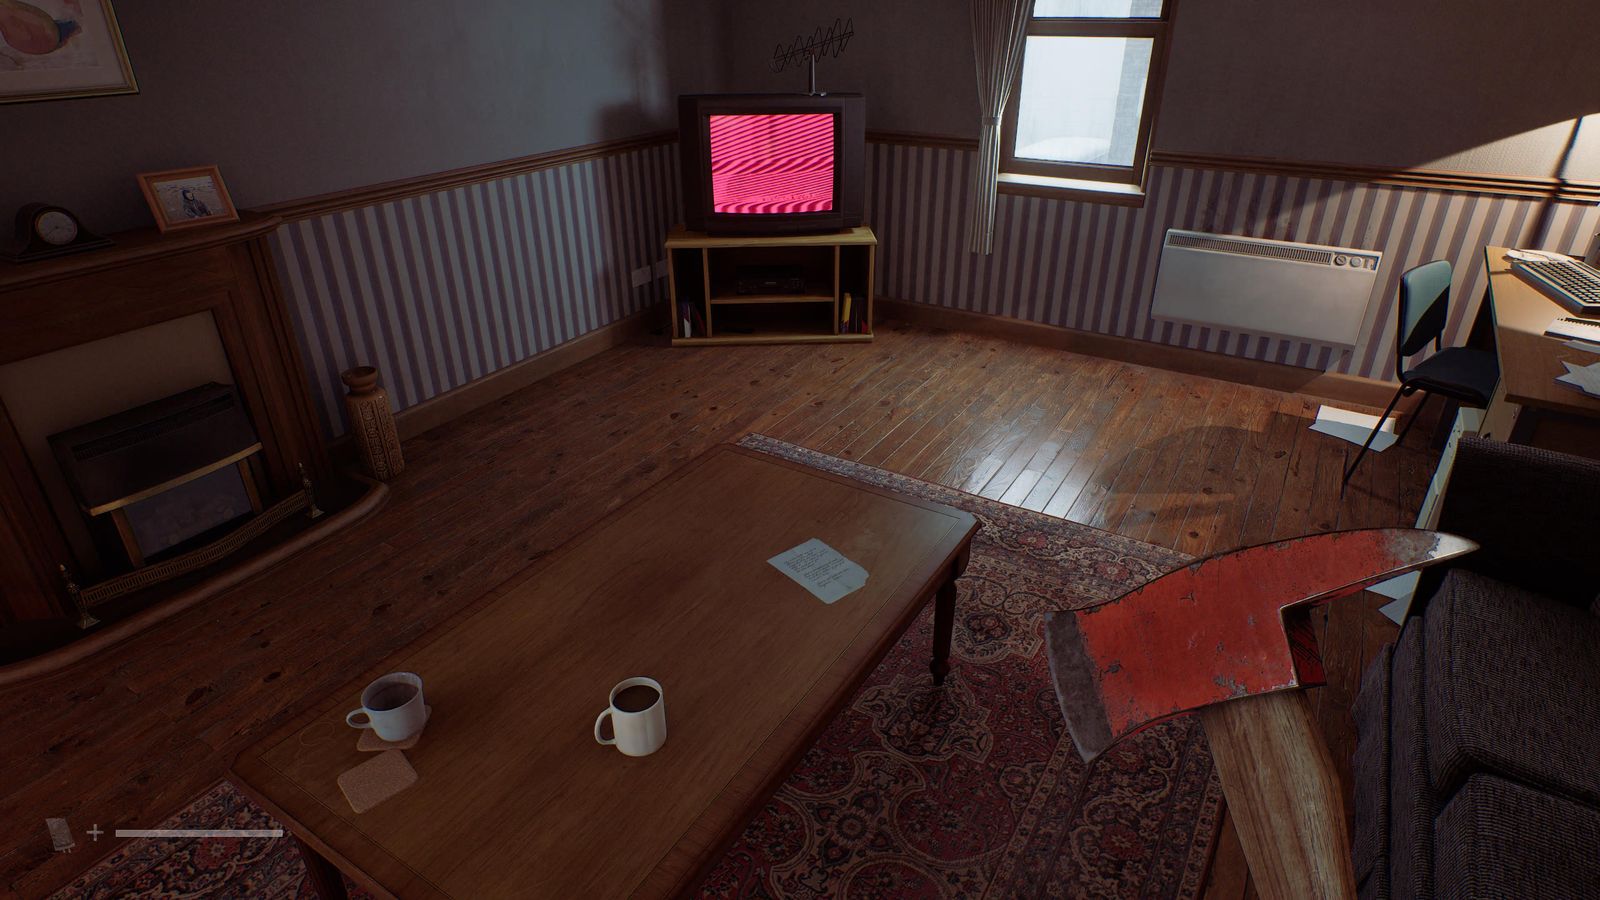
Document 12/85 · Zoe's house - Kitchen organ 956 / 133. 🧩 Organ Lock Puzzle solution
Searching for Zoe St. Amelia Shorefront
Zoe's house → Clinic
- By the front door, tune the CRTV to 21. 📍 CRTV 4/19
- Kill the clinic enemy with one Axe swing. Shorefront Family Clinic Notice on the wall right of the shutter. 📍 Document 13/85
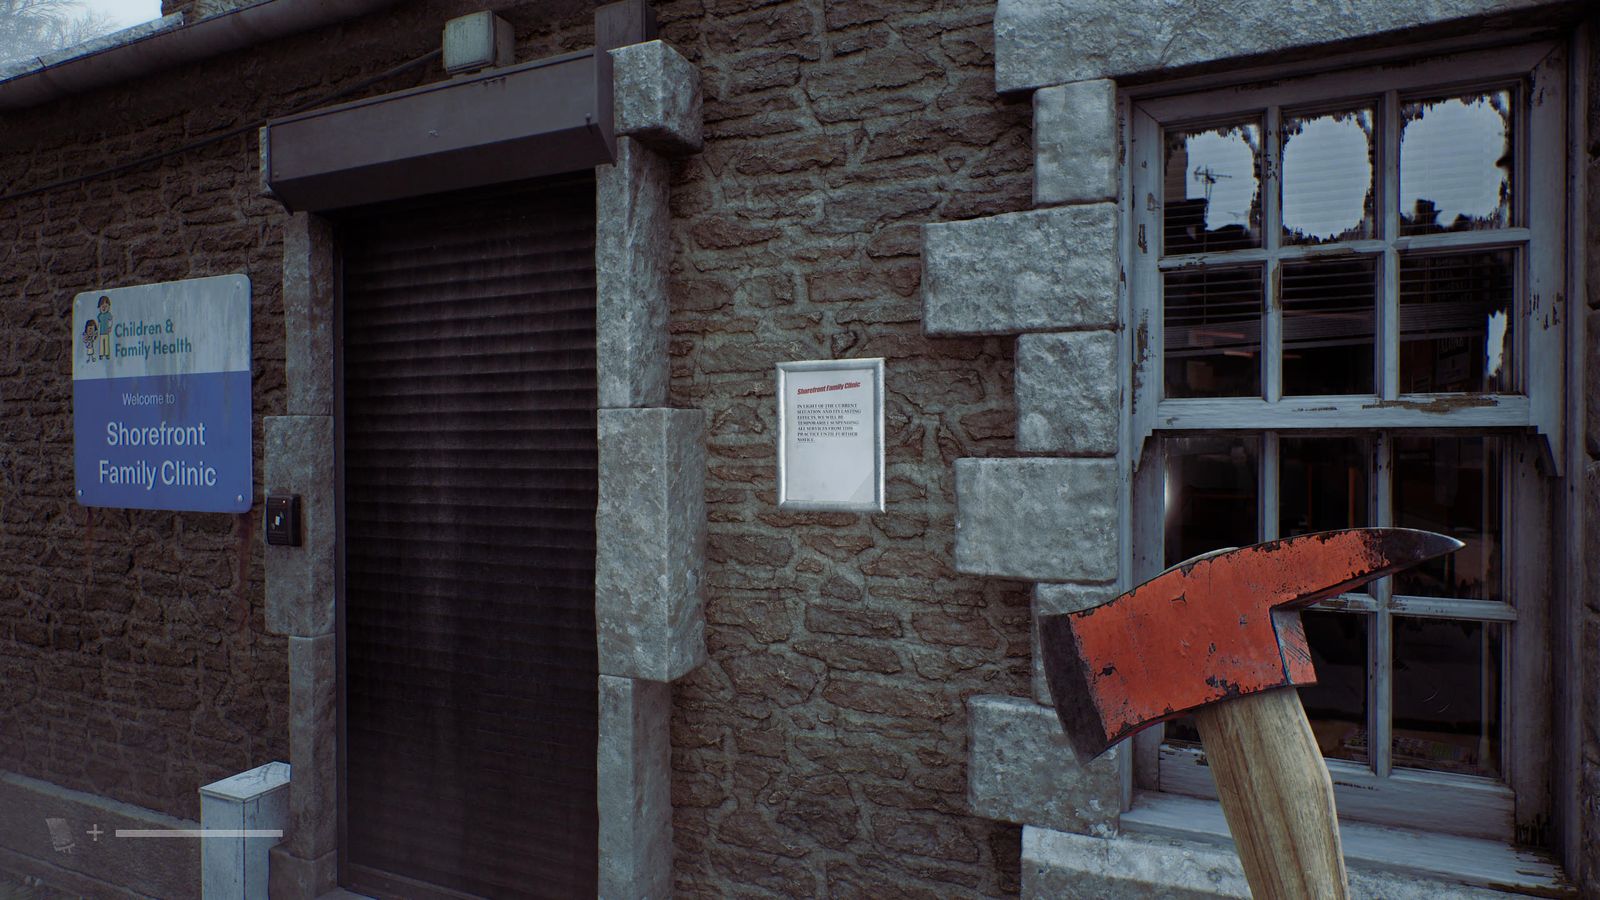
Document 13/85 · Zoe's house → Clinic - Reception (code 2896), counter by the phone: Nurse's Rounds Form. 📍 Document 14/85
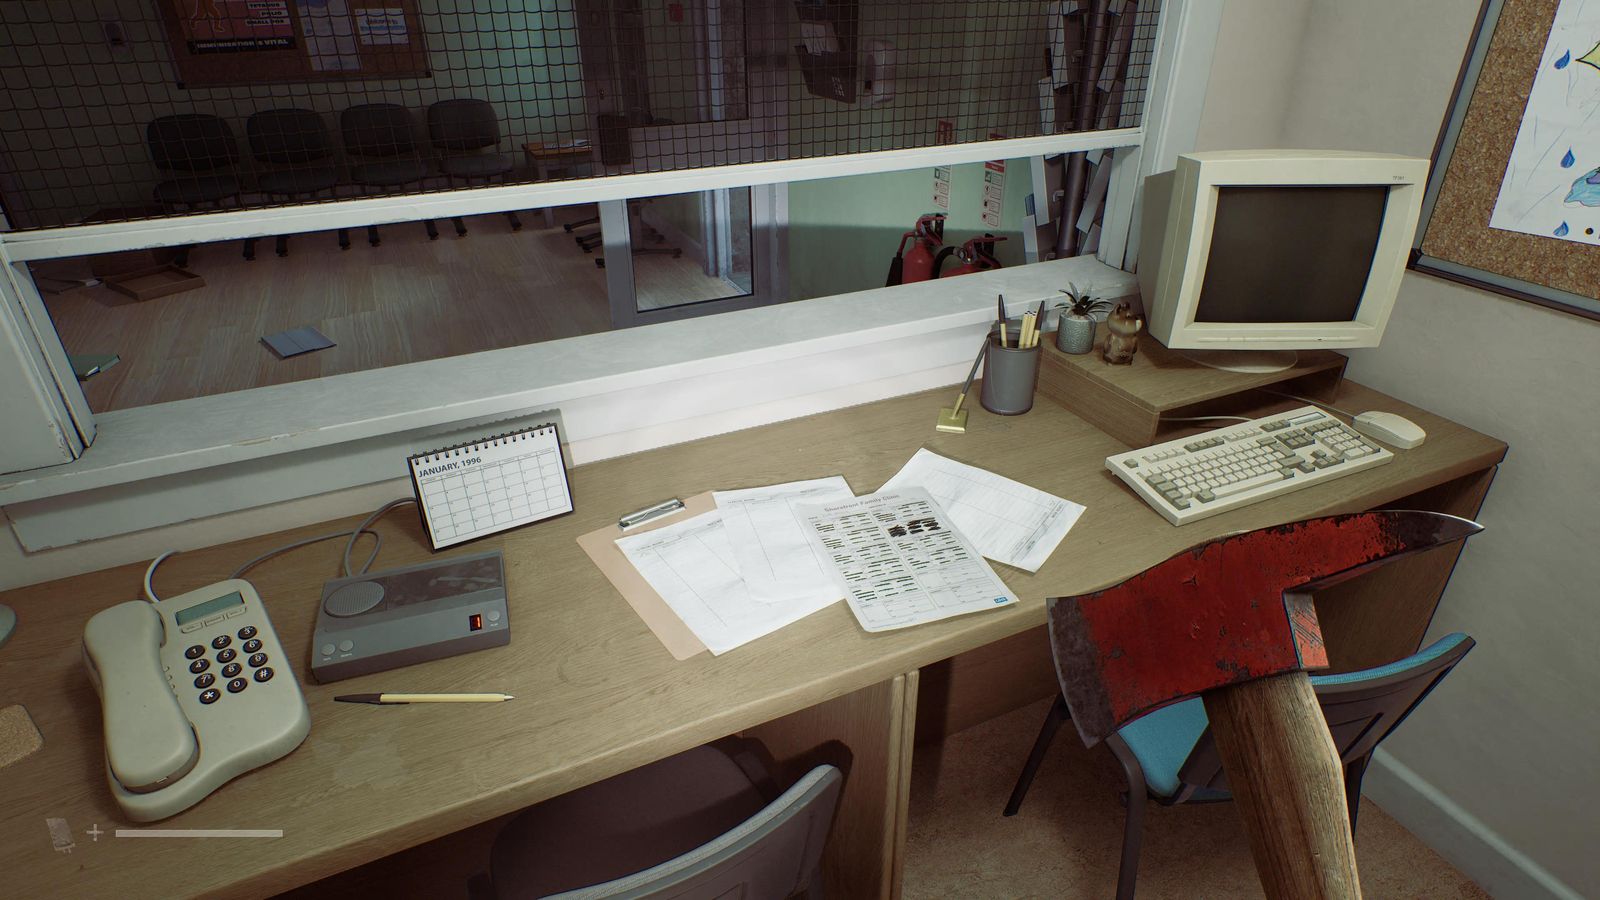
Document 14/85 · Zoe's house → Clinic - Dr. Stevenson's desk drawer. 📍 Document 15/85
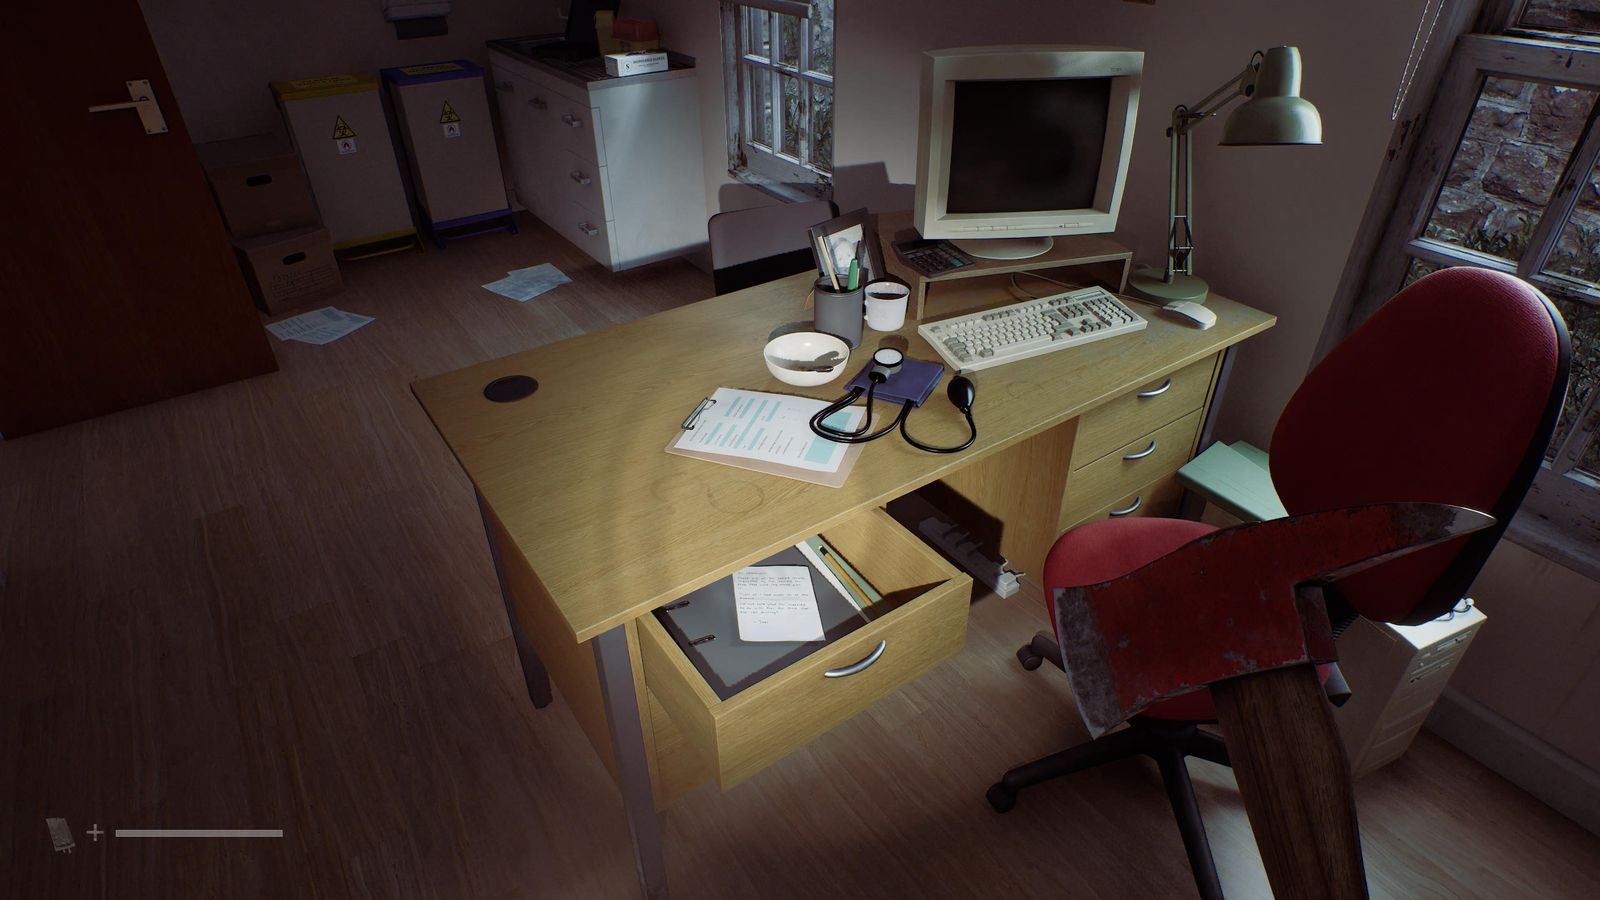
Document 15/85 · Zoe's house → Clinic - Z. Ellis's room: Resignation Letter on a box, then read “Where Are You?” and “Answer Phone Message” on her computer. 📍 Clues 16-18/85
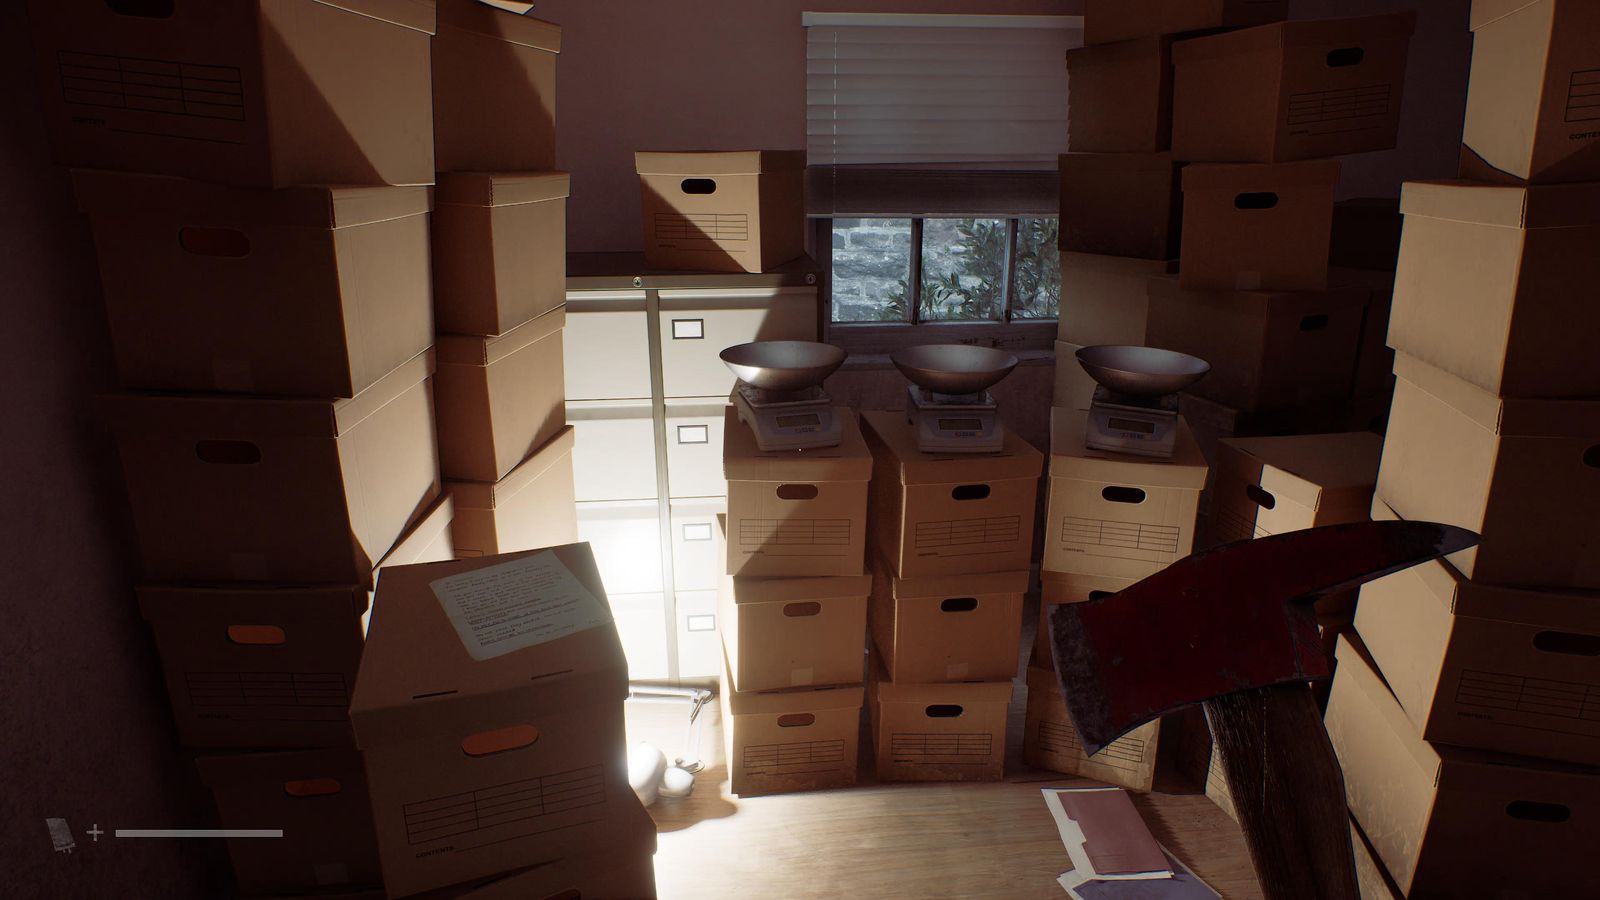
Clues 16-18/85 · Zoe's house → Clinic 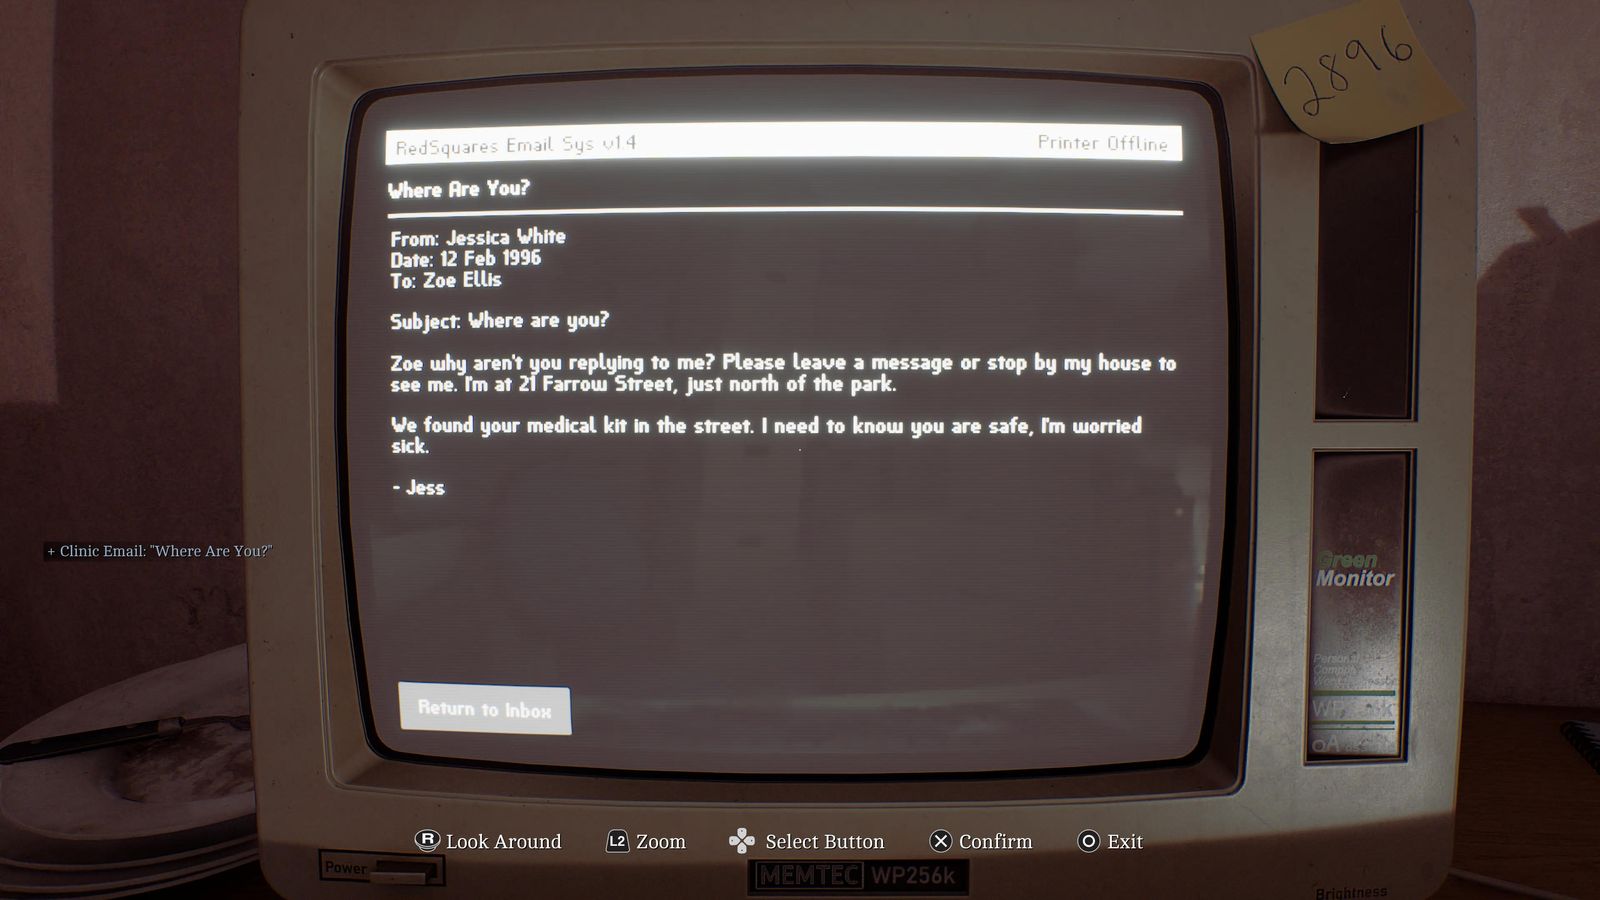
Clues 16-18/85 · Zoe's house → Clinic 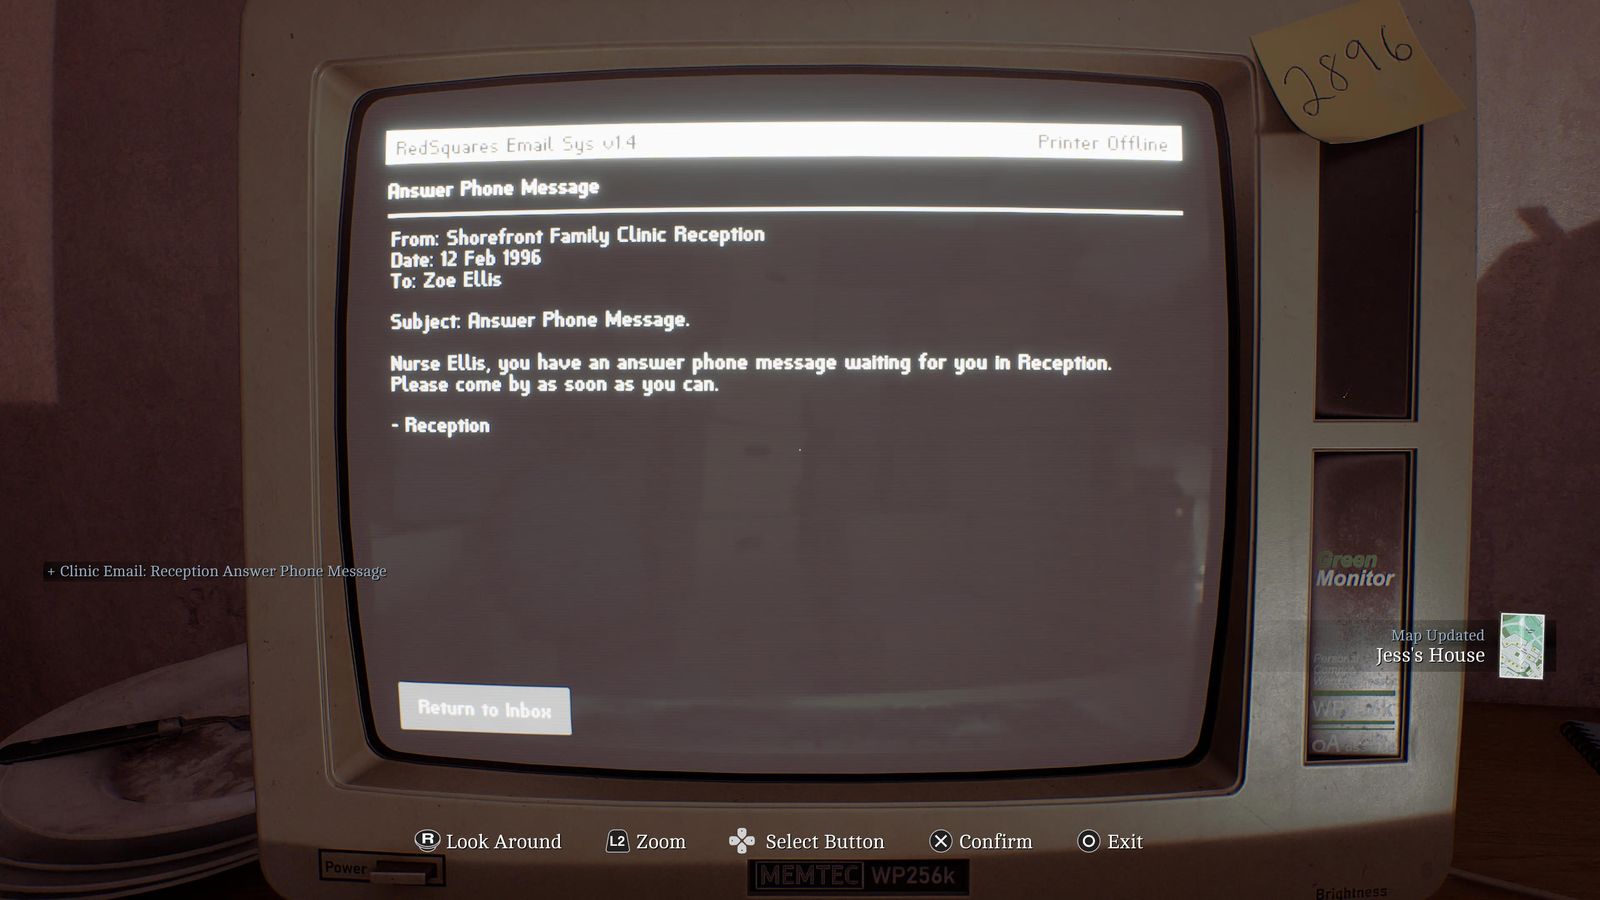
Clues 16-18/85 · Zoe's house → Clinic
Main Street → Pharmacy (7)
- Just before the pharmacy, put the Bronze Coin in the guide-dog collection box (Dog ending, 1 of 3). 📍 Guide Dog 1/3
- Pharmacy: tune the tuner on the desk to 30, and take Restock Issues from the front counter. 📍 CRTV 5/19 + Document 19/85
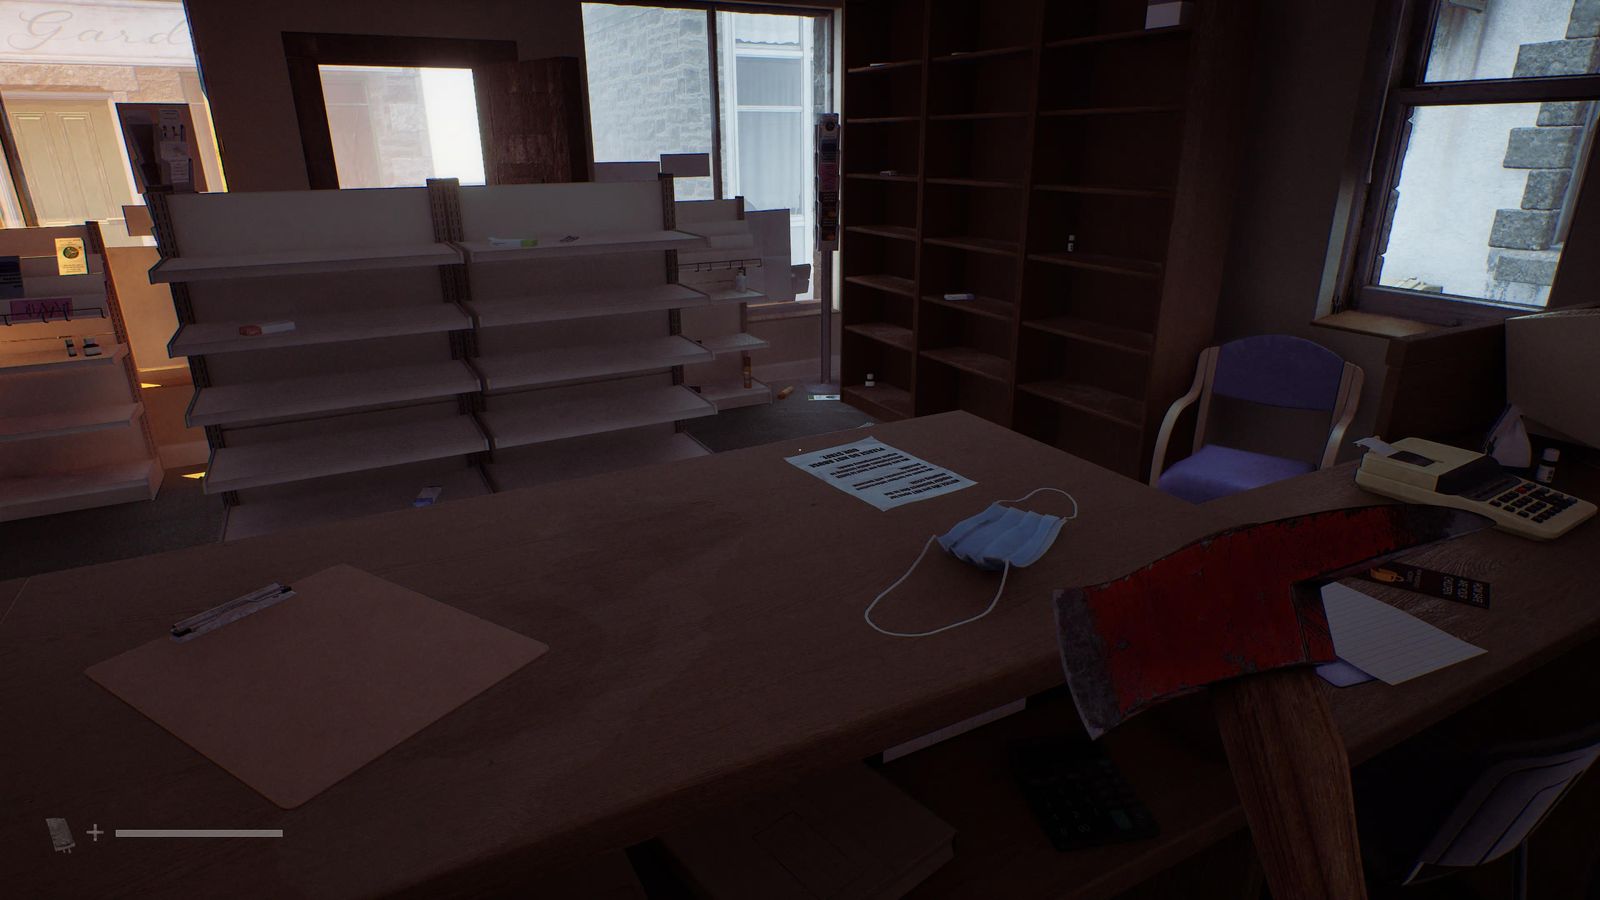
CRTV 5/19 + Document 19/85 · Main Street → Pharmacy (7)
Park → Farrow Street
- Alley behind building 3, by the red container next to the dumpster. 📍 Postcard 2/15
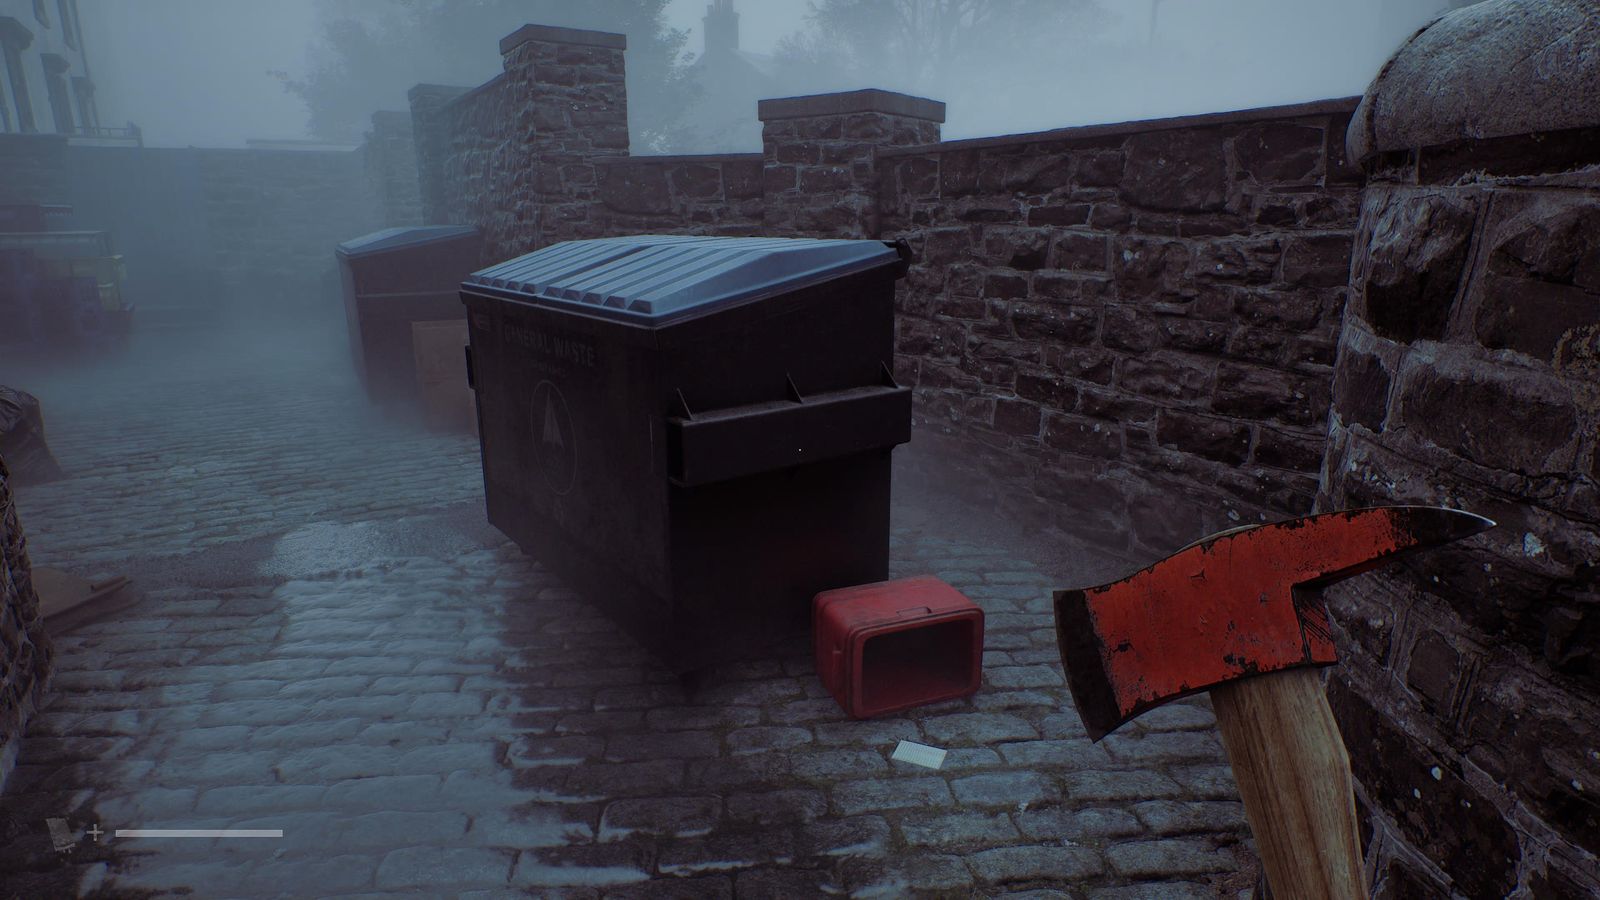
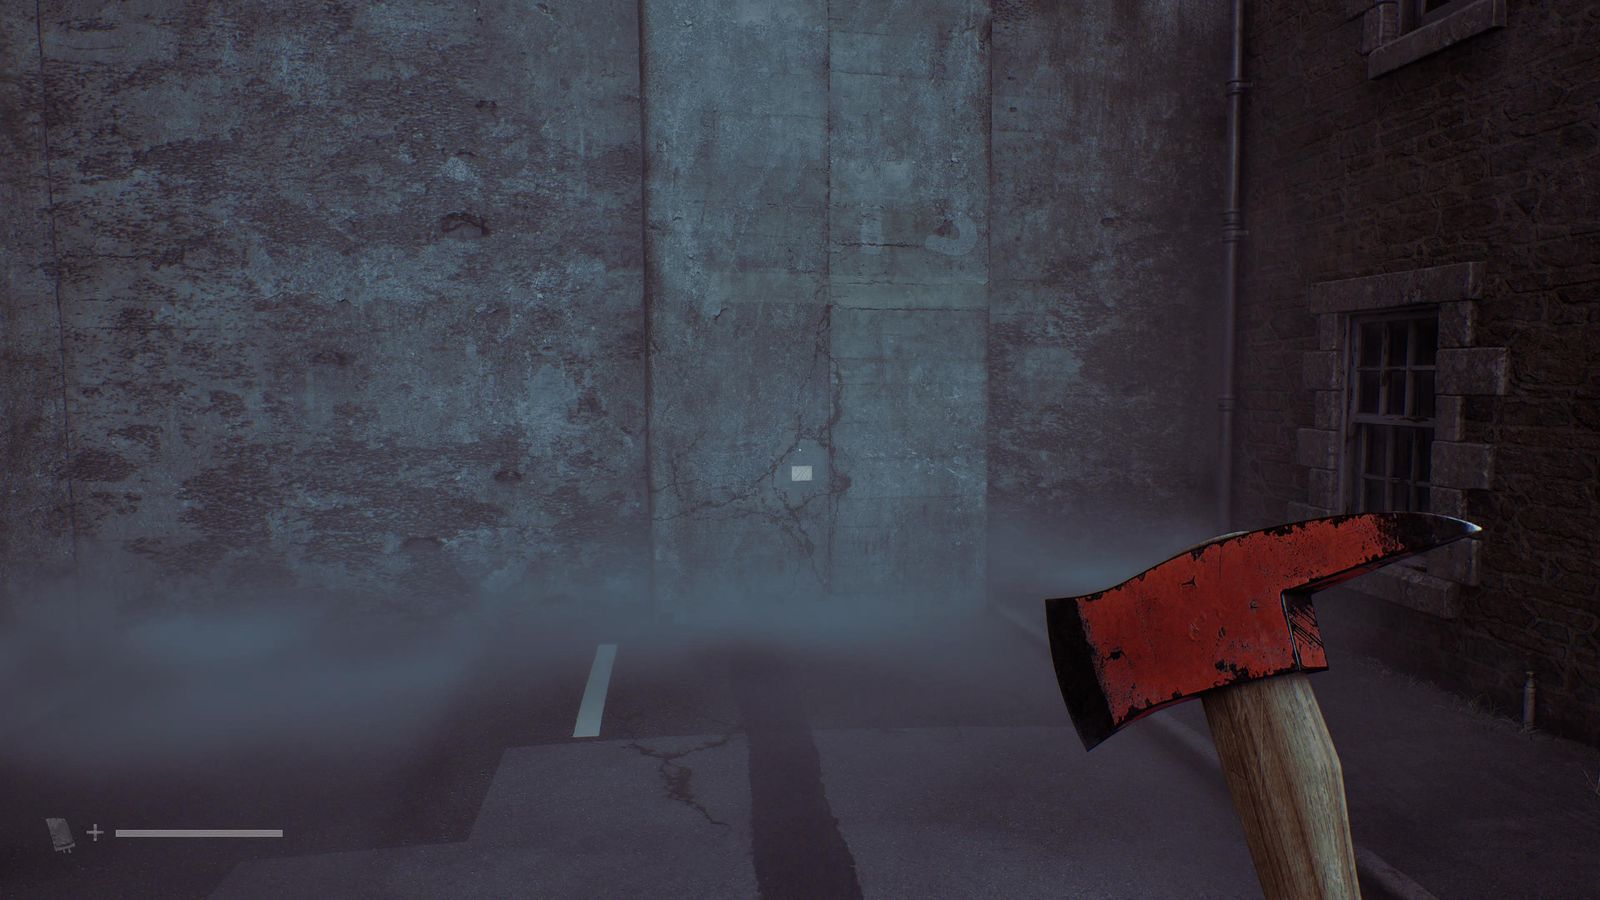
Postcard 2/15 · Park → Farrow Street - North-west end of Farrow Street, on the far wall. 📍 Postcard 3/15
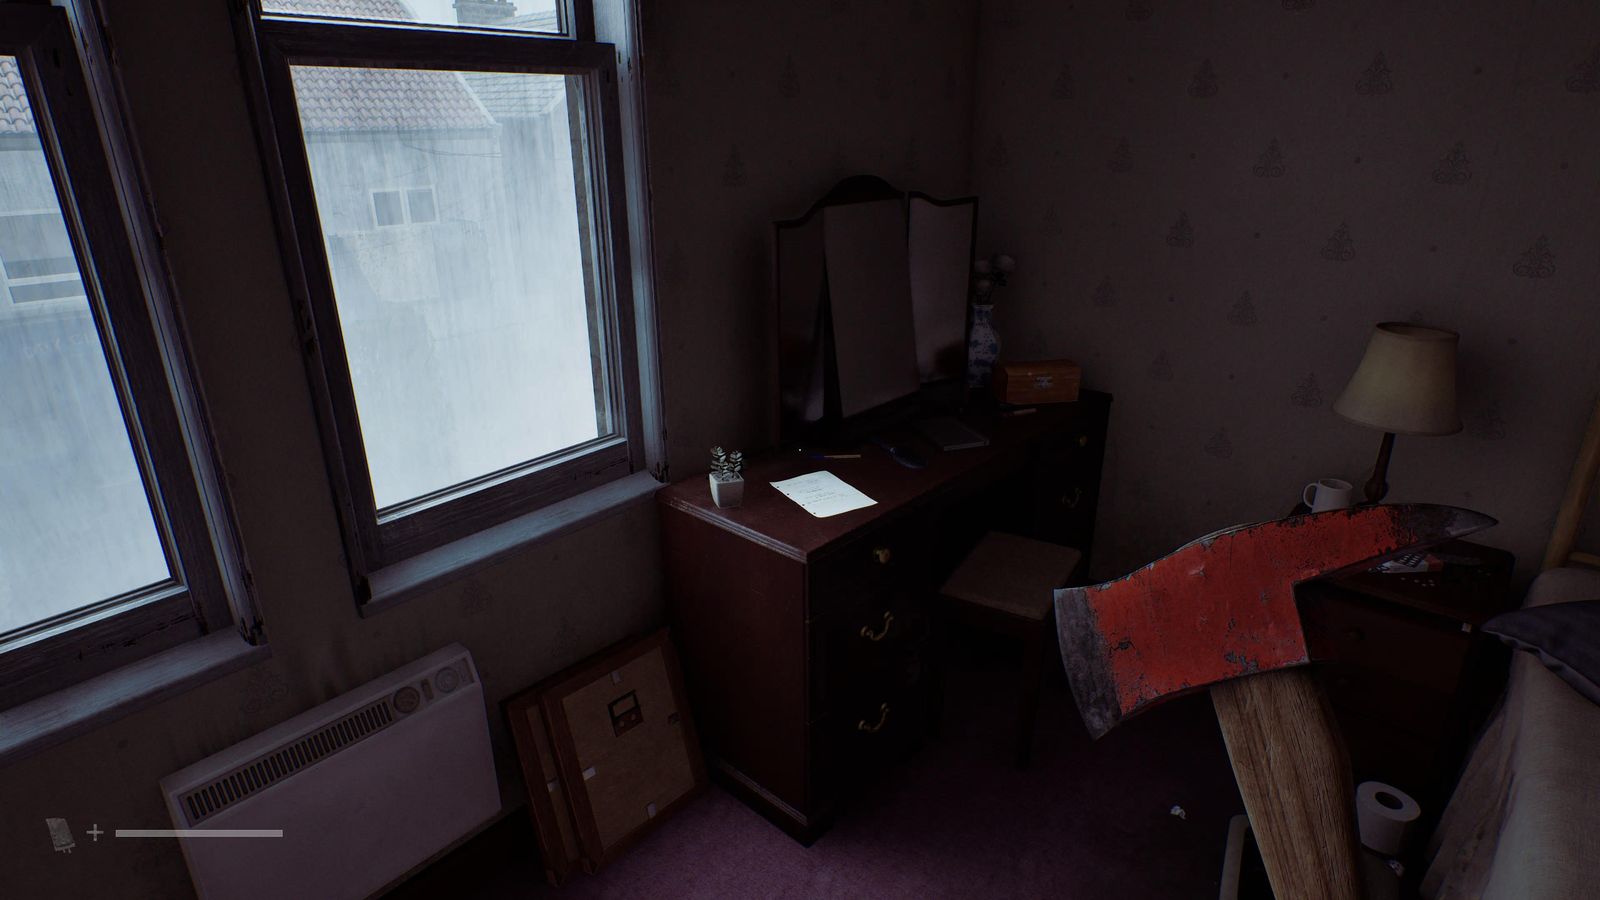
Postcard 3/15 · Park → Farrow Street - Apartment block 16, flat 1/2: Feeling Sick Note on the dresser (first room left) and a postcard on the floor at the foot of the bed (second room right). 📍 Document 20/85 + Postcard 4/15
Document 20/85 + Postcard 4/15 · Park → Farrow Street 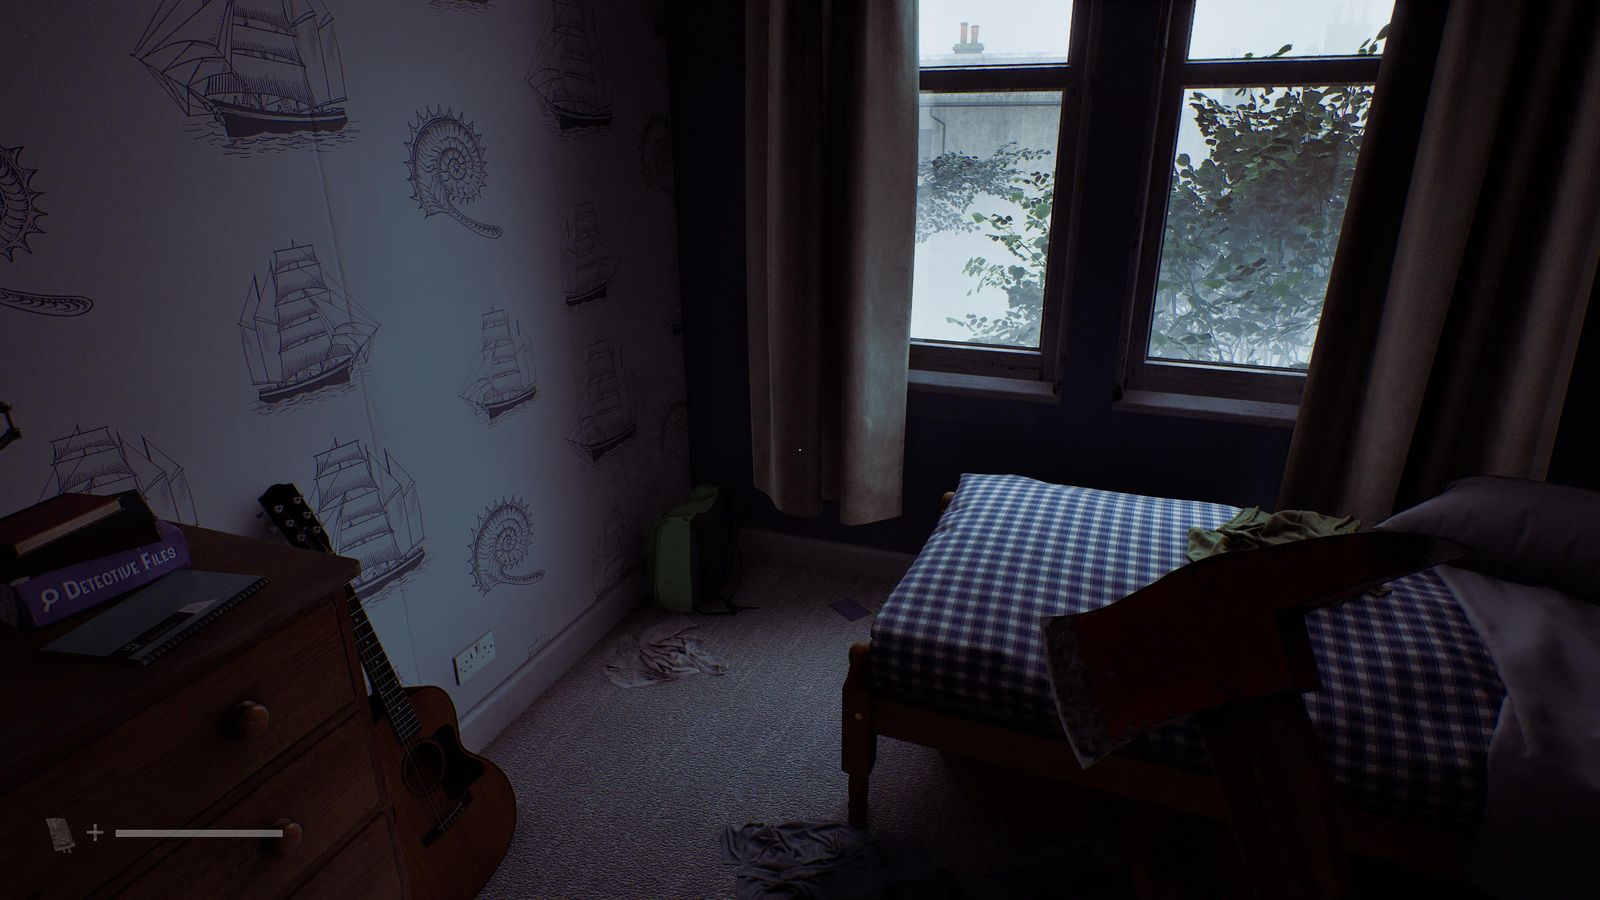
Document 20/85 + Postcard 4/15 · Park → Farrow Street - Jess's Door Note taped to her back door. 📍 Clue 21/85
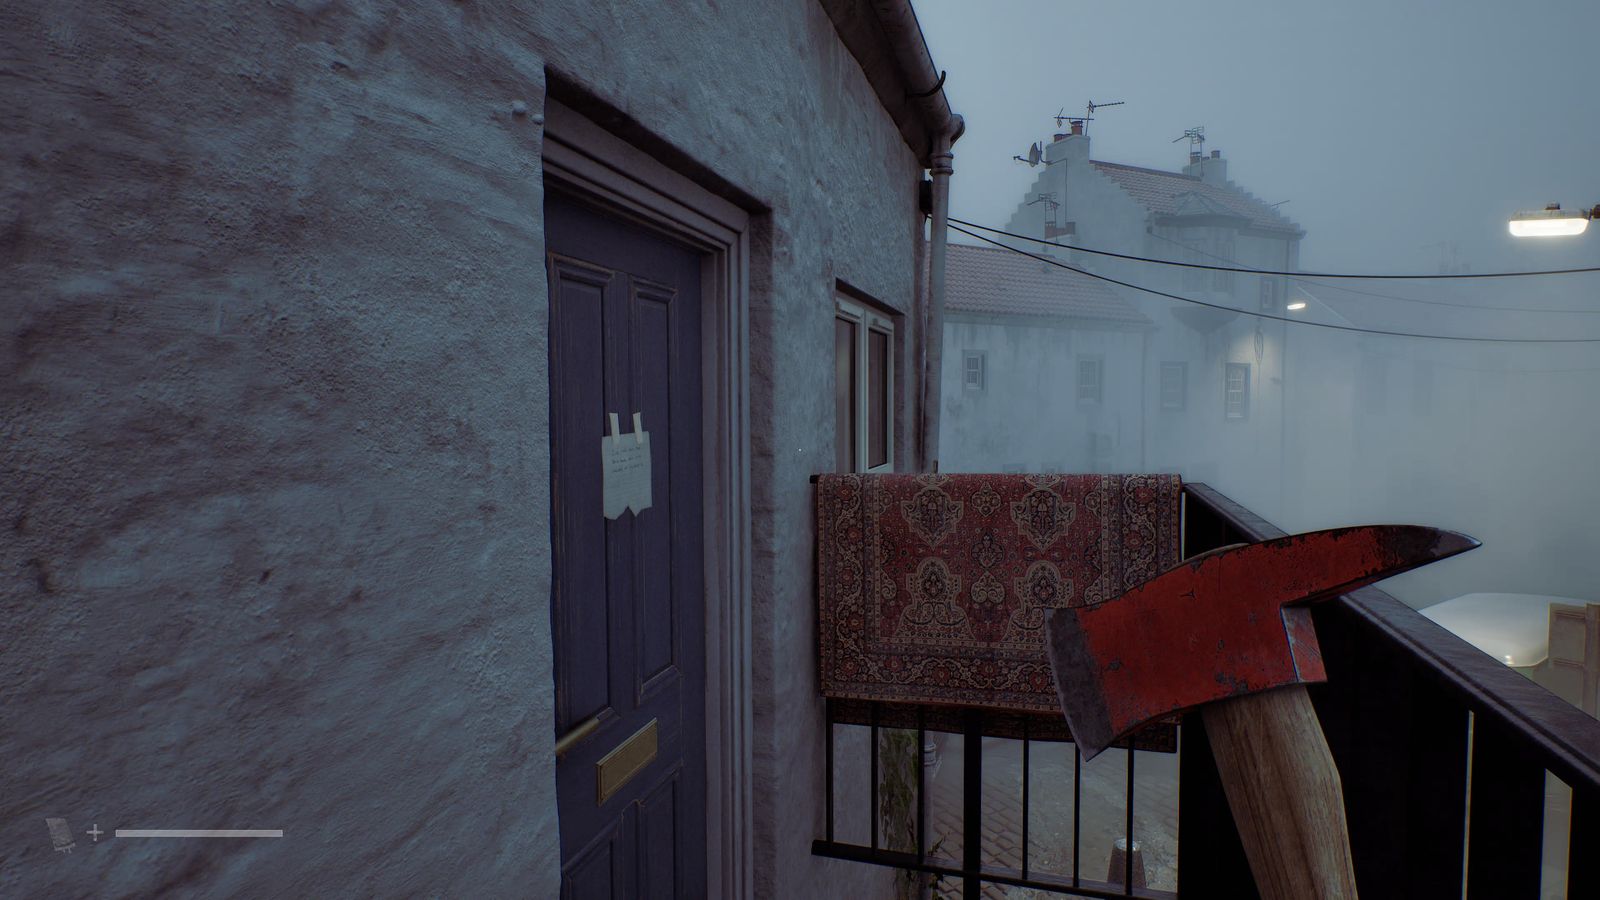
Clue 21/85 · Park → Farrow Street
Jess's house
- Task Assignment on the kitchen counter, Jess Legal Advice on the living-room coffee table. 📍 Docs 22-23/85
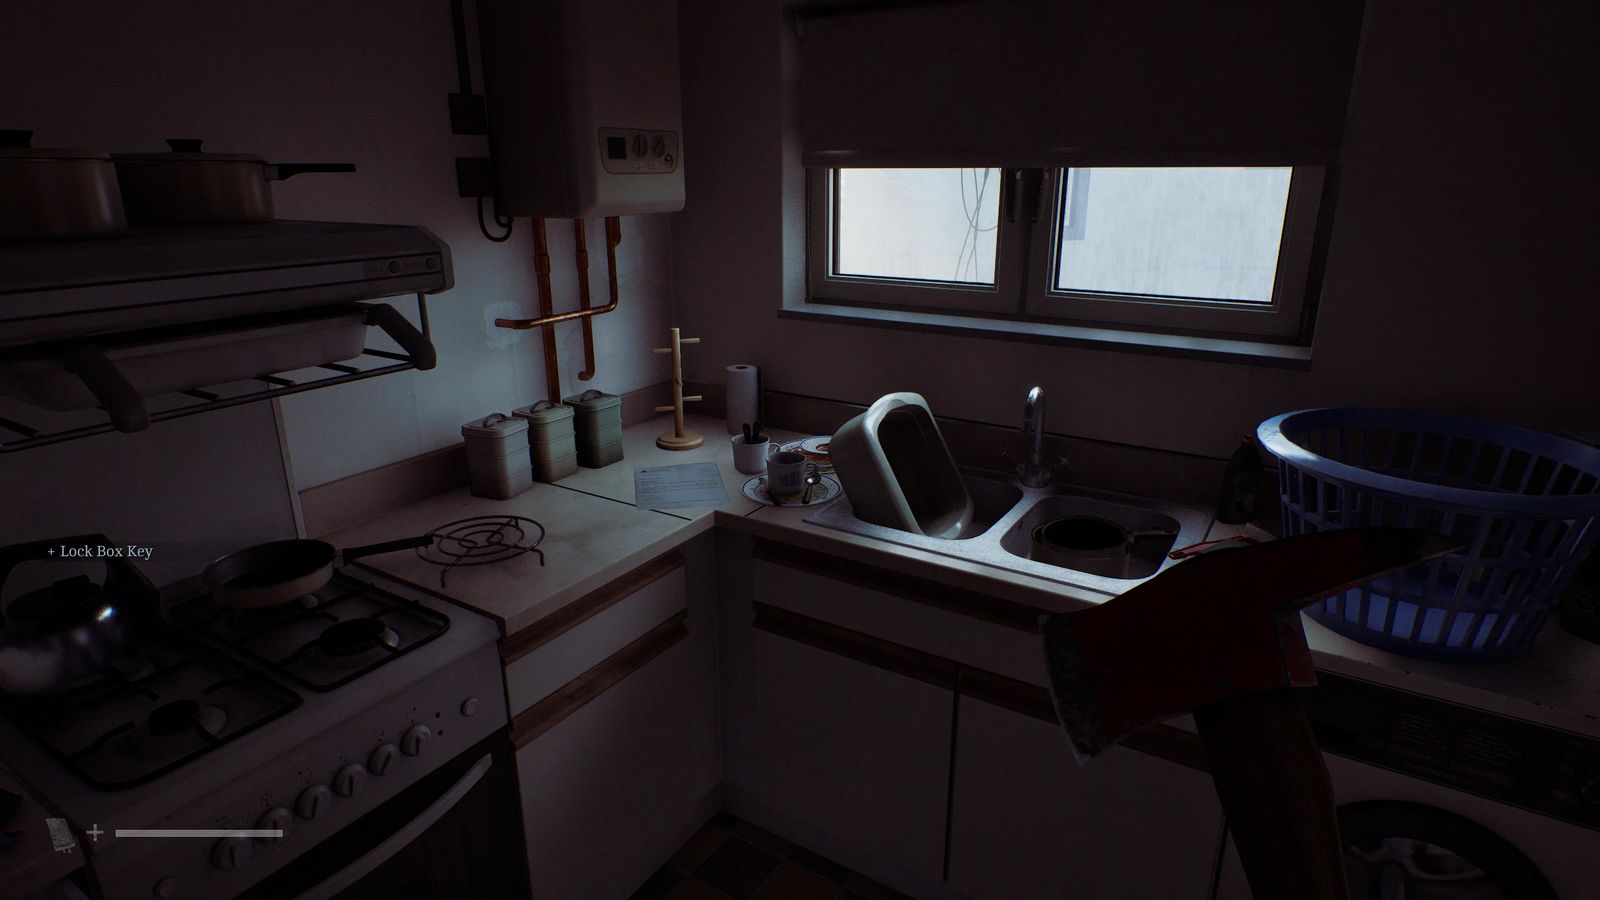
Docs 22-23/85 · Jess's house 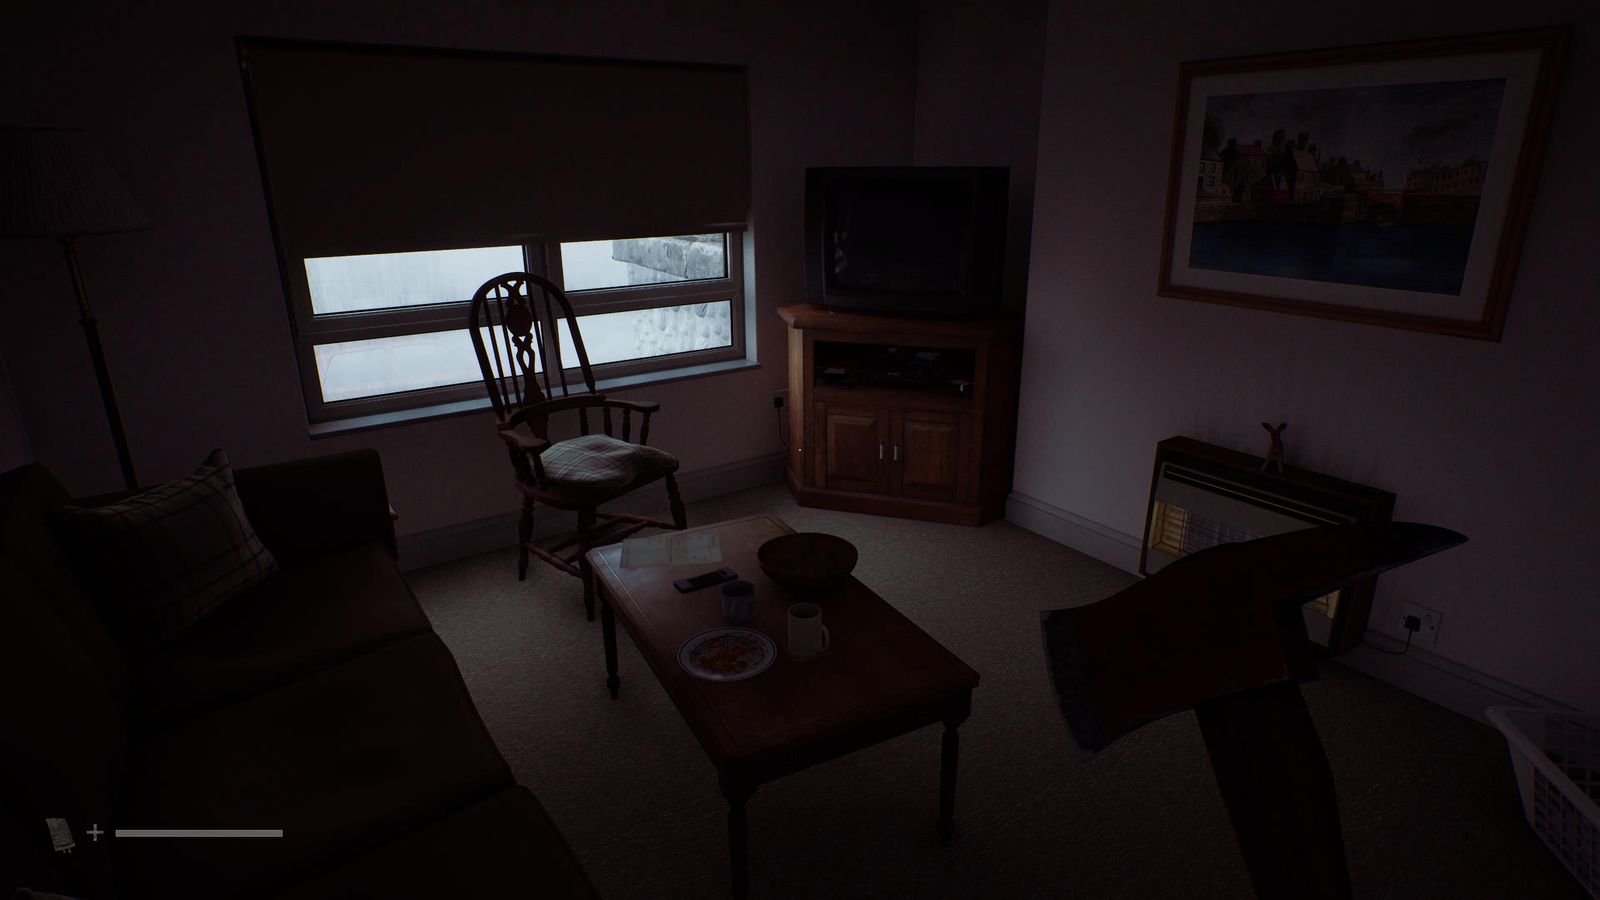
Docs 22-23/85 · Jess's house - Back in block 16, flat 0/1: the first Resource Container is on the coffee table (use the Lock Box Key). 📍 Container 1/7
- Scales in the clinic as before. 🏆 Resignation 🧩 Clinic Scales Puzzle solution
▶ Watch the solve
Zoe: Rounds St. Amelia Shorefront
Zoe's house
- From now until the end of The Patient, do NOT use any healing item as Zoe.
- Water Warning on the coffee table and the “Coming Back” email on the computer. 📍 Docs 24-25/85
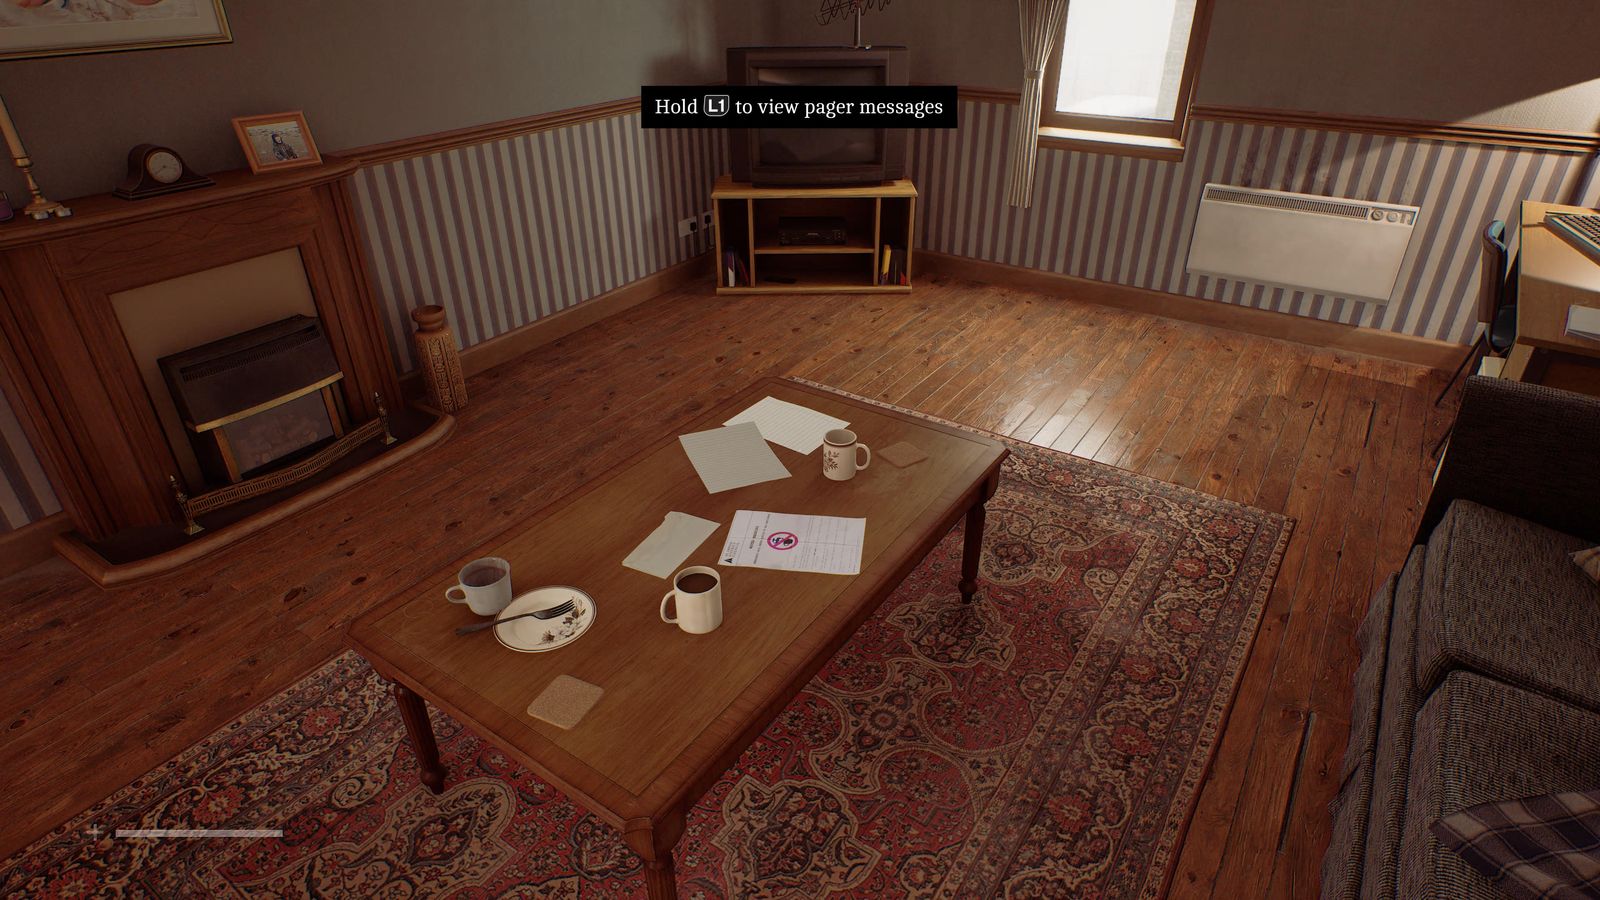
Docs 24-25/85 · Zoe's house 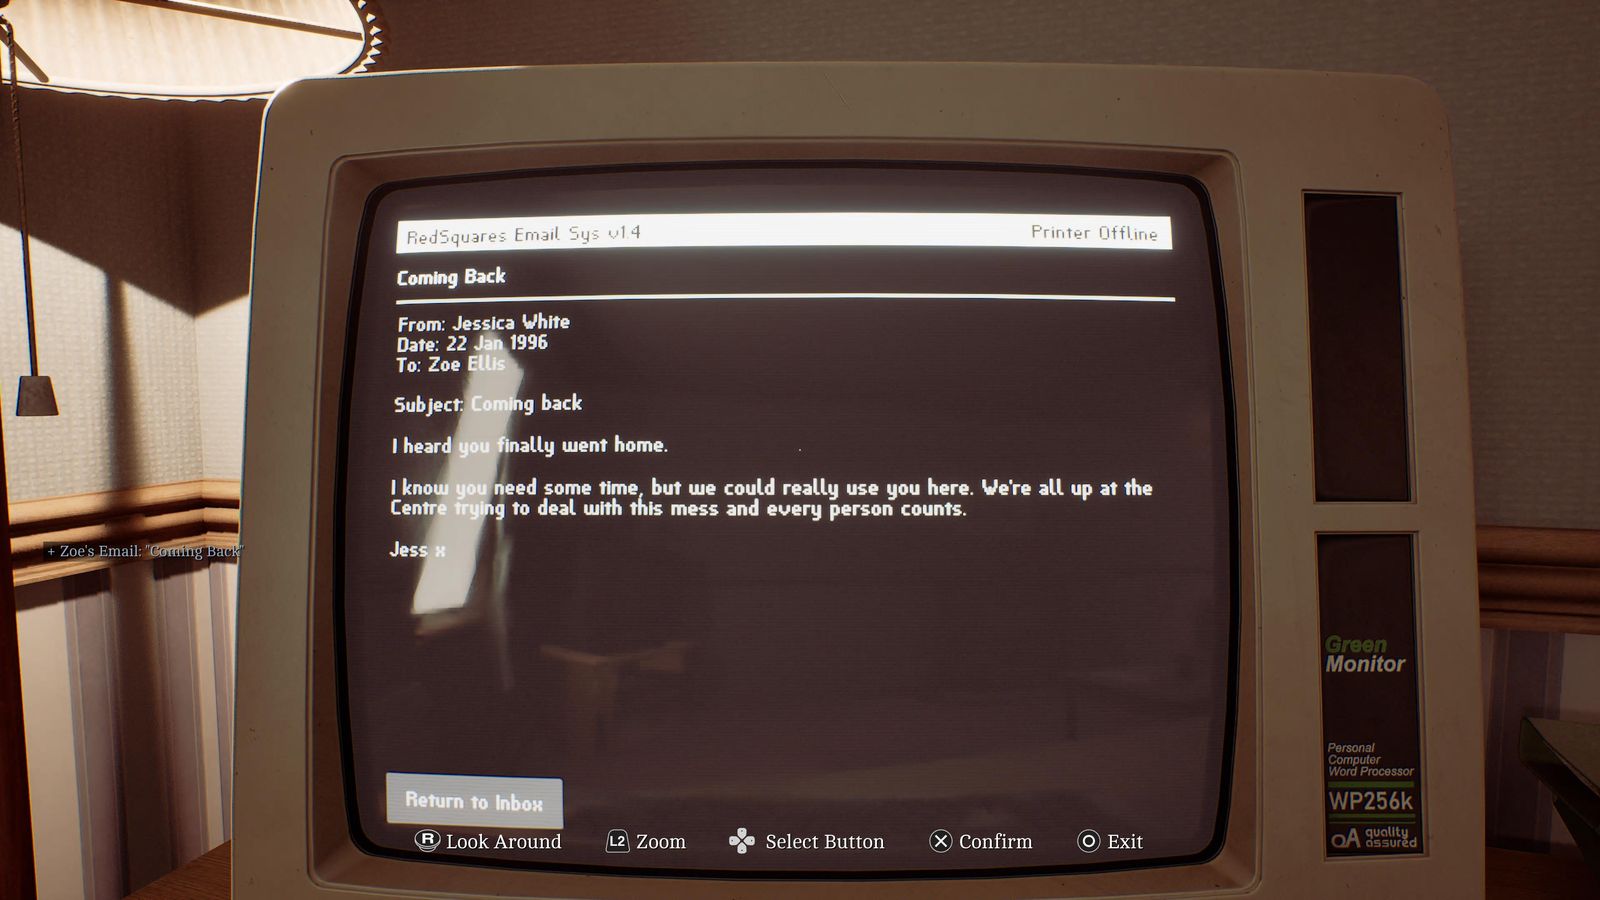
Docs 24-25/85 · Zoe's house
Community Gardens → Mr. Stewart's house
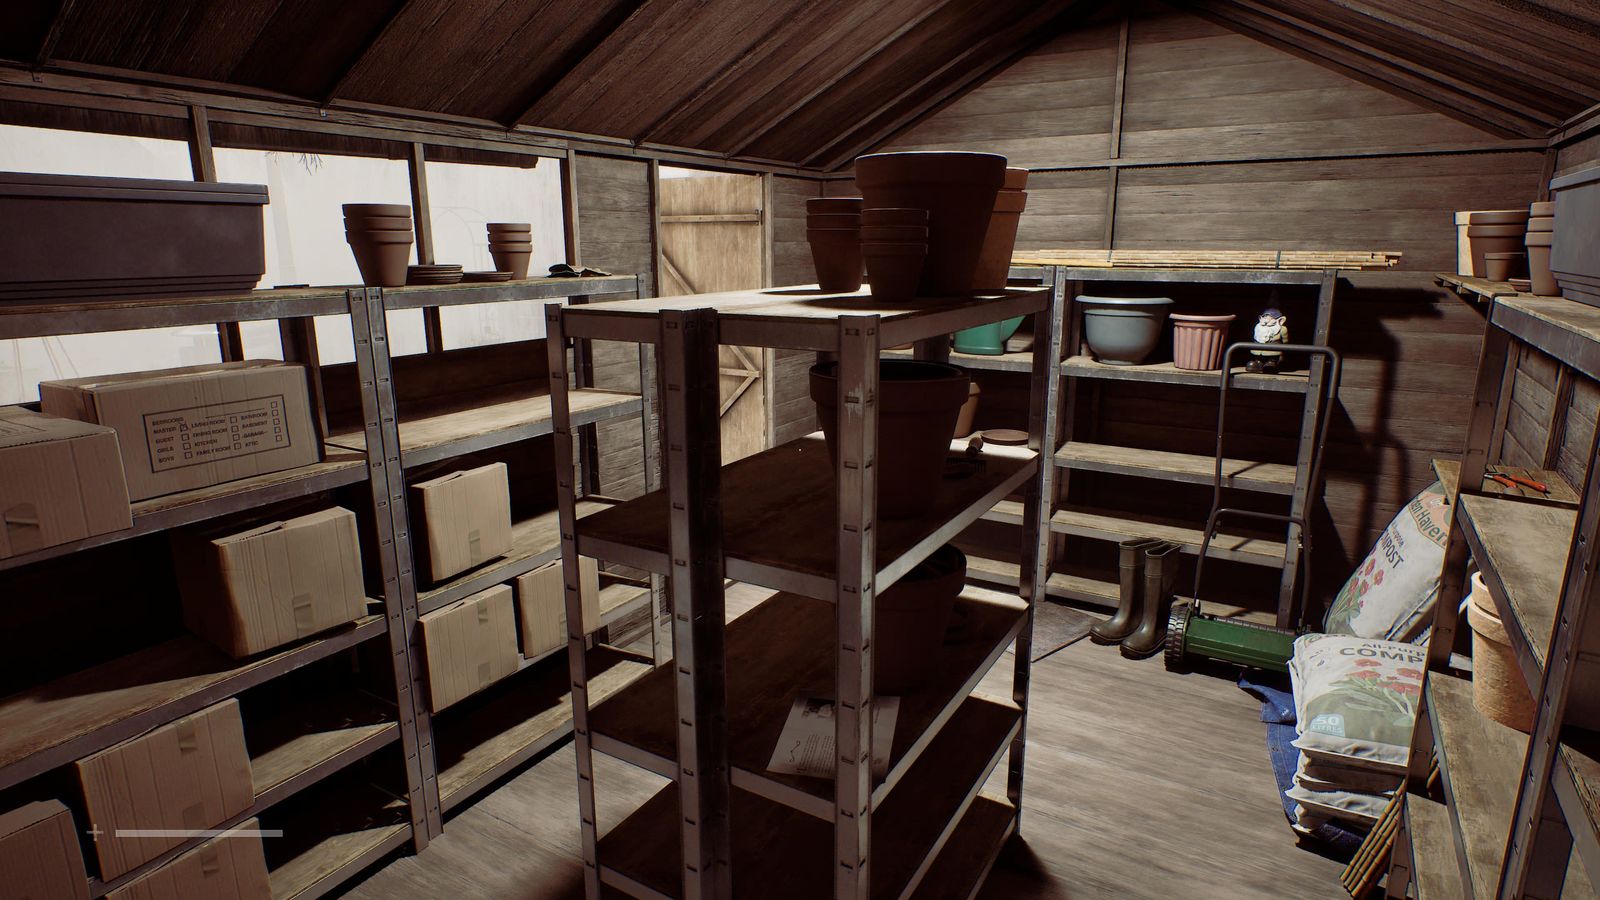
- Shed 1993: Jane Chalmers Obituary on the middle shelf. 📍 Document 26/85
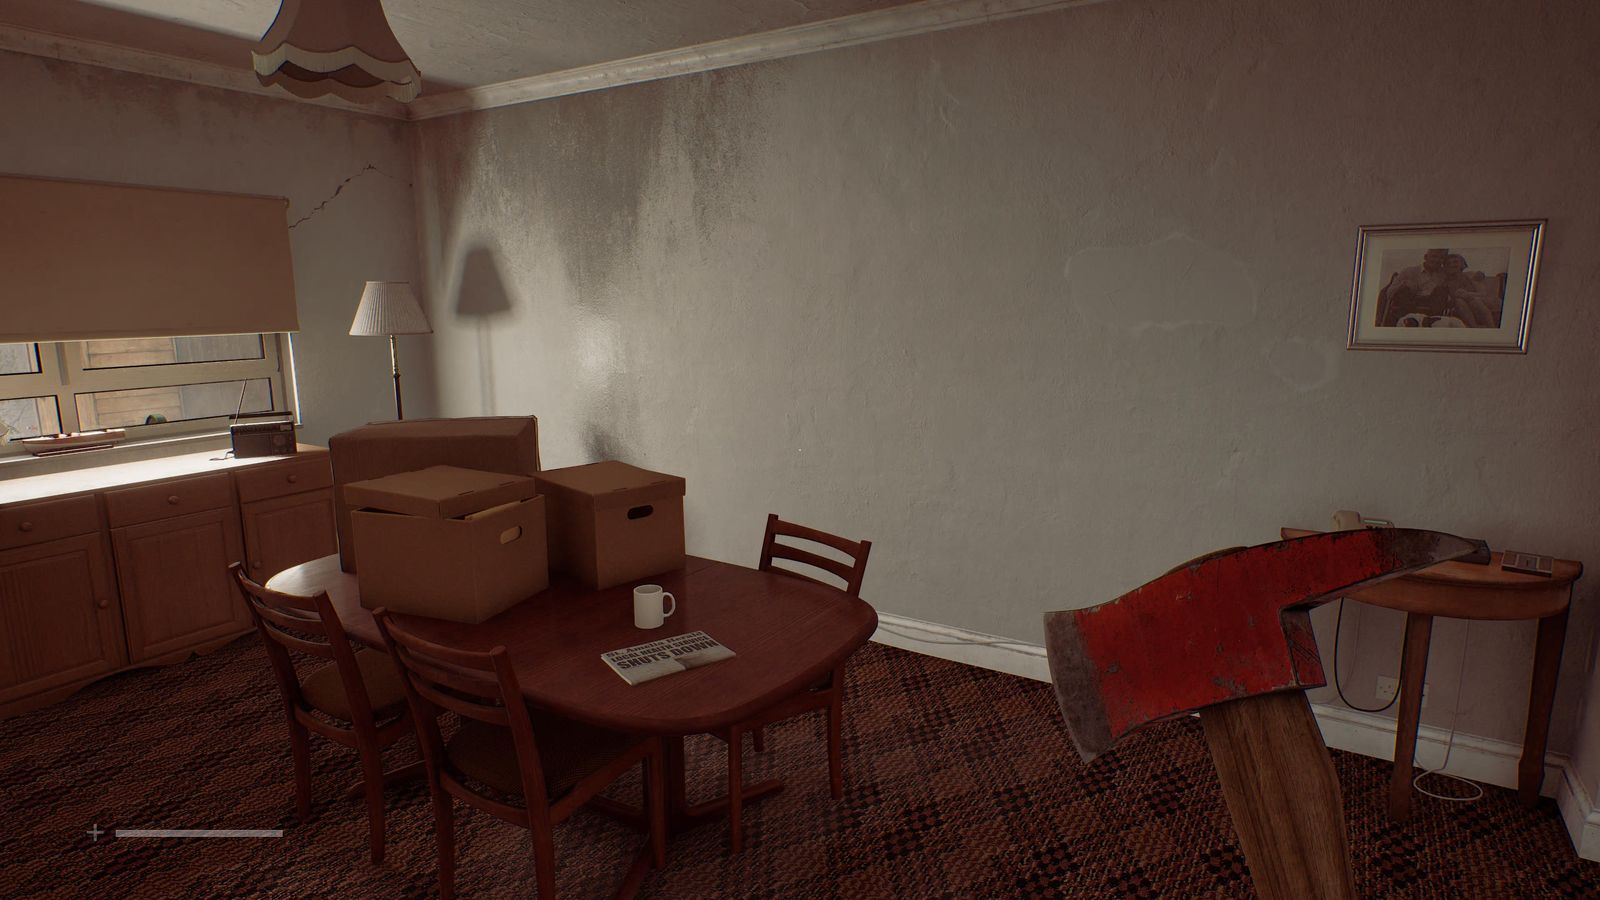
Document 26/85 · Community Gardens → Mr. Stewart's house - St. Amelia Standard on the living-room table. 📍 Document 27/85
Document 27/85 · Community Gardens → Mr. Stewart's house - Open the little case next to the hall phone and read the notepad, then call 496 0103 and 01632 960595. 📍 Phone 7-8/13
- When the monster appears, flick the kitchen radio off and on repeatedly until the trophy pops (reload the autosave if it reaches you). 🏆 Static Distractions
Station Road (18)
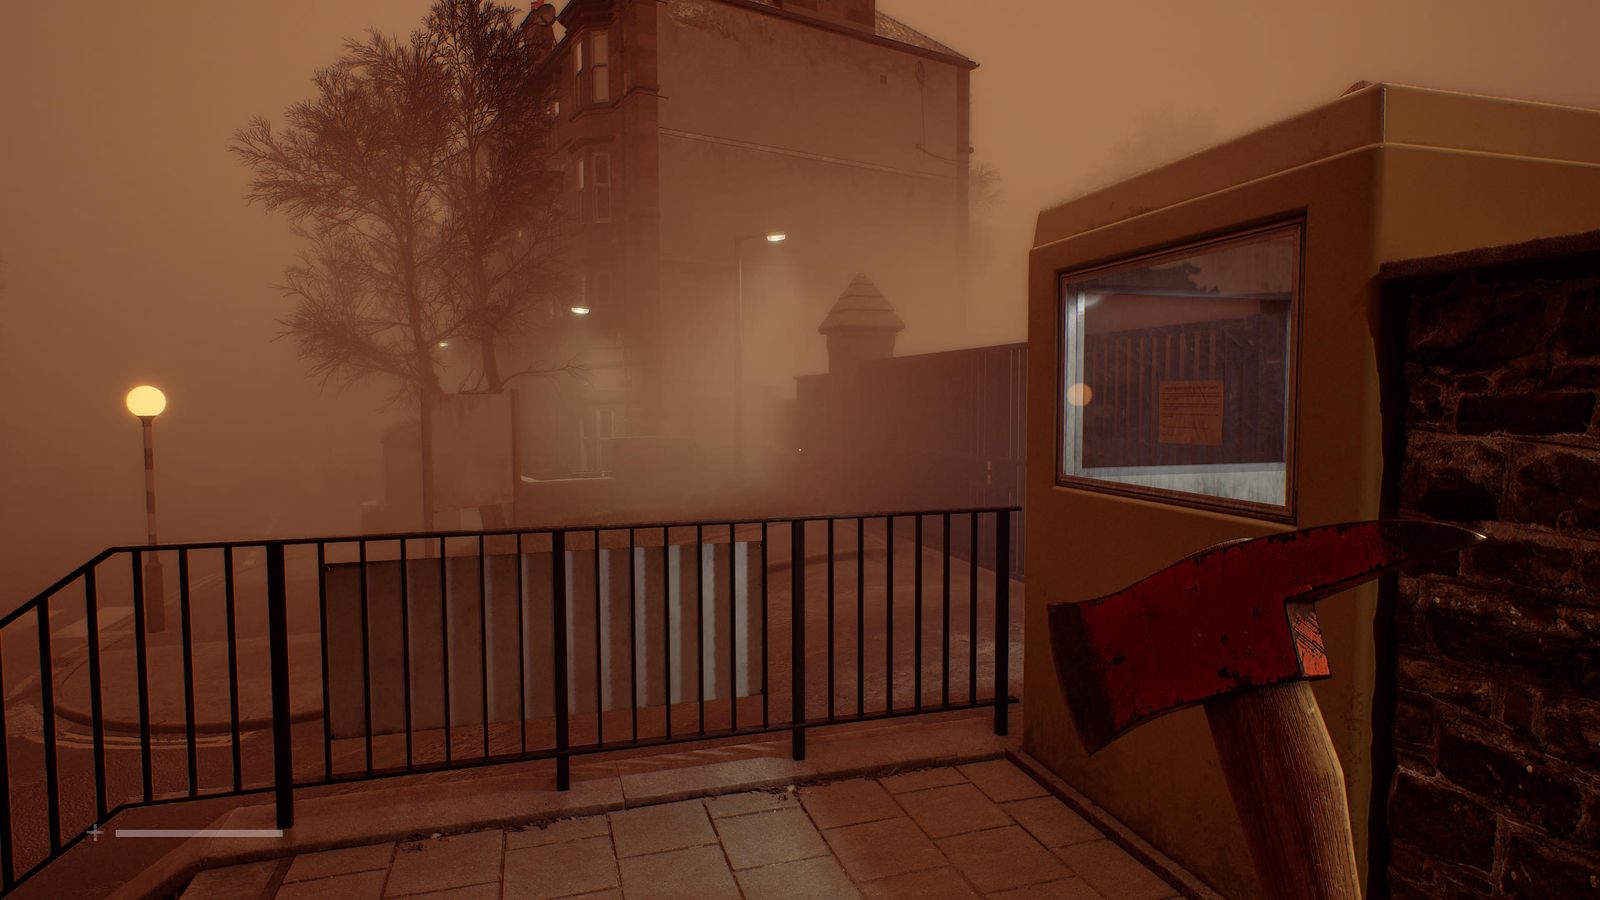
- Medical Security Note on the gatehouse window. 📍 Clue 28/85
Clue 28/85 · Station Road (18) - Call Dr. Glenn (496 0556, extensions 3-2-2-1). 📍 Phone 9/13 🧩 Dr. Glenn Phone Extensions solution
- Right after the call, throw the Bottle at the car to set off its alarm. 🏆 Alarmingly Effective
- Then reload the autosave and keep throwing bottles into the road ahead; each throw distracts several enemies. 🏆 Lured Off Track
Medical Centre grounds
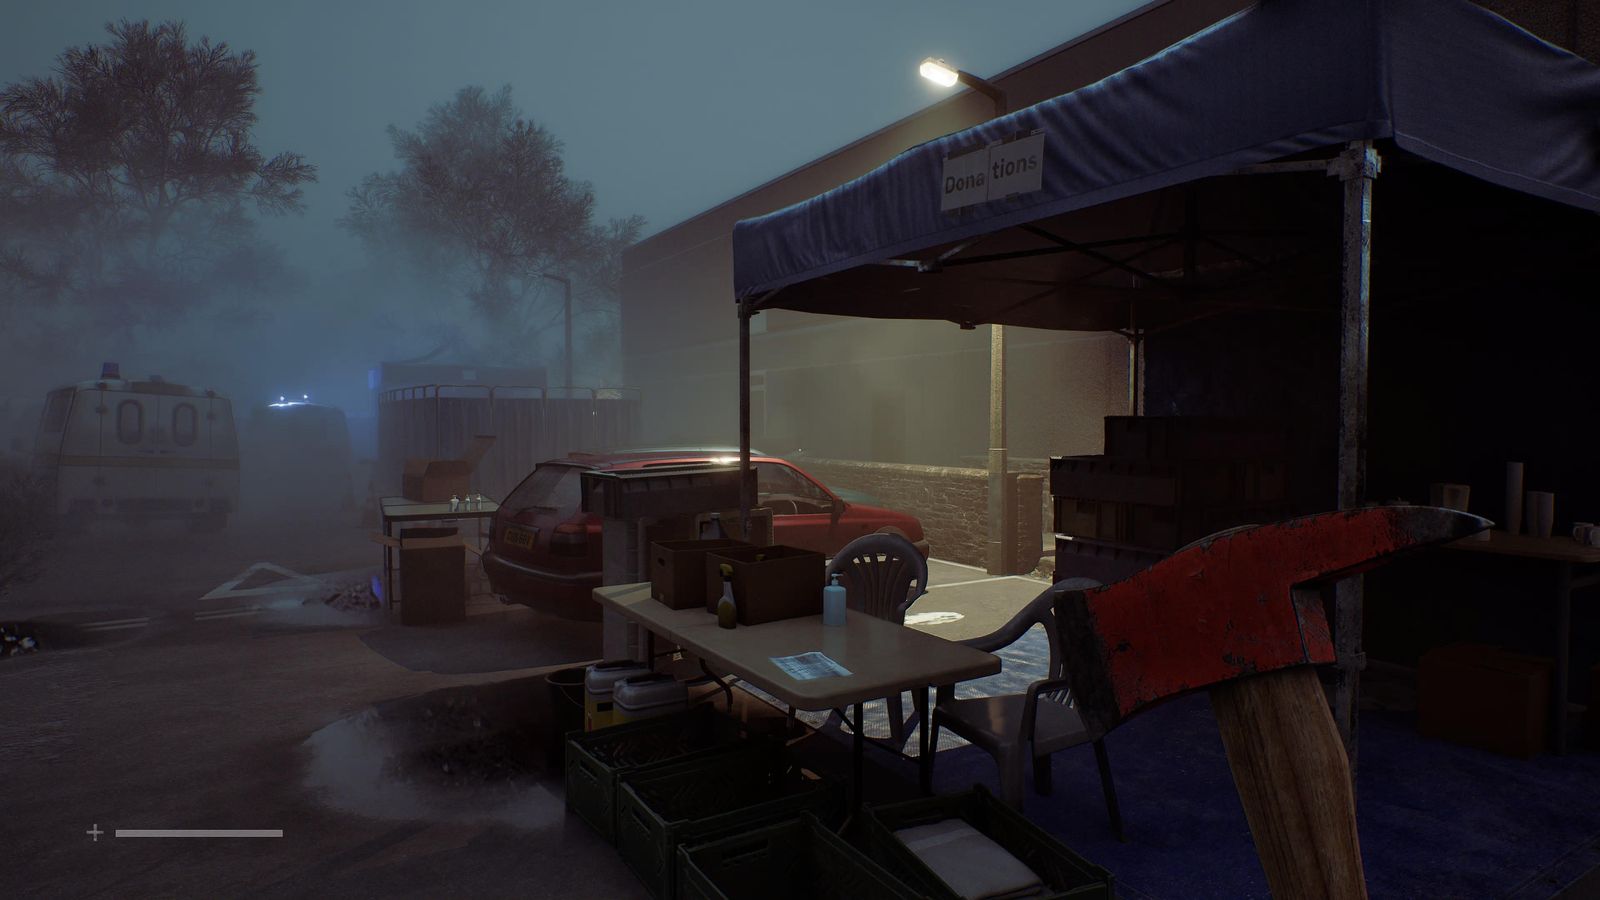
- North-west car park: Community Help Needed on the first table, Exhausted Supplies on the far-left gurney. 📍 Docs 29-30/85 🏆 A Long Night Ahead
Docs 29-30/85 · Medical Centre grounds 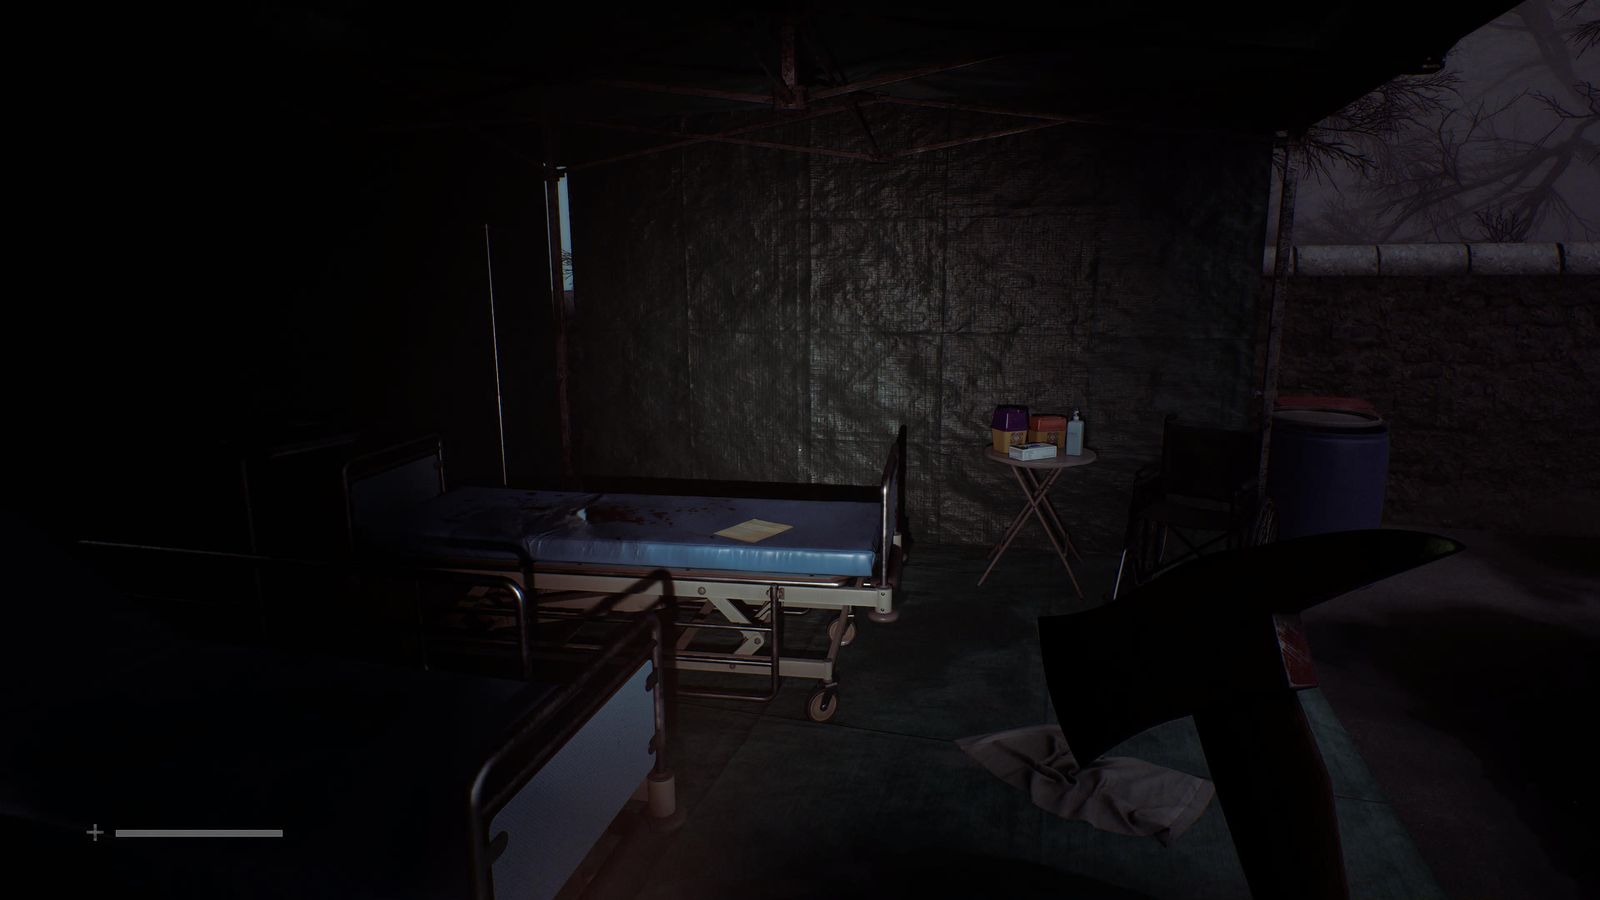
Docs 29-30/85 · Medical Centre grounds
Journey to Medical St. Amelia Shorefront (Different)
Town Square → Haldane Hotel
- Tune the CRTV to 64. 📍 CRTV 6/19
- Upstairs in the hotel, solve the symbol door; the Strange Access Card is on the drawers inside (Sci-Fi ending). 📍 Strange Access Card 🧩 Haldane Hotel Symbol Door solution
▶ Watch the solve
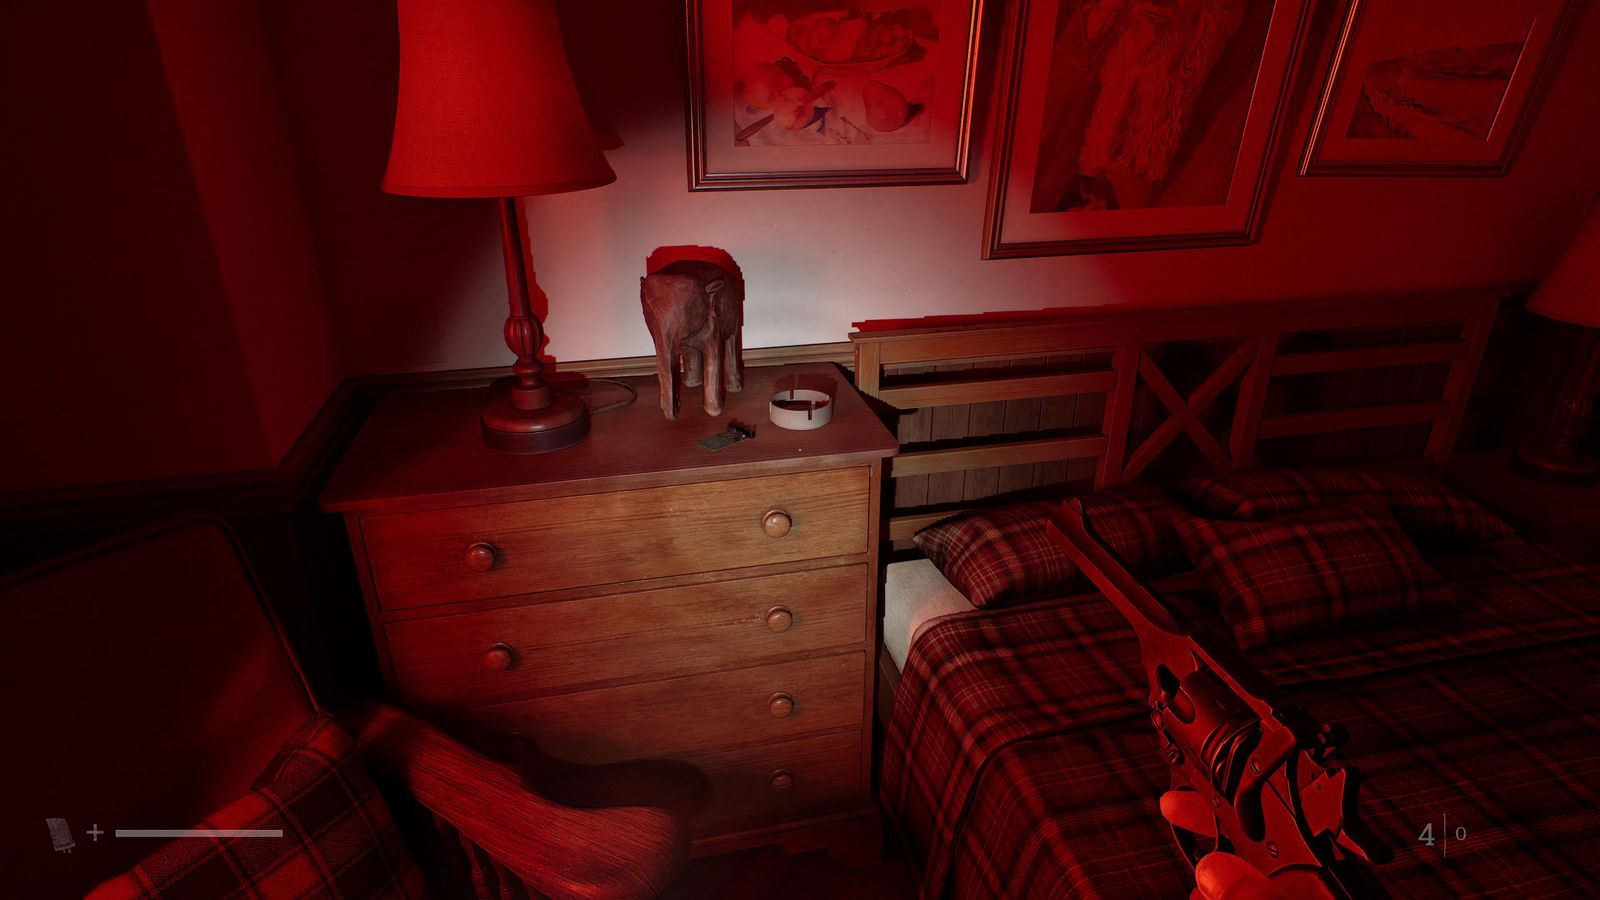
Strange Access Card · Town Square → Haldane Hotel
Merchant Lane → Flemington Street
- Bottom of the steps after the east fork, next to a Bottle. 📍 Postcard 5/15
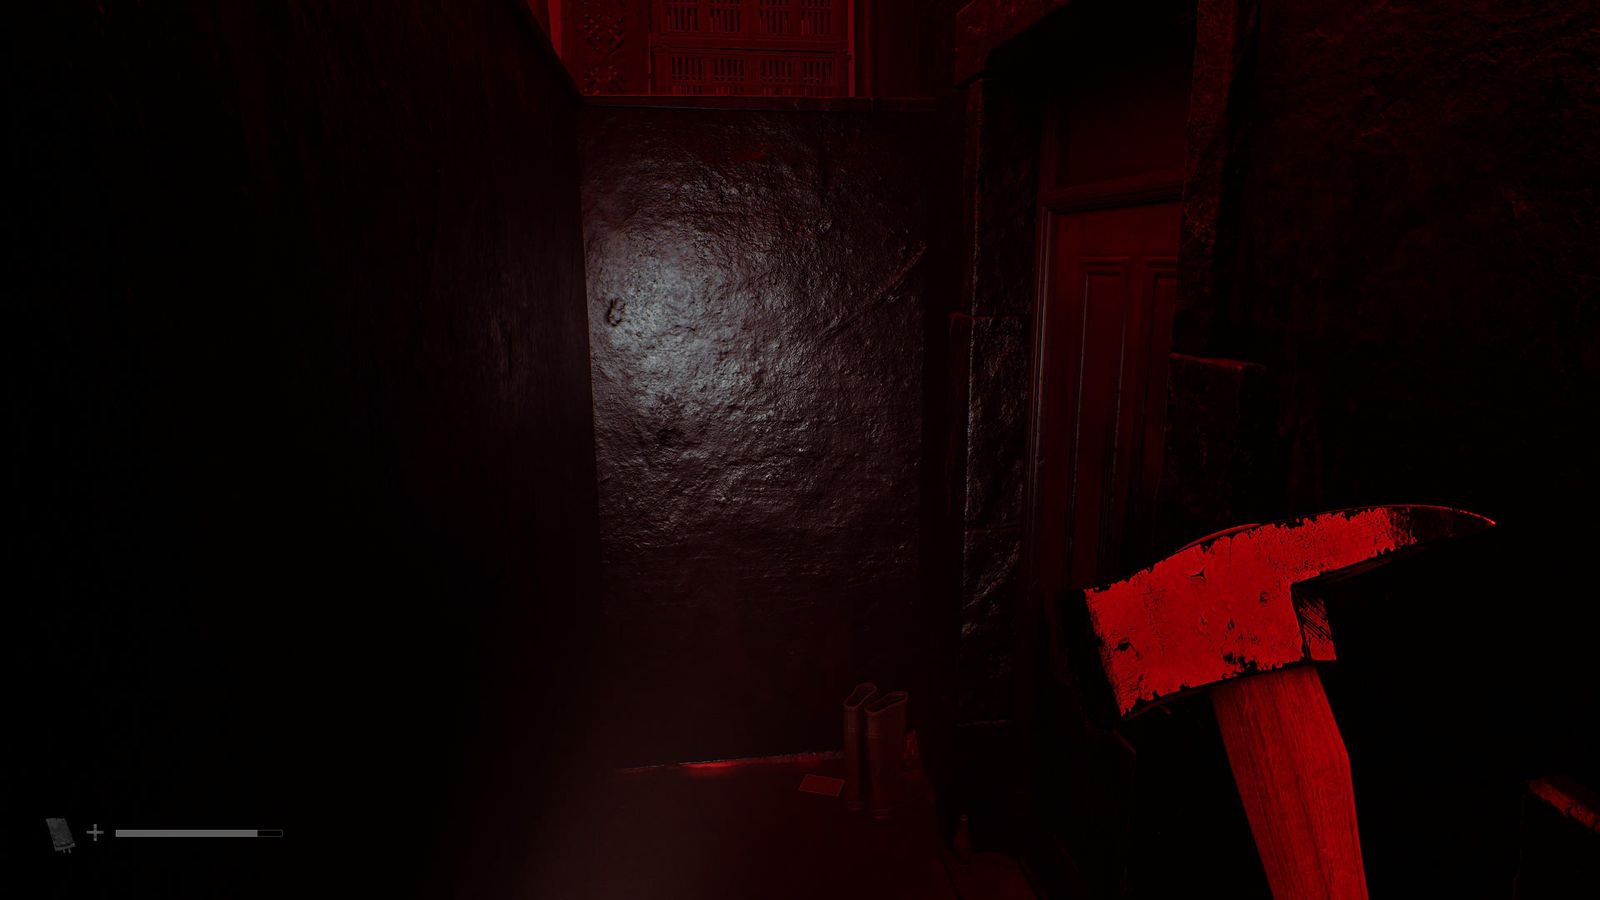
Postcard 5/15 · Merchant Lane → Flemington Street - Inside the Flemington Street gardens, look straight up, throw a bottle and shoot it with the pistol. 🏆 Pull!
Station Apartments B
- Scaffold Notice on the locked front door; Handwritten Note in flat 1/1; tune flat 1/1's tuner to 26. 📍 Docs 31-32/85 + CRTV 7/19
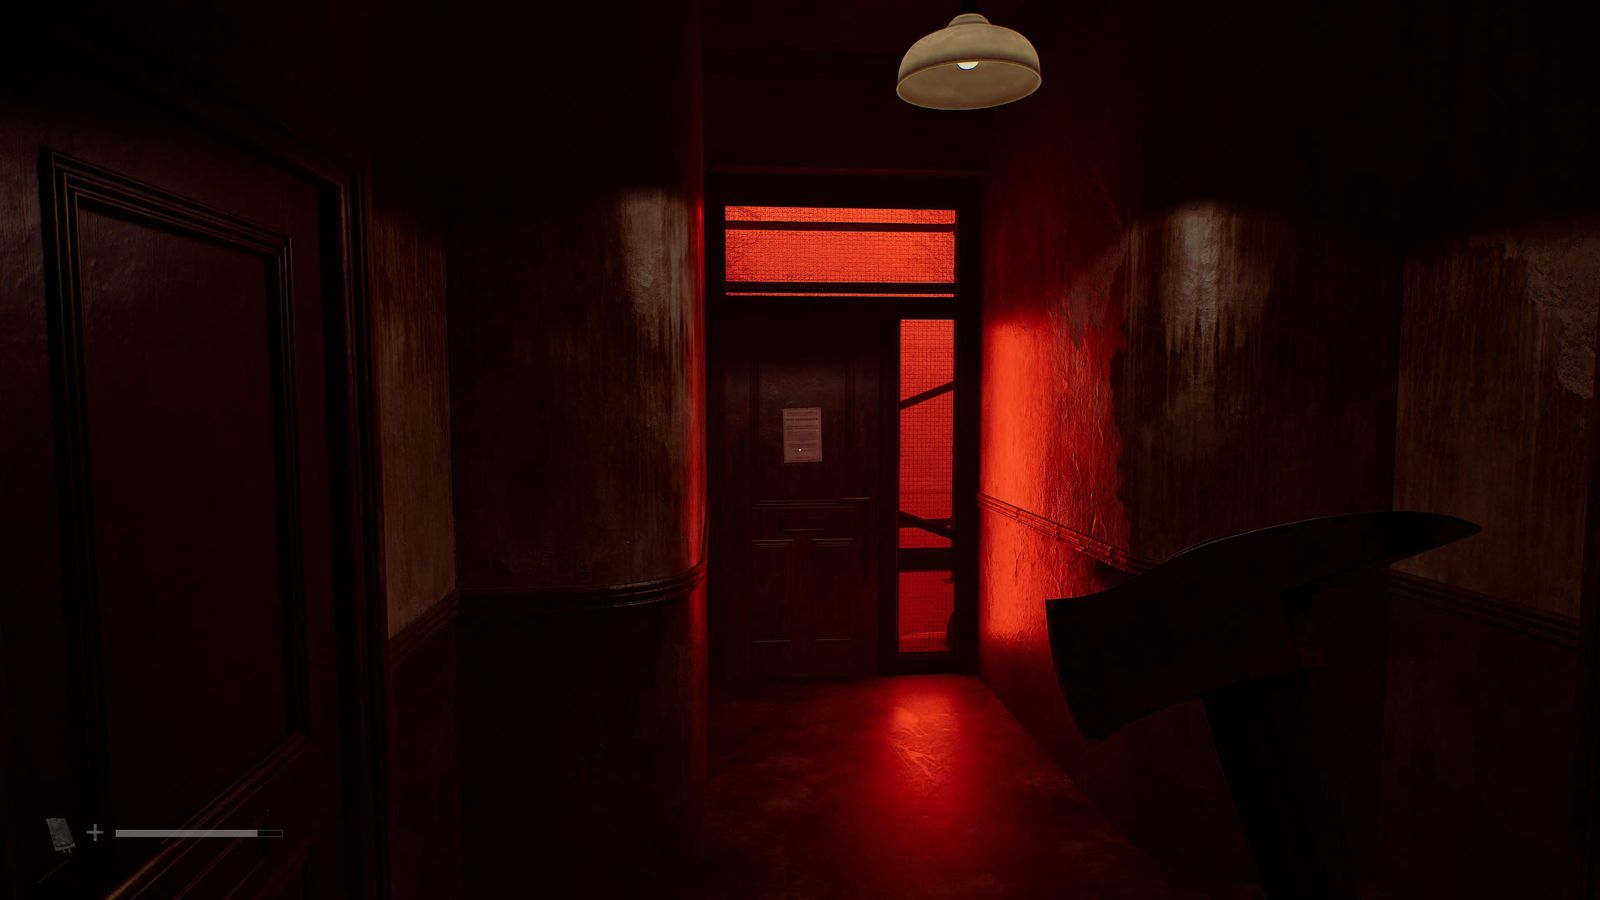
Docs 31-32/85 + CRTV 7/19 · Station Apartments B 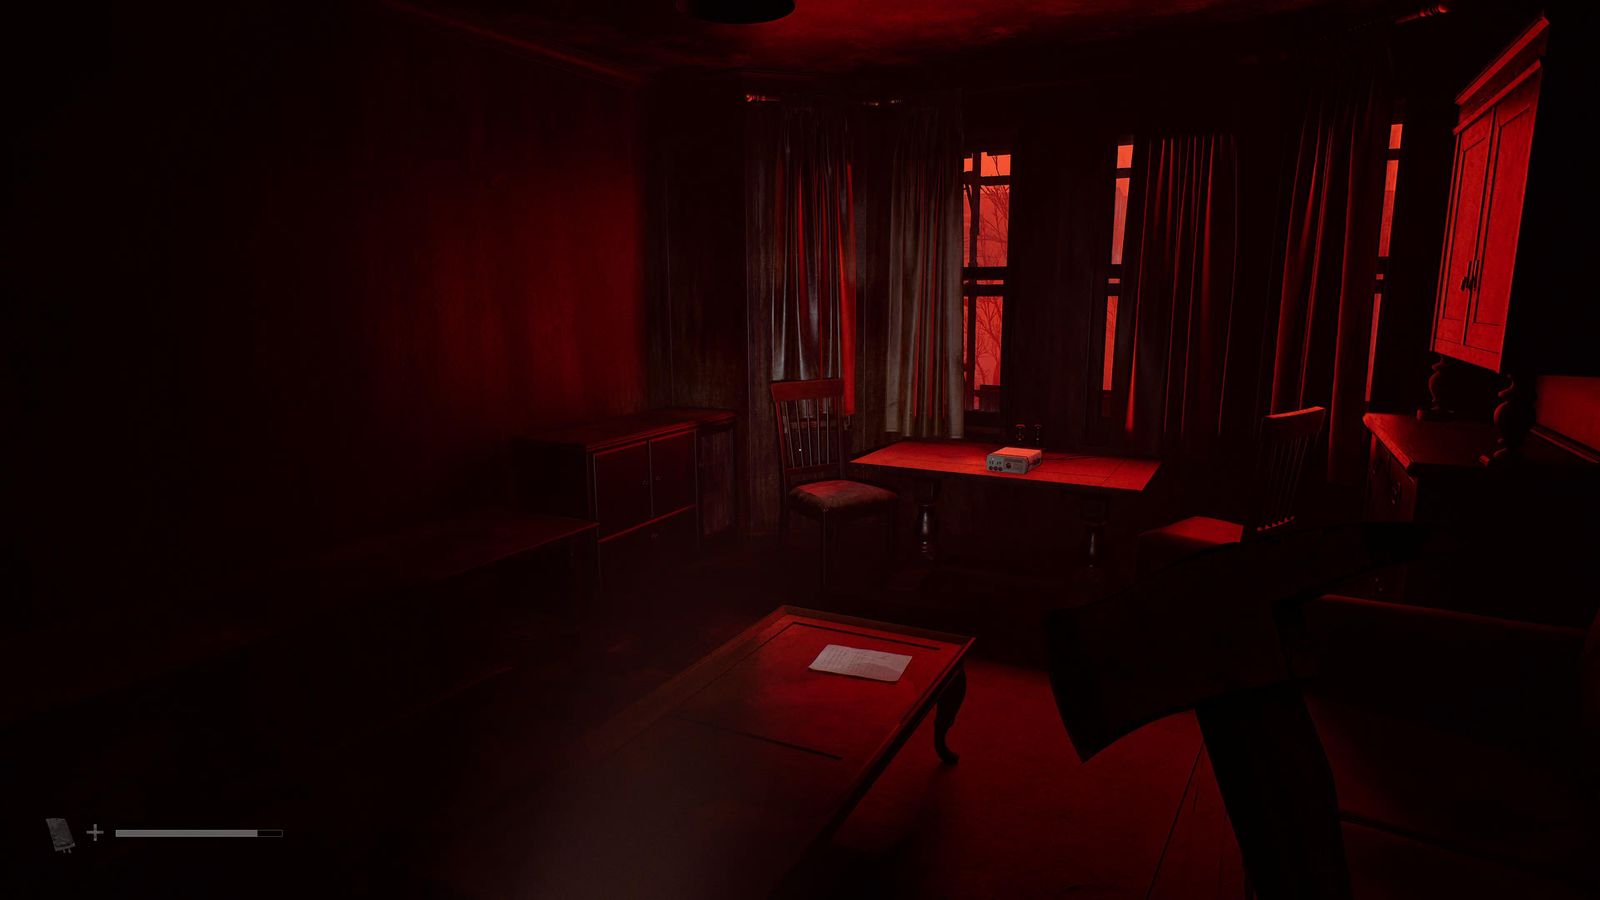
Docs 31-32/85 + CRTV 7/19 · Station Apartments B - Flat 2/2 (Scalpel): switch on the kitchen printer, then open Note.txt, Photo1.jpg and Photo2.jpg on the computer and print the photos. 📍 Docs 33-35/85
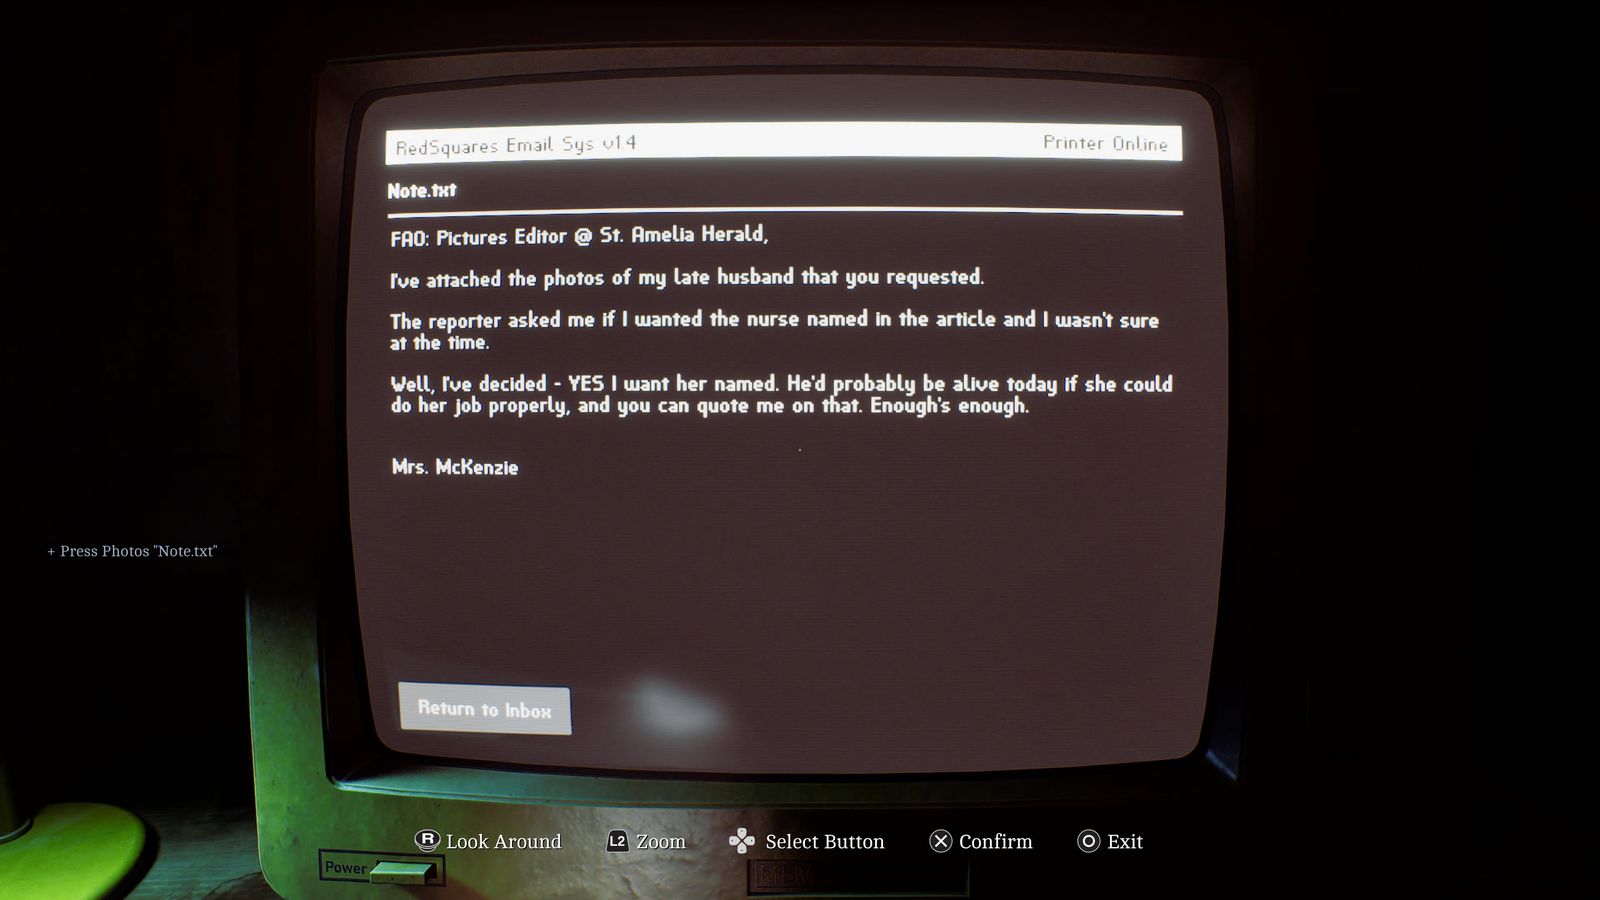
Docs 33-35/85 · Station Apartments B 
Docs 33-35/85 · Station Apartments B 
Docs 33-35/85 · Station Apartments B 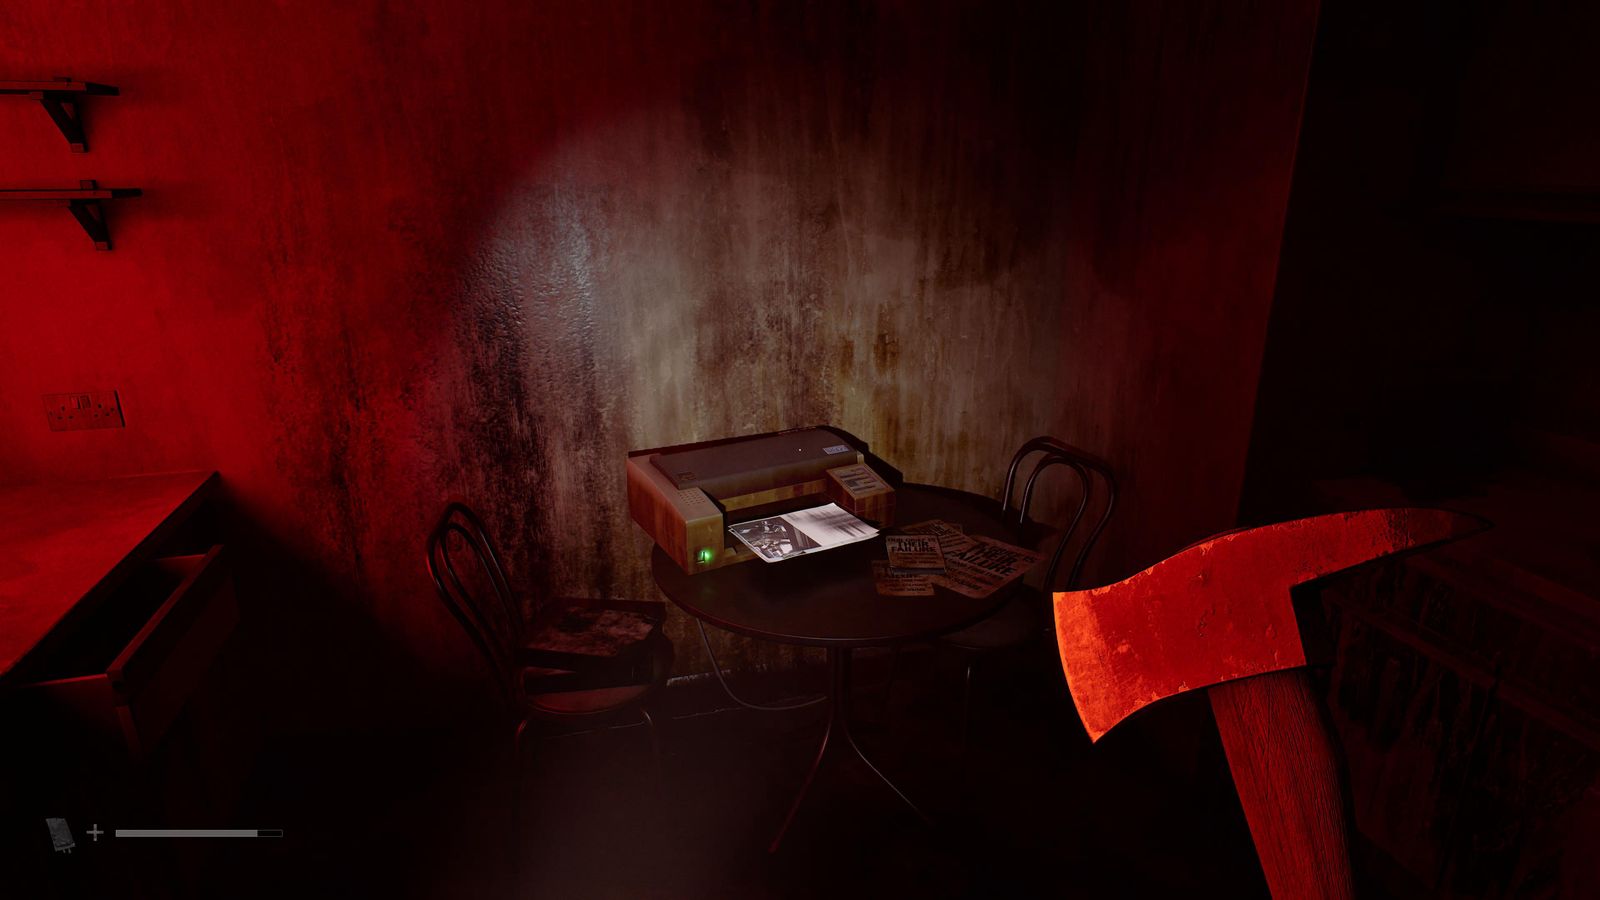
Docs 33-35/85 · Station Apartments B
Station Apartments A
- Flat 1/1 bedroom: Lock Box Key on the bed. Top floor: Resource Container 2. 📍 Container 2/7
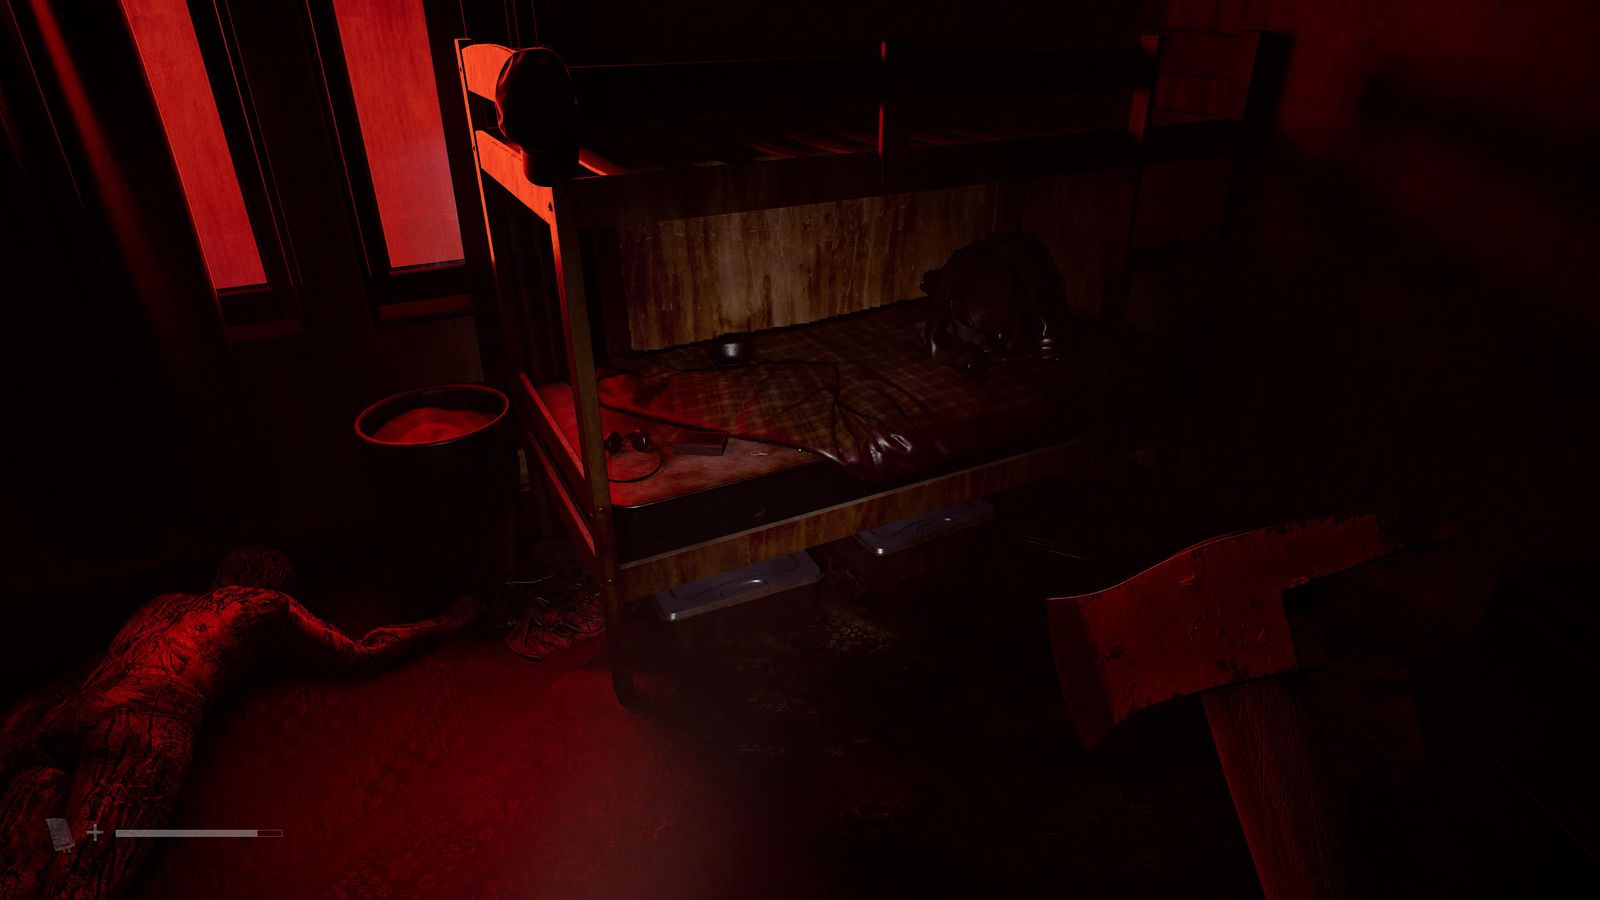
Container 2/7 · Station Apartments A 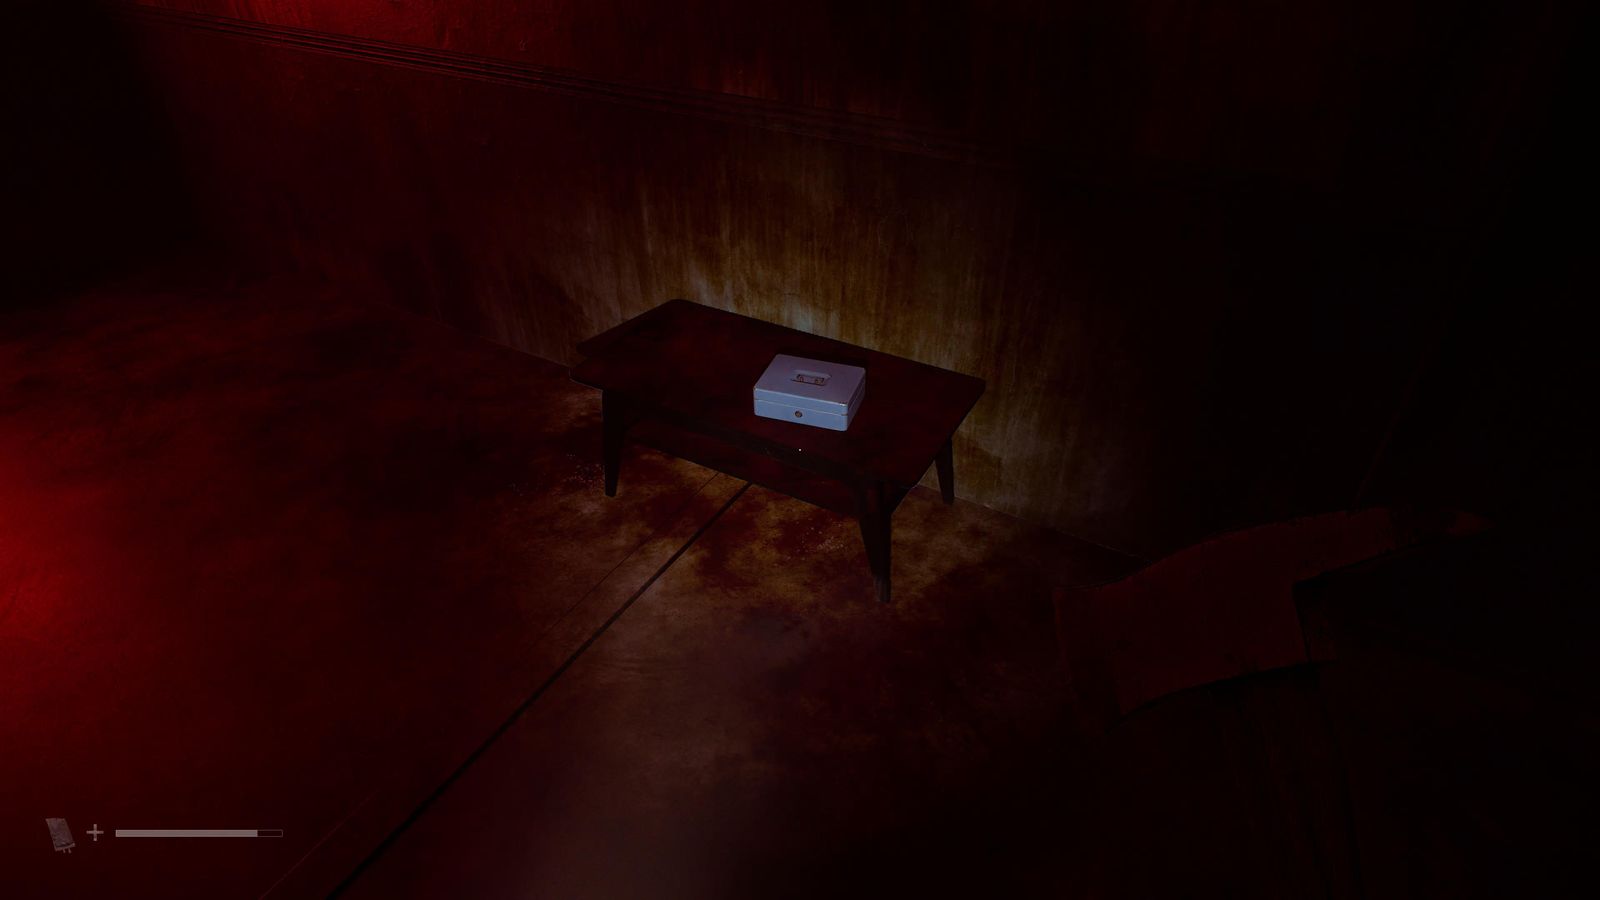
Container 2/7 · Station Apartments A - Out the back door into the gardens; the postcard is on a shelf in the last shed on the left. 📍 Postcard 6/15
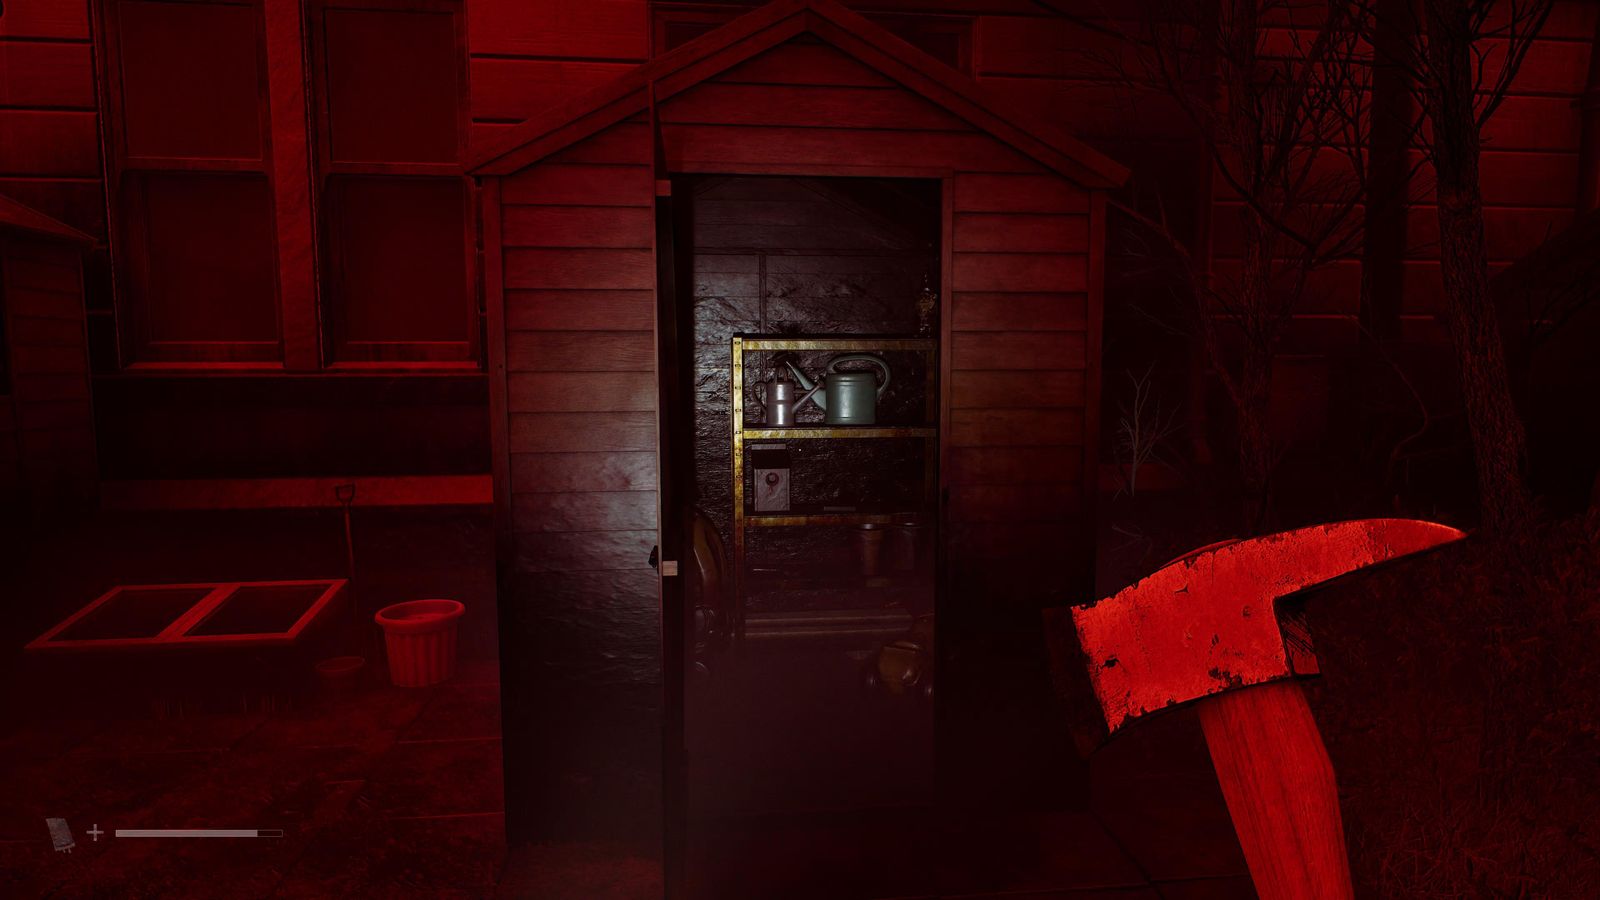
Postcard 6/15 · Station Apartments A
Zoe: The Patient Medical Centre
Surgery & wards
- Make no mistakes in the Surgery (each costs ending points). 🧩 Surgery Monitor Readings solution
- Consult Room B computer: Supply Situation Update and the reply. 📍 Docs 36-37/85
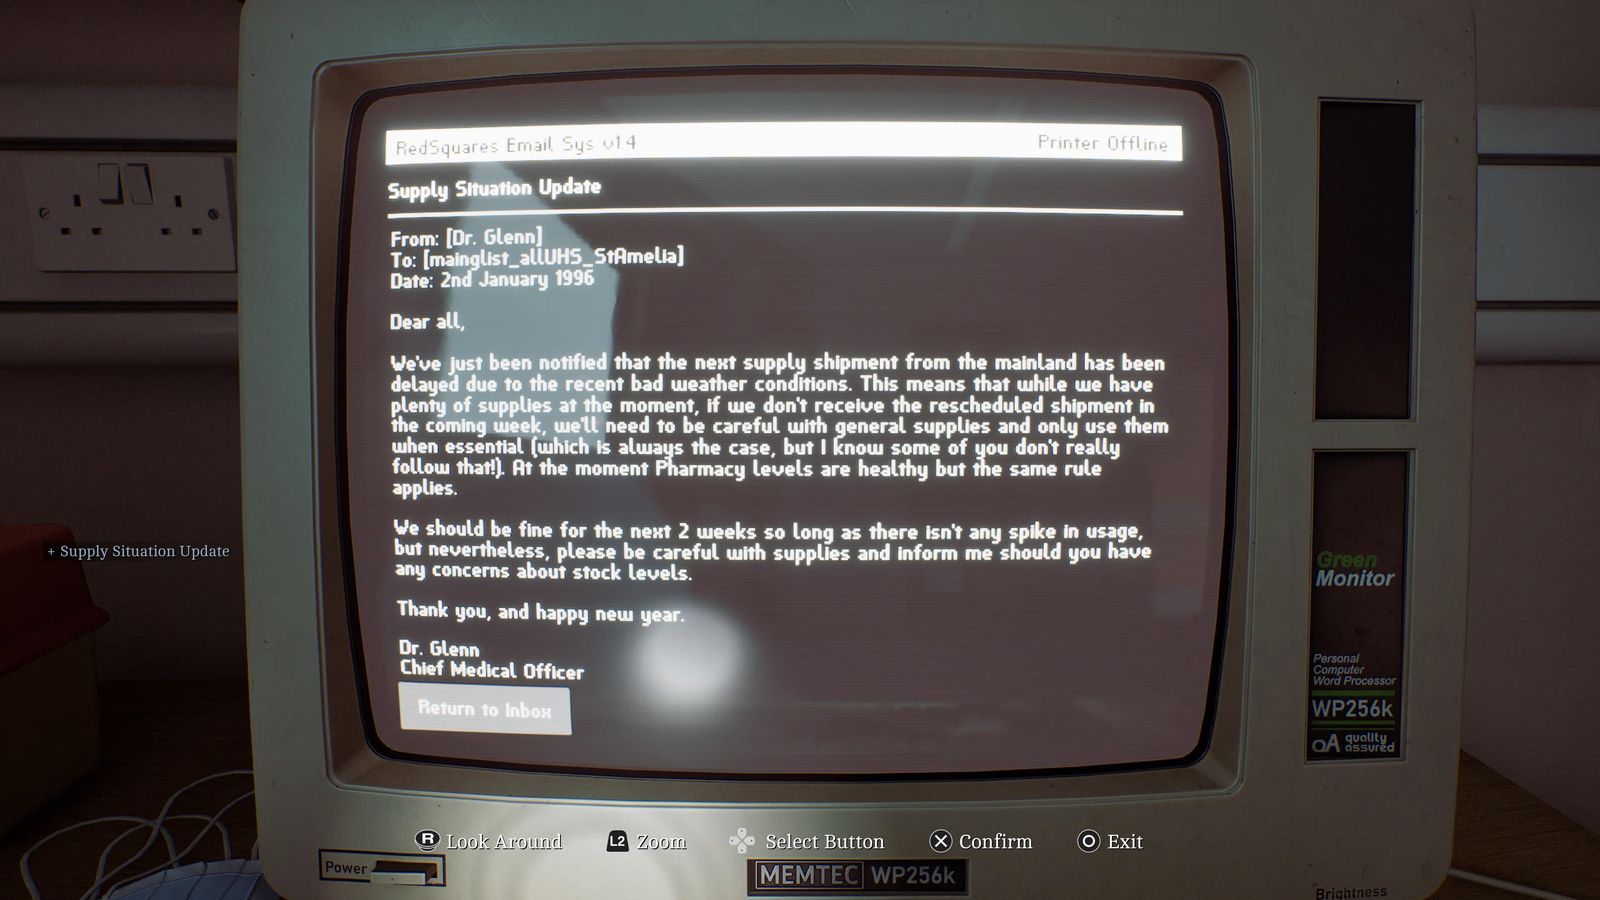
Docs 36-37/85 · Surgery & wards 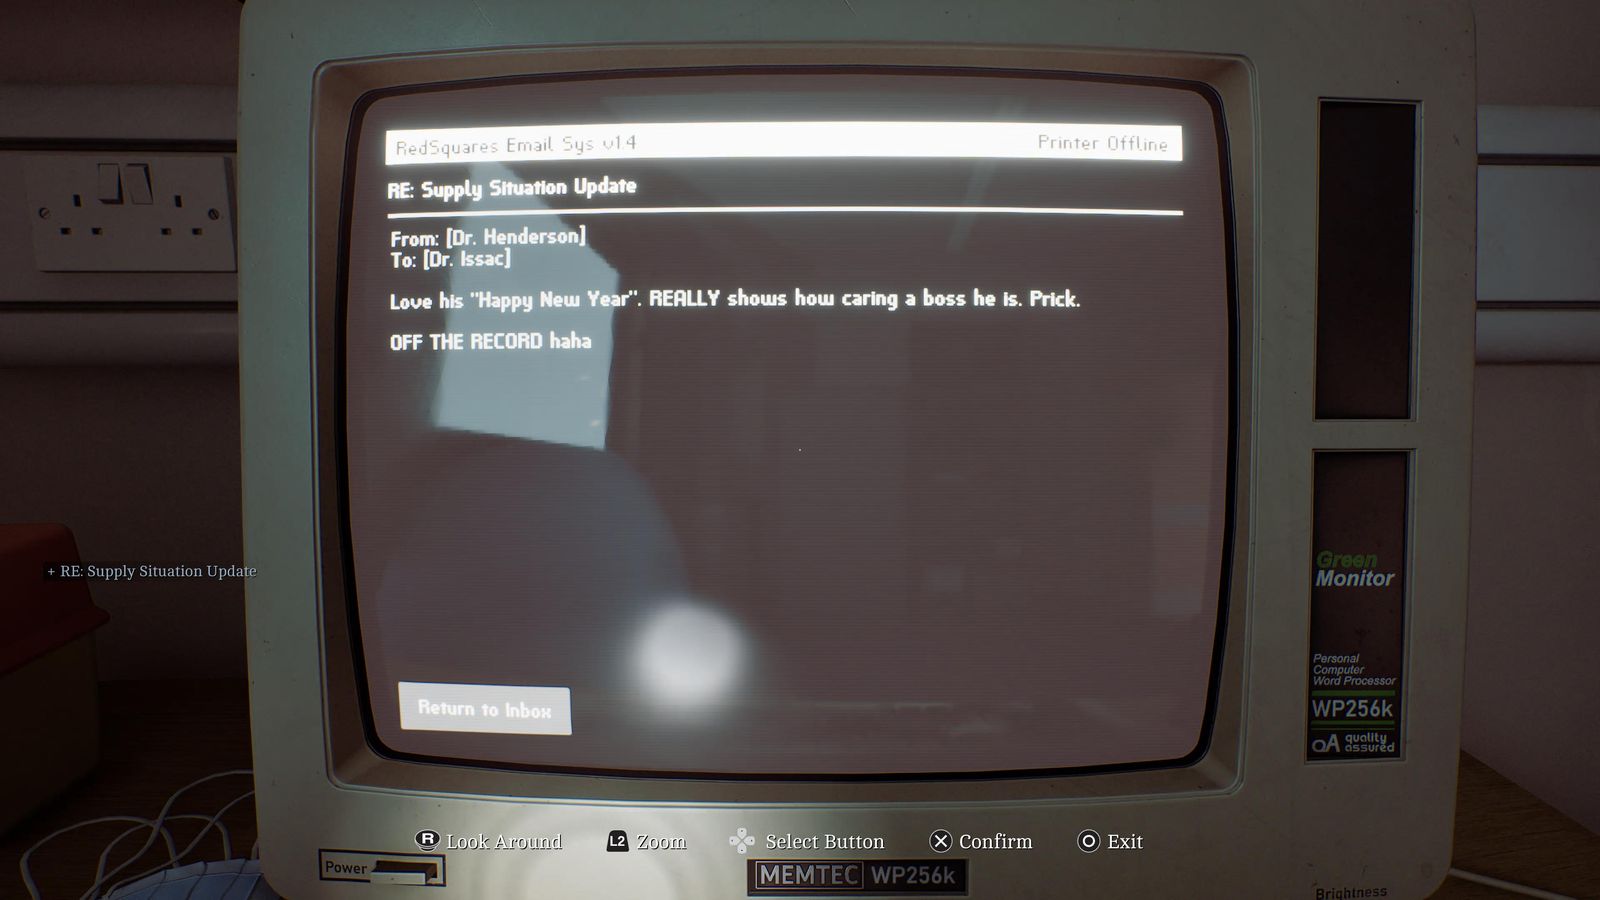
Docs 36-37/85 · Surgery & wards - Chapman Ward 1st floor reception computer: Unrealistic Expectations and Dailies - Infusion Status. 📍 Doc 38 + Clue 39/85
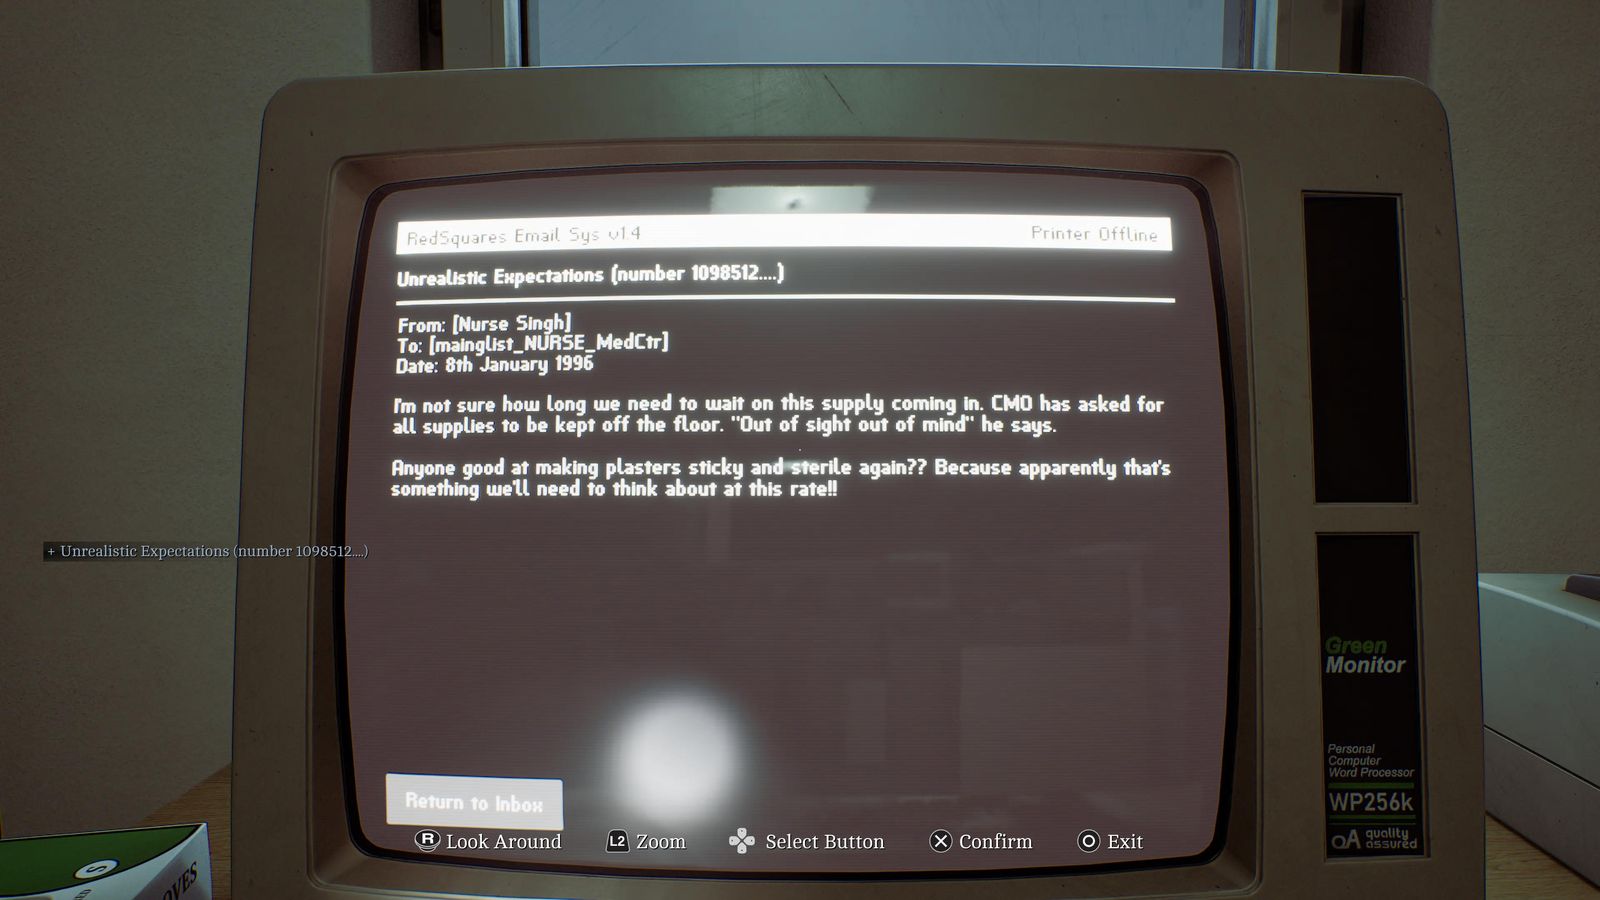
Doc 38 + Clue 39/85 · Surgery & wards 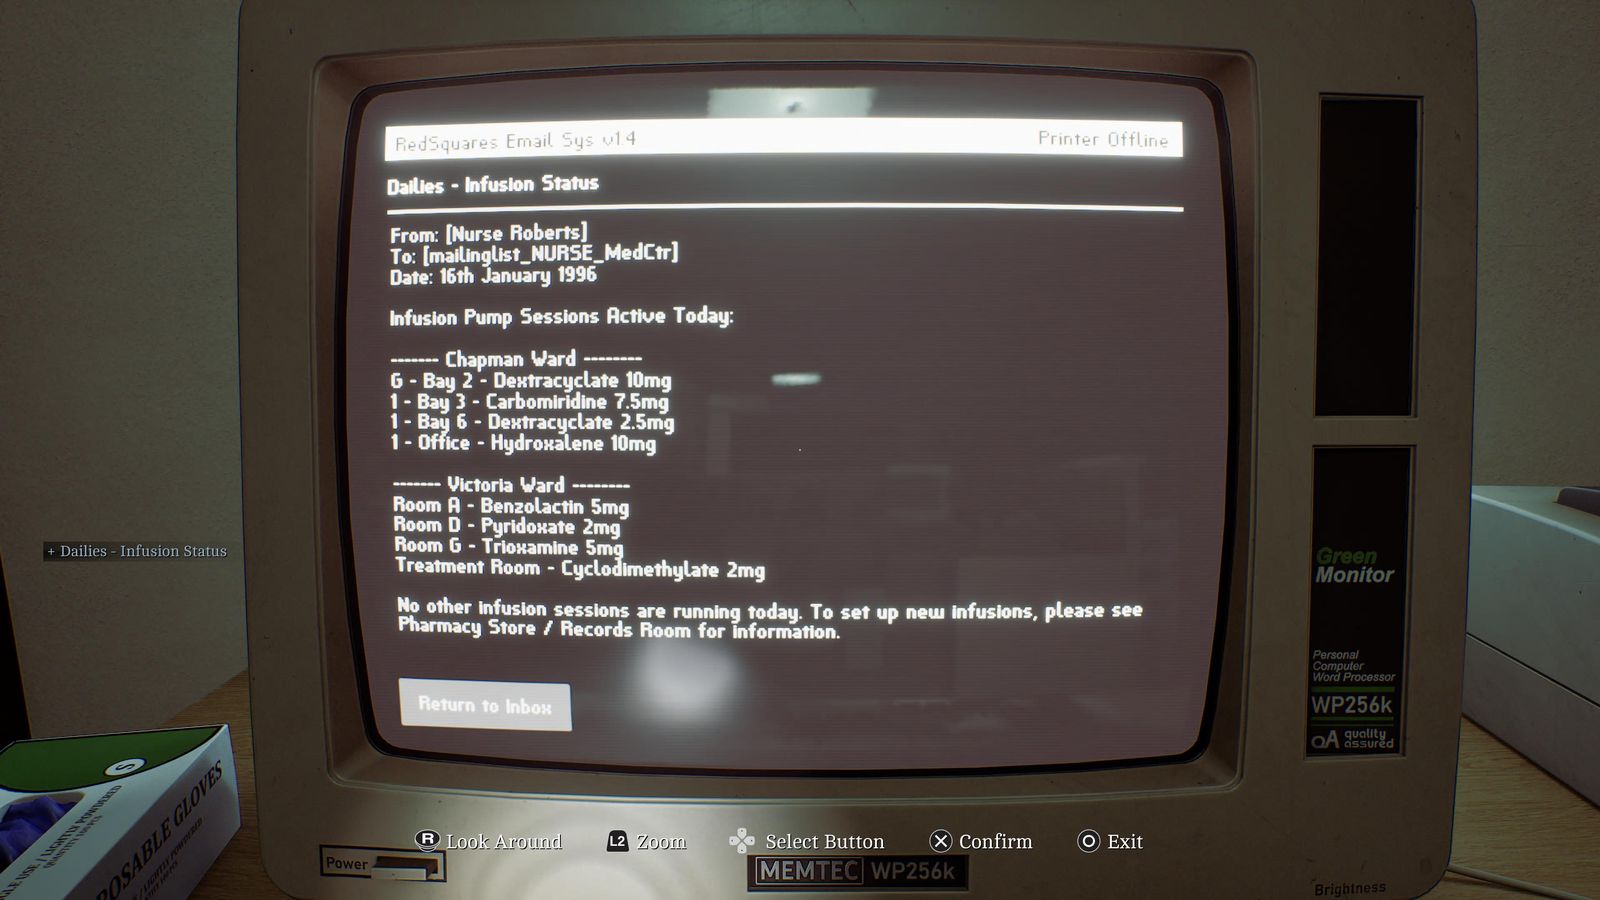
Doc 38 + Clue 39/85 · Surgery & wards - Office in the far-left corner: Records Room Code on the blue board. 📍 Clue 40/85
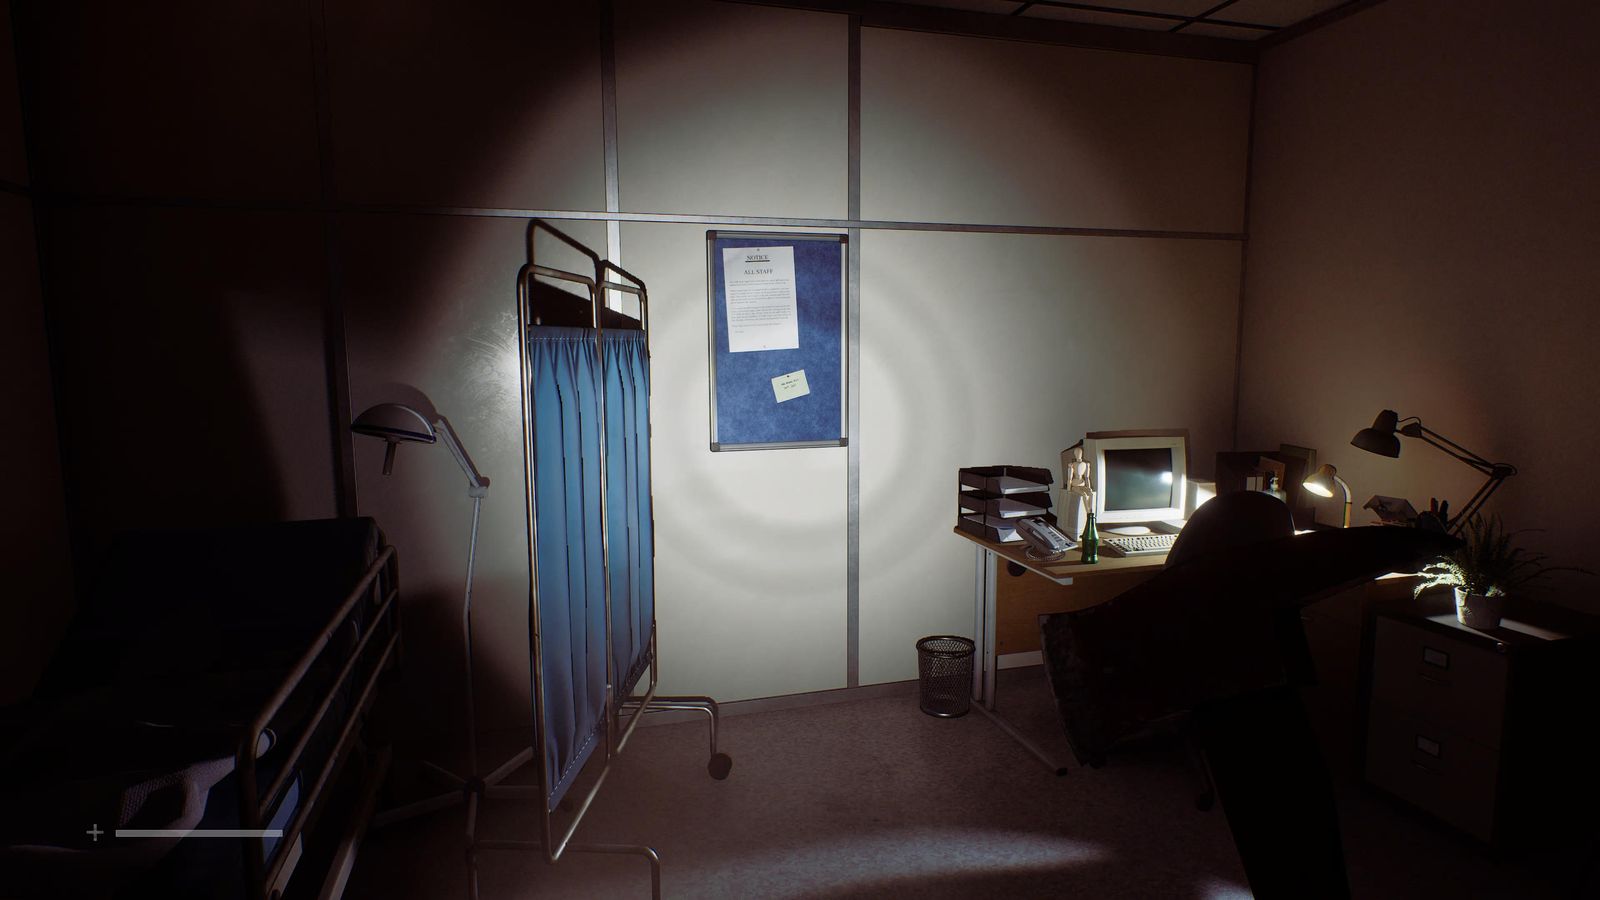
Clue 40/85 · Surgery & wards - From the Reception phone call Hospital Storage on 5353 to bring the lift up (this call is the 10th phone number). 📍 Phone 10/13
- Basement: Equipment Cleanup Notice on a gurney halfway back to the lift. 📍 Document 41/85 🧩 Infusion Pumps solution
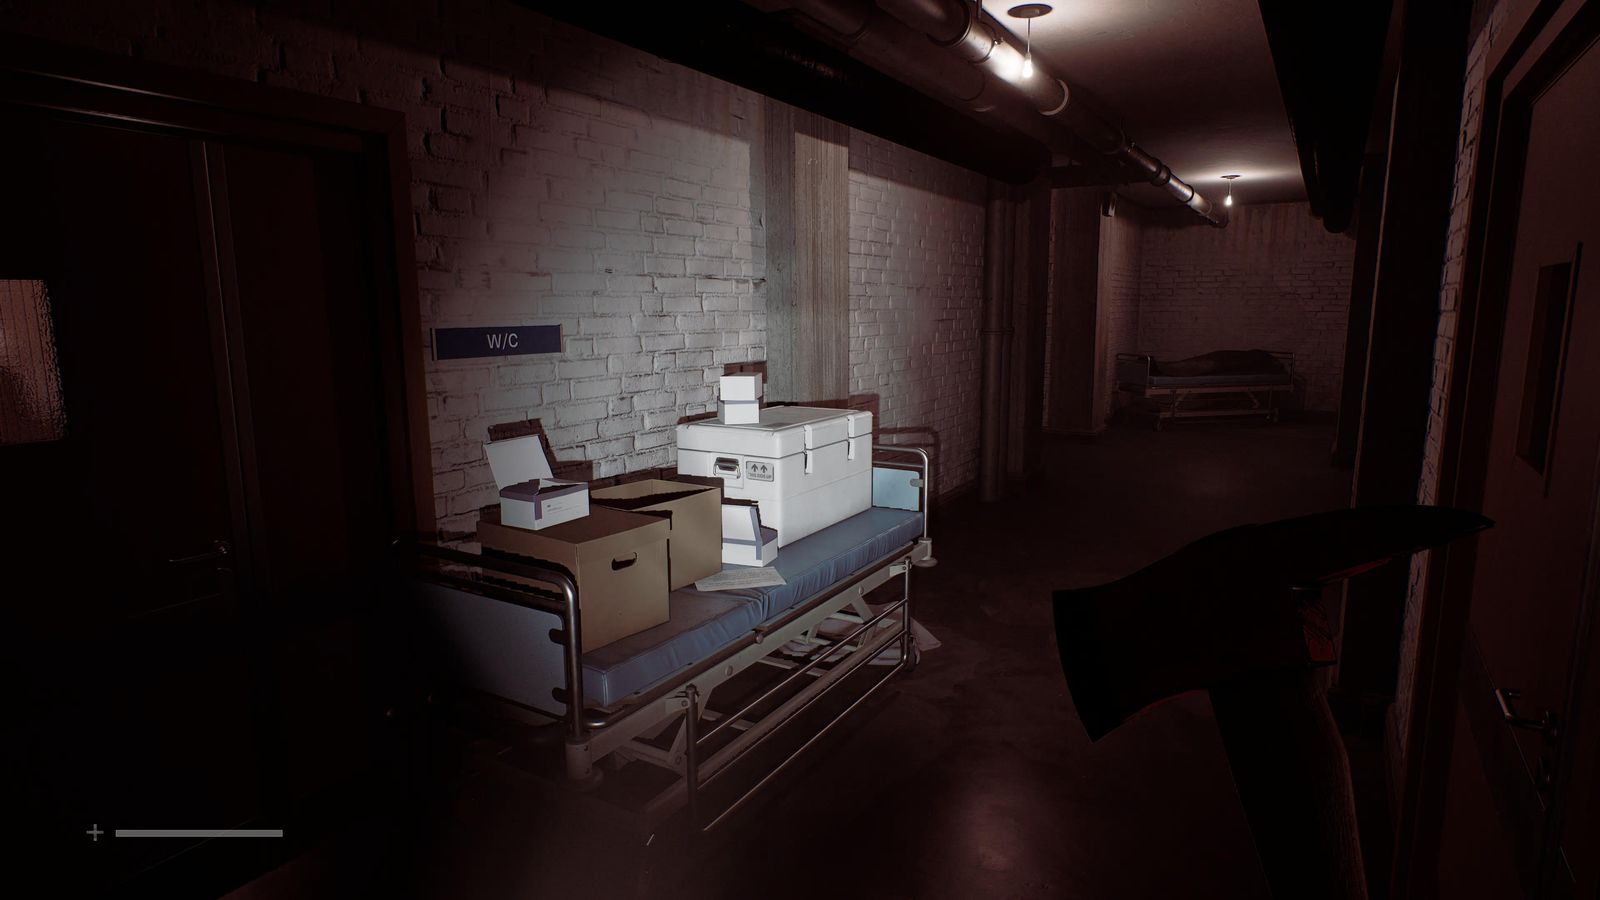
Document 41/85 · Surgery & wards - Intubate. 🏆 The Patient 🧩 Intubation solution
- No healing as Zoe during Rounds and The Patient. 🏆 Save It For The Patients
Many Into One A Different Place
Surgery → foyer
- Room 7103 back counter. 📍 Postcard 7/15
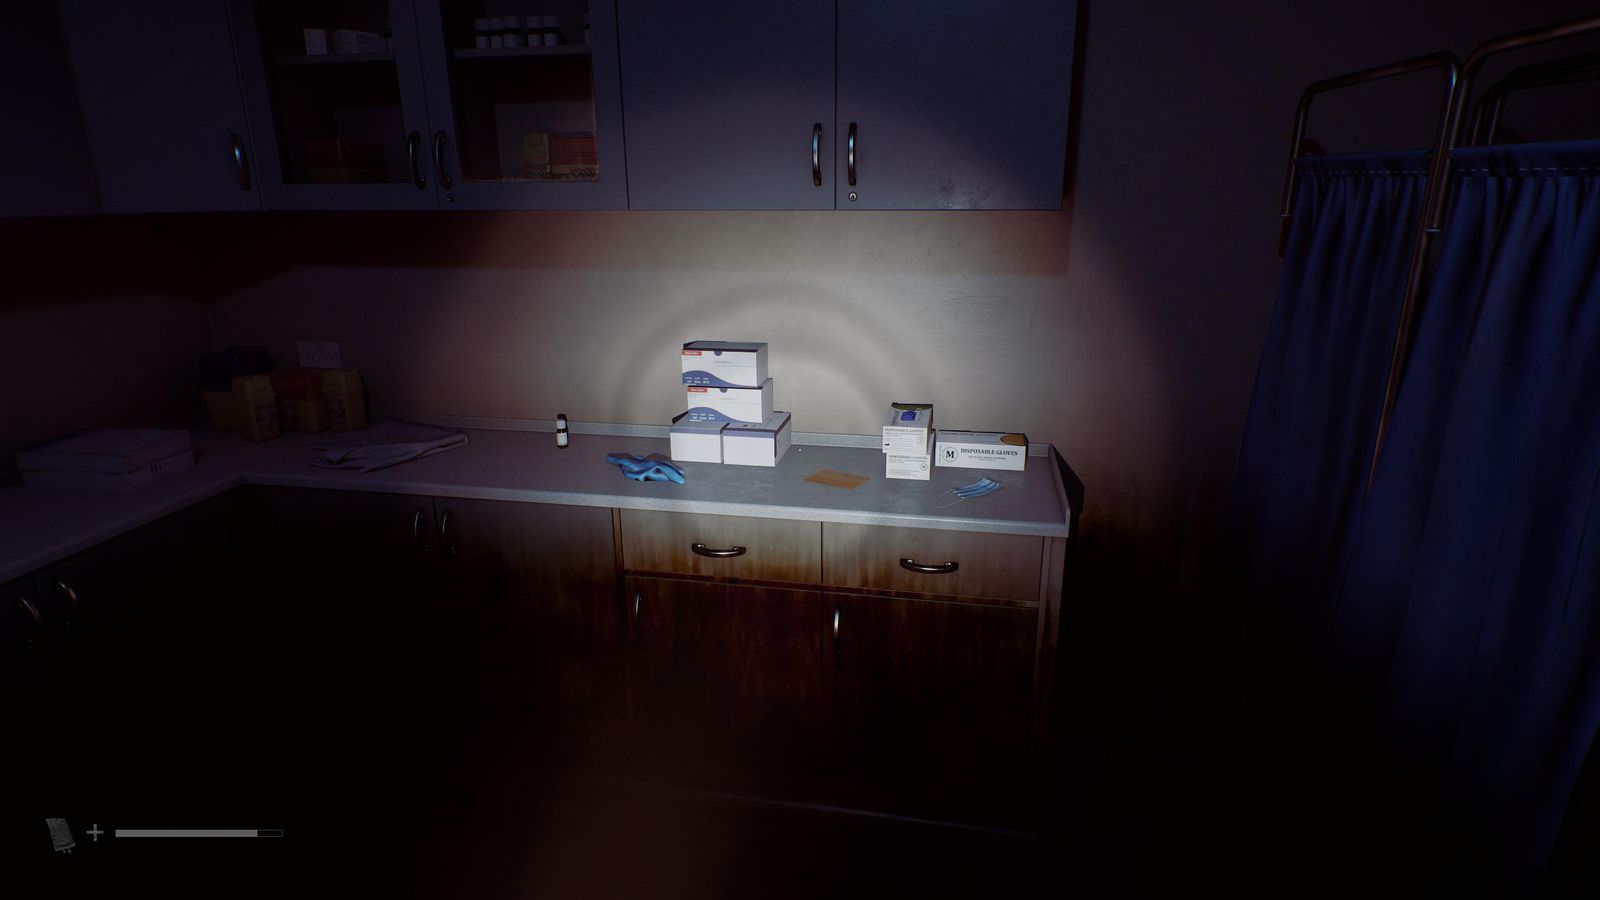
Postcard 7/15 · Surgery → foyer - Workshop tuner: channel 28. 📍 CRTV 8/19
- With the Alan Duncan Blood Bag, the small table: Zoe's Patient List. 📍 Clue 42/85
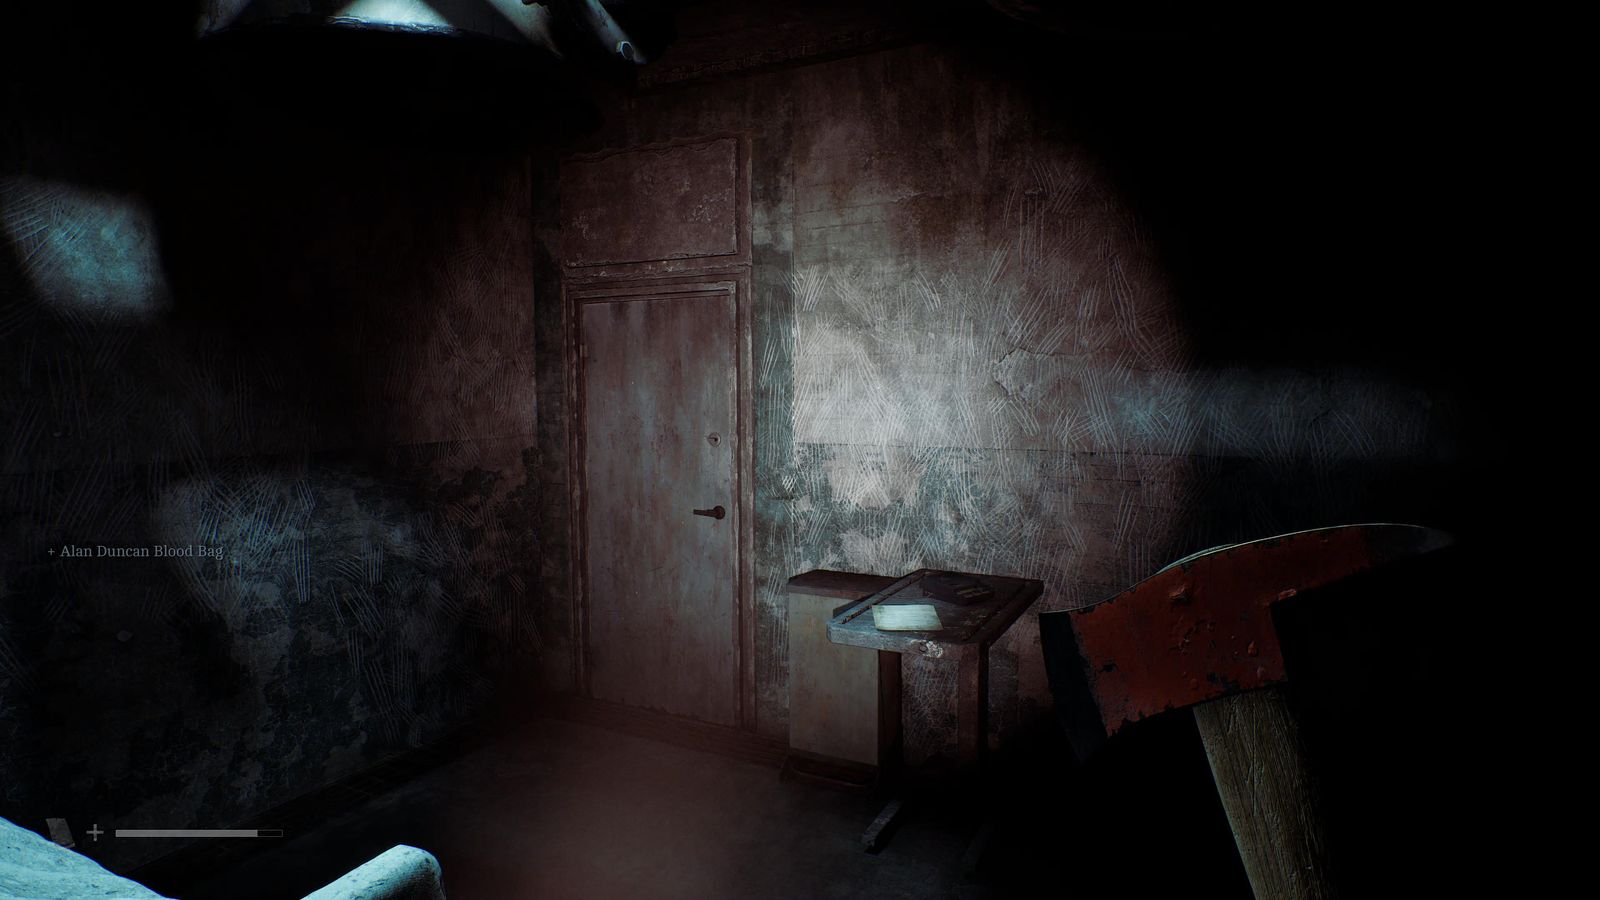
Clue 42/85 · Surgery → foyer
W / S / P Blocks
- W06 table. 📍 Postcard 8/15
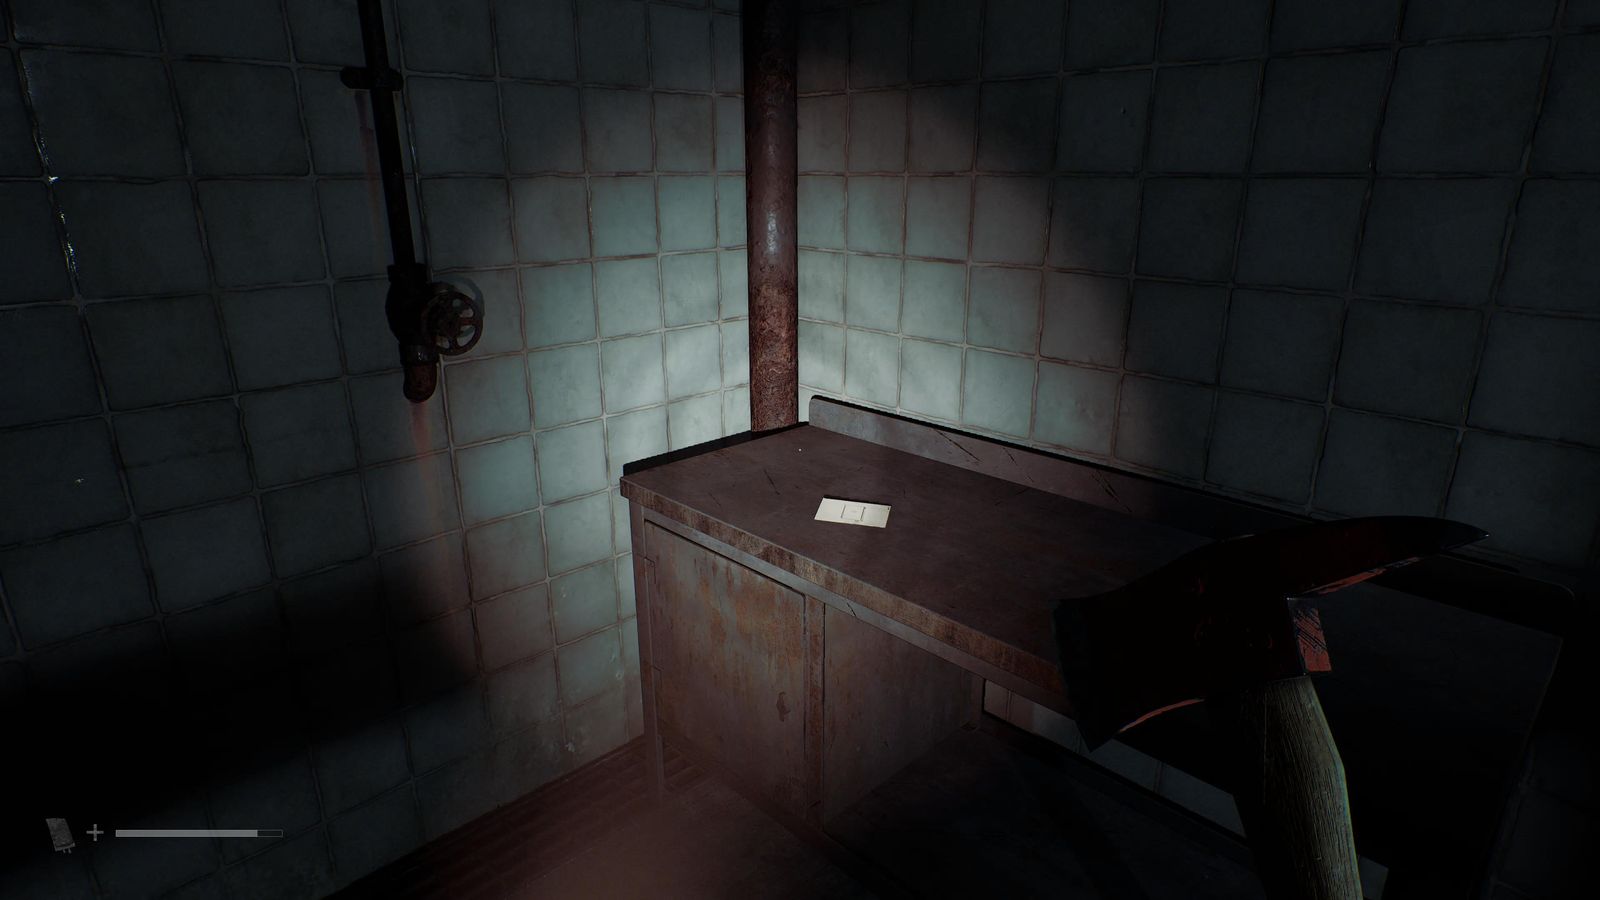
Postcard 8/15 · W / S / P Blocks - S01: kill the enemy from S01, then hide in the locker for 60 seconds. 🏆 Isolating Experience
- Resource Container 3 on the floor next to the locker. 📍 Container 3/7
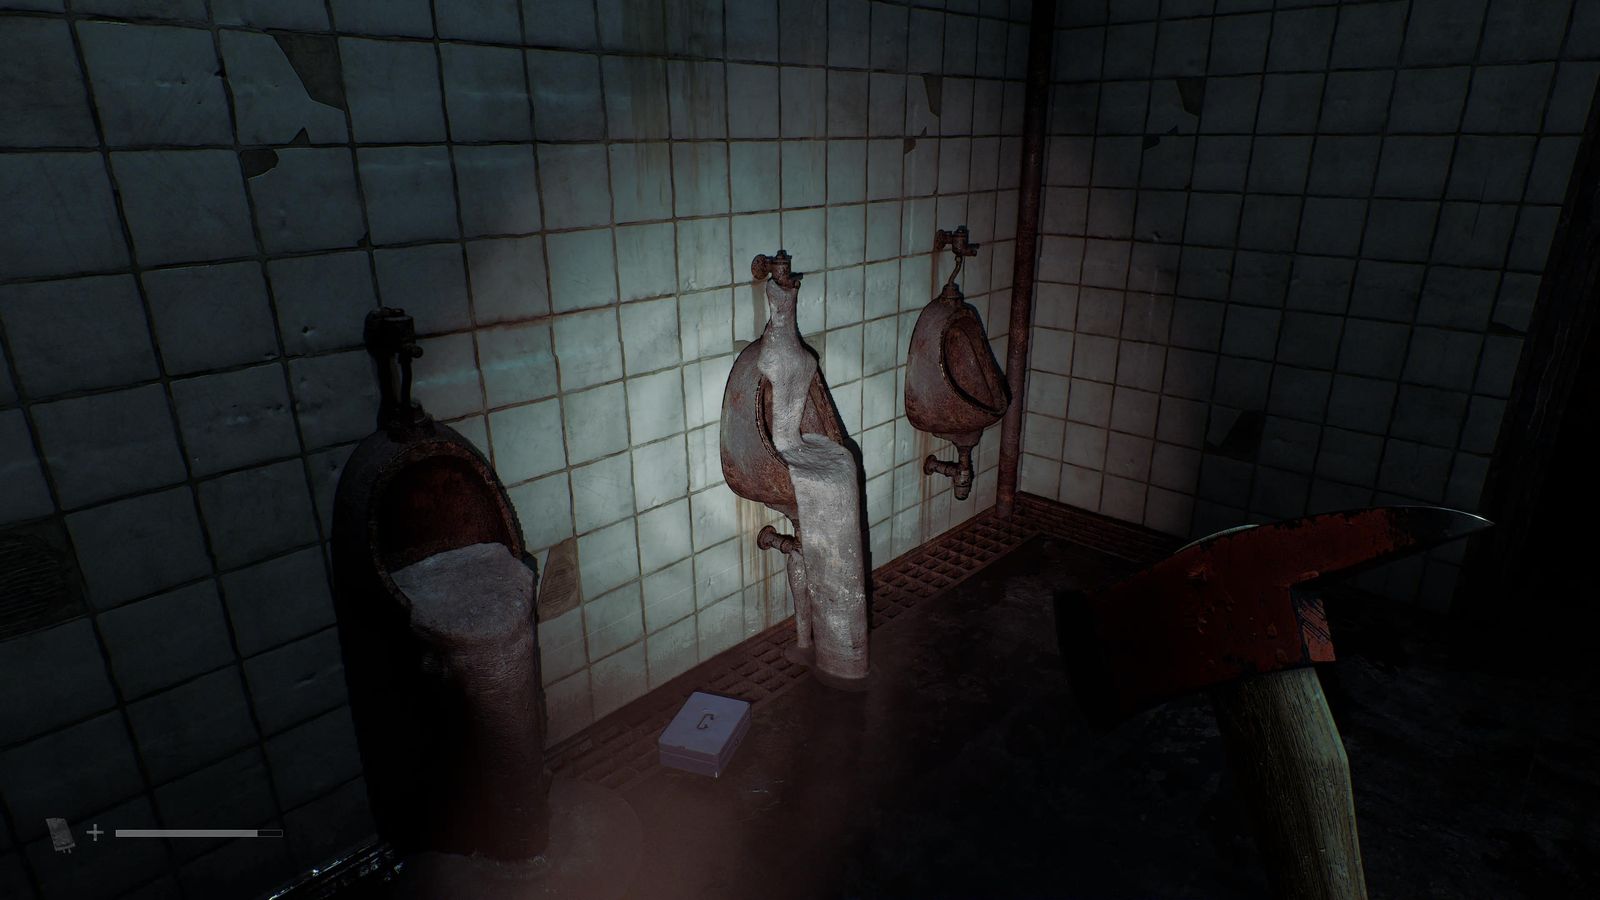
Container 3/7 · W / S / P Blocks - P08 wall box. 📍 Postcard 9/15 🧩 Blood Bag Slots solution
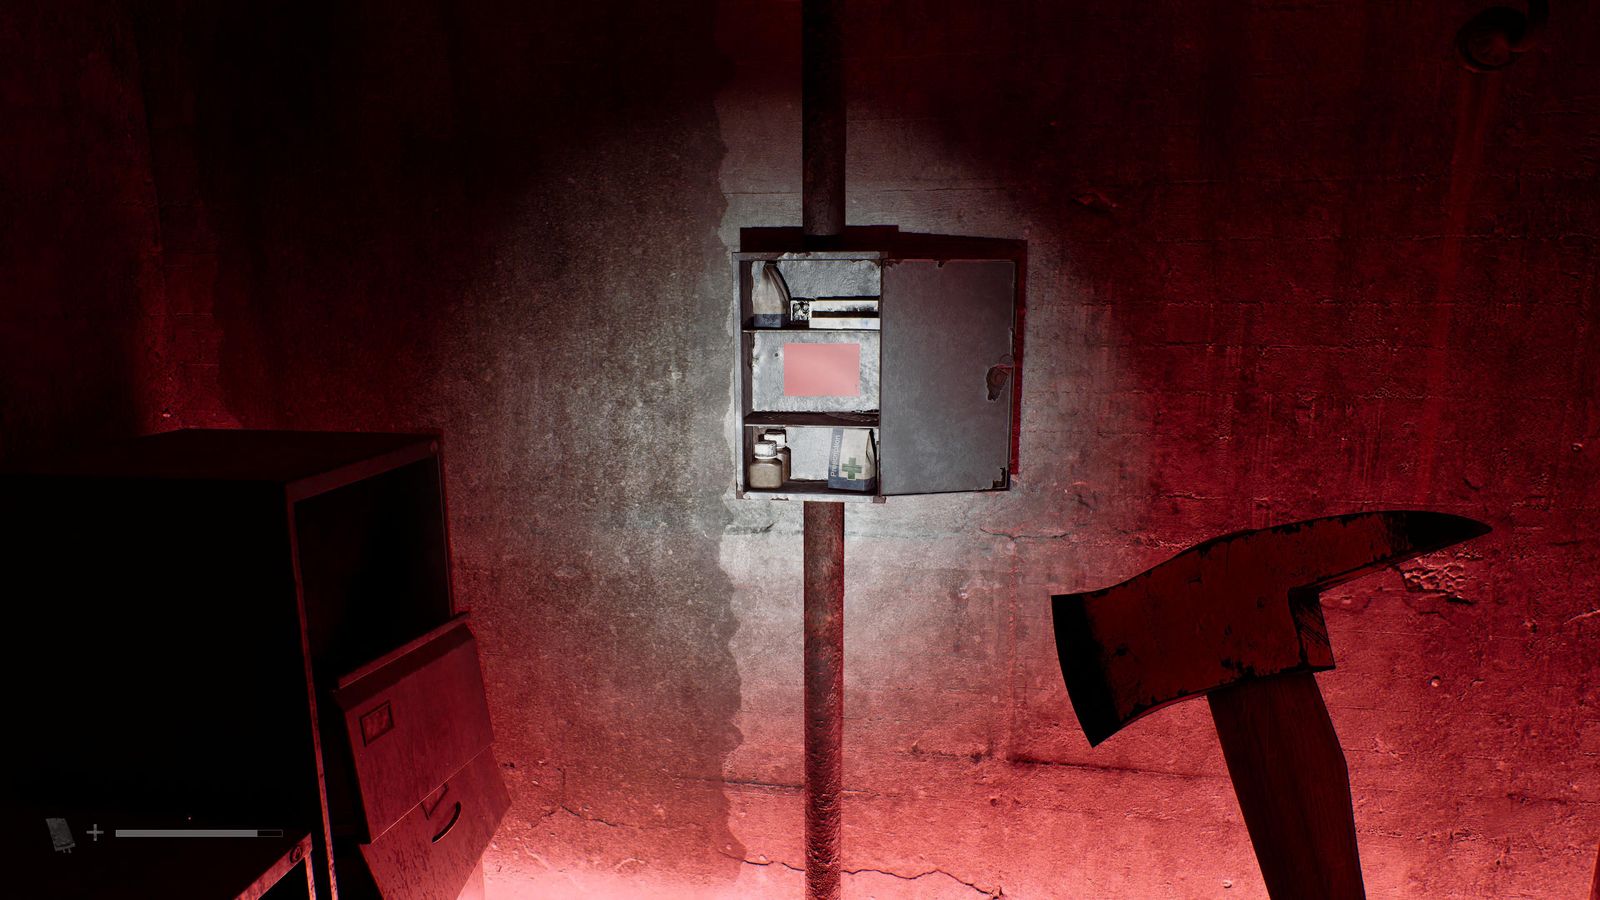
Postcard 9/15 · W / S / P Blocks - Ordell dial and the Room 204 door. 🏆 Many Into One 🧩 Ordell Dial solution
▶ Watch the solve
Begin Again Clara Woods
East Shore Road
- From the top of the ladder go left to the large boat: the Harbour Notice is on its railing. Don't walk past the van first or a scene skips it. 📍 Document 43/85 🏆 Observation
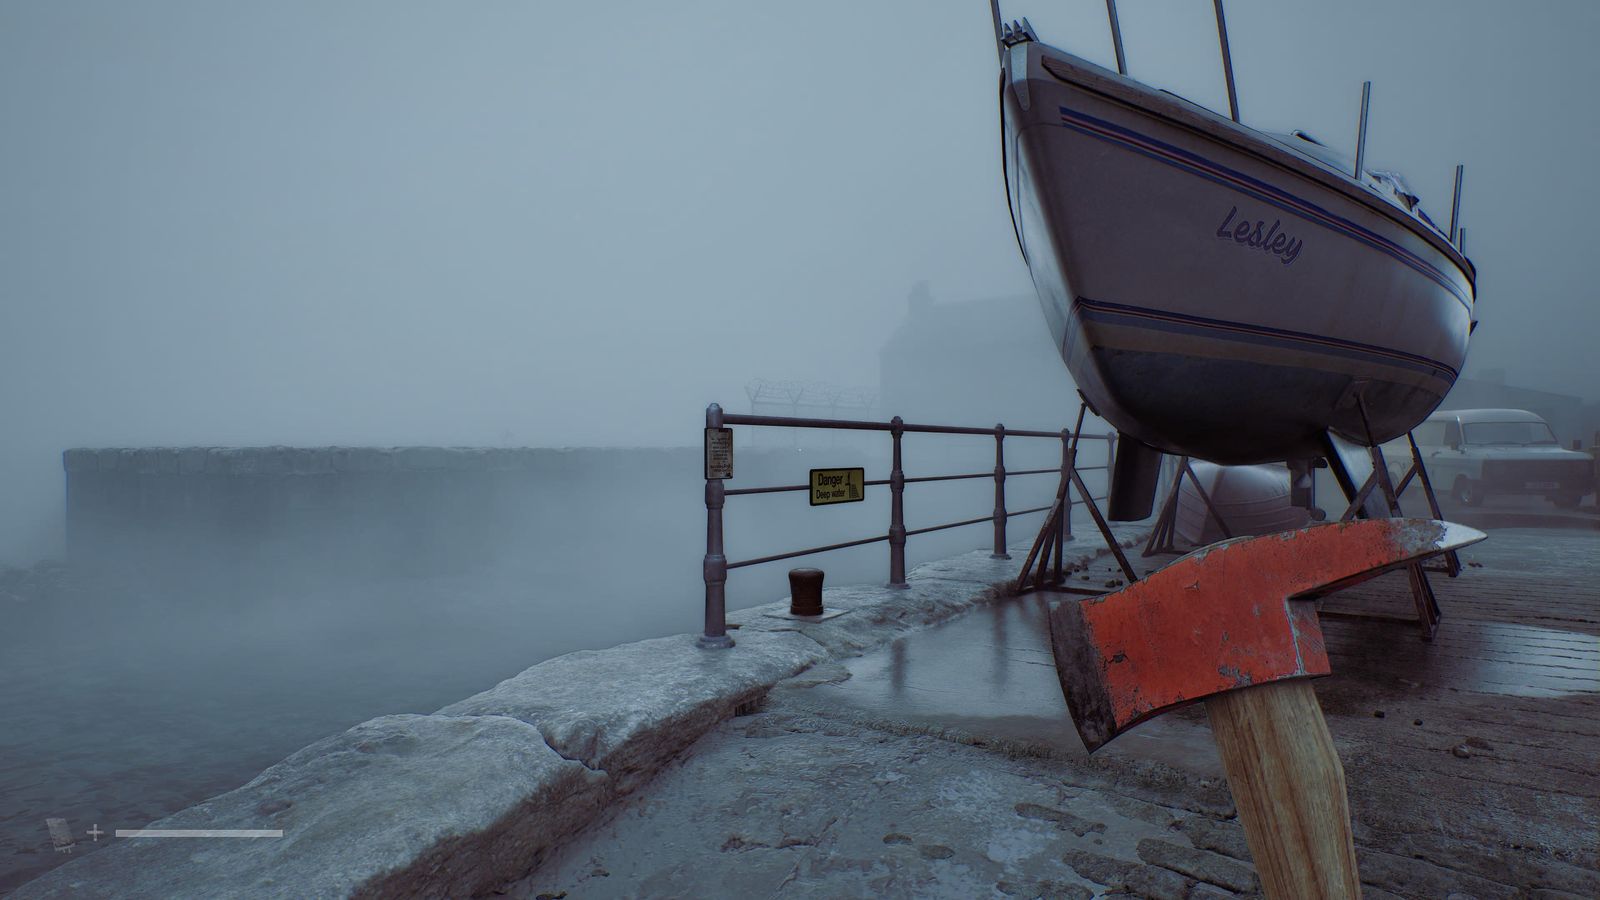
Document 43/85 · East Shore Road
Bridge Burn Road
- Right at the fork, last garden on the left: Bottle. Across the road, through the south alley, the dormant enemy by the gate dies to a thrown bottle; the shed beyond holds a postcard and the Silver Coin. 📍 Postcard 10/15 + Silver Coin
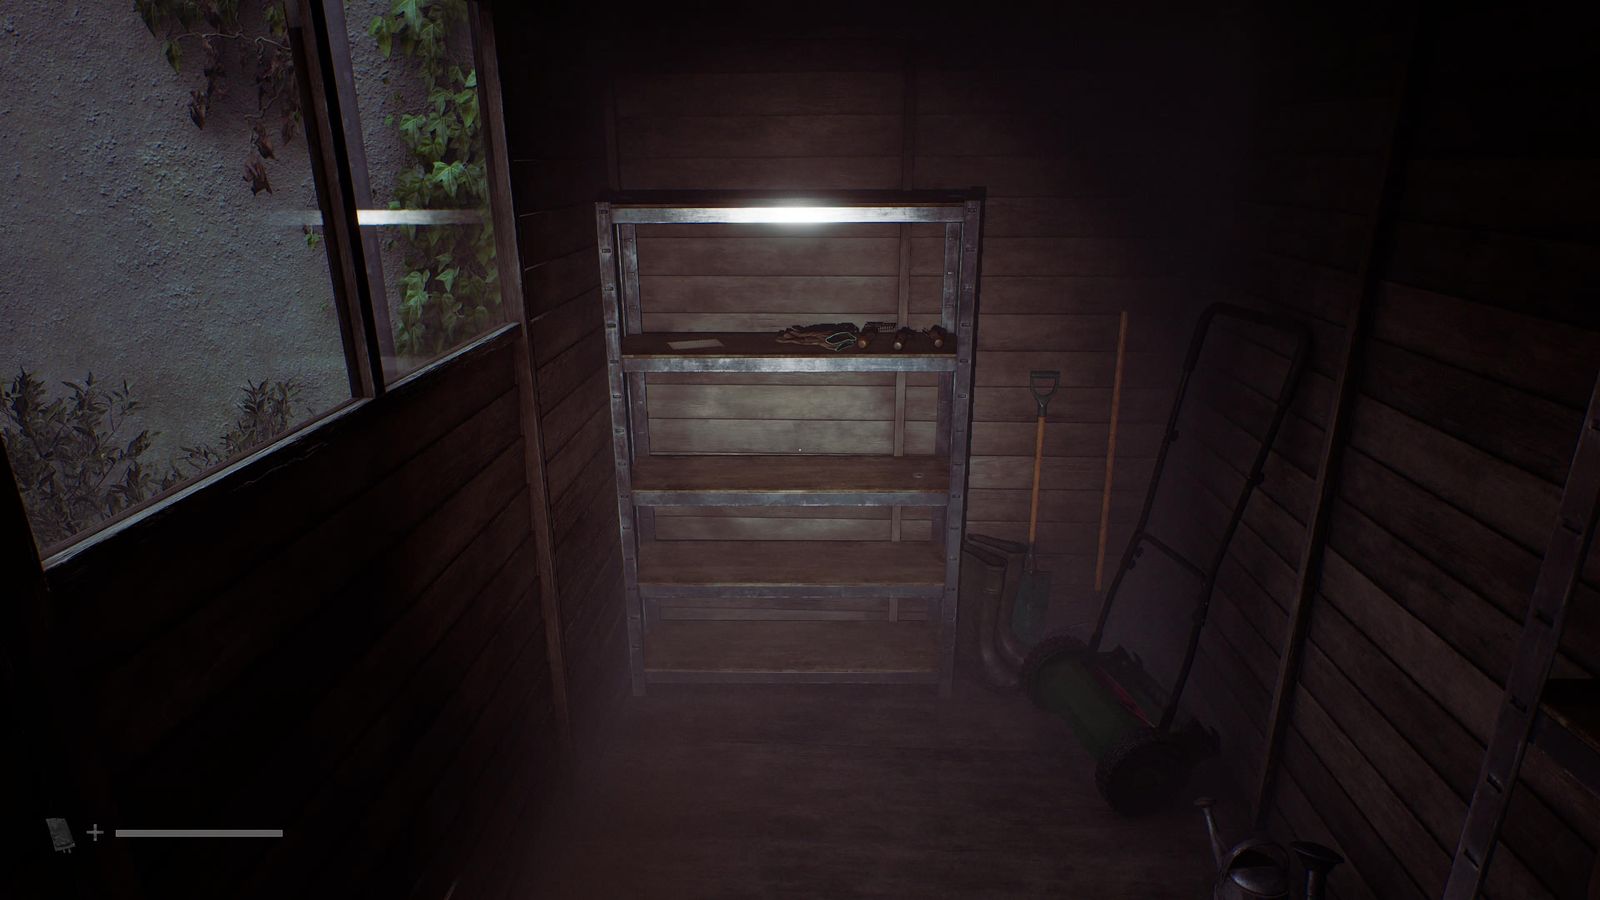
Postcard 10/15 + Silver Coin · Bridge Burn Road - Locals store: tuner 63, Store Staff Notice between the tills. 📍 CRTV 9/19 + Document 44/85
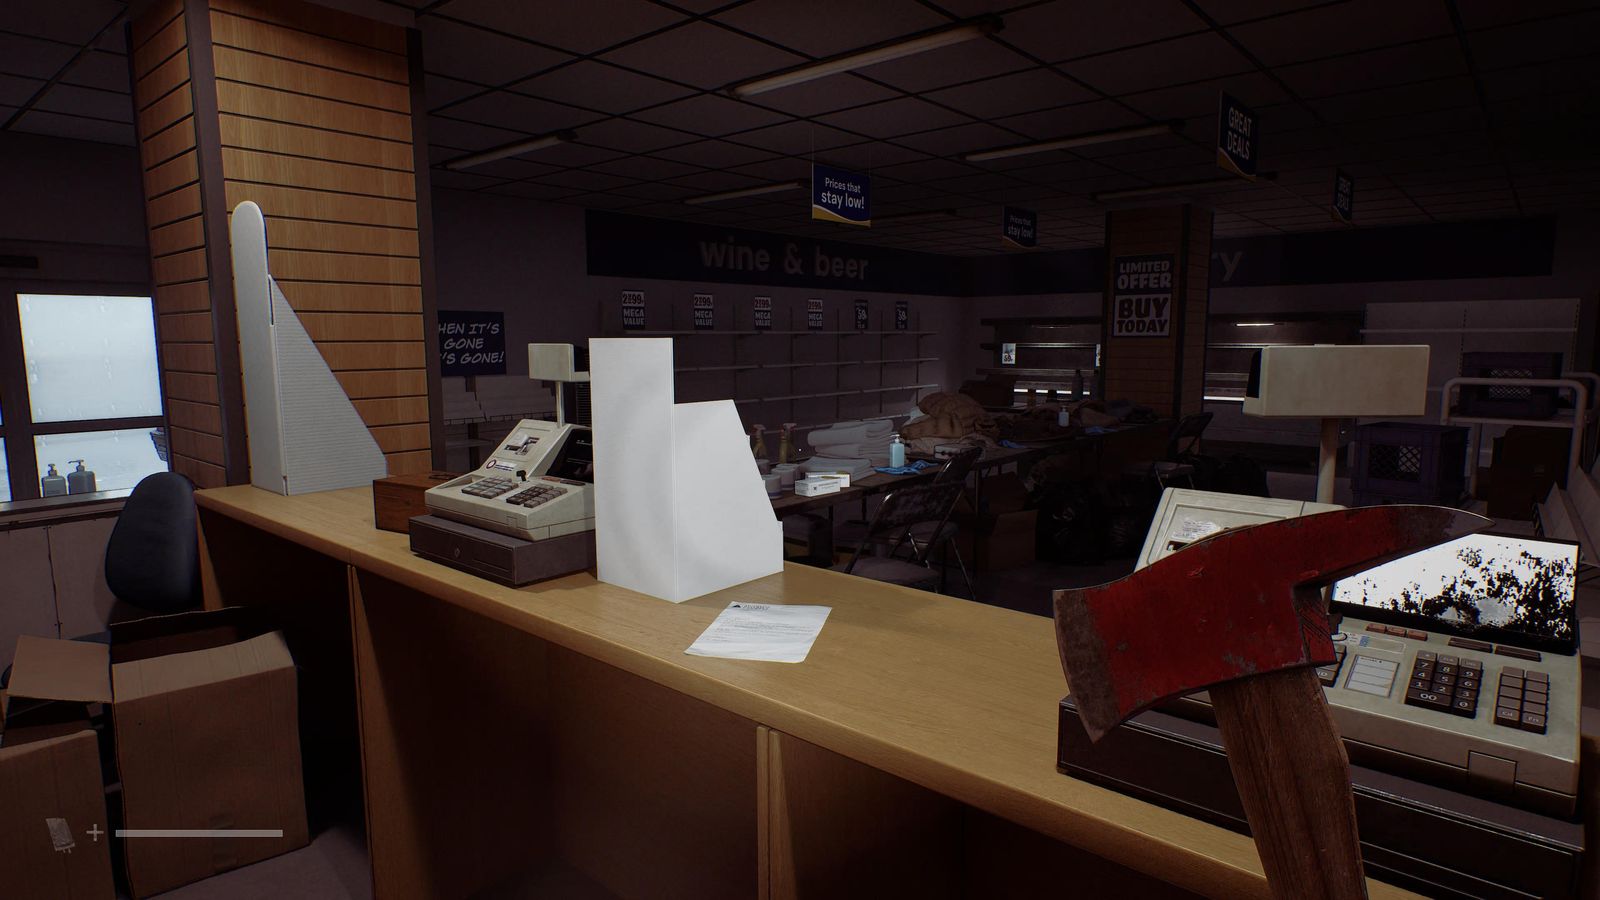
CRTV 9/19 + Document 44/85 · Bridge Burn Road
Missing Parts Clara Woods
Atlas Square
- Pick up the Brick by the metal gate (first right off Atlas Way), stand behind the 'Store Closing' sign outside Atlas Computers and lob it onto the dormant enemy's head to the west. 🏆 Long-Range Masonry
- Reload, then call 946, 496 0112 and 496 0993 from the phone box. 📍 Phone 11-13/13 🏆 Cold Calling
- Stenhouse (south-west corner): Strange Book #2 on the first shelf on the left. 📍 Strange Book 2/3
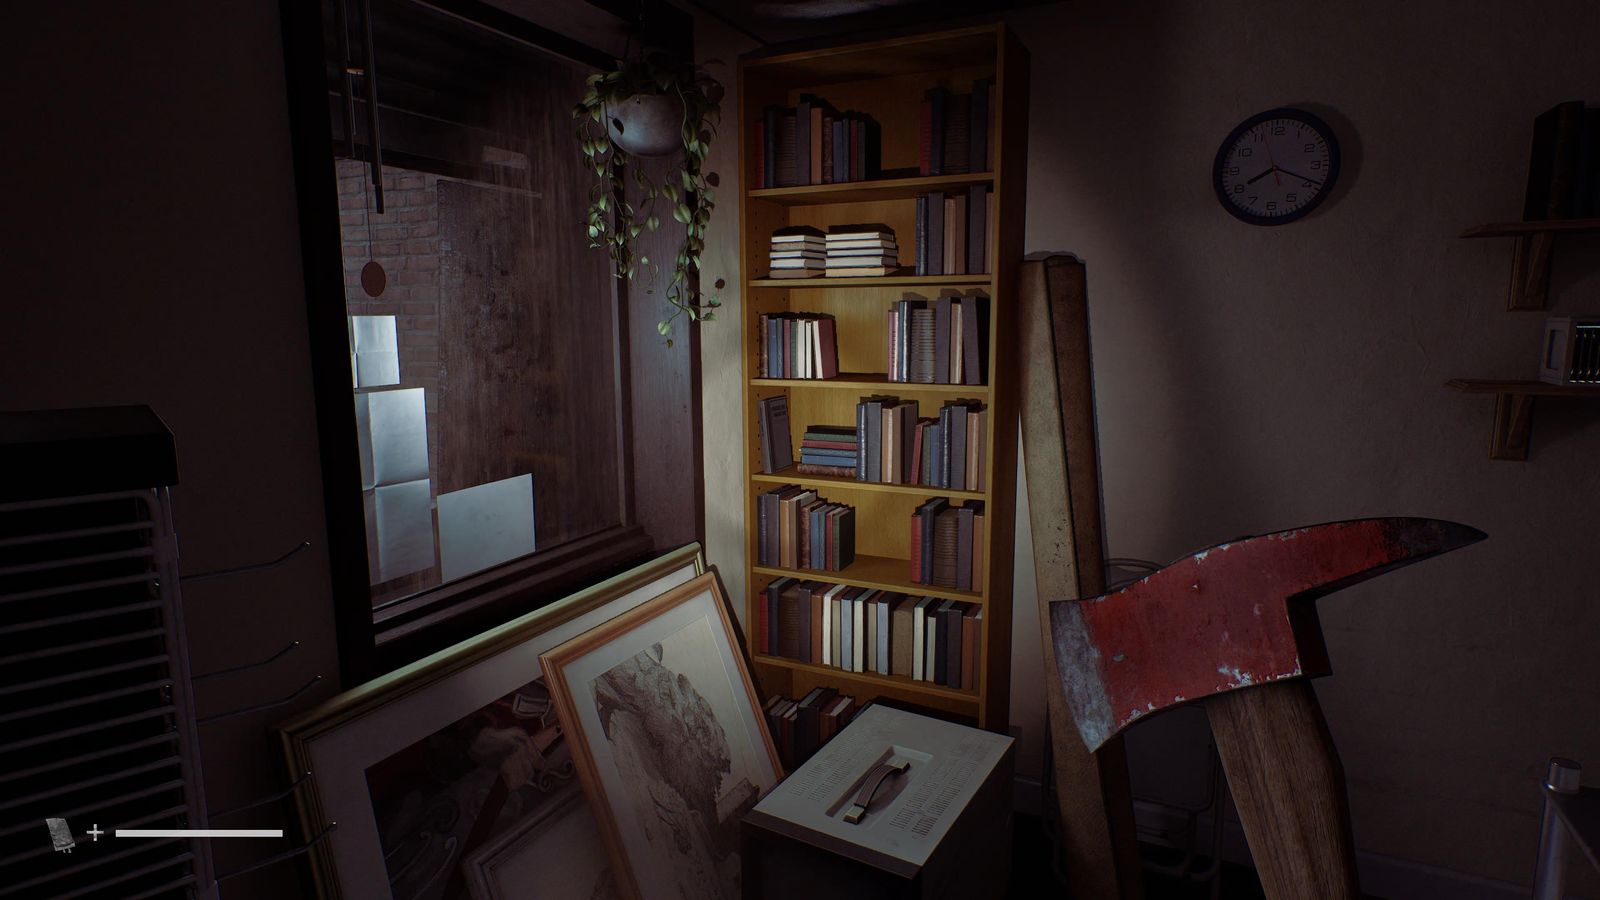
Strange Book 2/3 · Atlas Square - Break the shop window opposite Atlas Computers: postcard on the small table. 📍 Postcard 11/15
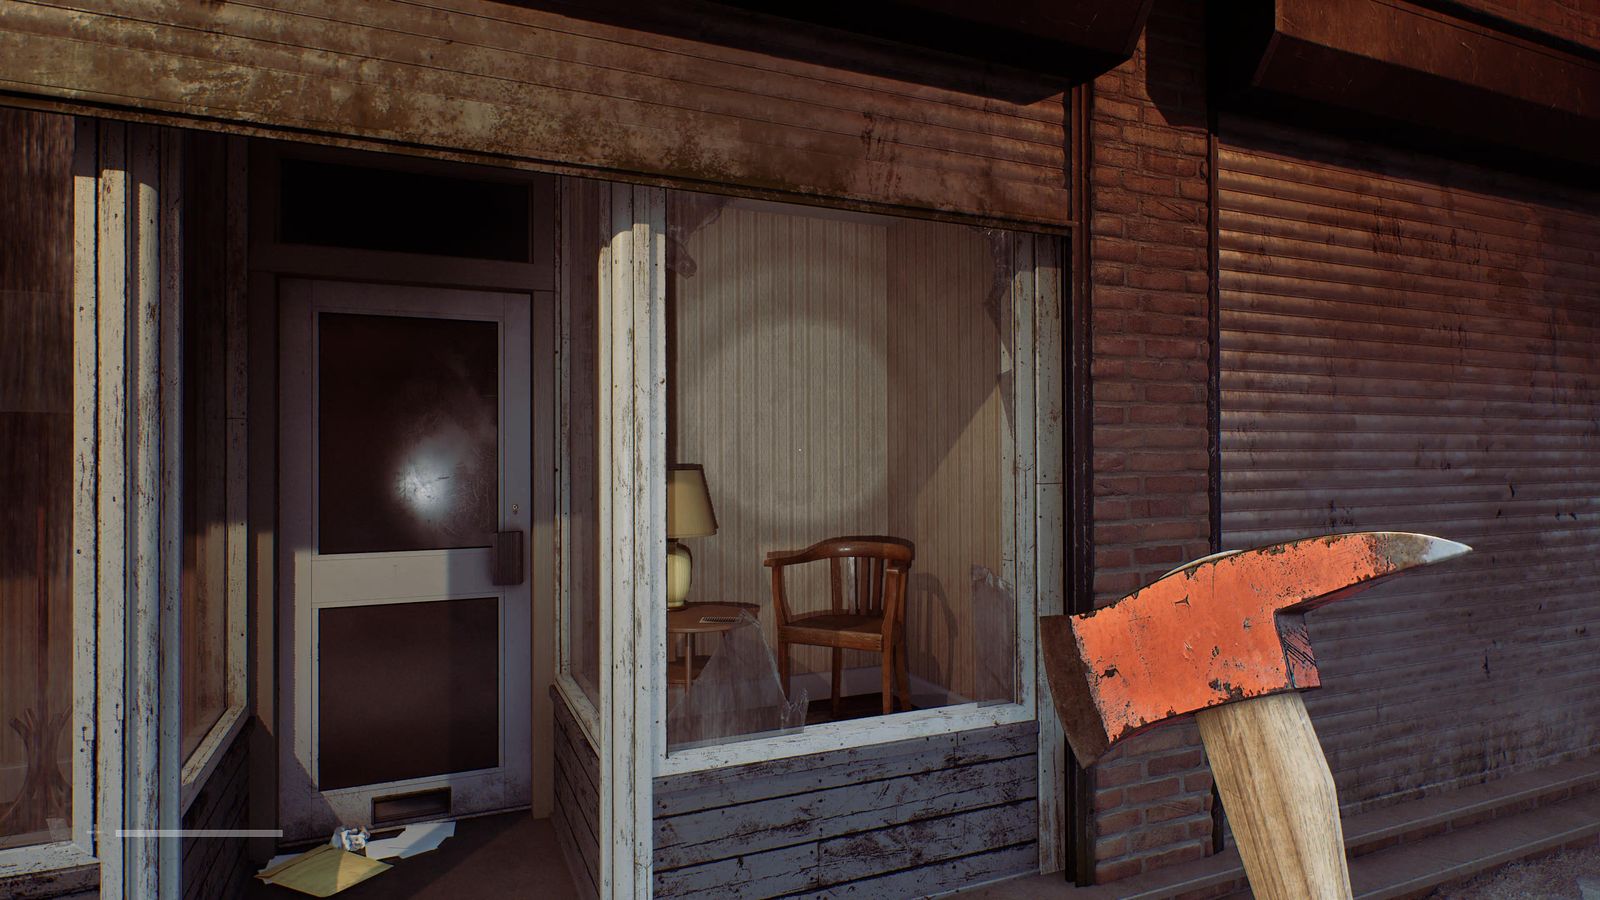
Postcard 11/15 · Atlas Square - Inspect the pipe at the far gate, then tune 63 near the Post Office. Post Office till: Lock Box Key. 📍 CRTV 10/19
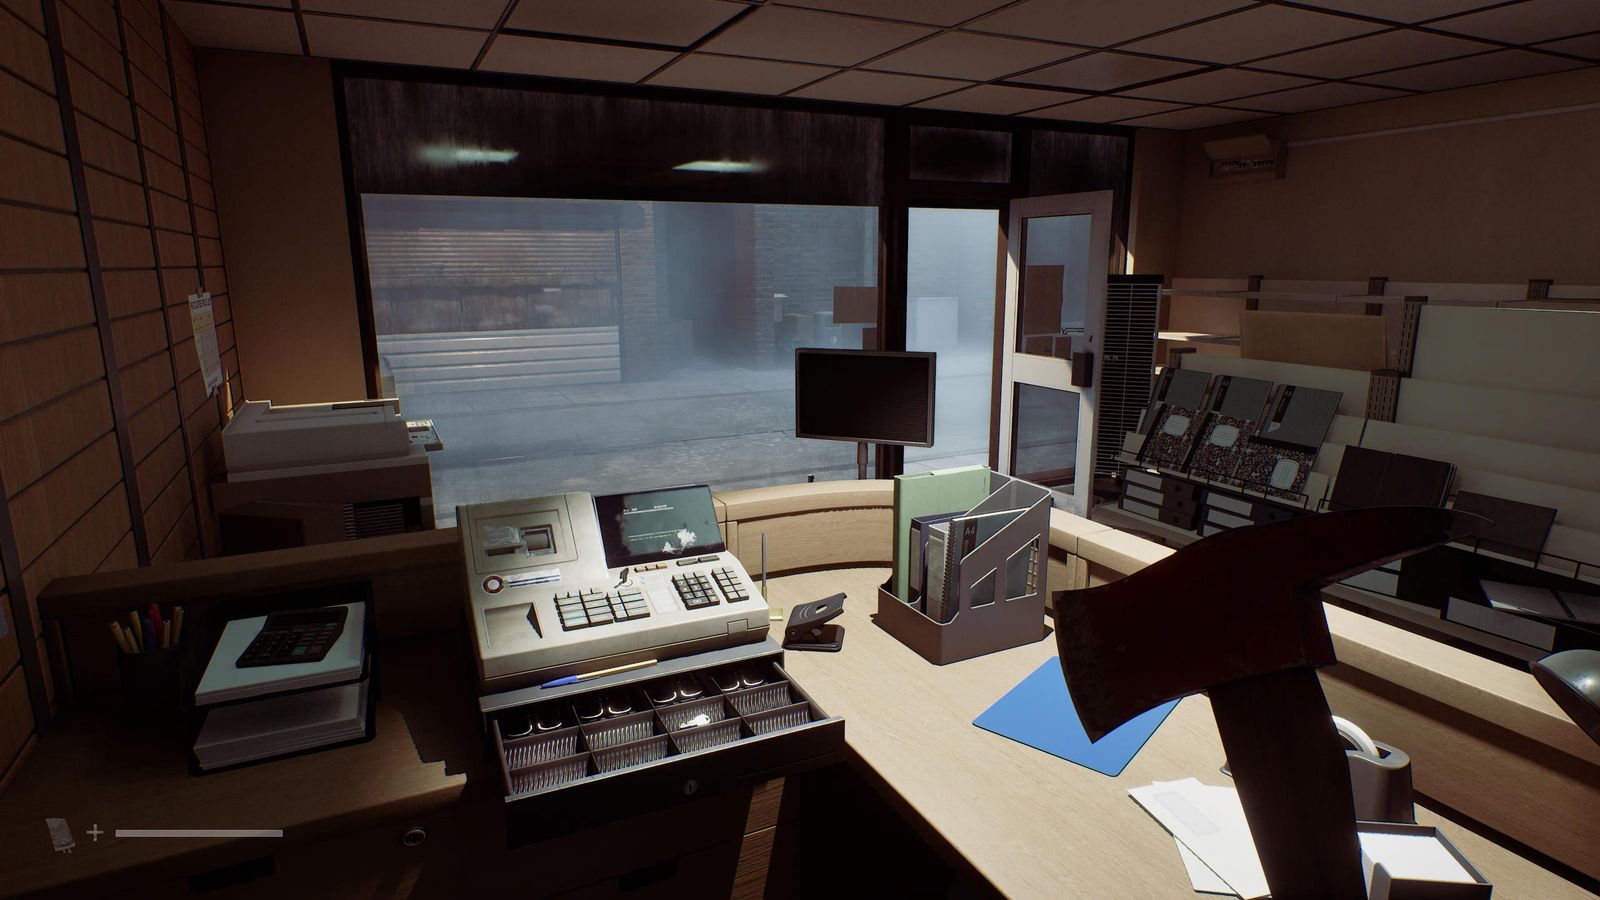
CRTV 10/19 · Atlas Square
CEG Lockers
- Tune 67 in the passage from Staff Parking. Read Lost and Found and the Employee Locker List on the reception computer. 📍 CRTV 11/19 + Clues 45-46/85
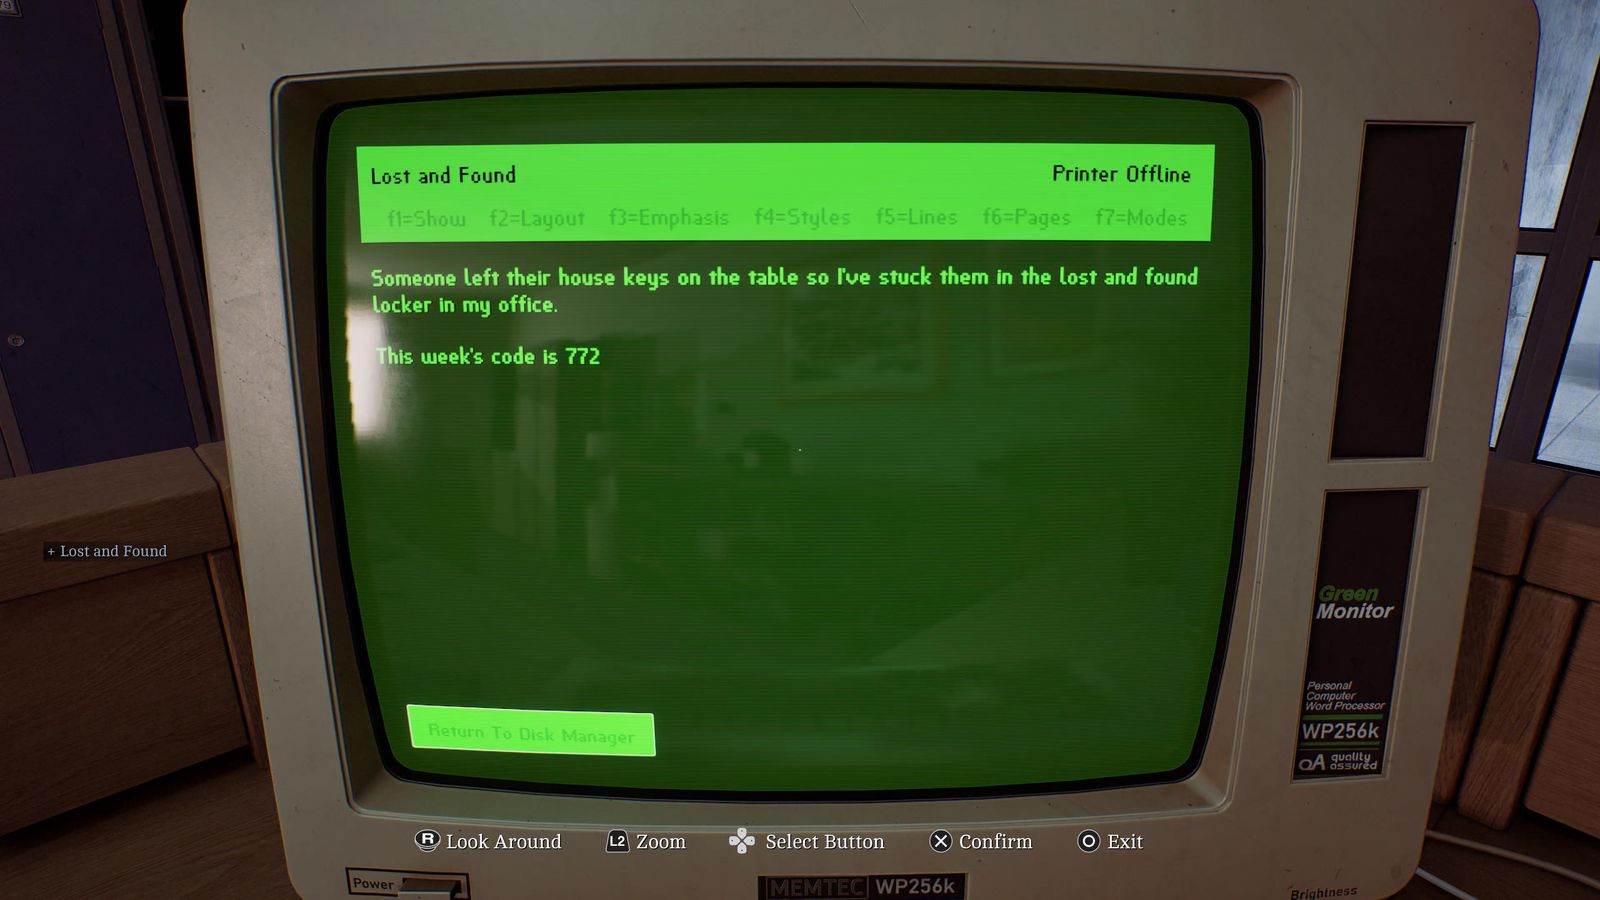
CRTV 11/19 + Clues 45-46/85 · CEG Lockers 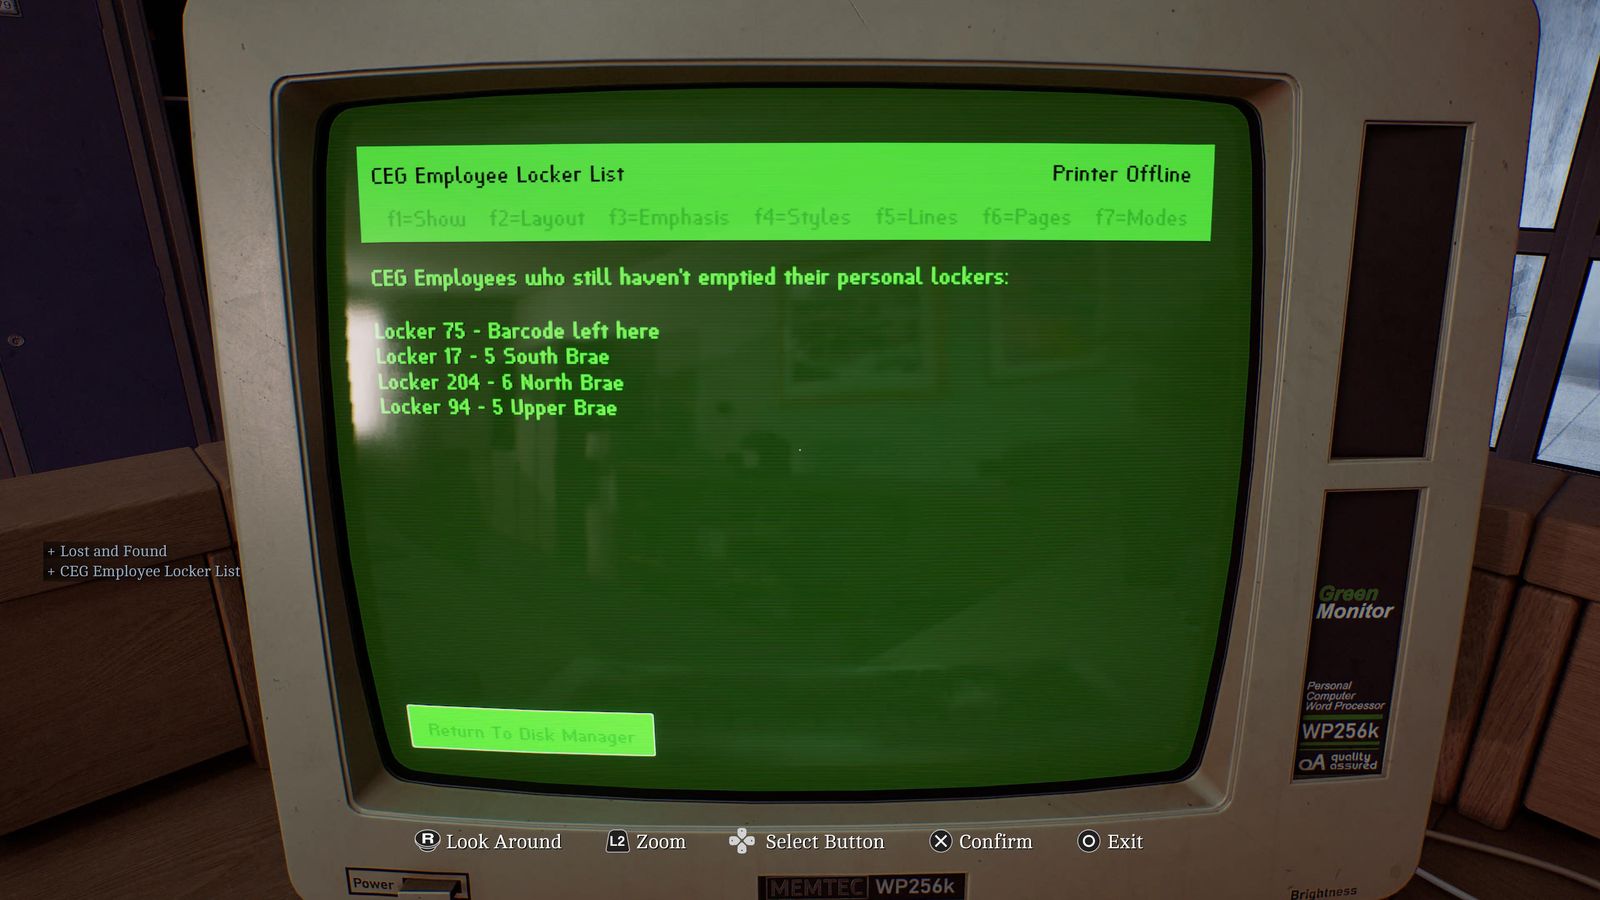
CRTV 11/19 + Clues 45-46/85 · CEG Lockers 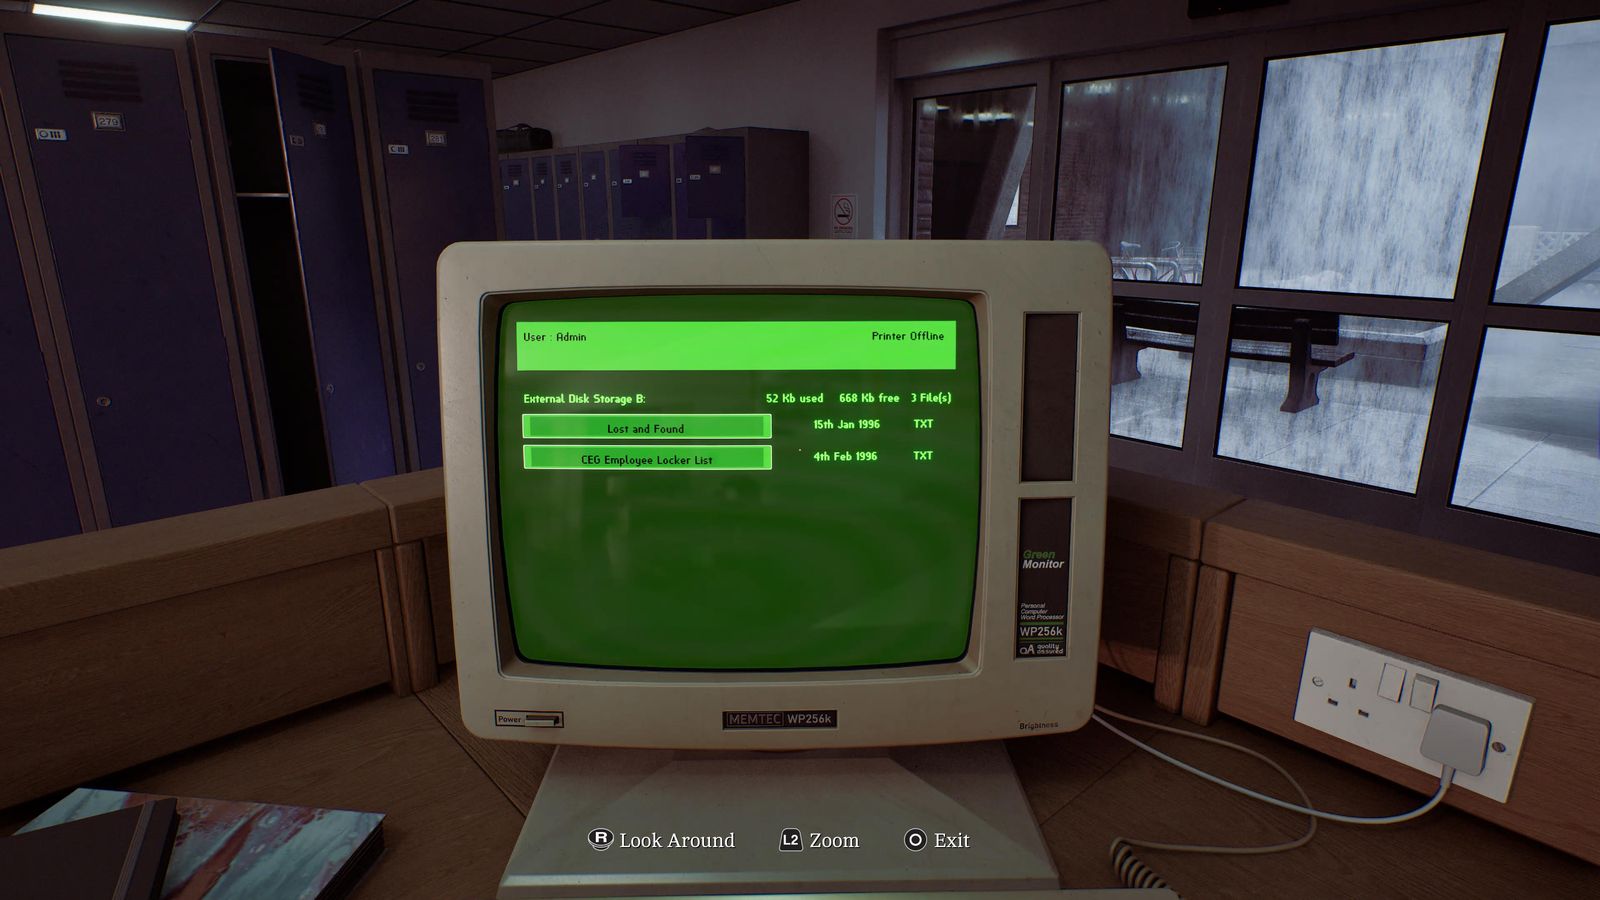
CRTV 11/19 + Clues 45-46/85 · CEG Lockers - Back room: Resource Container 4 on the desk and the Locker Manager's Note in the rear desk drawer. 📍 Container 4/7 + Document 47/85 🧩 CEG Lockers Codes & Barcodes solution
▶ Watch the solve
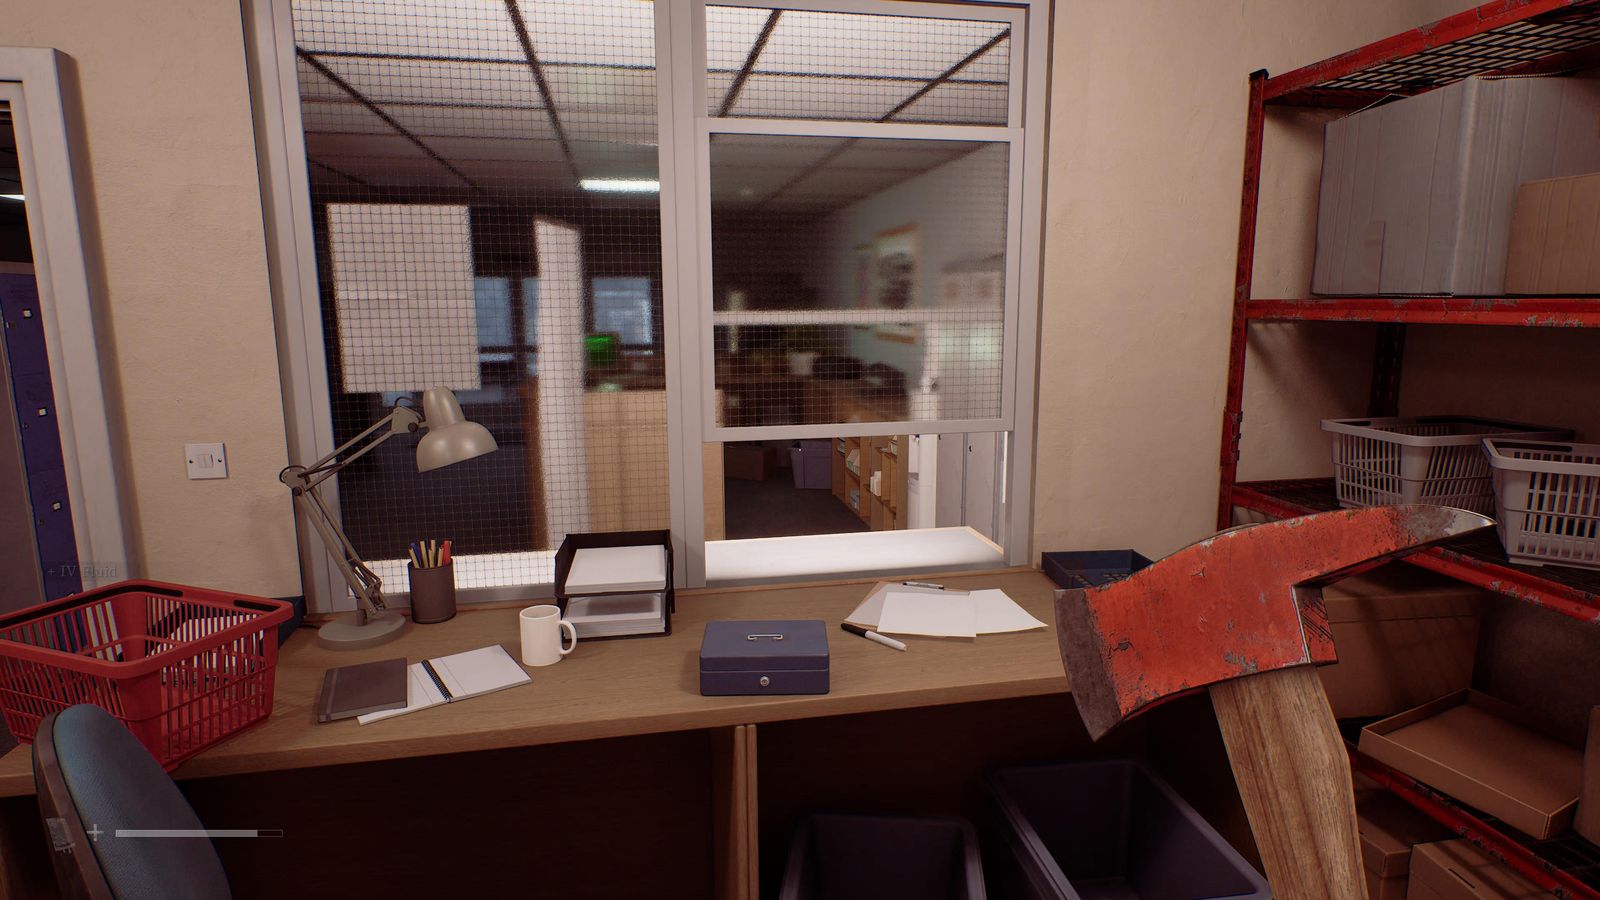
Container 4/7 + Document 47/85 · CEG Lockers 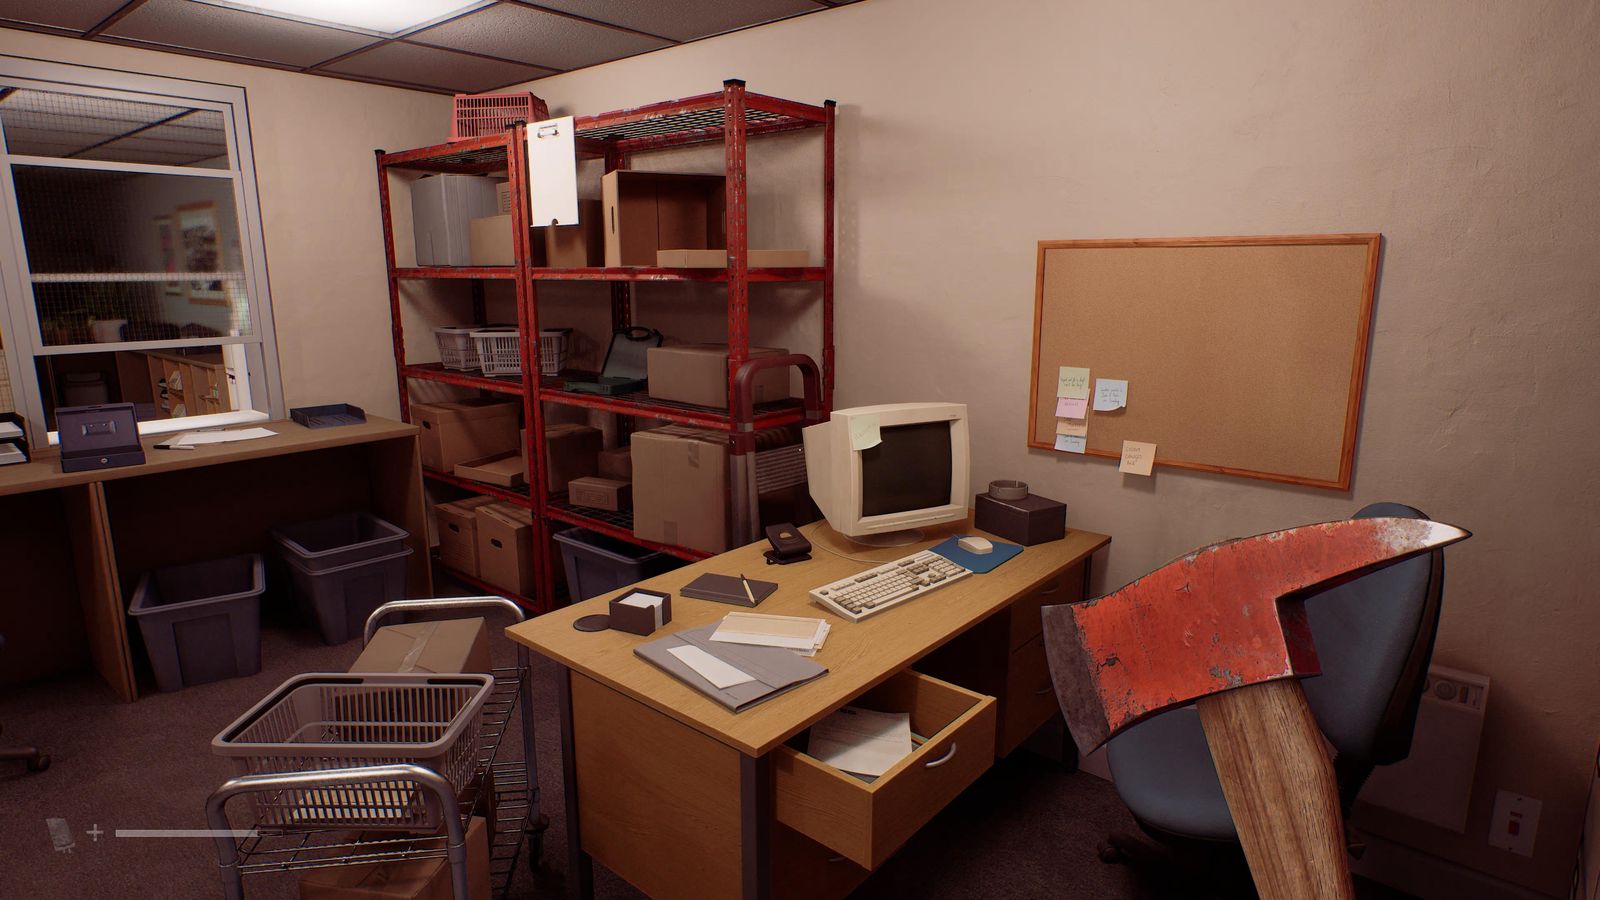
Container 4/7 + Document 47/85 · CEG Lockers
South Braes #5
- Tuner 29 in the living room. First bedroom on the left: Gaming Magazine on the bed. 📍 CRTV 12/19 + Clue 48/85
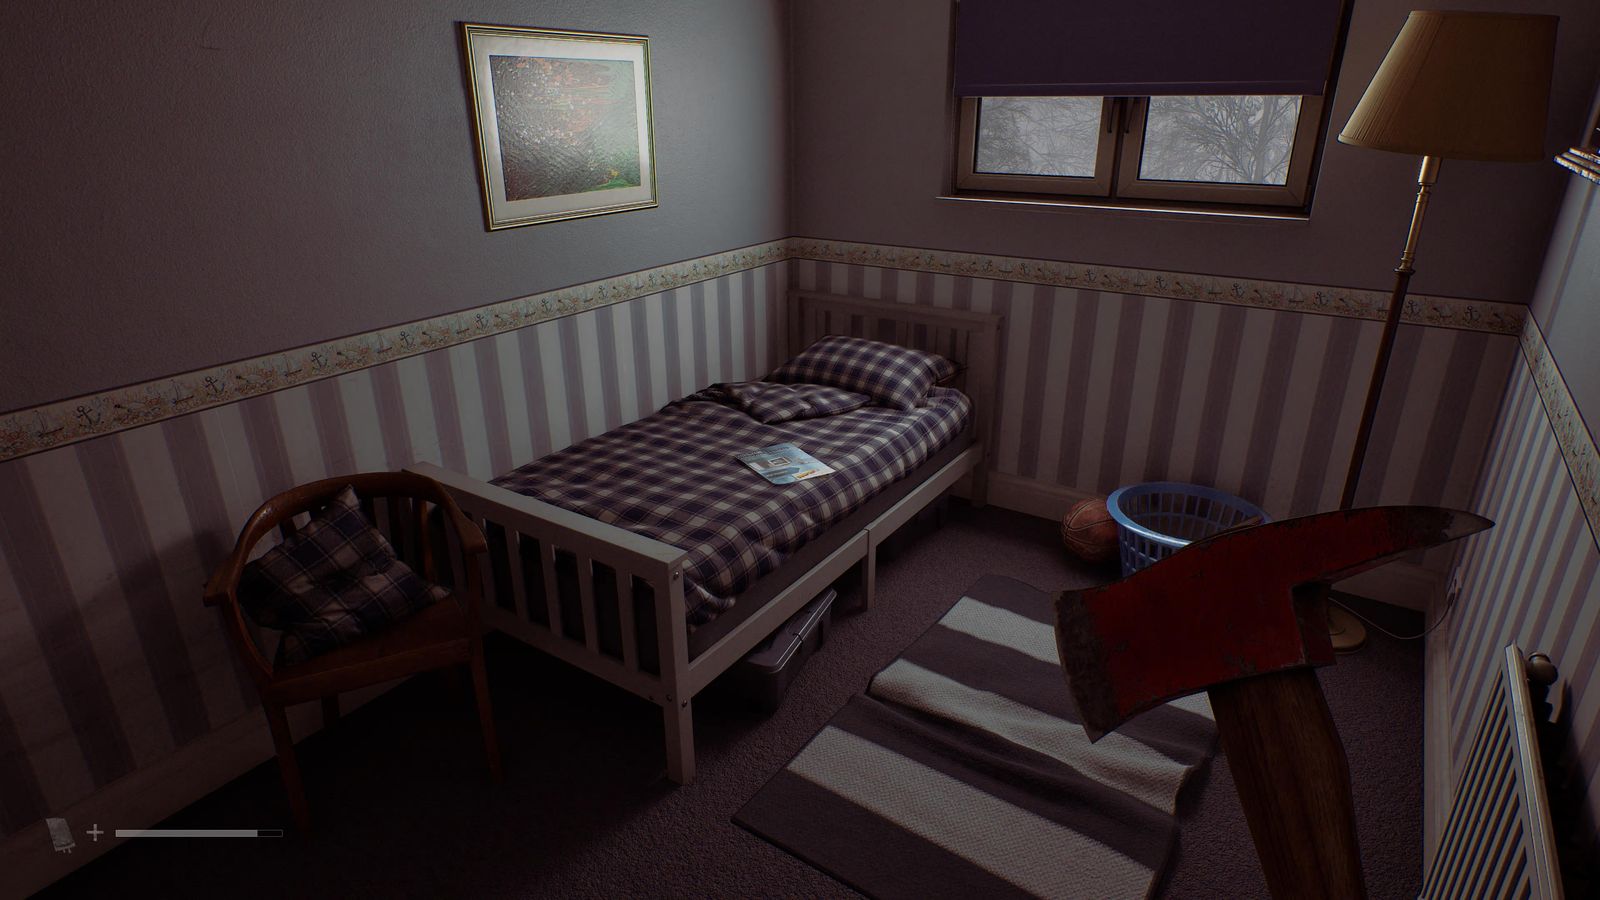
CRTV 12/19 + Clue 48/85 · South Braes #5 - Print the repaired manual: Reciprocating Compressor. 📍 Clue 49/85 🧩 Floppy Disk Repair solution
▶ Watch the solve
- Flare-gun headshot on the enemy hanging from the lamp post above the playground. 🏆 Pinpoint Inaccuracy
- Tune 59 after the Boltcutters. 📍 CRTV 13/19
North Braes #6 → Overpass → Upper Braes #5
- Lamenting Poem on the chair in the bedroom right of the bathroom. 📍 Clue 50/85
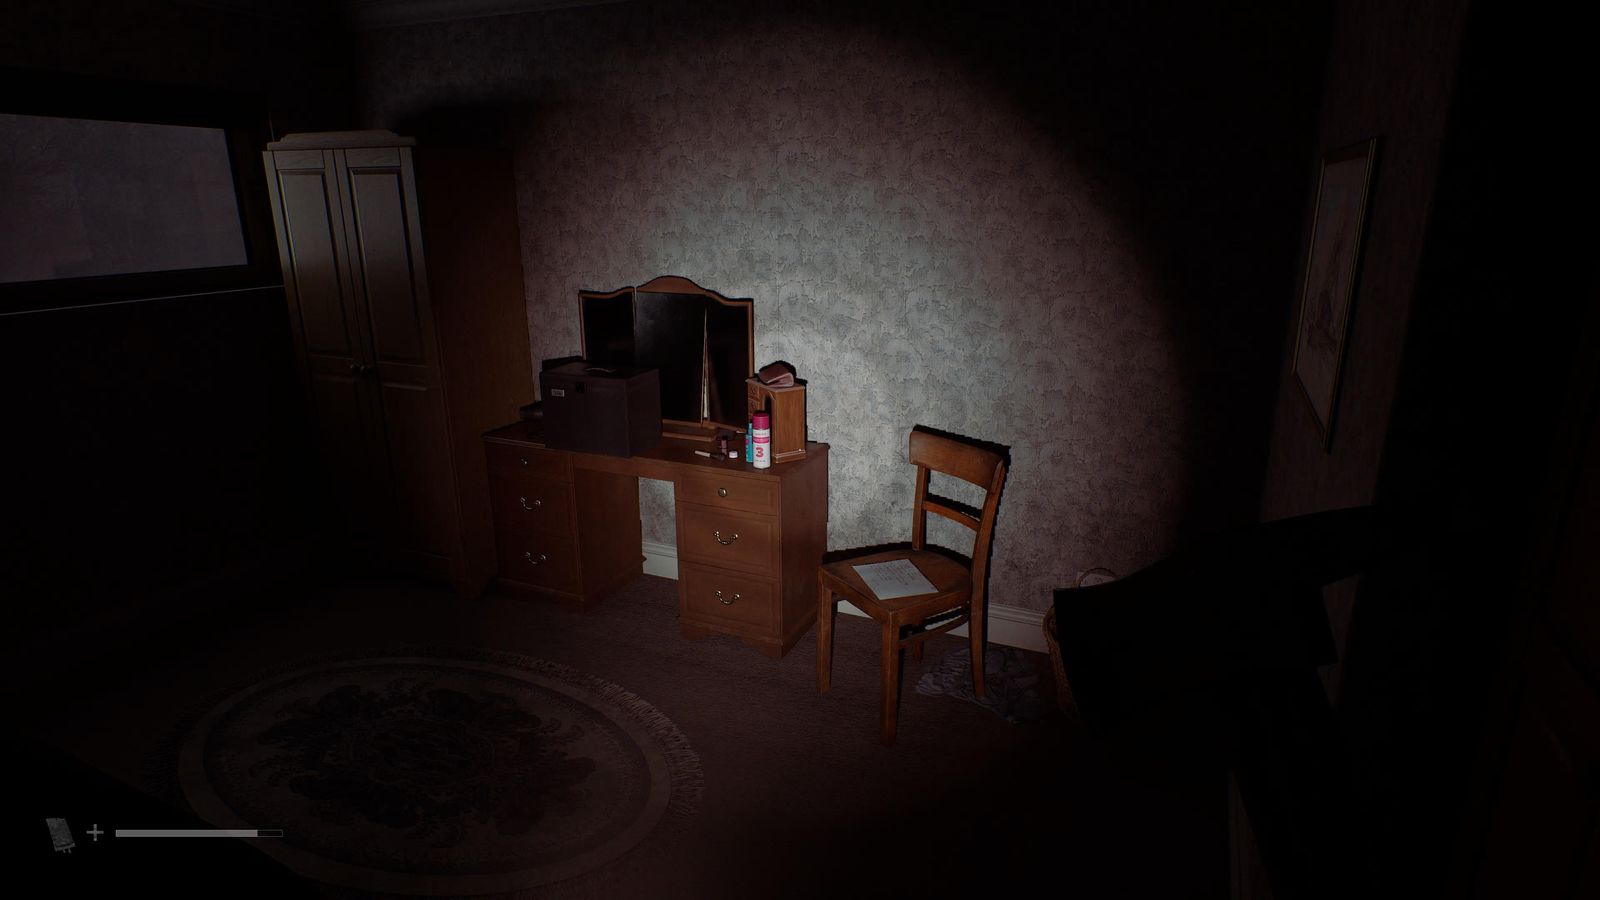
Clue 50/85 · North Braes #6 → Overpass → Upper Braes #5 - Overpass, left at the fork, south-east corner. 📍 Postcard 12/15
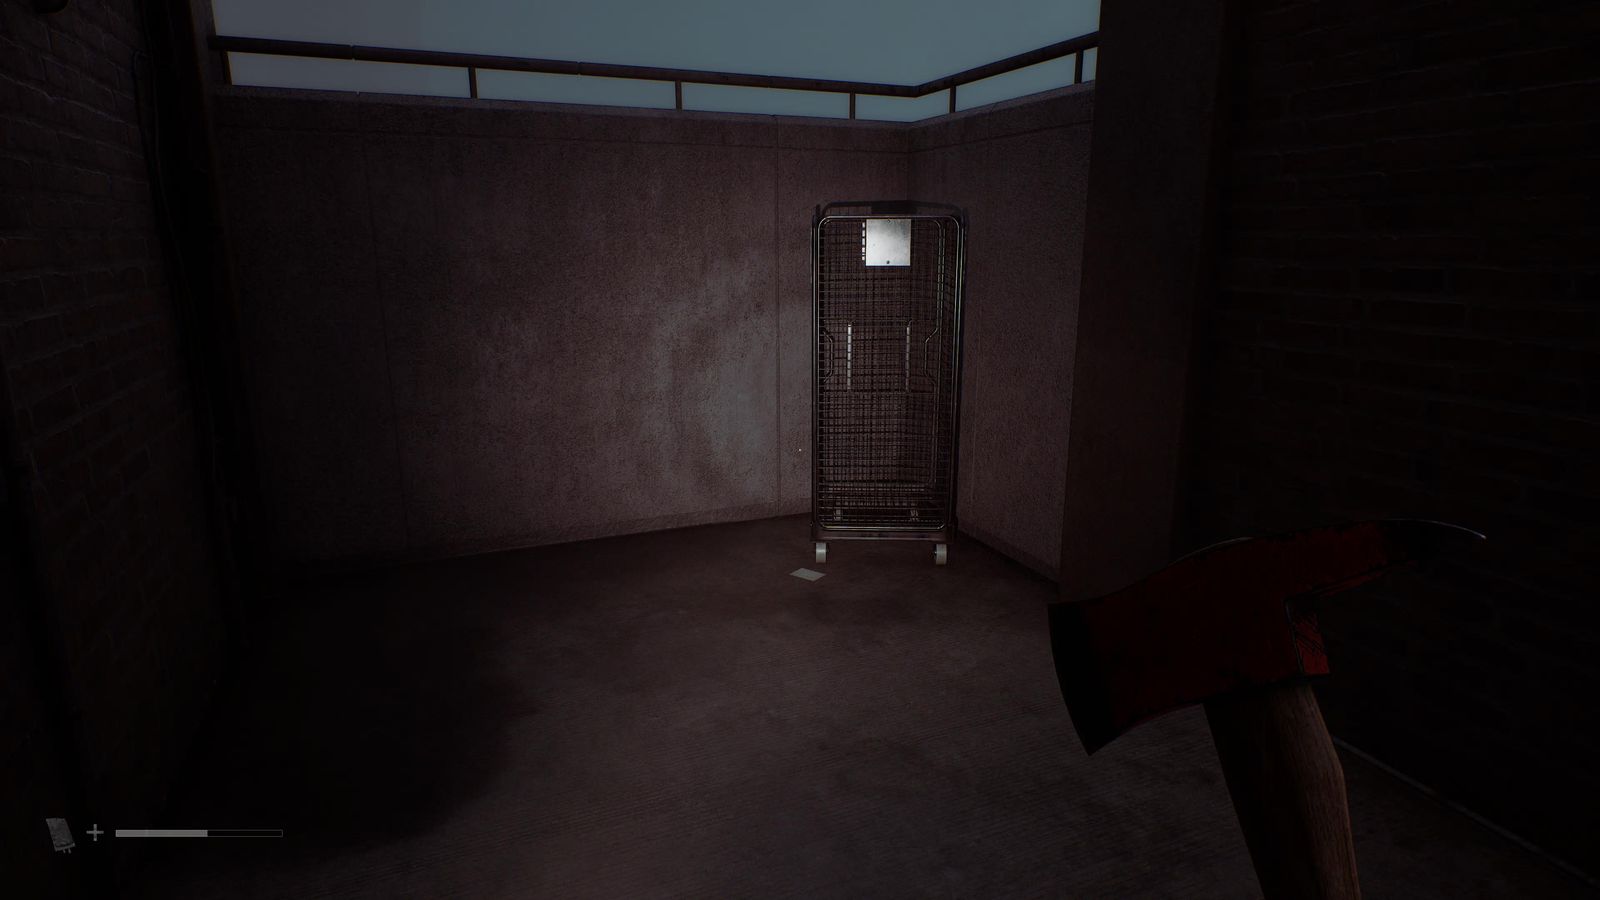
Postcard 12/15 · North Braes #6 → Overpass → Upper Braes #5 - Upper Braes #5: The Code Today, The Code Before, The Code After, a postcard in the back alley, and Current Count on the computer. 📍 Clues 51-54/85 + Postcard 13/15 🧩 Upper Braes Cassette Tapes solution
▶ Watch the solve
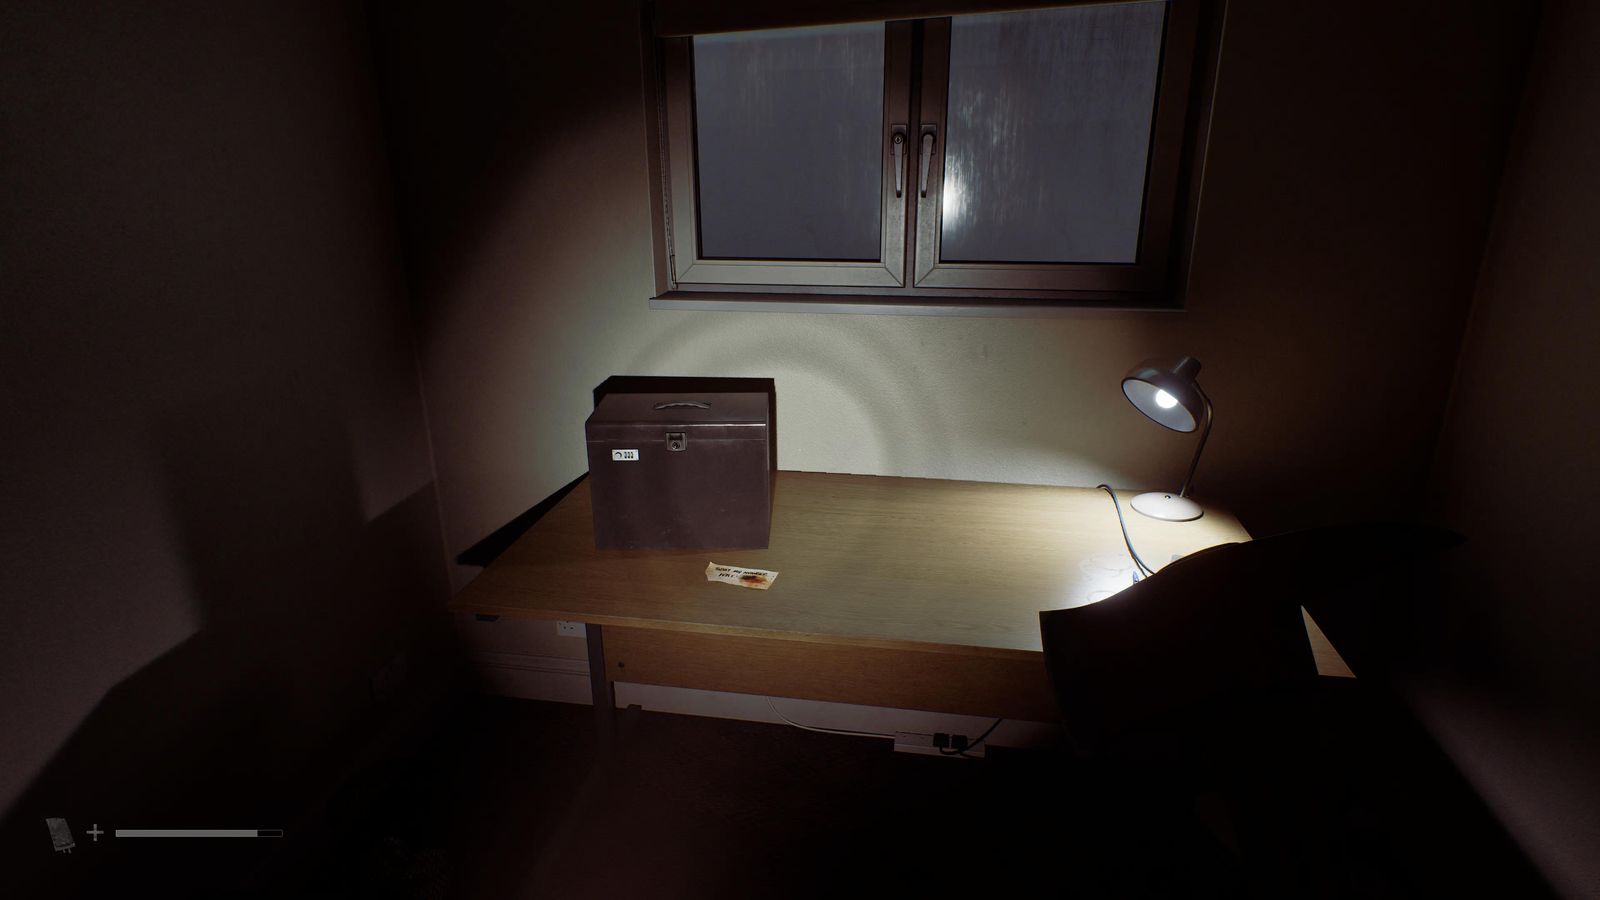
Clues 51-54/85 + Postcard 13/15 · North Braes #6 → Overpass → Upper Braes #5 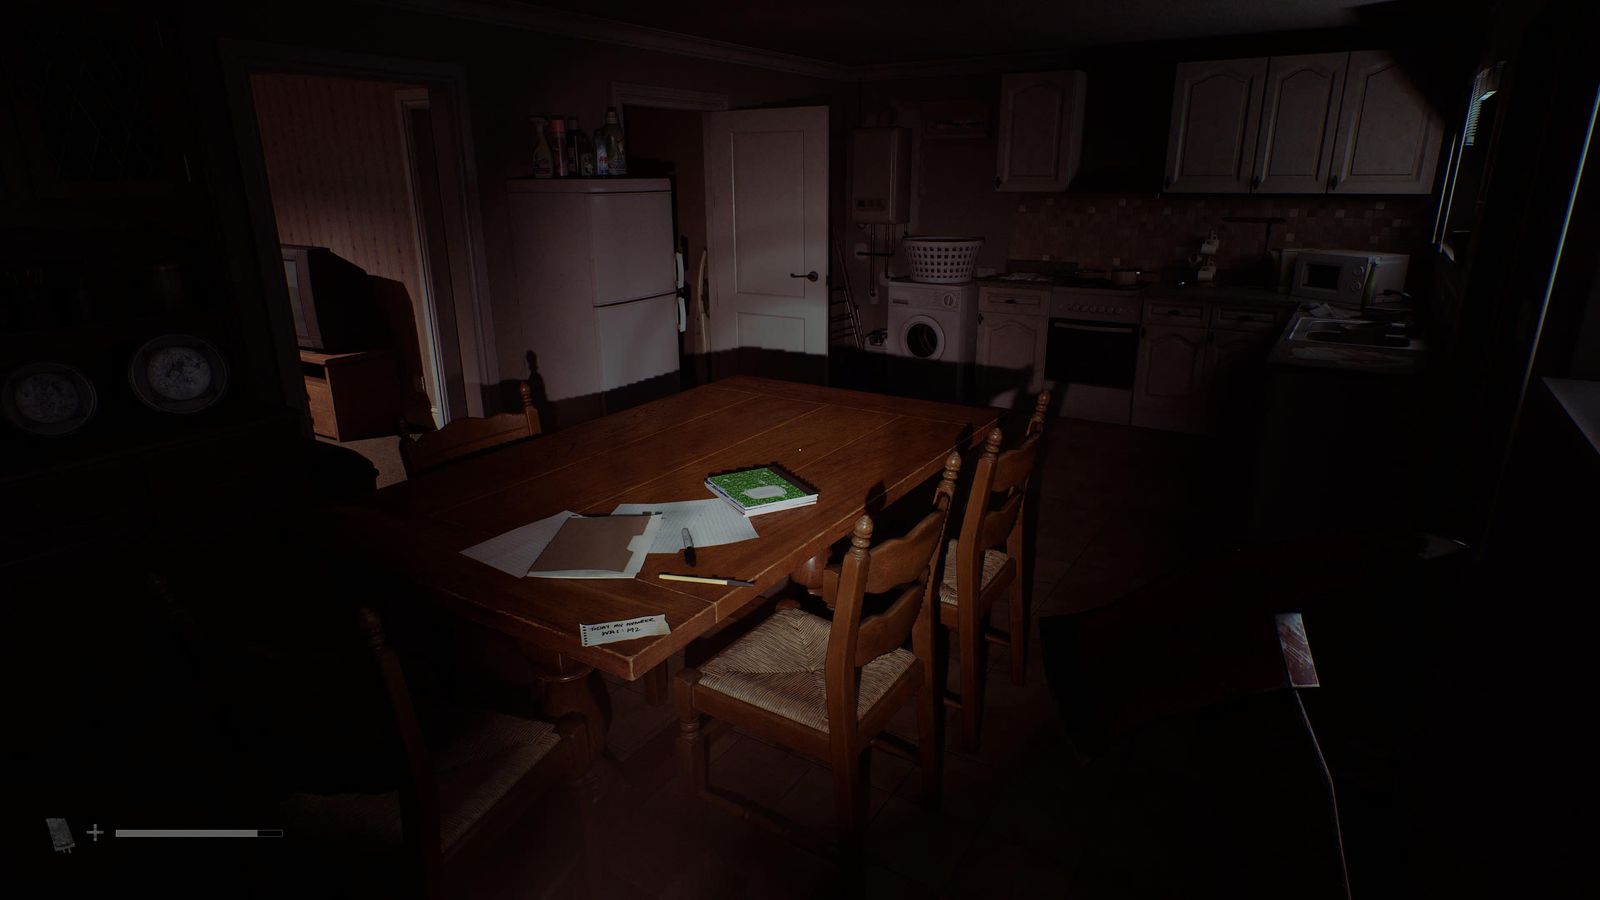
Clues 51-54/85 + Postcard 13/15 · North Braes #6 → Overpass → Upper Braes #5 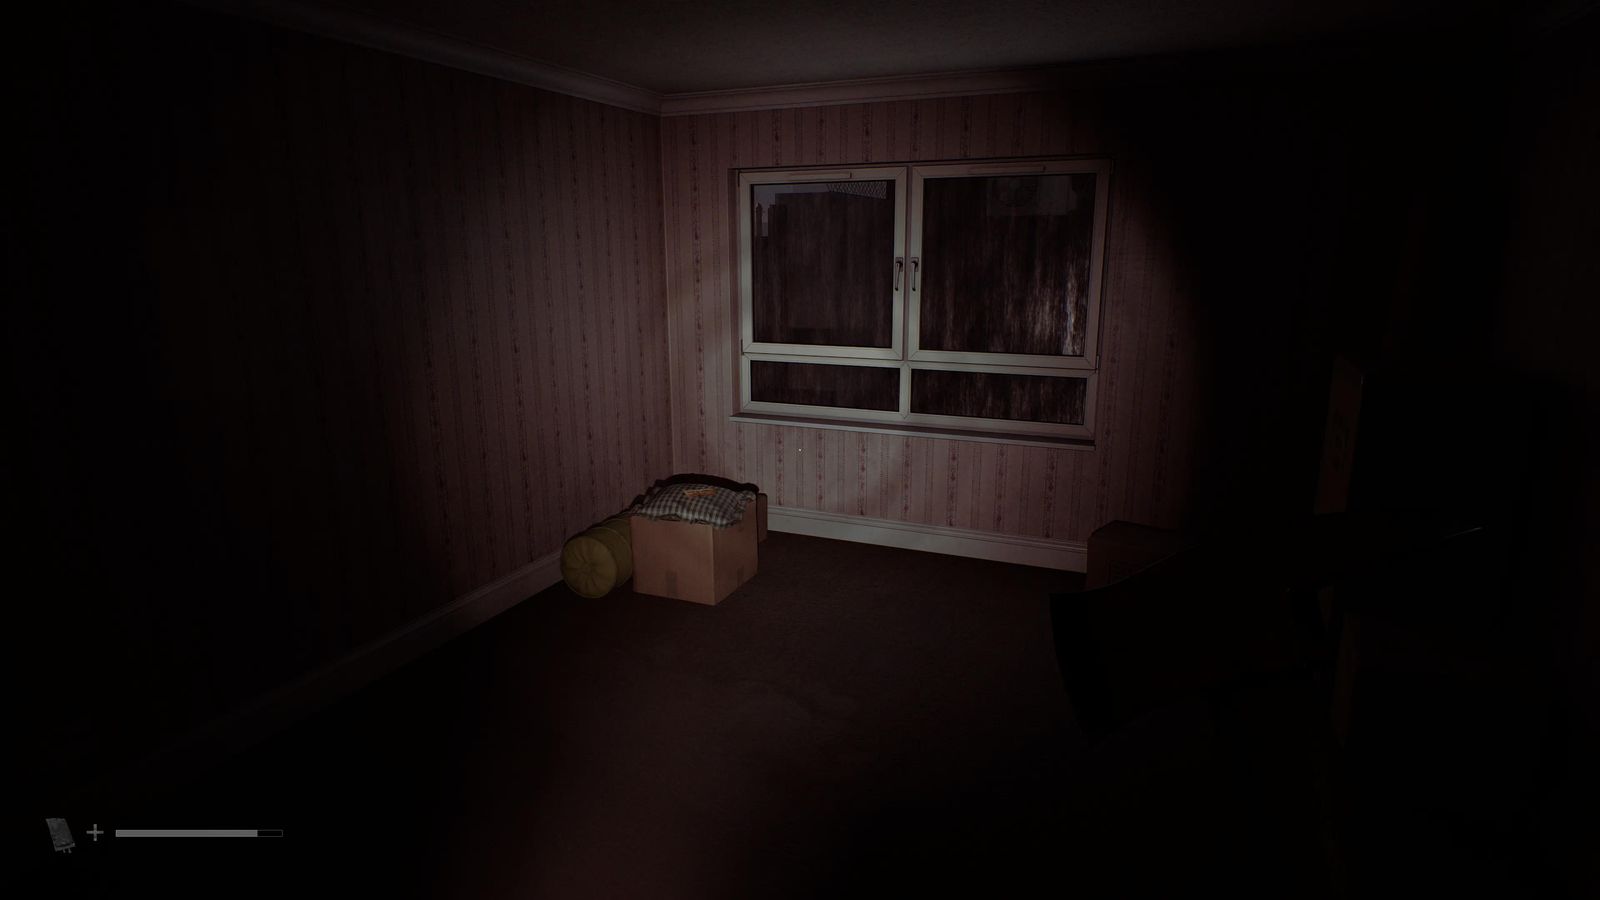
Clues 51-54/85 + Postcard 13/15 · North Braes #6 → Overpass → Upper Braes #5 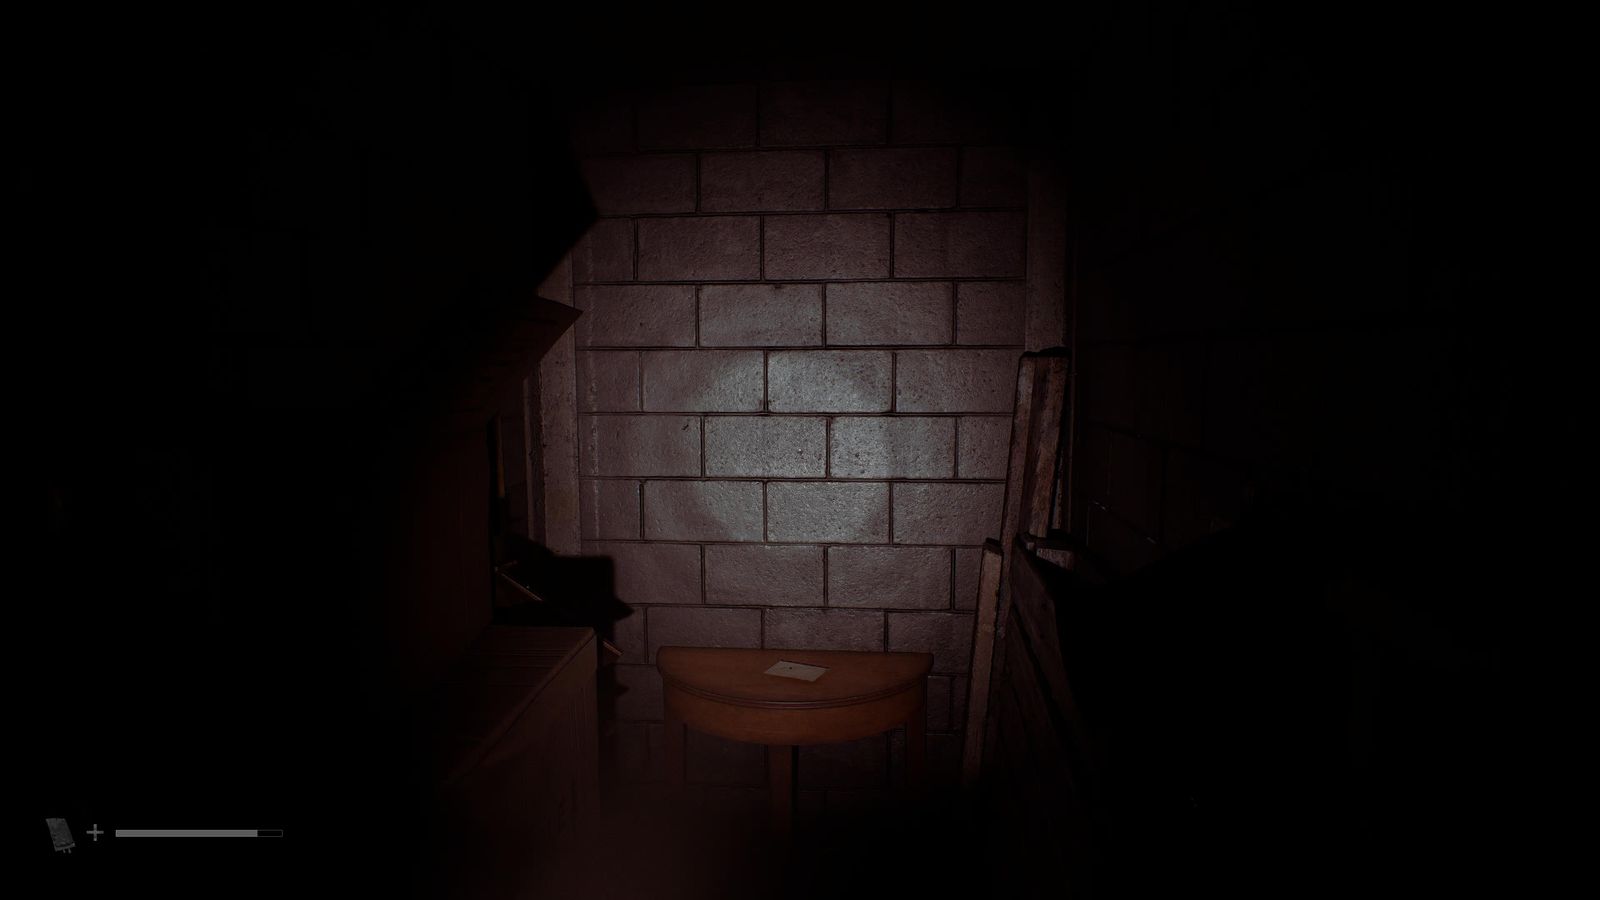
Clues 51-54/85 + Postcard 13/15 · North Braes #6 → Overpass → Upper Braes #5 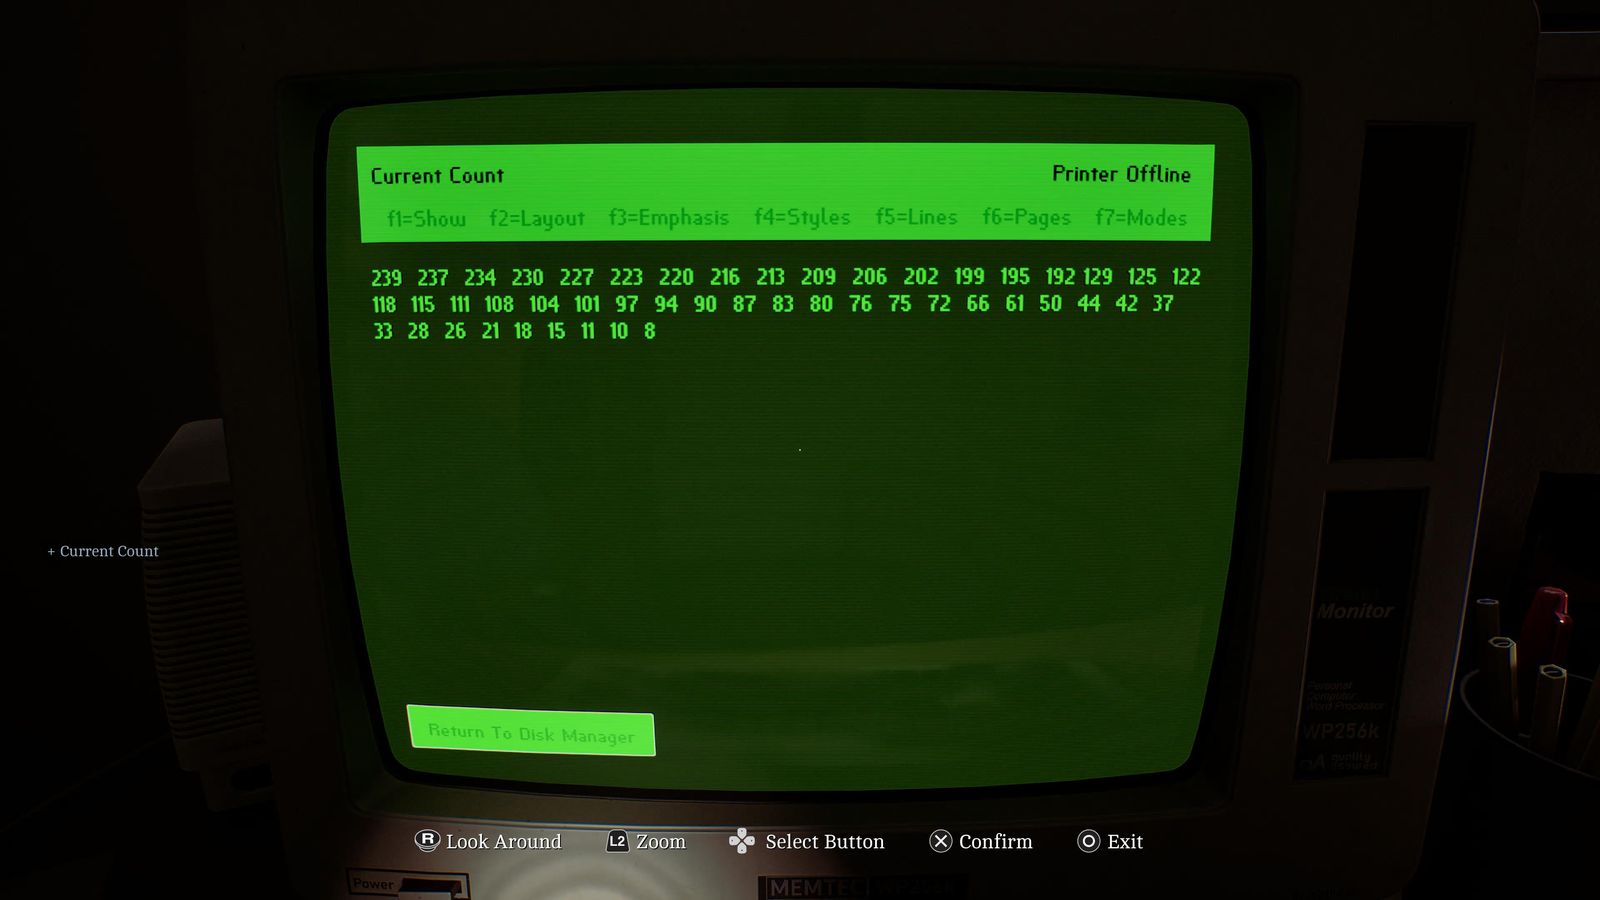
Clues 51-54/85 + Postcard 13/15 · North Braes #6 → Overpass → Upper Braes #5 - Outside, tune 29. 📍 CRTV 14/19
Laundrette → Apartment Block #1
- Laundrette (Boltcutter gate off Prosperity Way): Lock Box Key on the far-left counter; Silver Coin in the guide dog by the till. 📍 Guide Dog 2/3
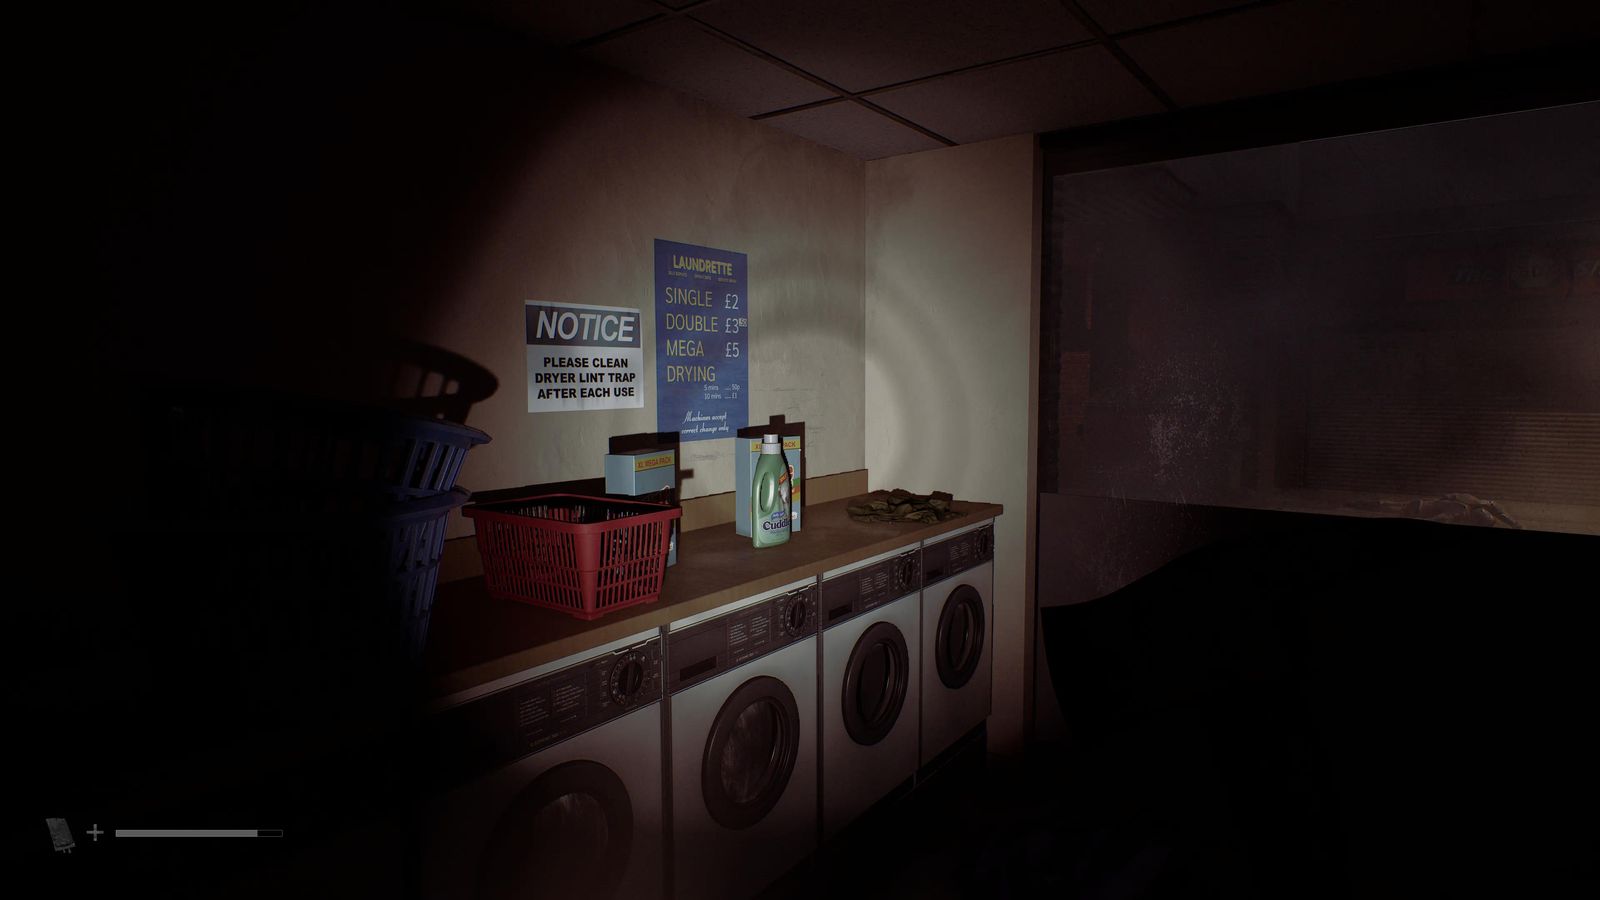
Guide Dog 2/3 · Laundrette → Apartment Block #1 - After building the device, tune 65 in CEG Lockers. 📍 CRTV 15/19 🧩 Constructed Mechanical Device solution
▶ Watch the solve
- Flat 1A: Atlas Square Apartment Note on the living-room drawers and Resource Container 5 in the kitchen. Flat 1B: postcard in the top drawer of the far-left room. 📍 Document 55/85 + Container 5/7 + Postcard 14/15 🏆 Key To The Castle
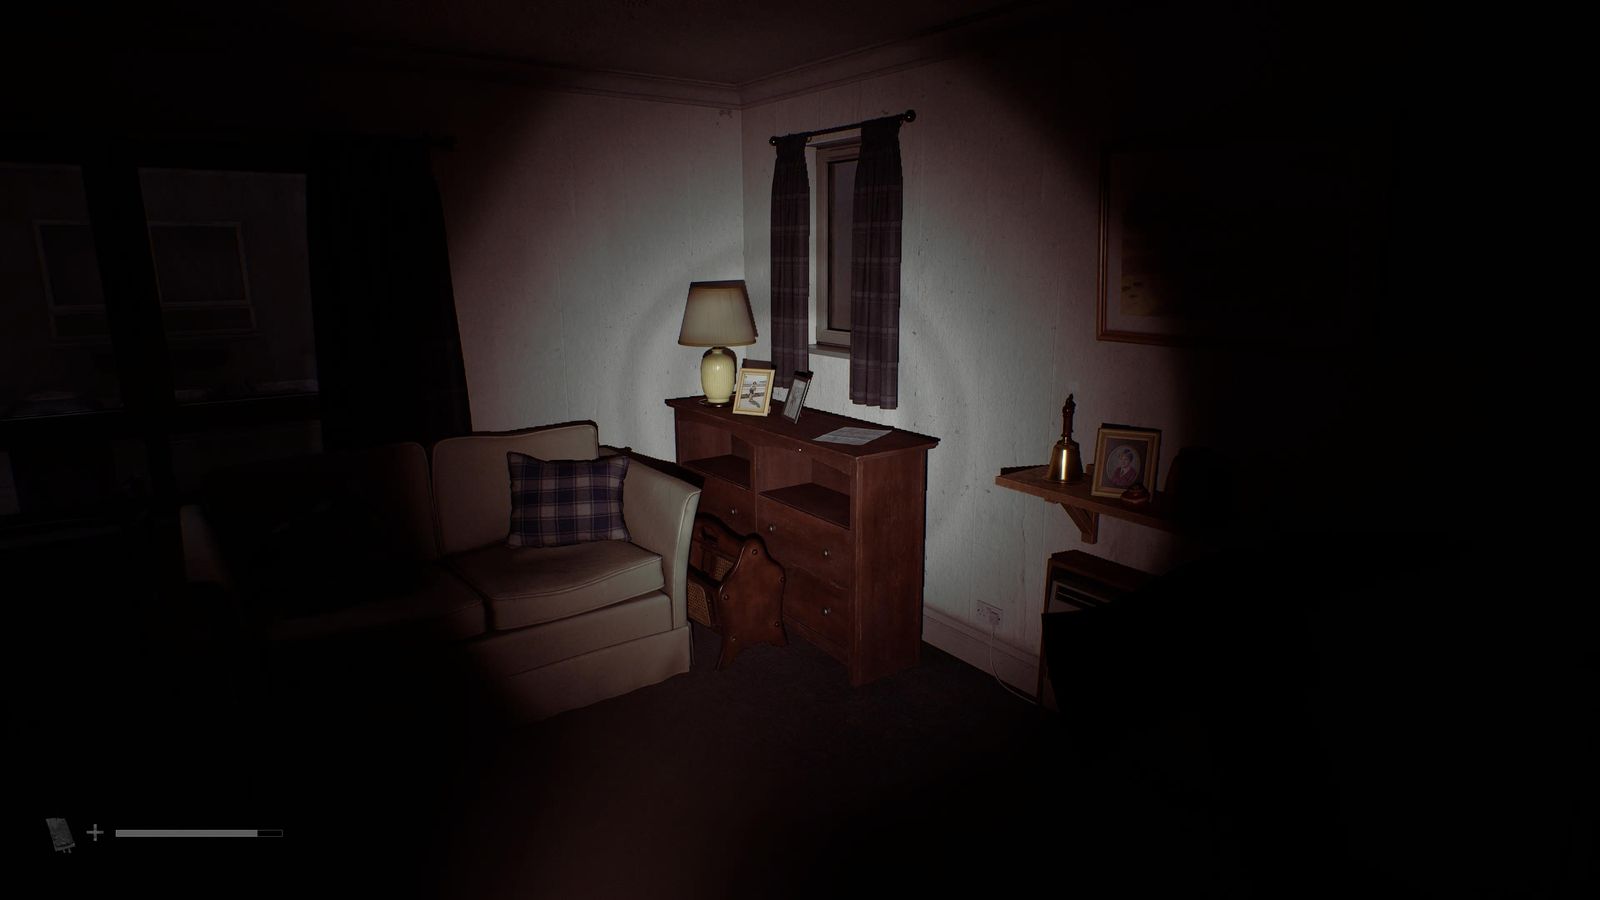
Document 55/85 + Container 5/7 + Postcard 14/15 · Laundrette → Apartment Block #1 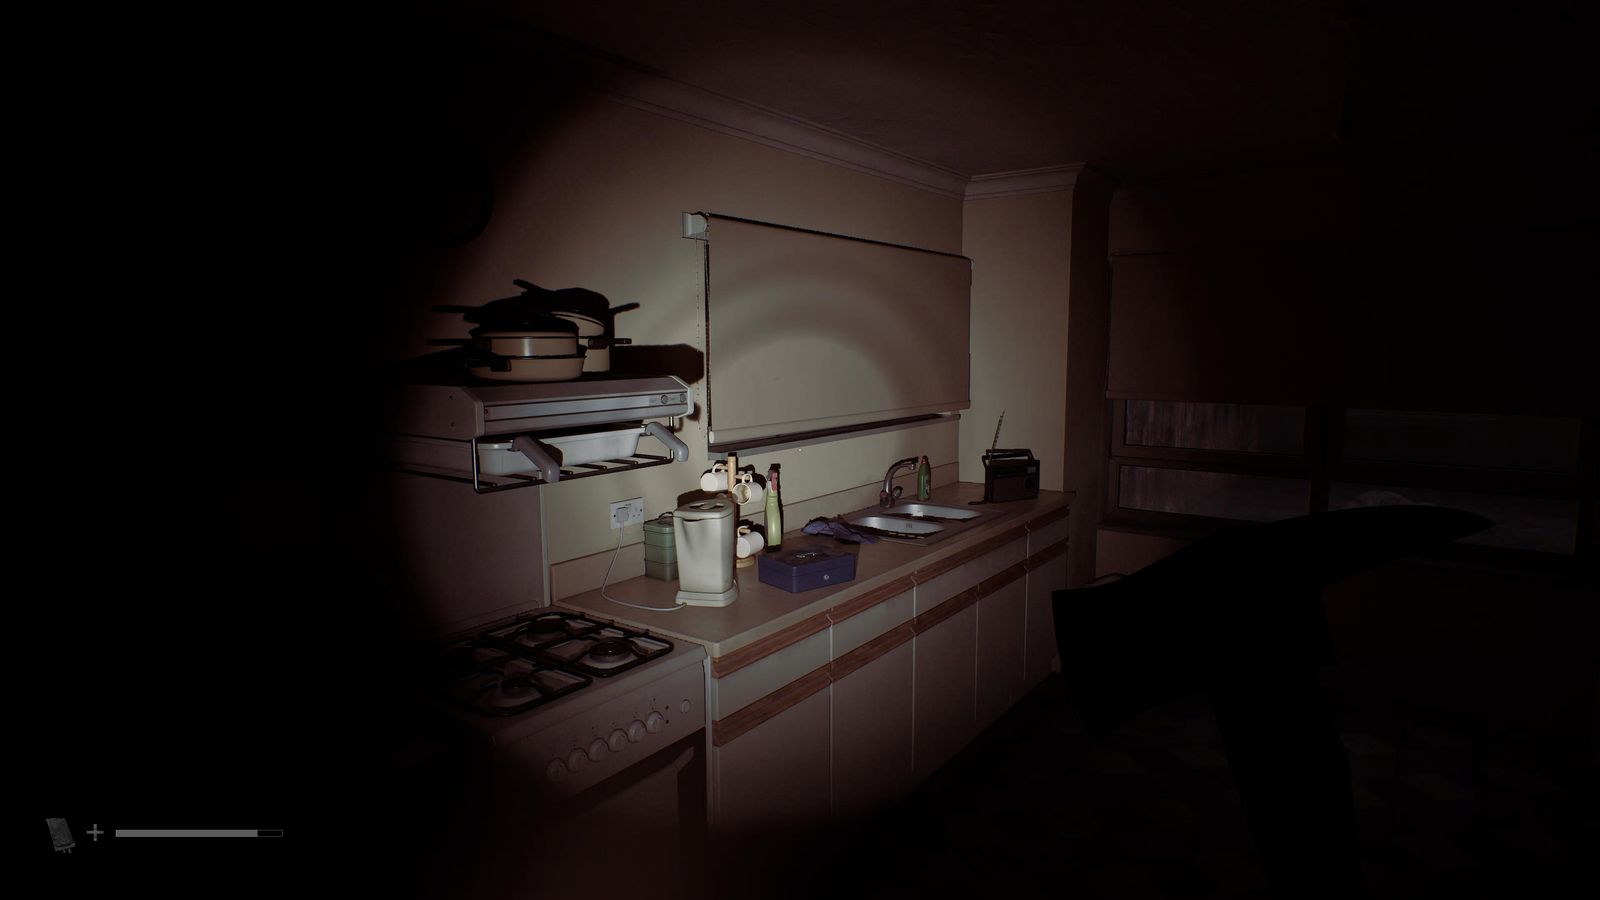
Document 55/85 + Container 5/7 + Postcard 14/15 · Laundrette → Apartment Block #1 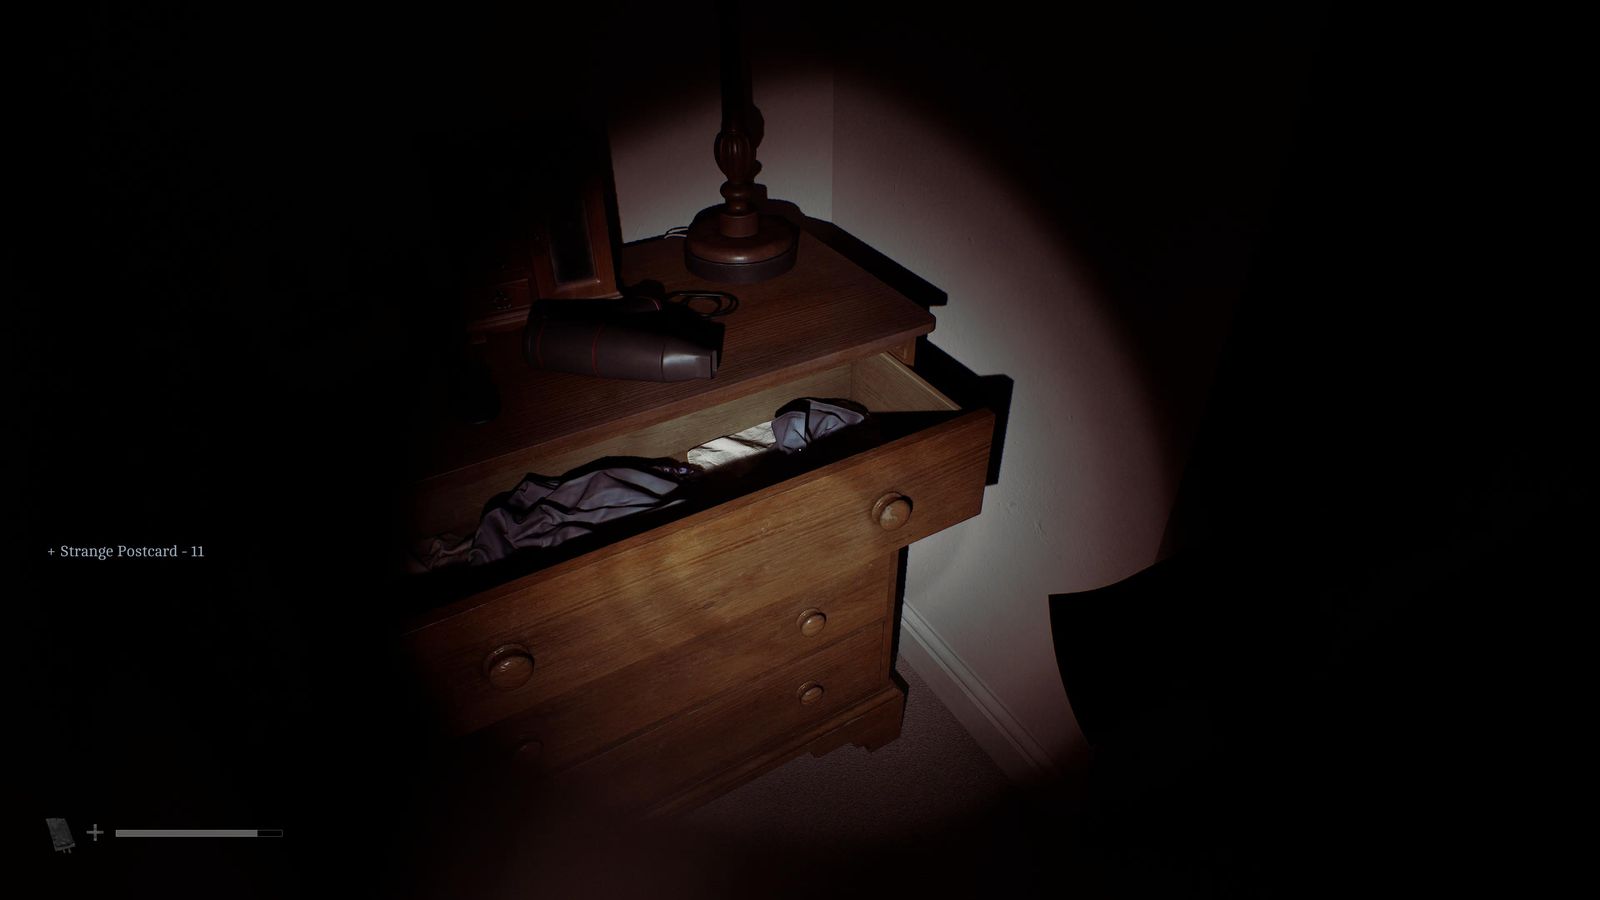
Document 55/85 + Container 5/7 + Postcard 14/15 · Laundrette → Apartment Block #1
CEG HQ Inside CEG HQ
Ground floor
- Inquiry Preparation Notice on the reception counter. 📍 Document 56/85
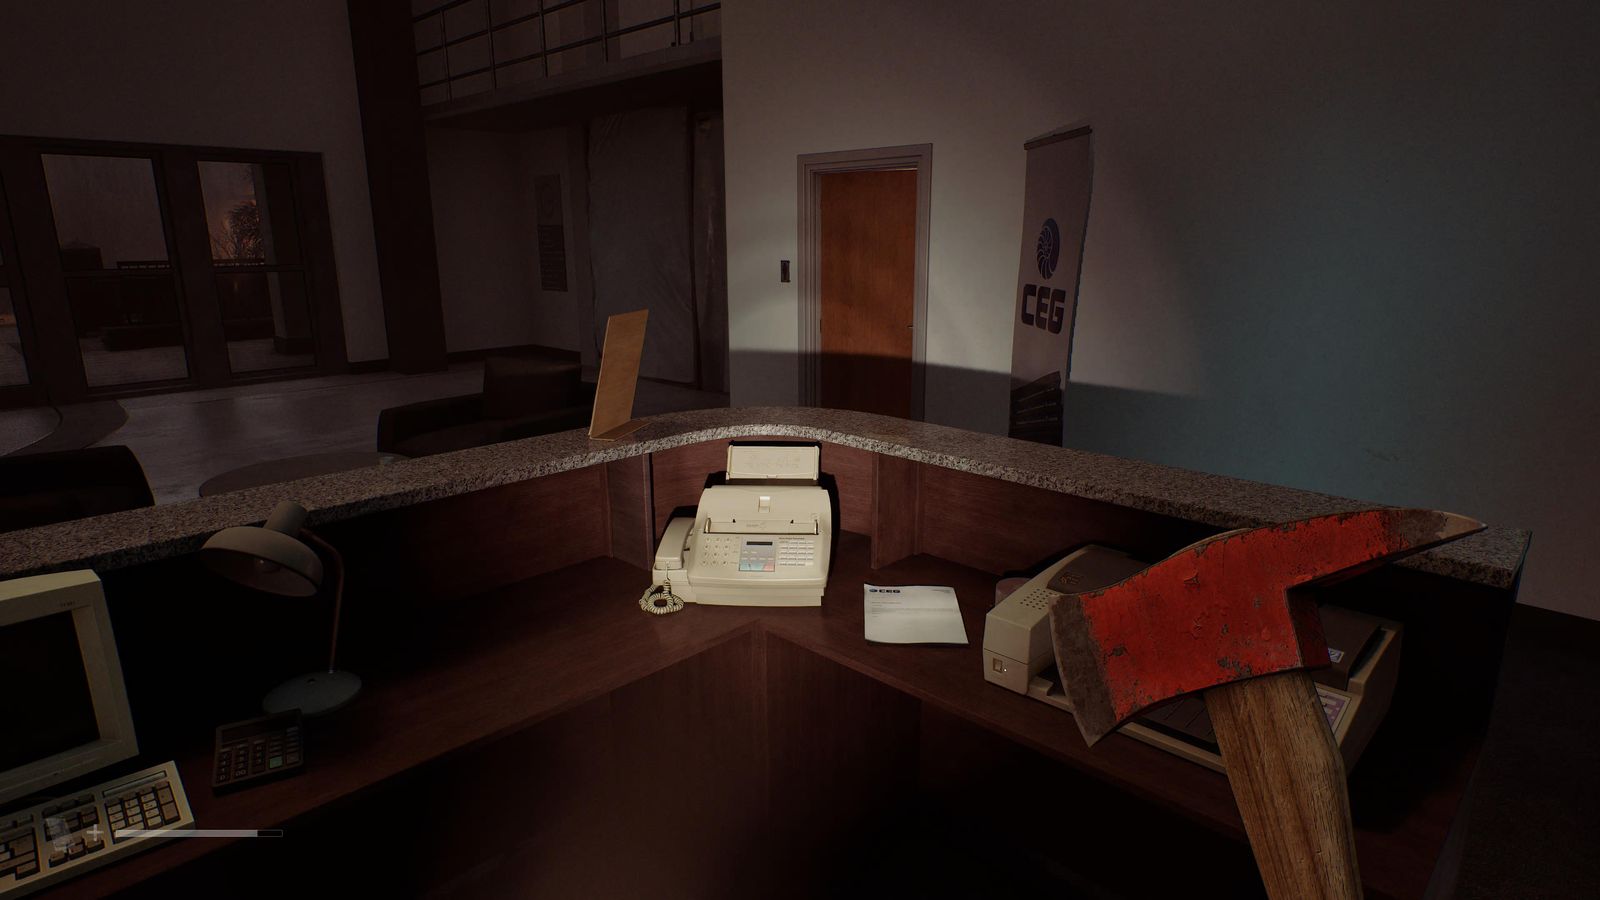
Document 56/85 · Ground floor - Security room computer: Out of Hours Access and Urgent Message. Tuner: 61. 📍 Docs 57-58/85 + CRTV 16/19 🧩 CEG HQ Access Card Printer solution
▶ Watch the solve
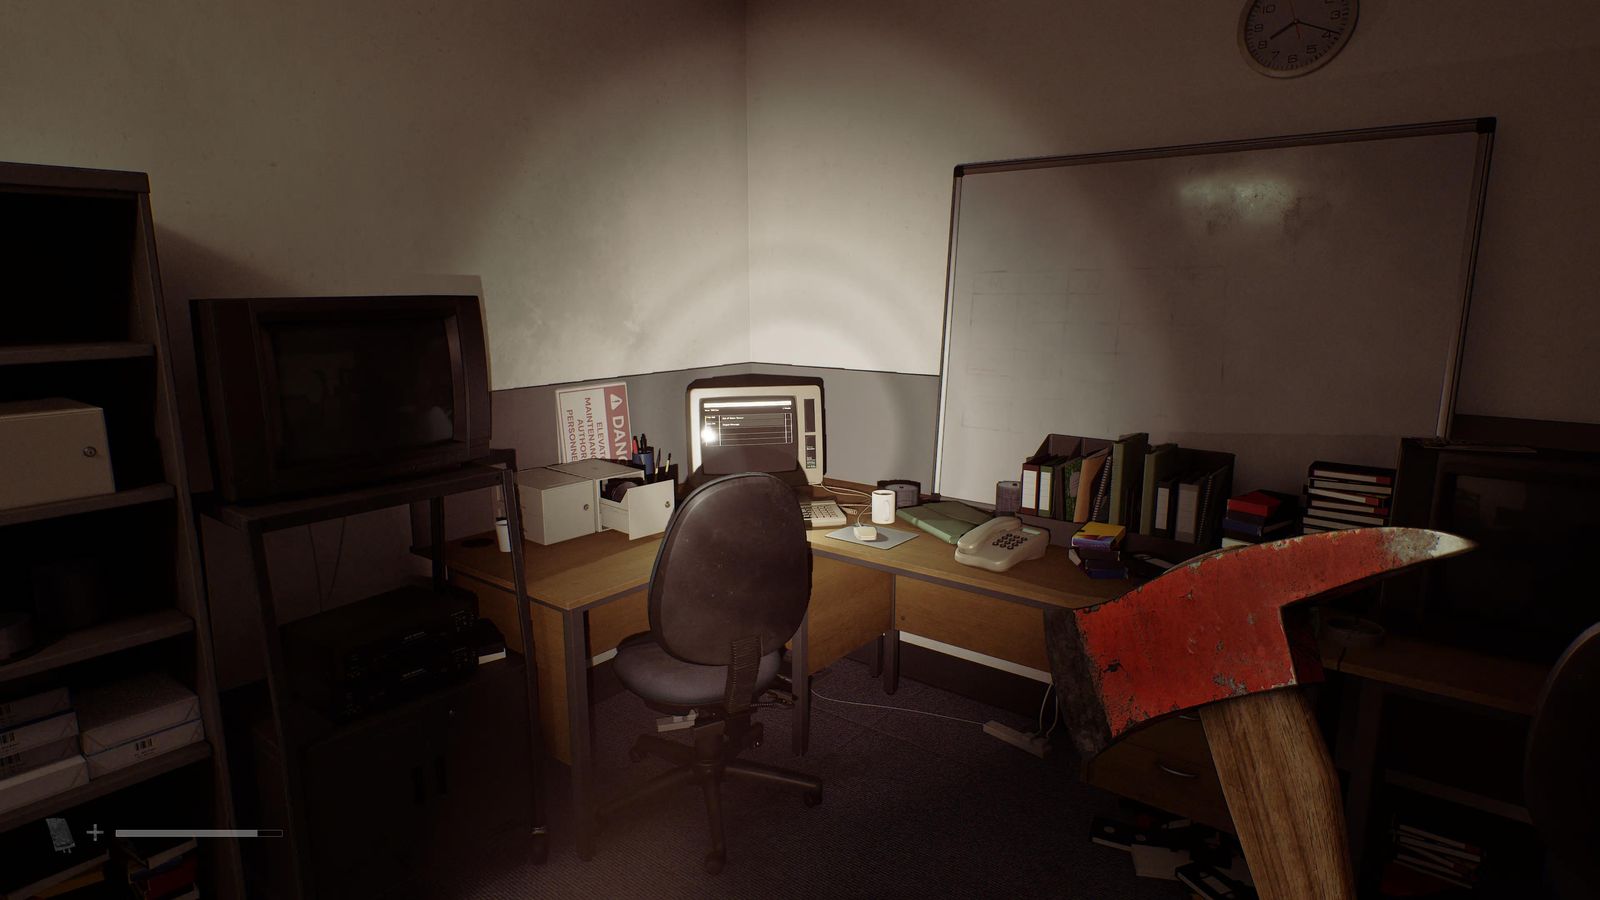
Docs 57-58/85 + CRTV 16/19 · Ground floor 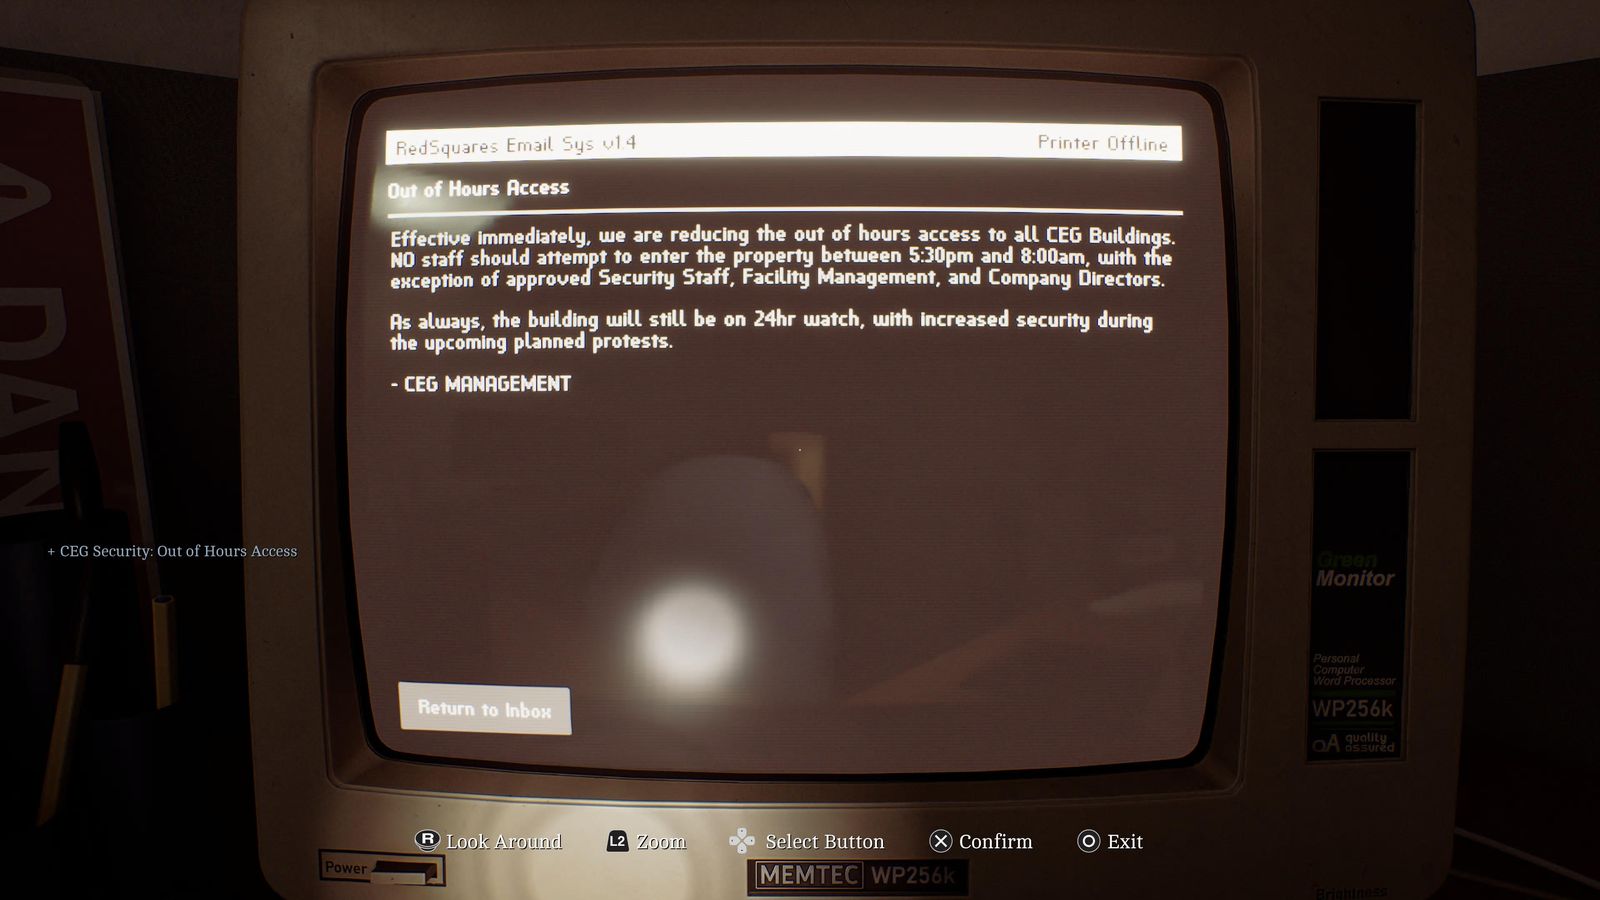
Docs 57-58/85 + CRTV 16/19 · Ground floor 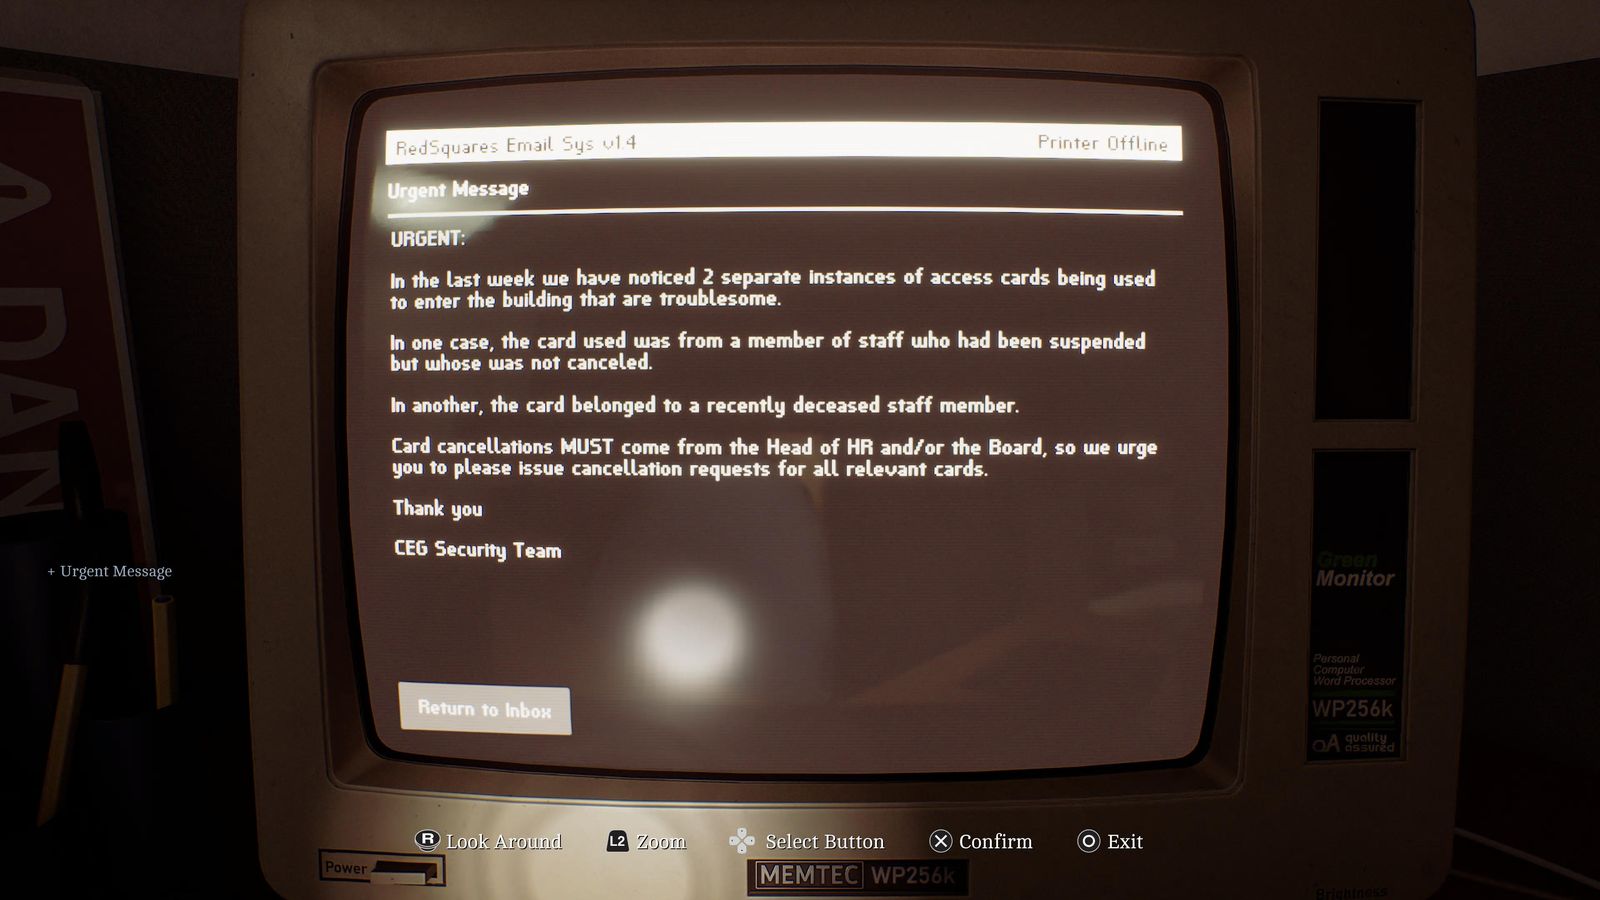
Docs 57-58/85 + CRTV 16/19 · Ground floor - Grid of Codes (R) in the bin, Grid of Codes (L) in the bin of the maintenance room behind the north-west lifts; combine them. 📍 Clues 59-61/85
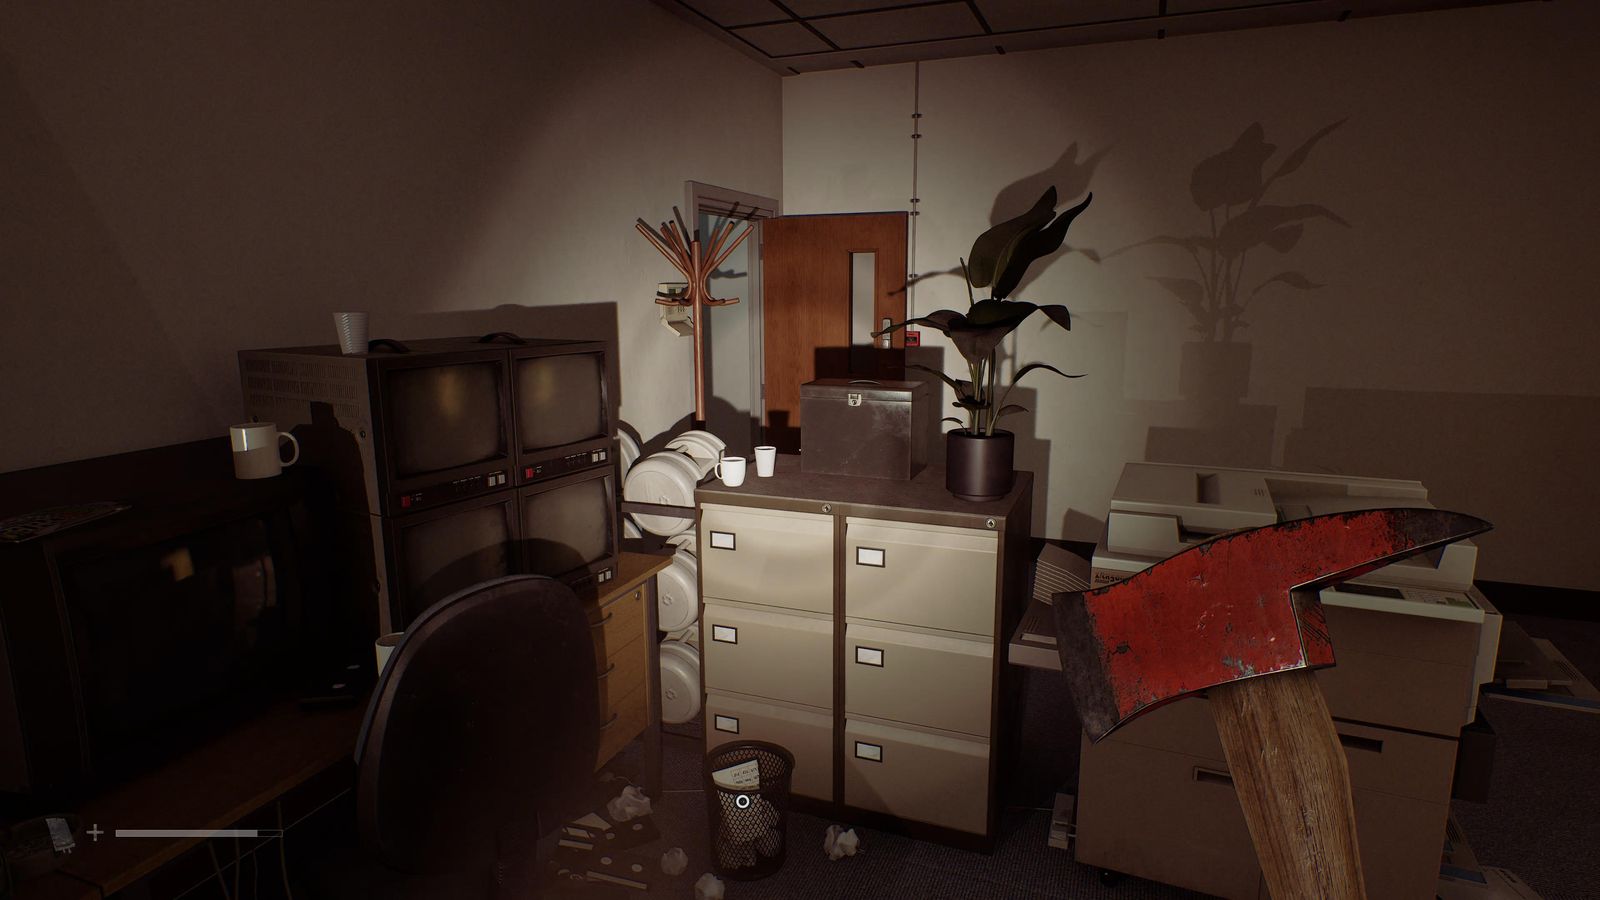
Clues 59-61/85 · Ground floor 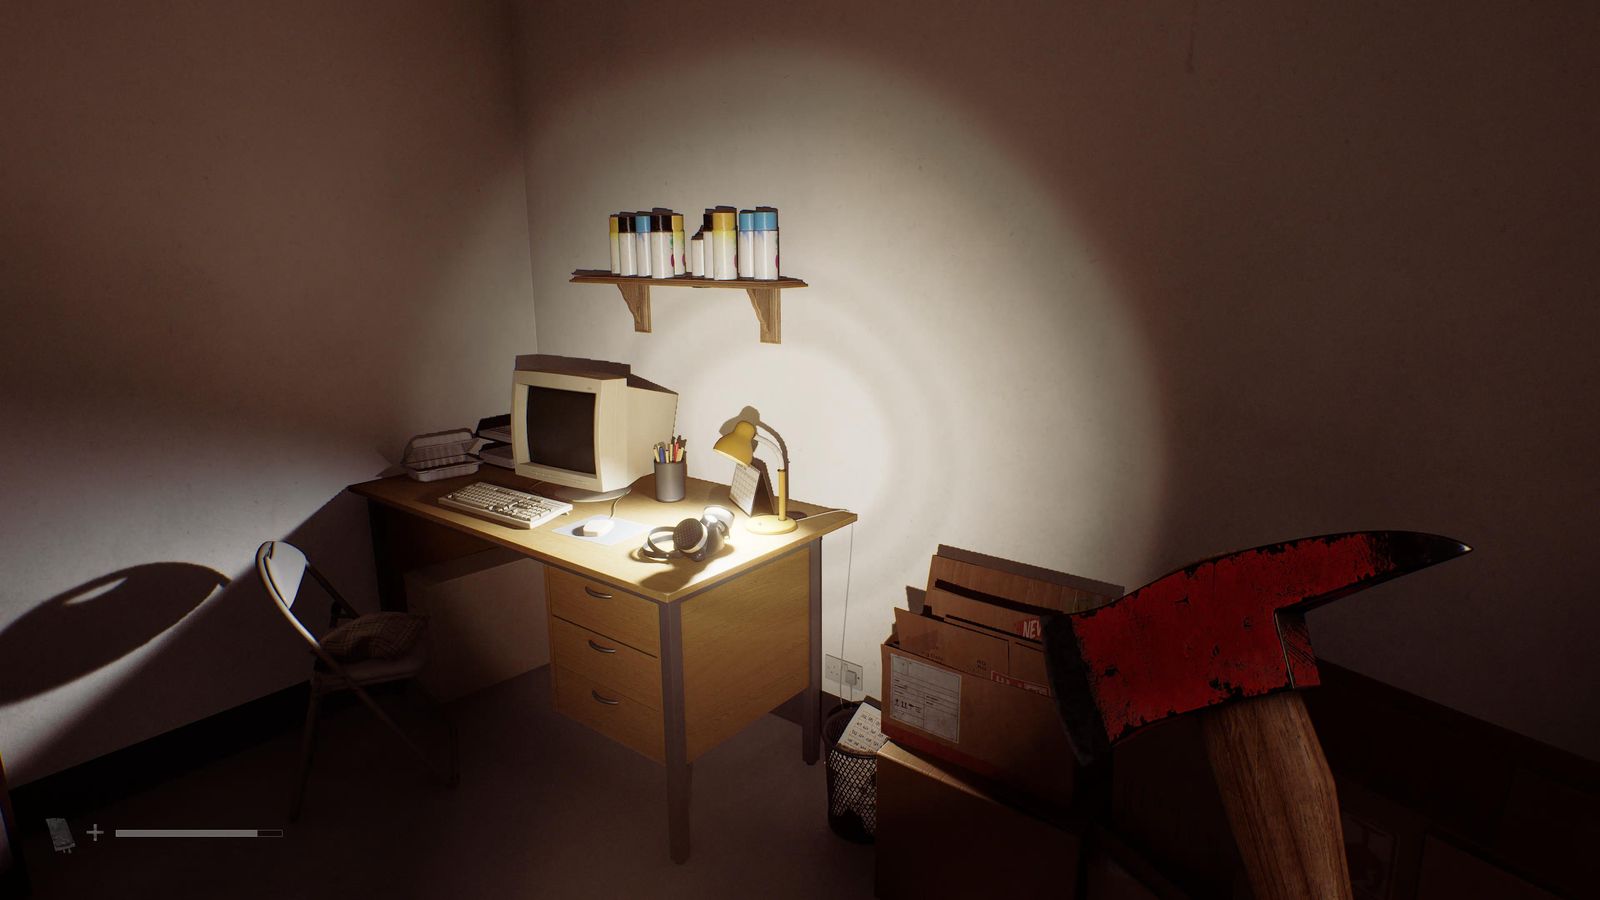
Clues 59-61/85 · Ground floor 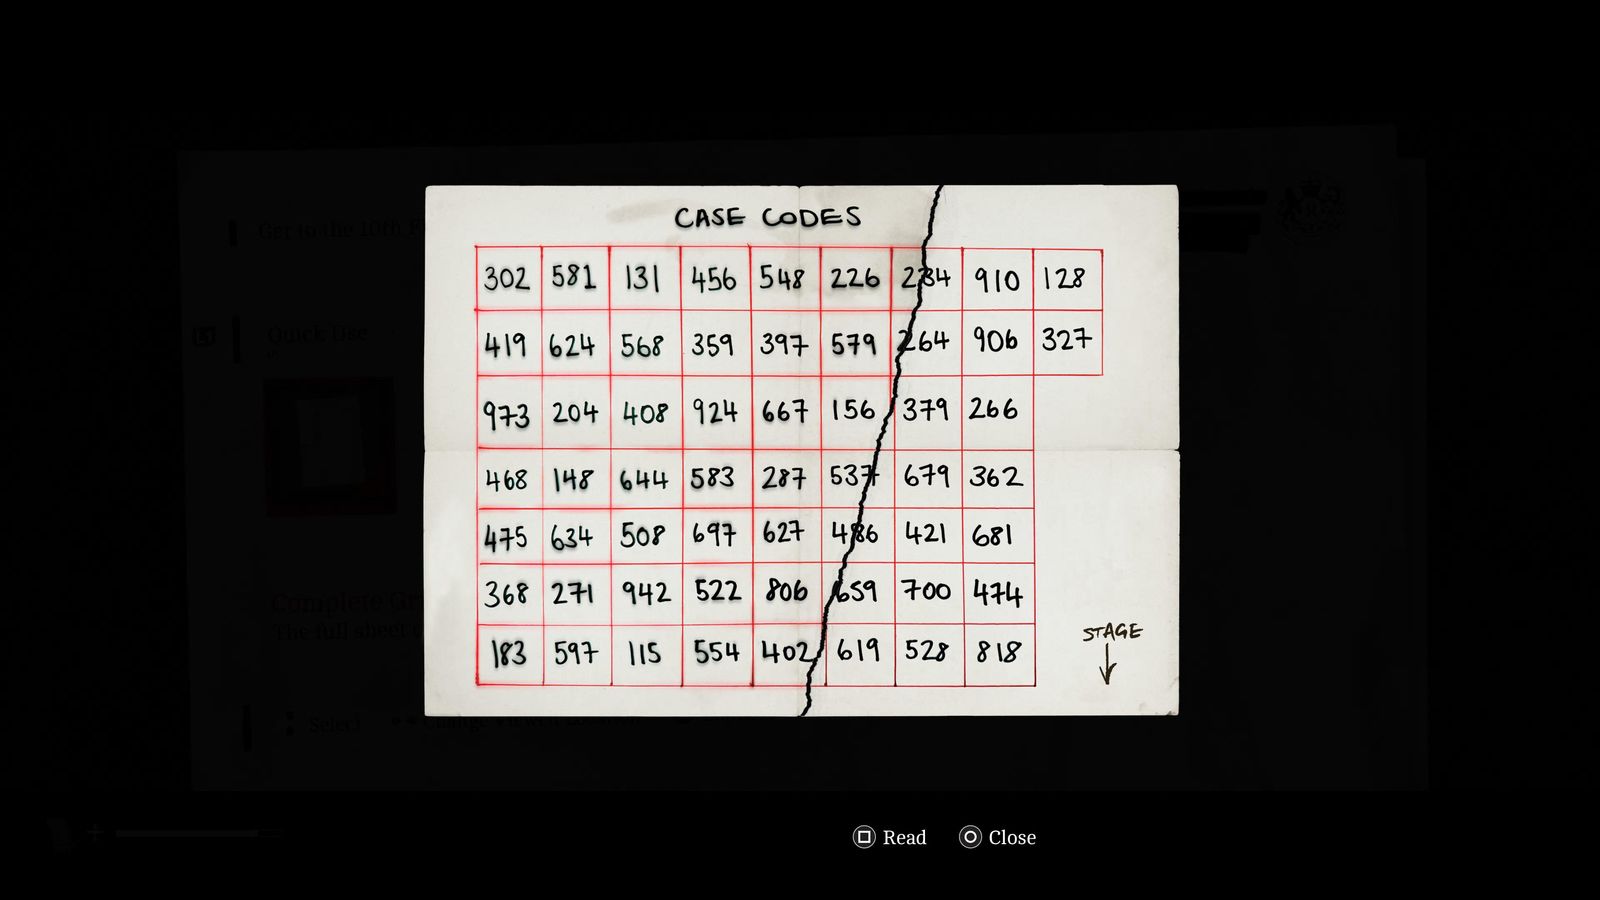
Clues 59-61/85 · Ground floor - Box IDs and Names on the south-west podium; box 36 (row 3, seat 6) opens with 486: Employee File Cover Note. 📍 Clues 62-63/85
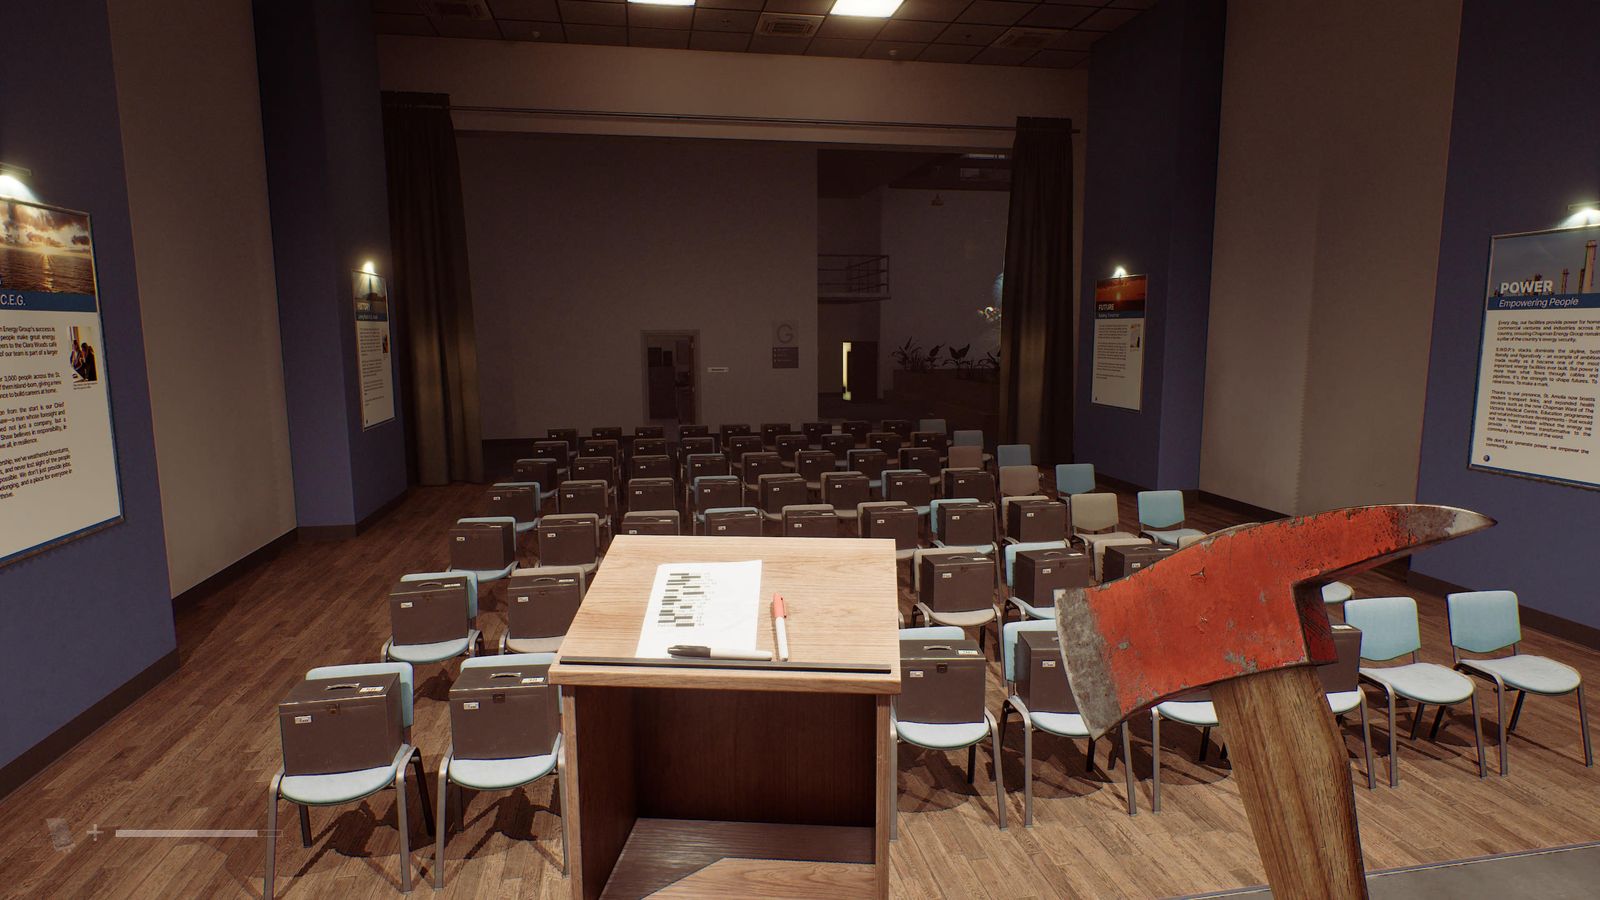
Clues 62-63/85 · Ground floor 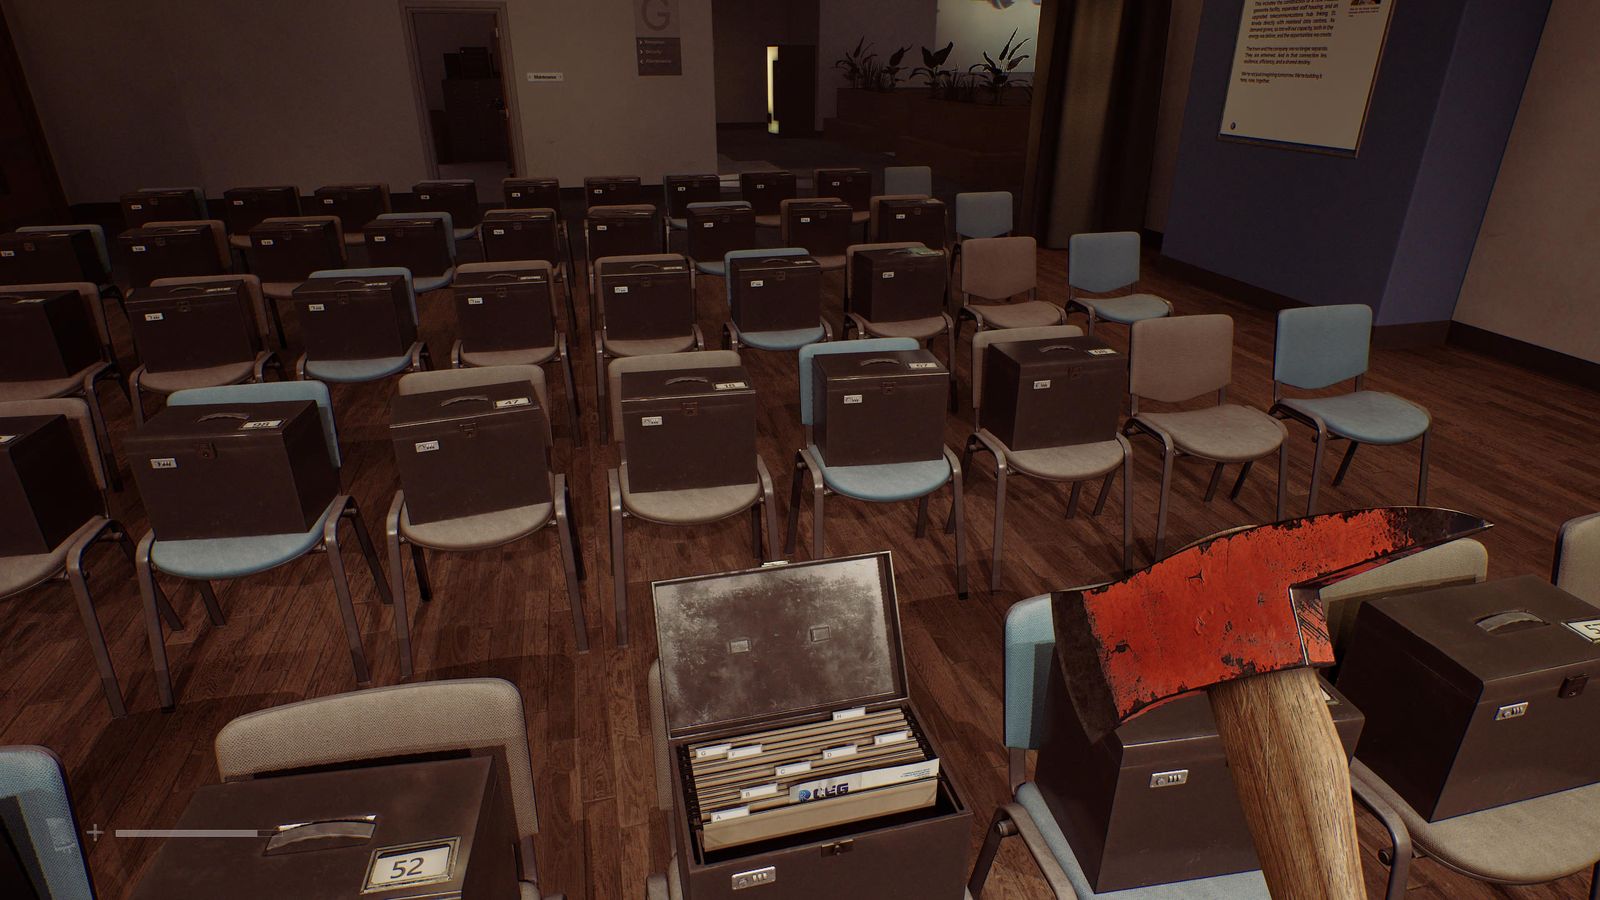
Clues 62-63/85 · Ground floor
Richard CEG HQ (Grounds)
Maintenance building & visitor centre
- Kiosk note on the garage table, CEG Memo on a desk at the back of the Managers Office. 📍 Docs 64-65/85
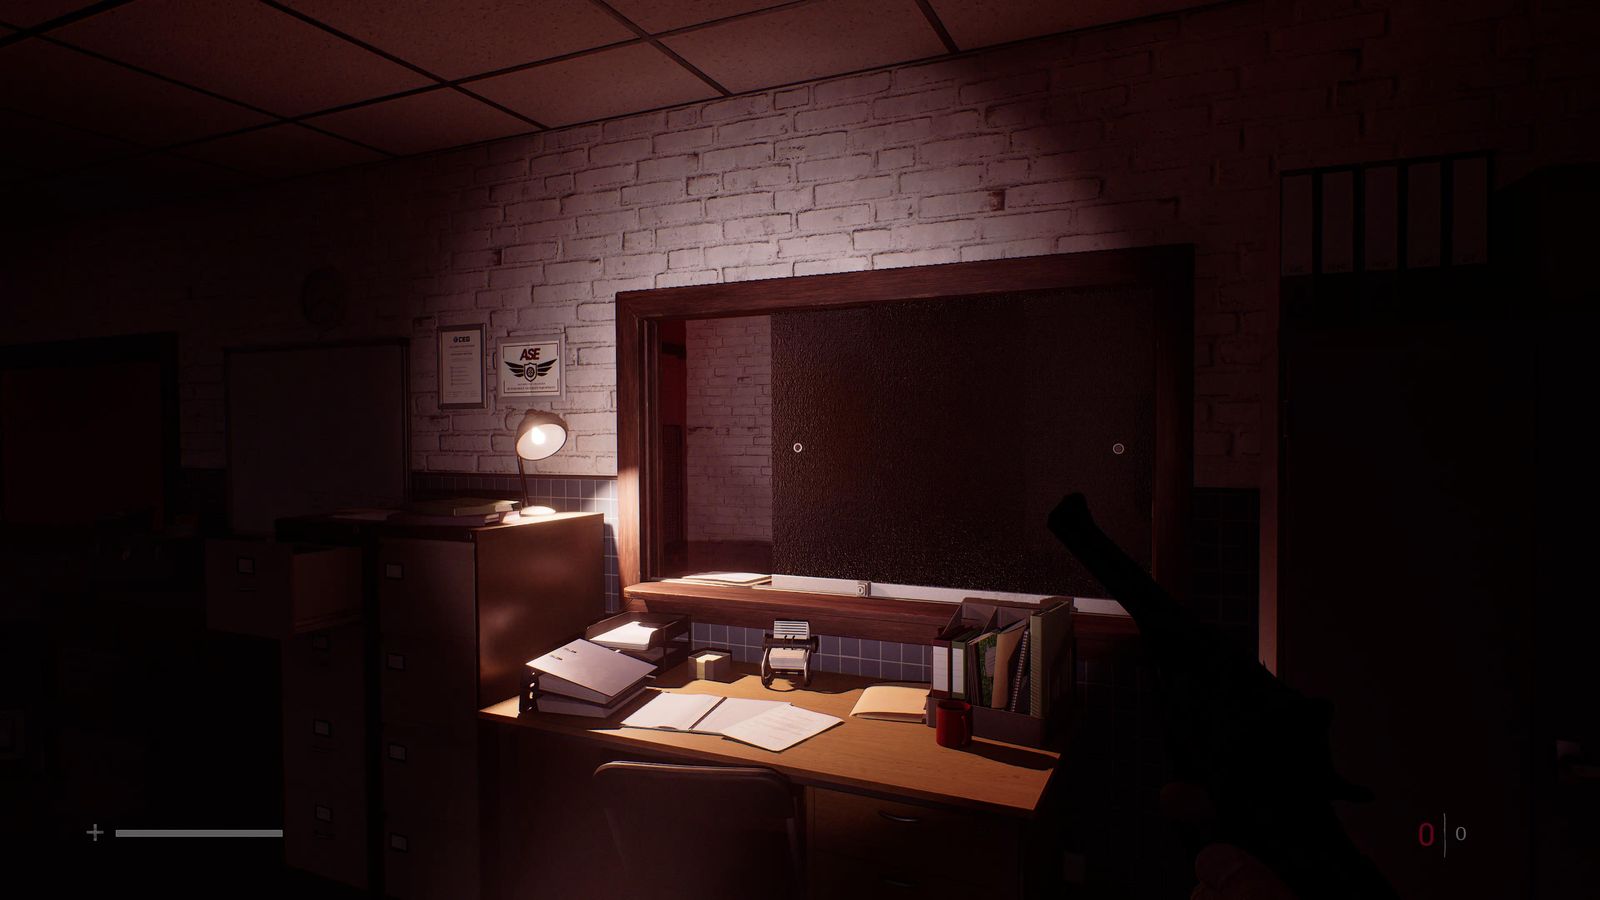
Docs 64-65/85 · Maintenance building & visitor centre 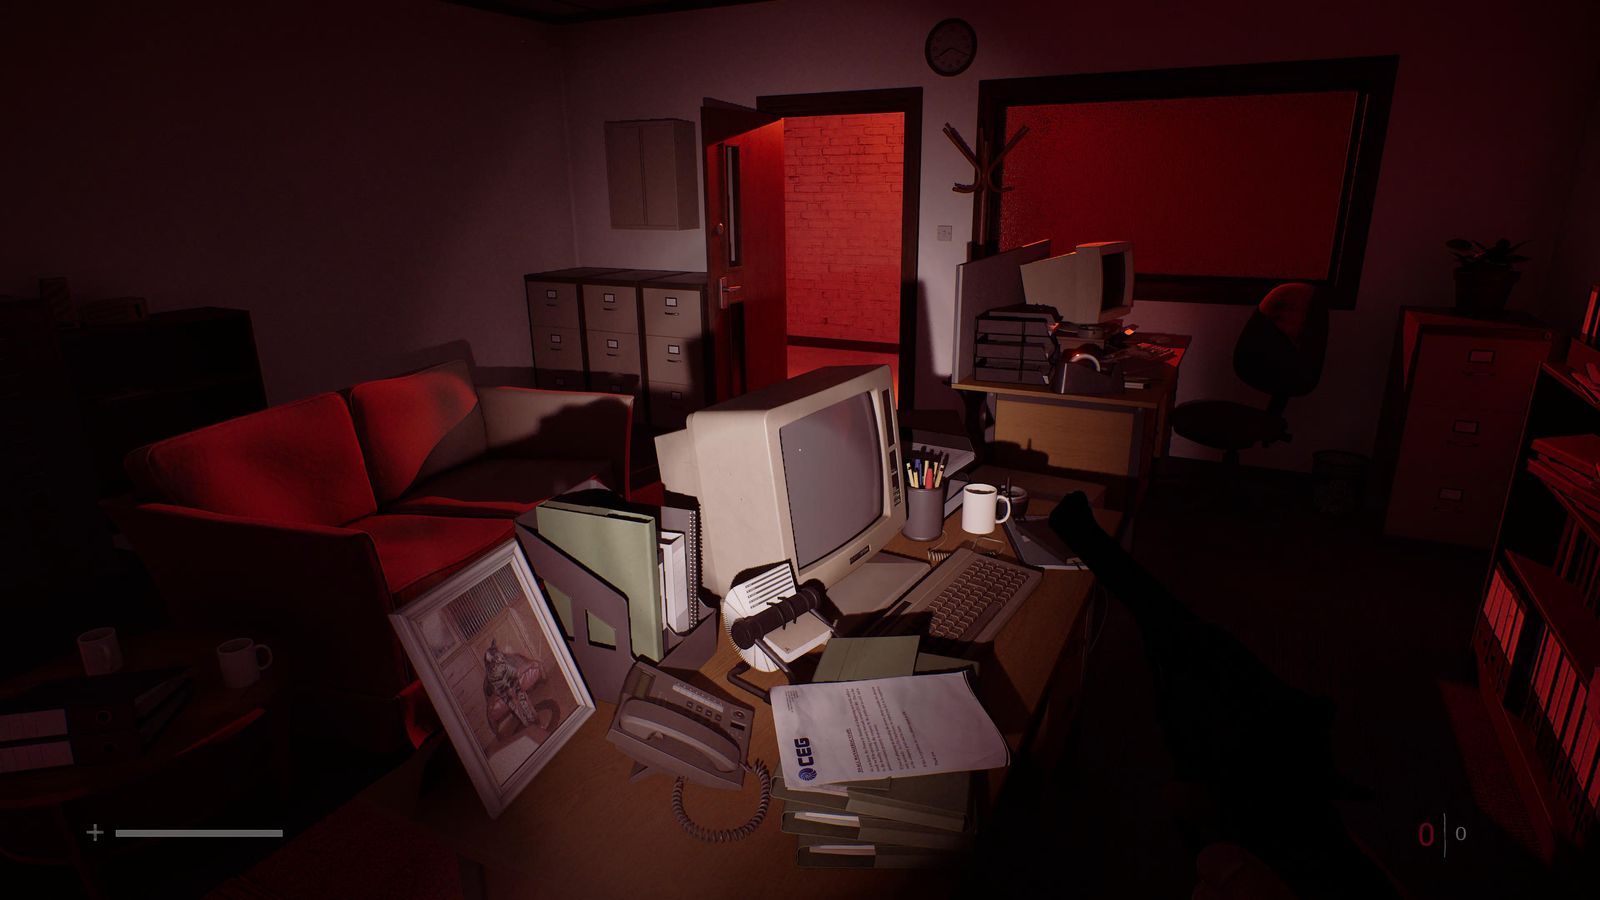
Docs 64-65/85 · Maintenance building & visitor centre - Visitor building: Construction Halted Notice (far-left room), First Aid Kit in the locker (147), then Works Halted and DONTREAD.DOC on the far-right computer. 📍 Docs 66-67 + Clue 68/85 🧩 CEG Generator Valves solution
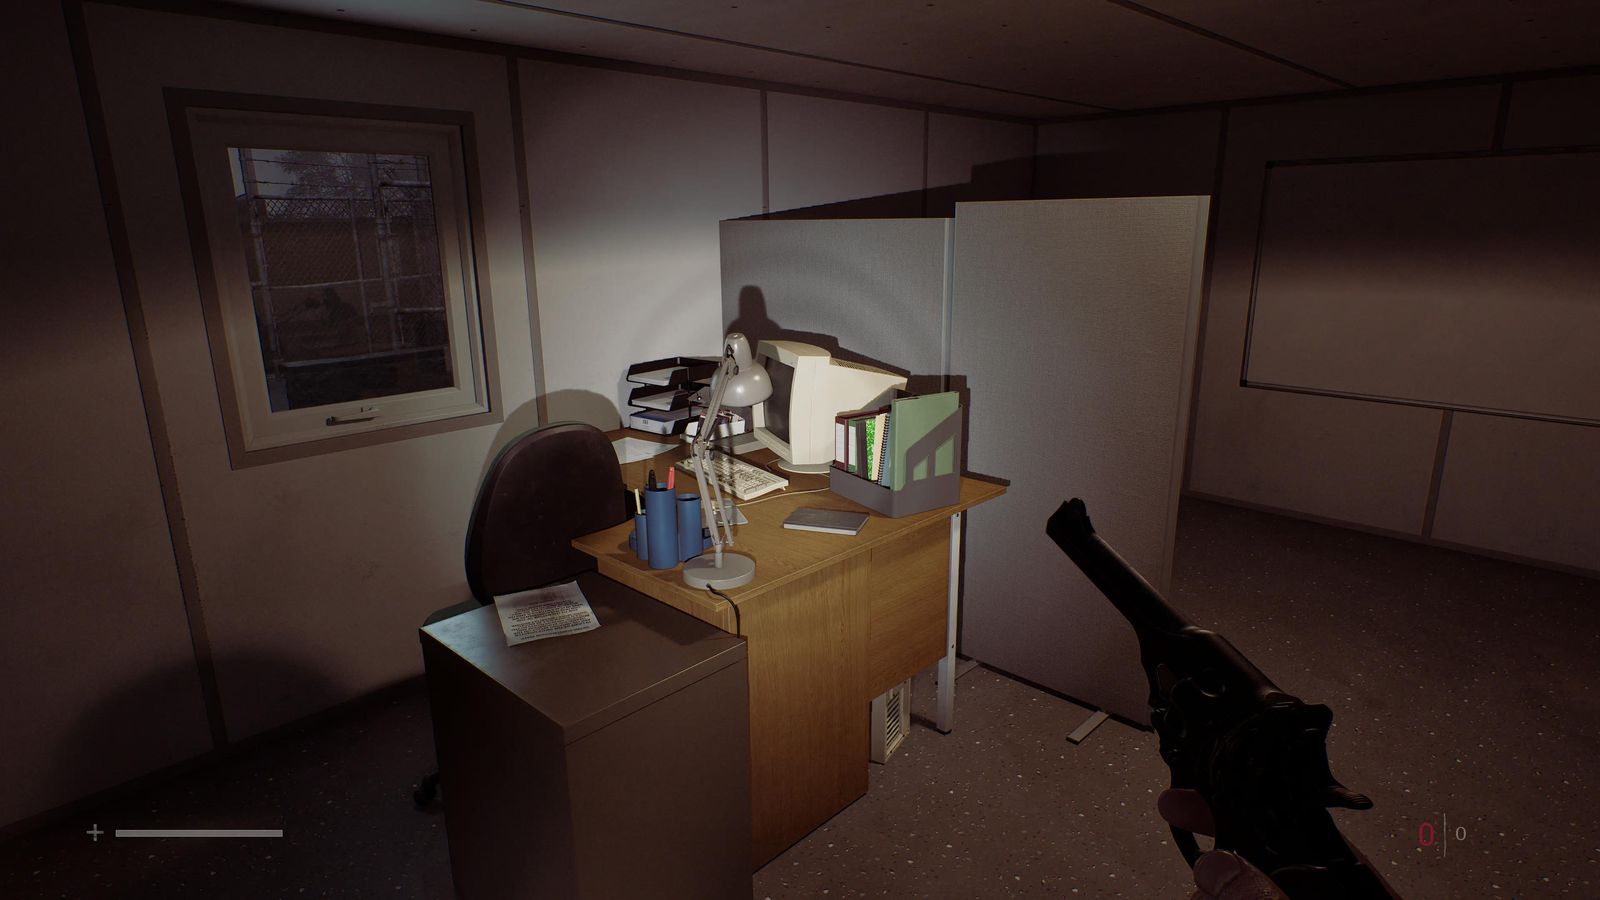
Docs 66-67 + Clue 68/85 · Maintenance building & visitor centre 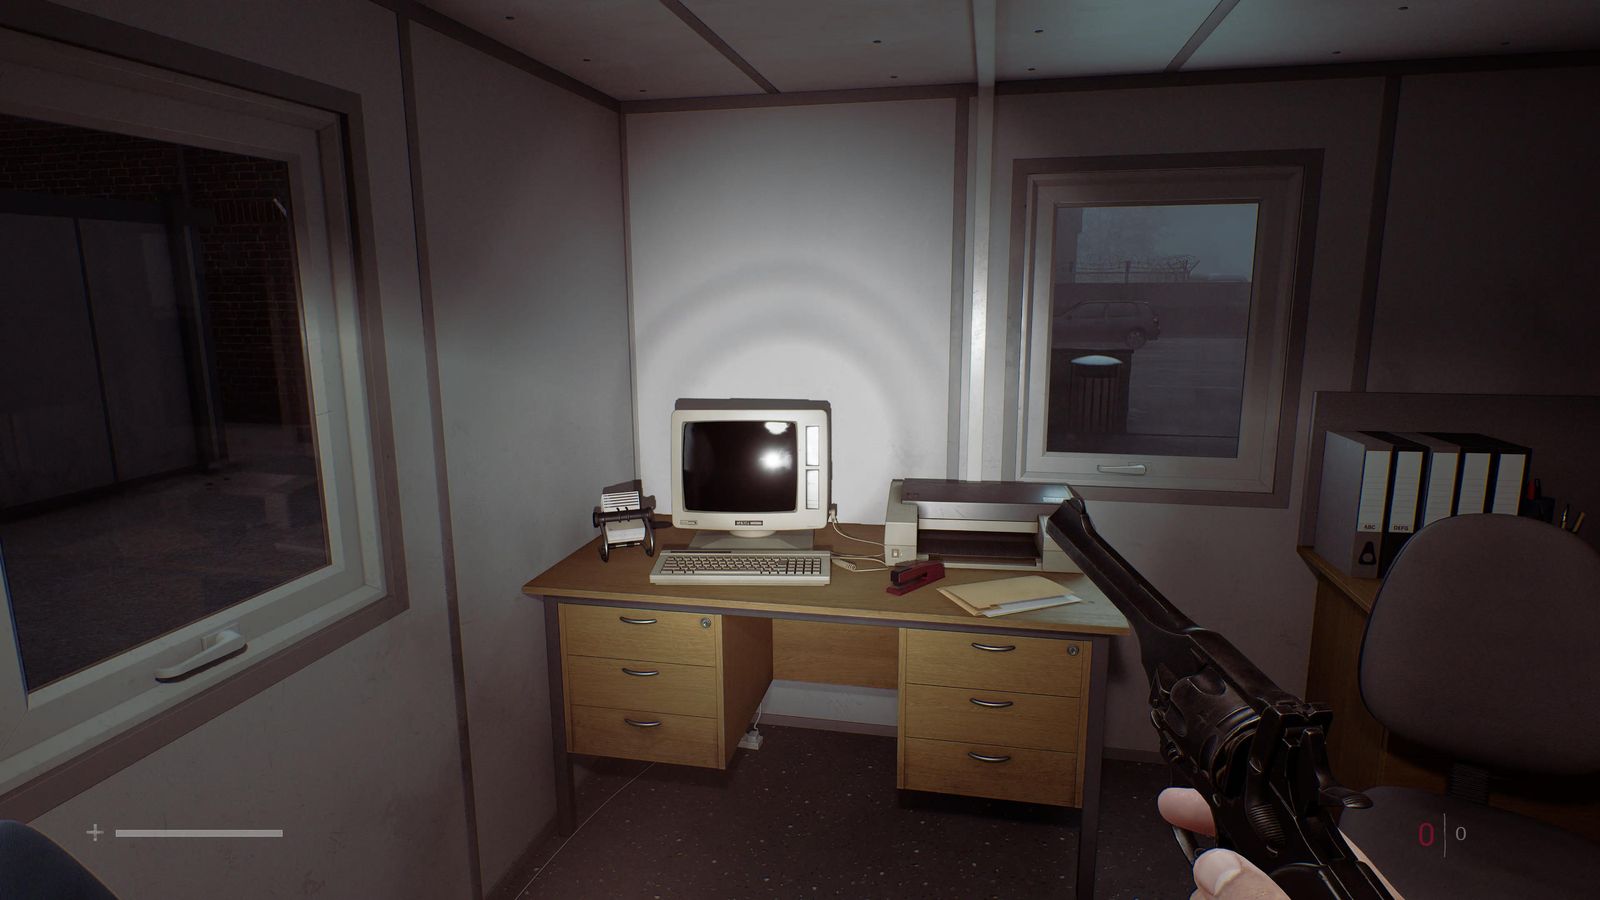
Docs 66-67 + Clue 68/85 · Maintenance building & visitor centre 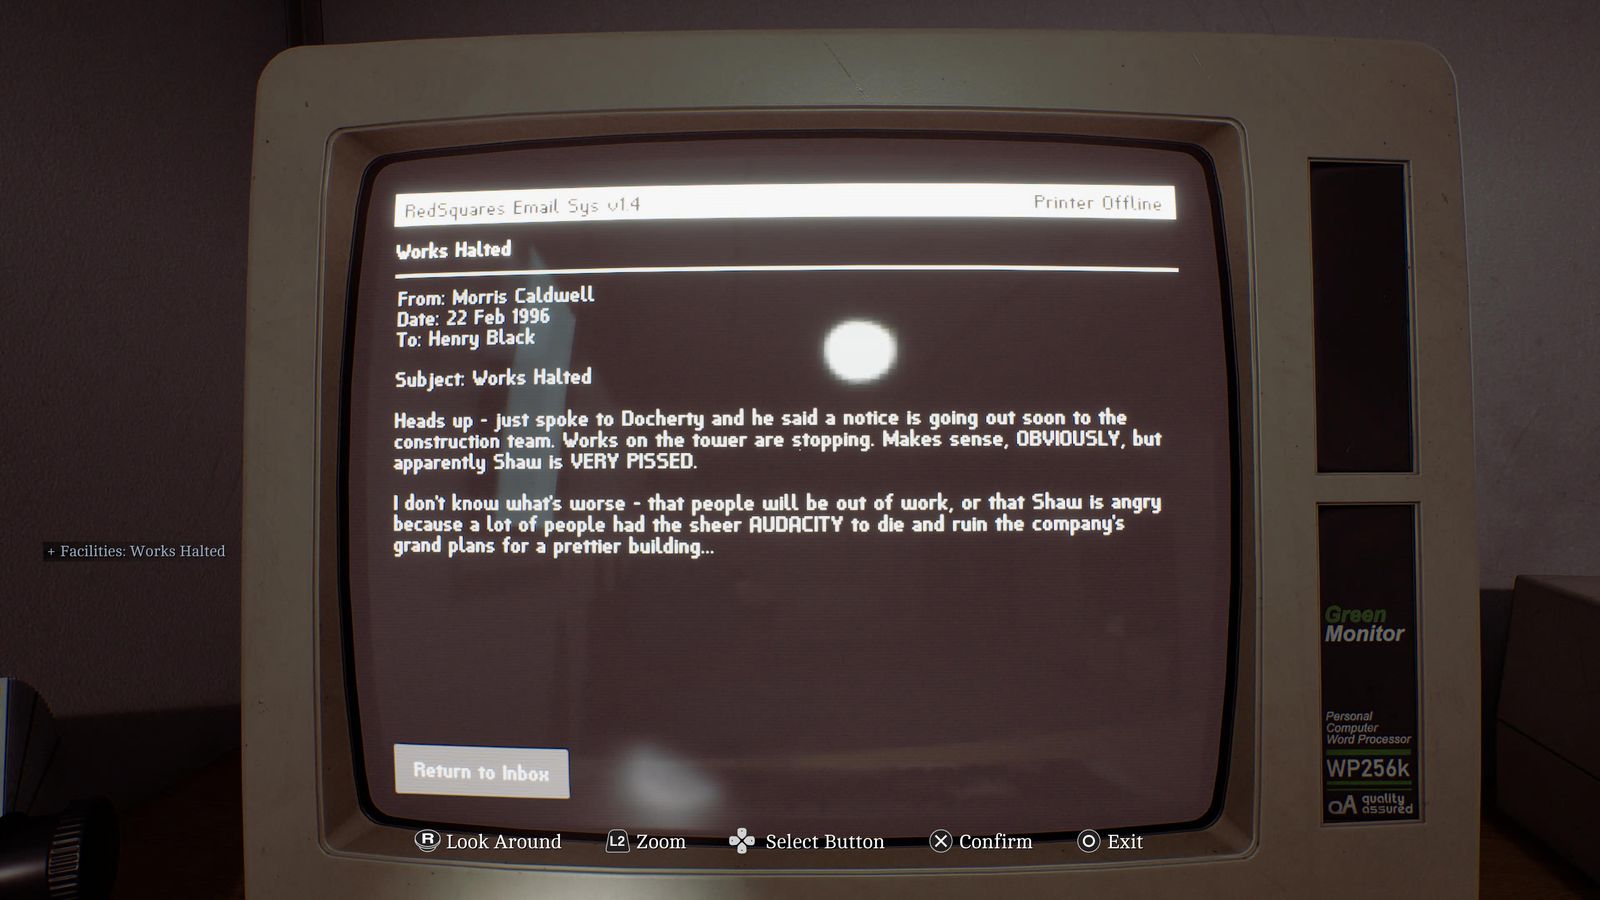
Docs 66-67 + Clue 68/85 · Maintenance building & visitor centre 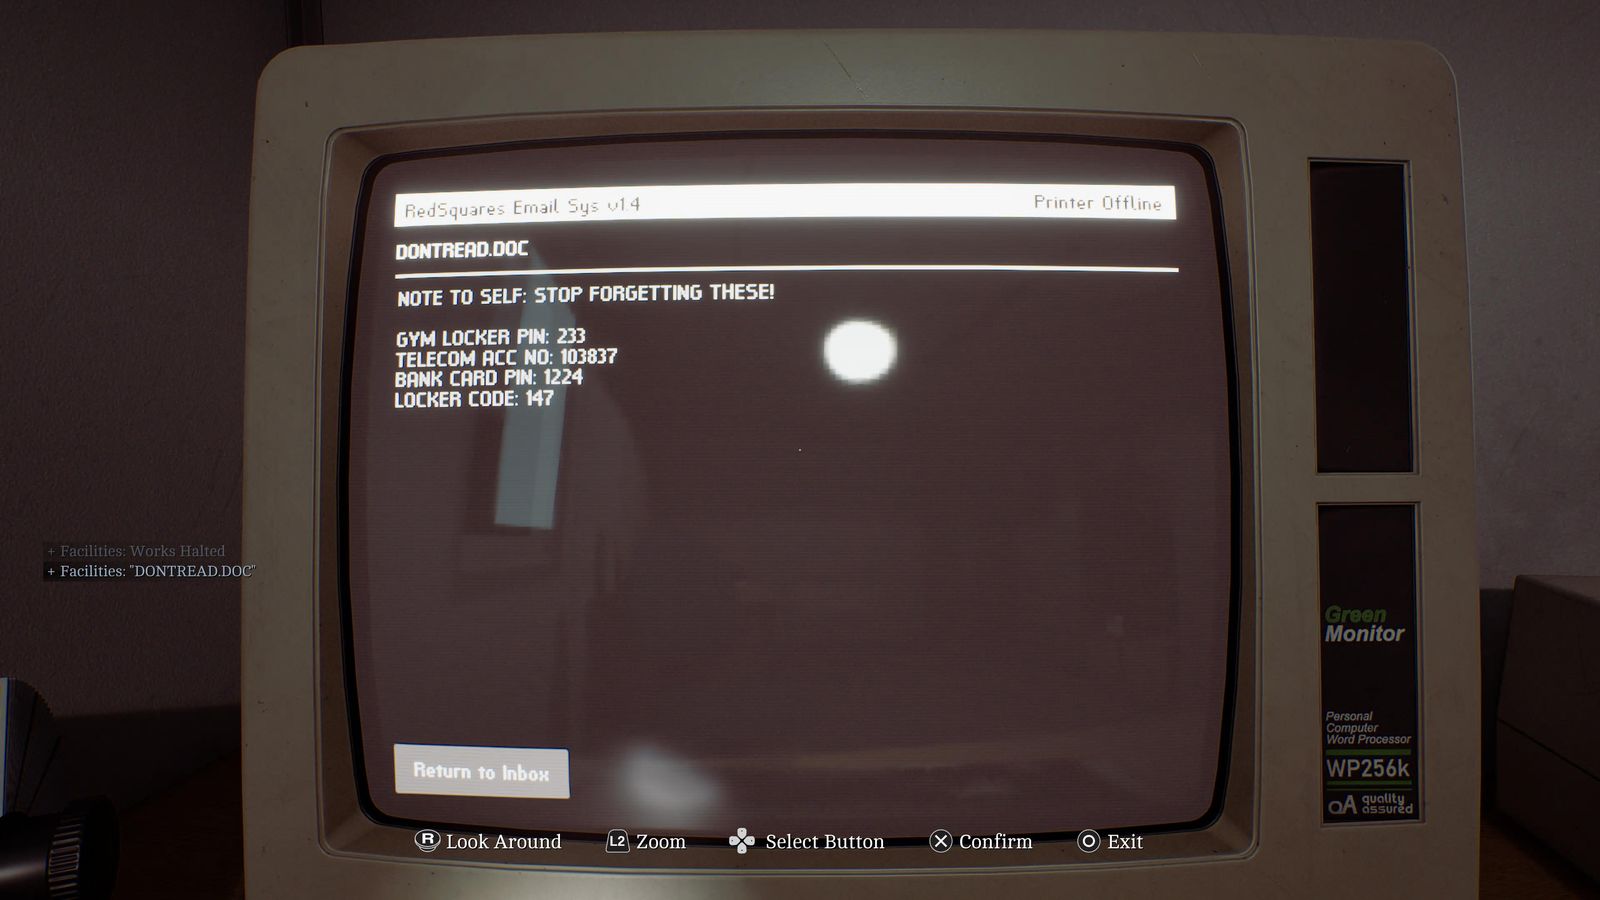
Docs 66-67 + Clue 68/85 · Maintenance building & visitor centre
Floors 3-5
- Floor 3 Meeting Room: CEG Tower Meeting Minutes. 📍 Document 69/85
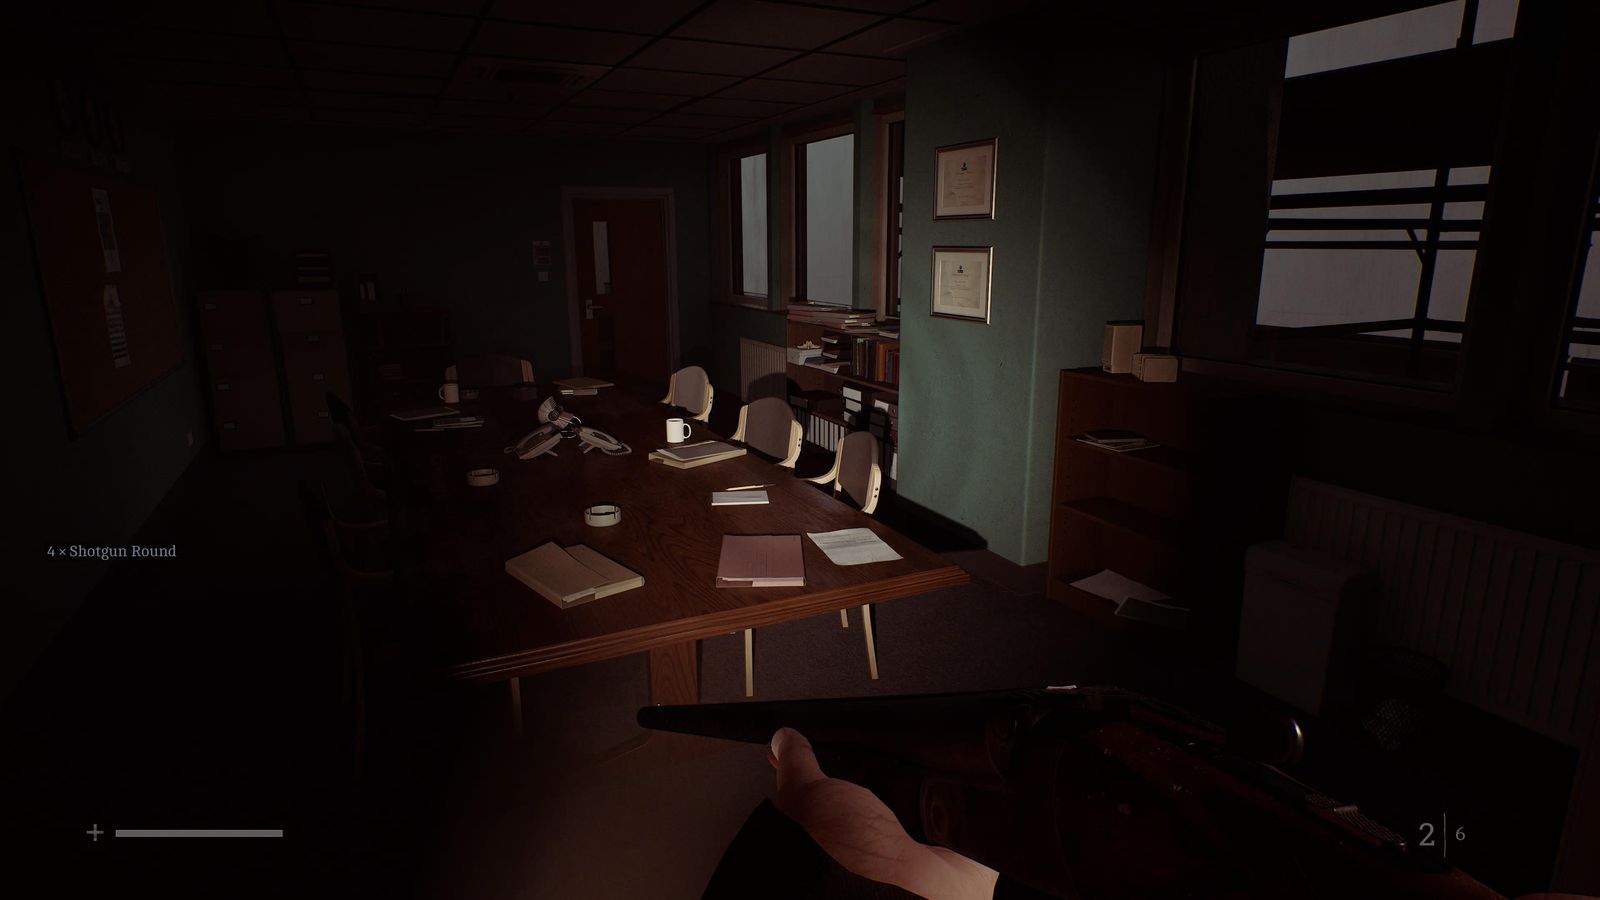
Document 69/85 · Floors 3-5 - Floor 4: shoot the enemy that runs off; with the earlier kills this completes the weapon set. 🏆 Creative Process
- P.R. area: Evening News and Engineer Public Statement on the phone-office computer, PR Meeting Note in the metal drawers opposite, Richard's Note by the corpse in the long room. 📍 Docs 70-72 + Clue 73/85
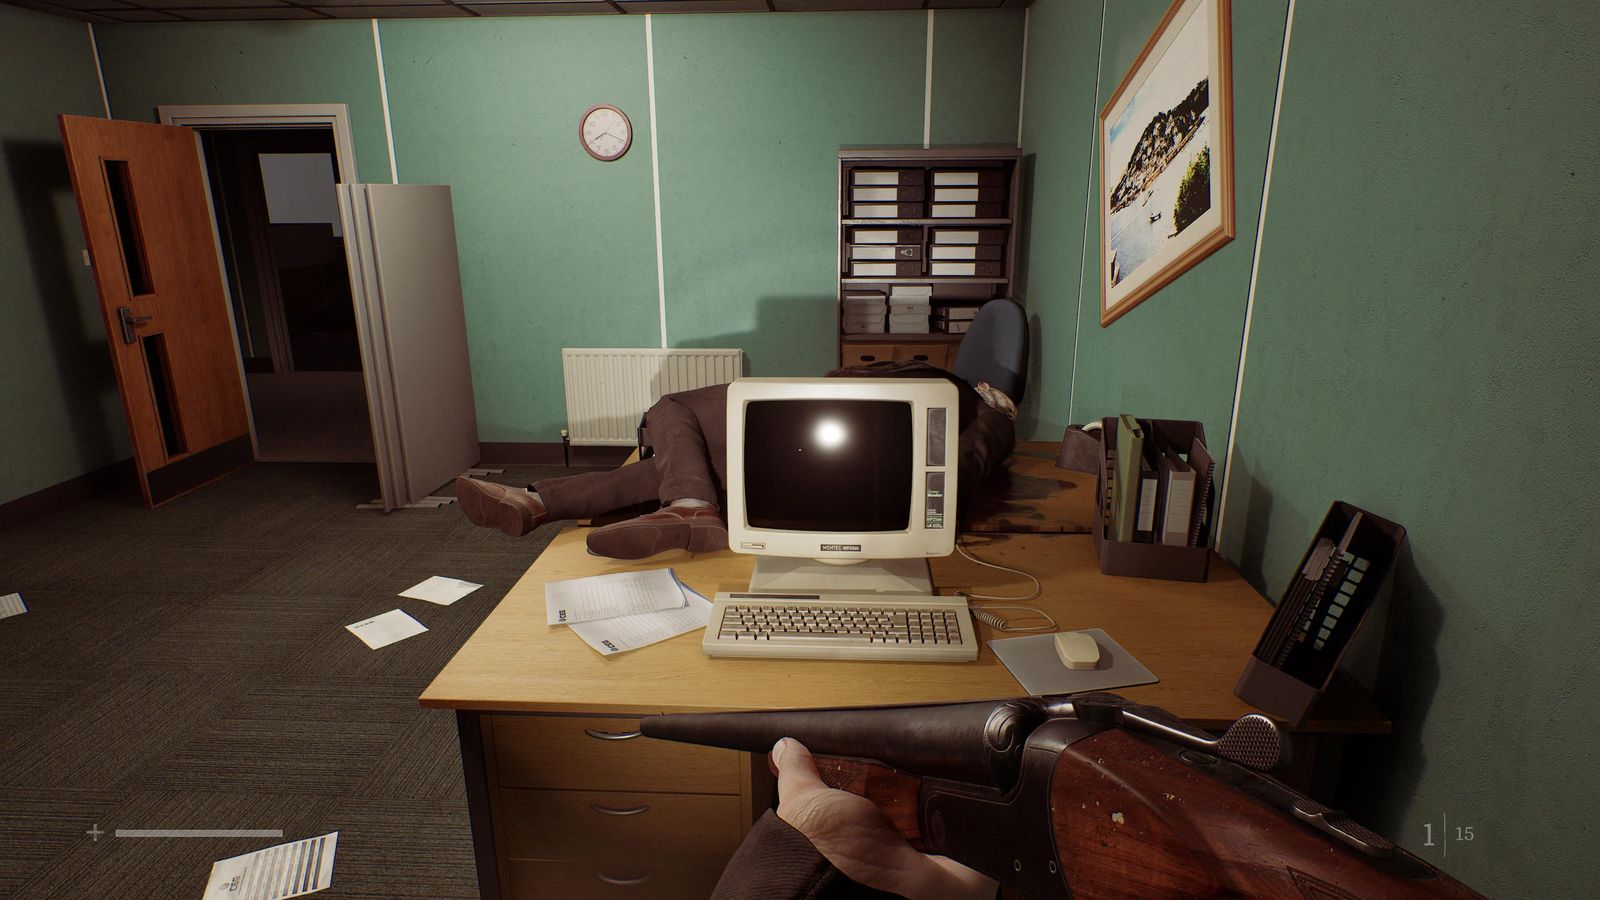
Docs 70-72 + Clue 73/85 · Floors 3-5 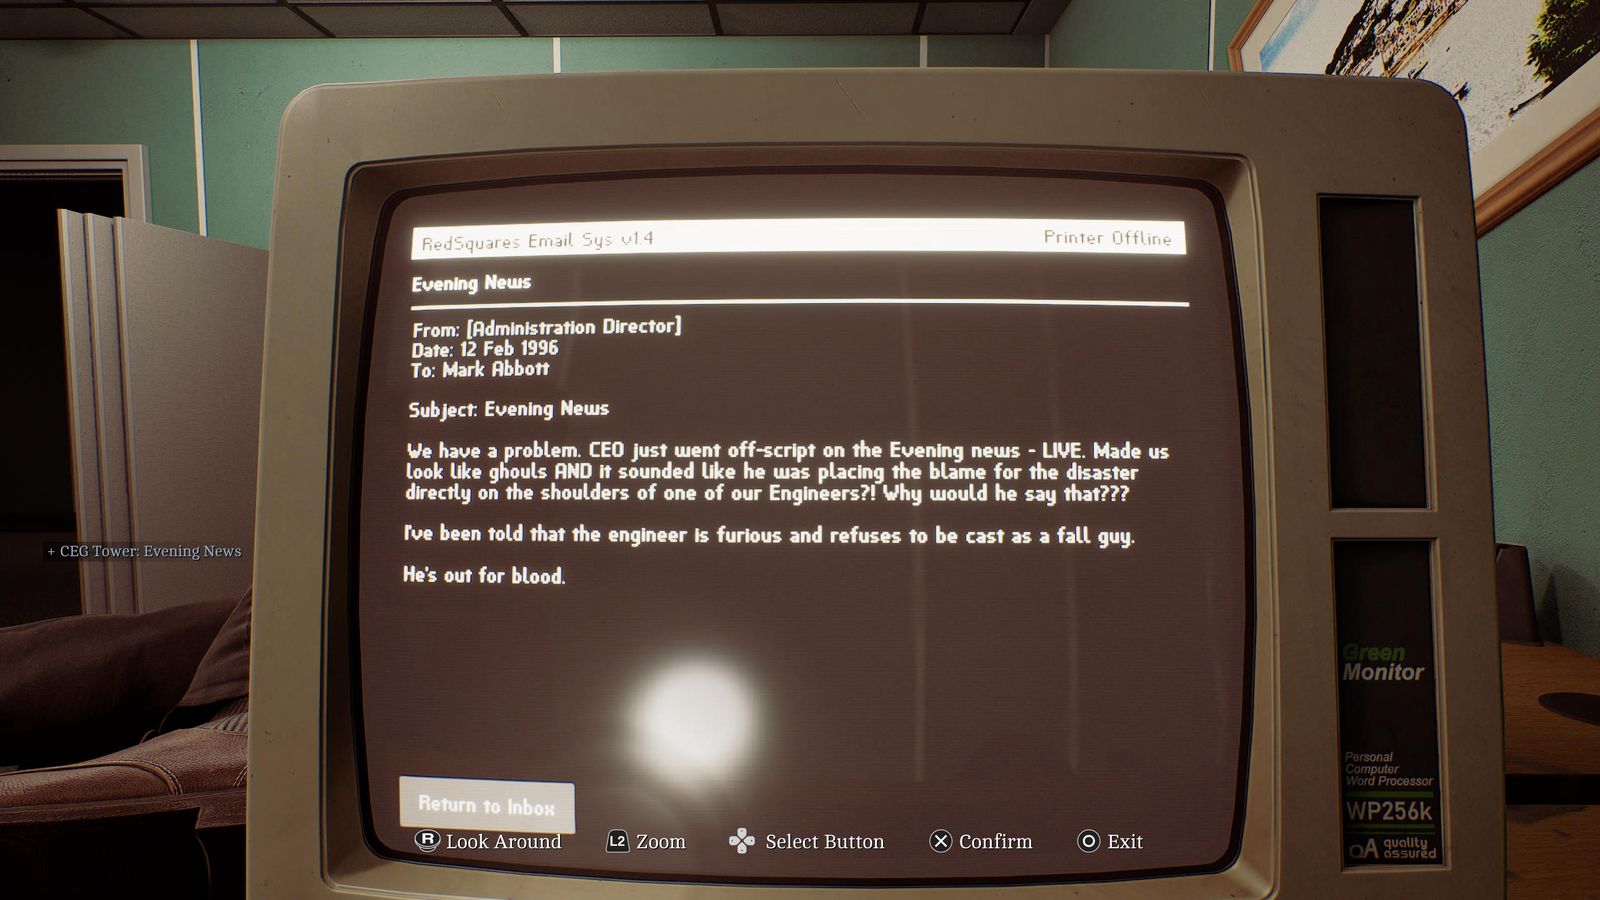
Docs 70-72 + Clue 73/85 · Floors 3-5 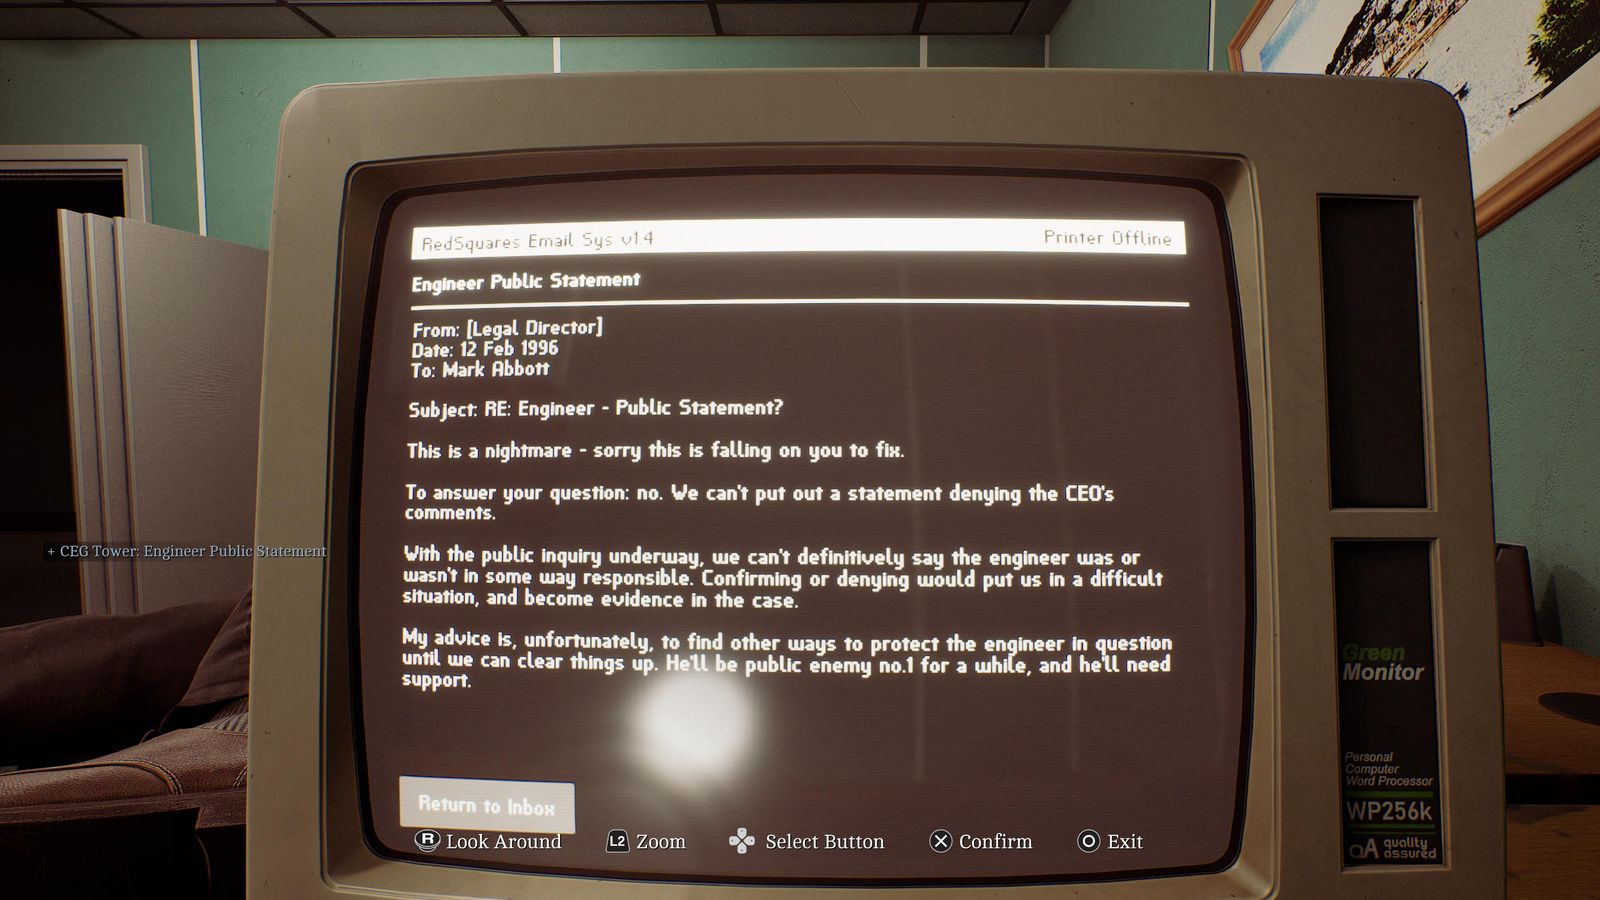
Docs 70-72 + Clue 73/85 · Floors 3-5 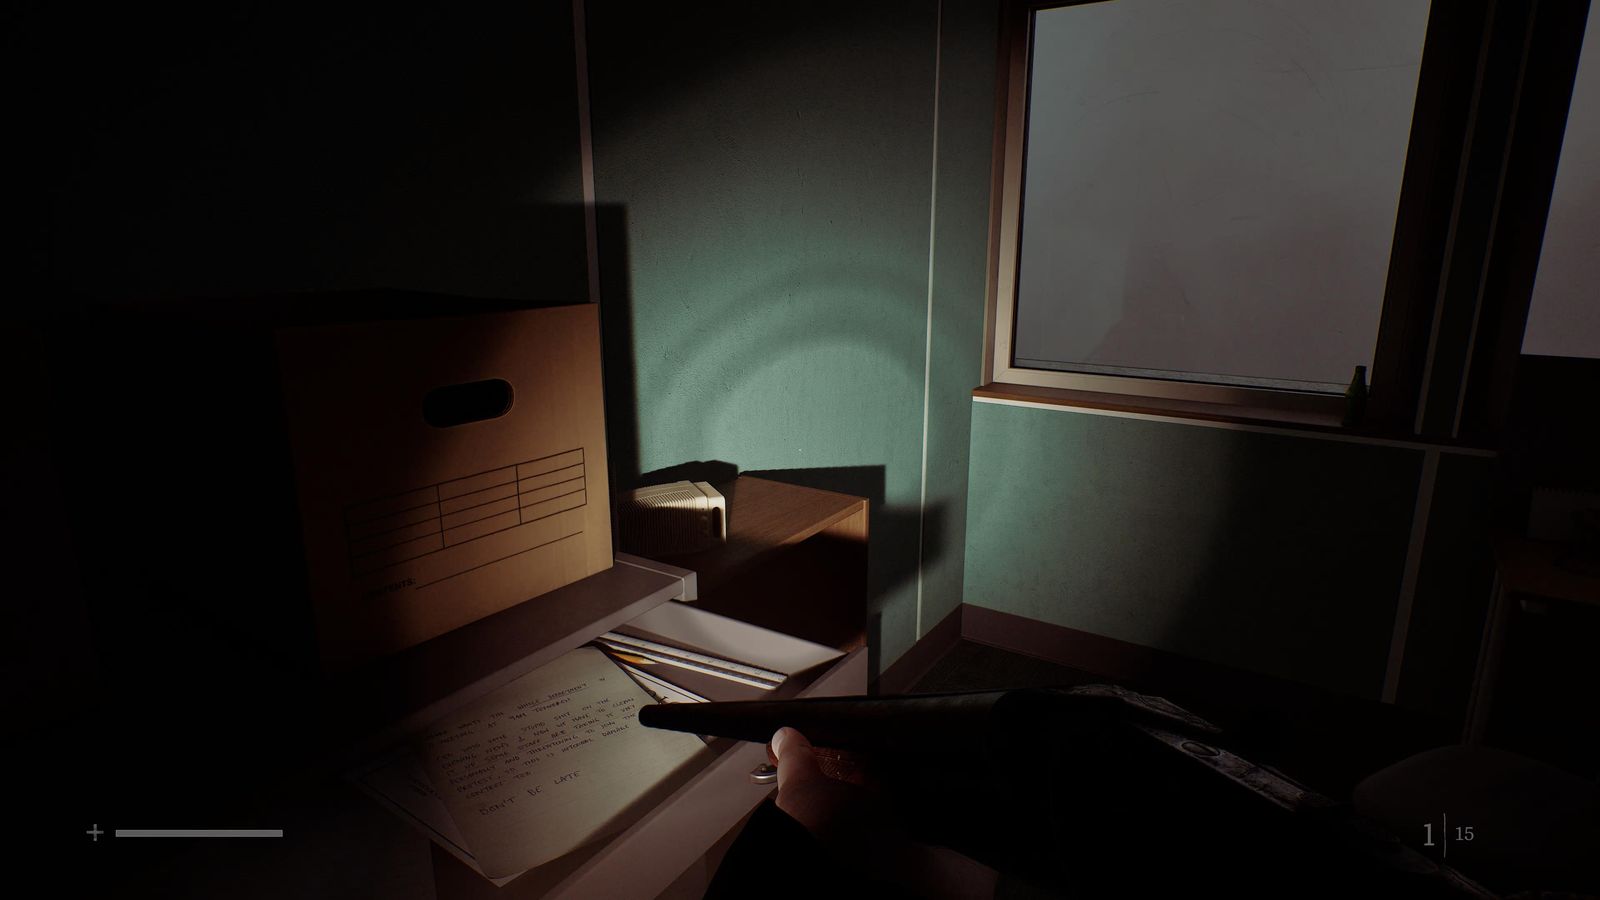
Docs 70-72 + Clue 73/85 · Floors 3-5 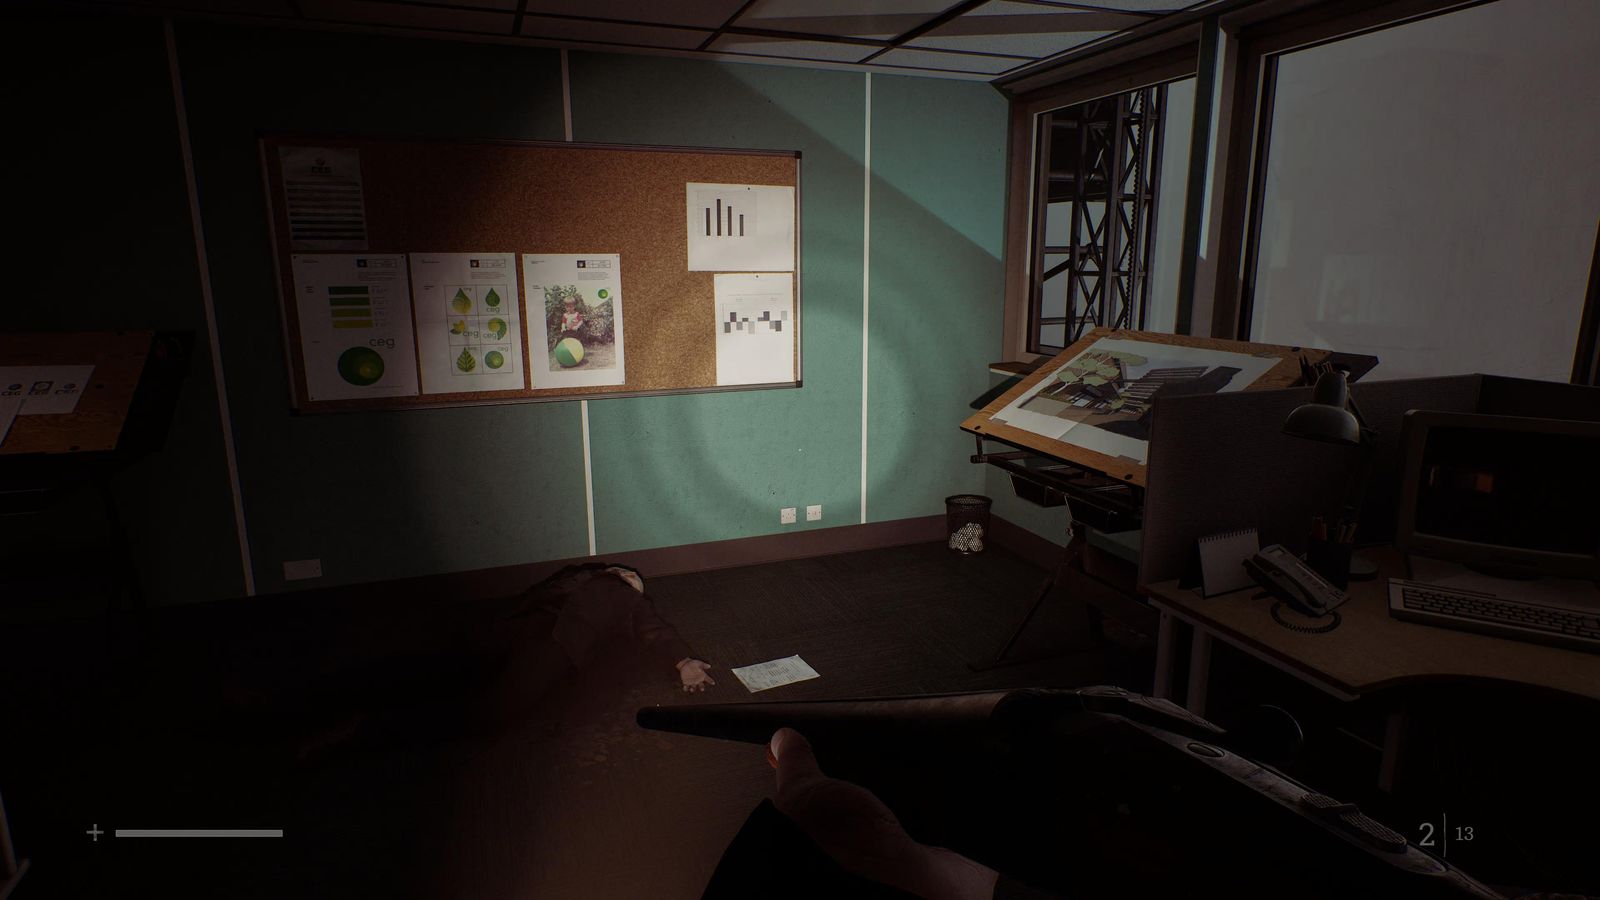
Docs 70-72 + Clue 73/85 · Floors 3-5 - Storeroom General Storage locker: CEG Checkout Sheet. 📍 Clue 74/85
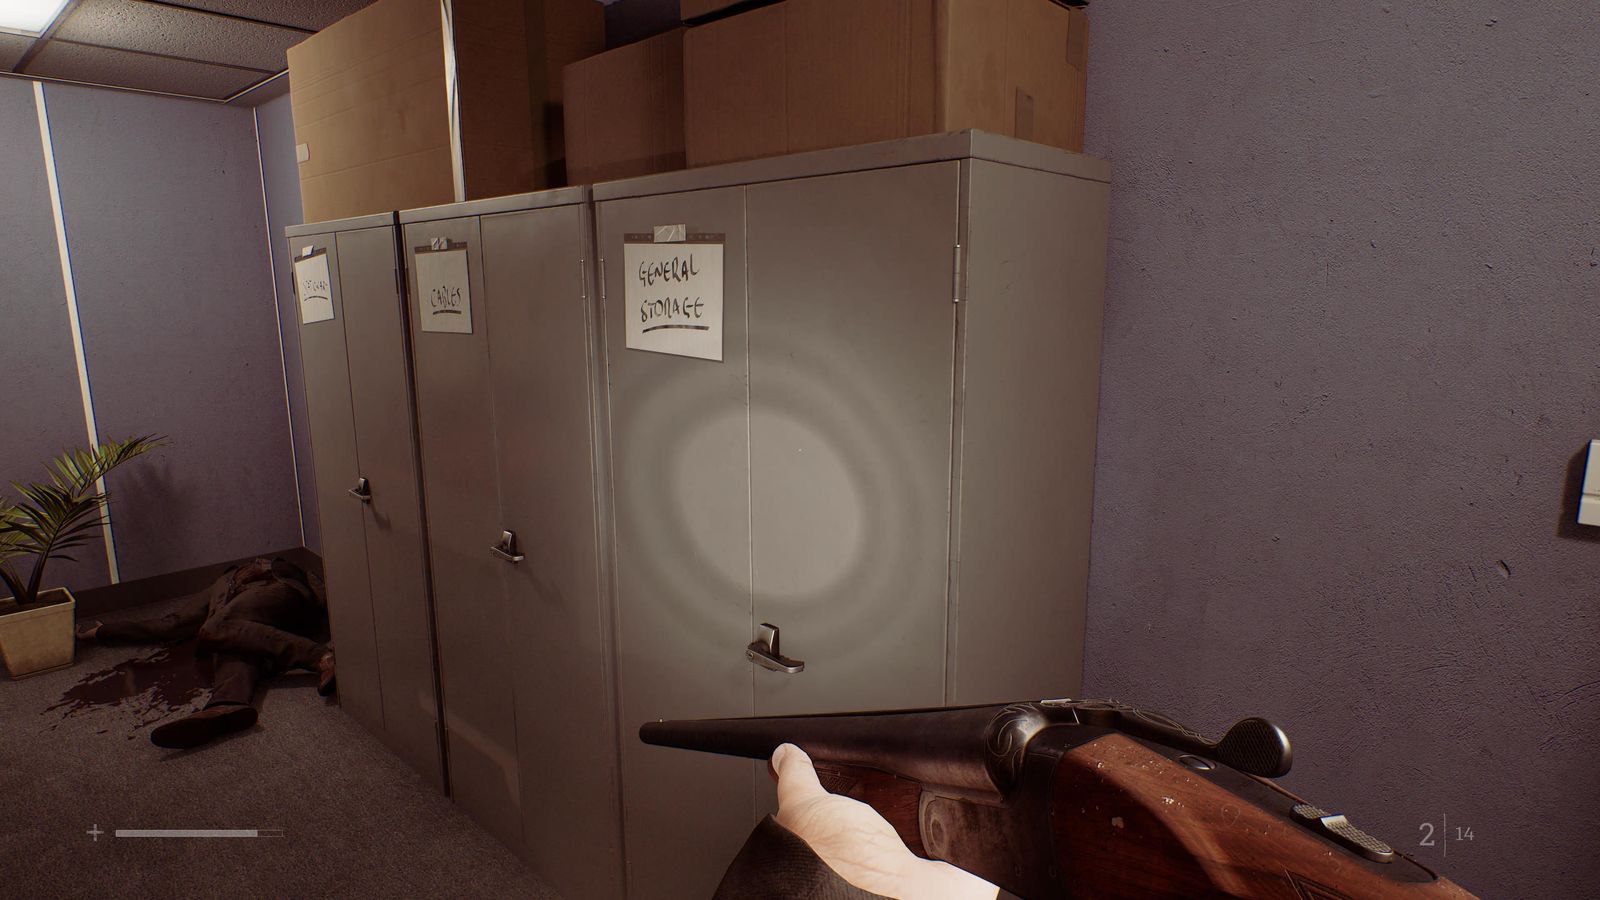
Clue 74/85 · Floors 3-5 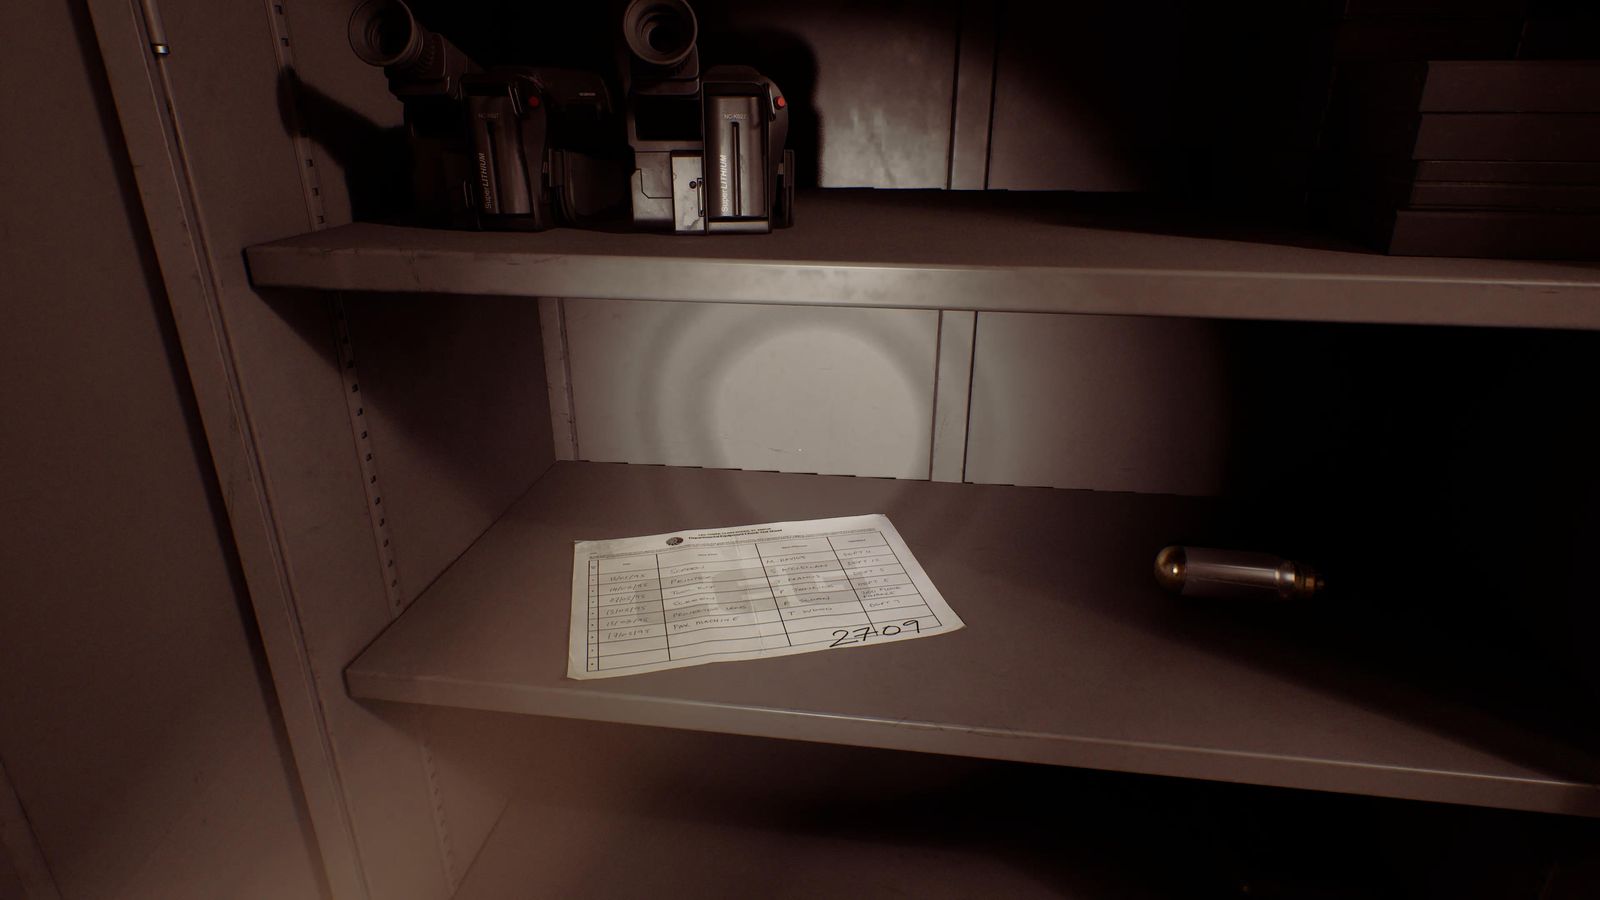
Clue 74/85 · Floors 3-5 - Use the Mezzanine autosave to farm the five Widows (they carry between reloads). 🏆 Missing The Point Entirely
- Projector slides. 🏆 Find Yourself 🧩 Boardroom Projector Slides solution
▶ Watch the solve
- Combine Alcohol + Gauze into Sterilized Gauze for the crafting trophy, then on floor 10 read “He's Done” on the far computer before the office. 📍 Document 75/85
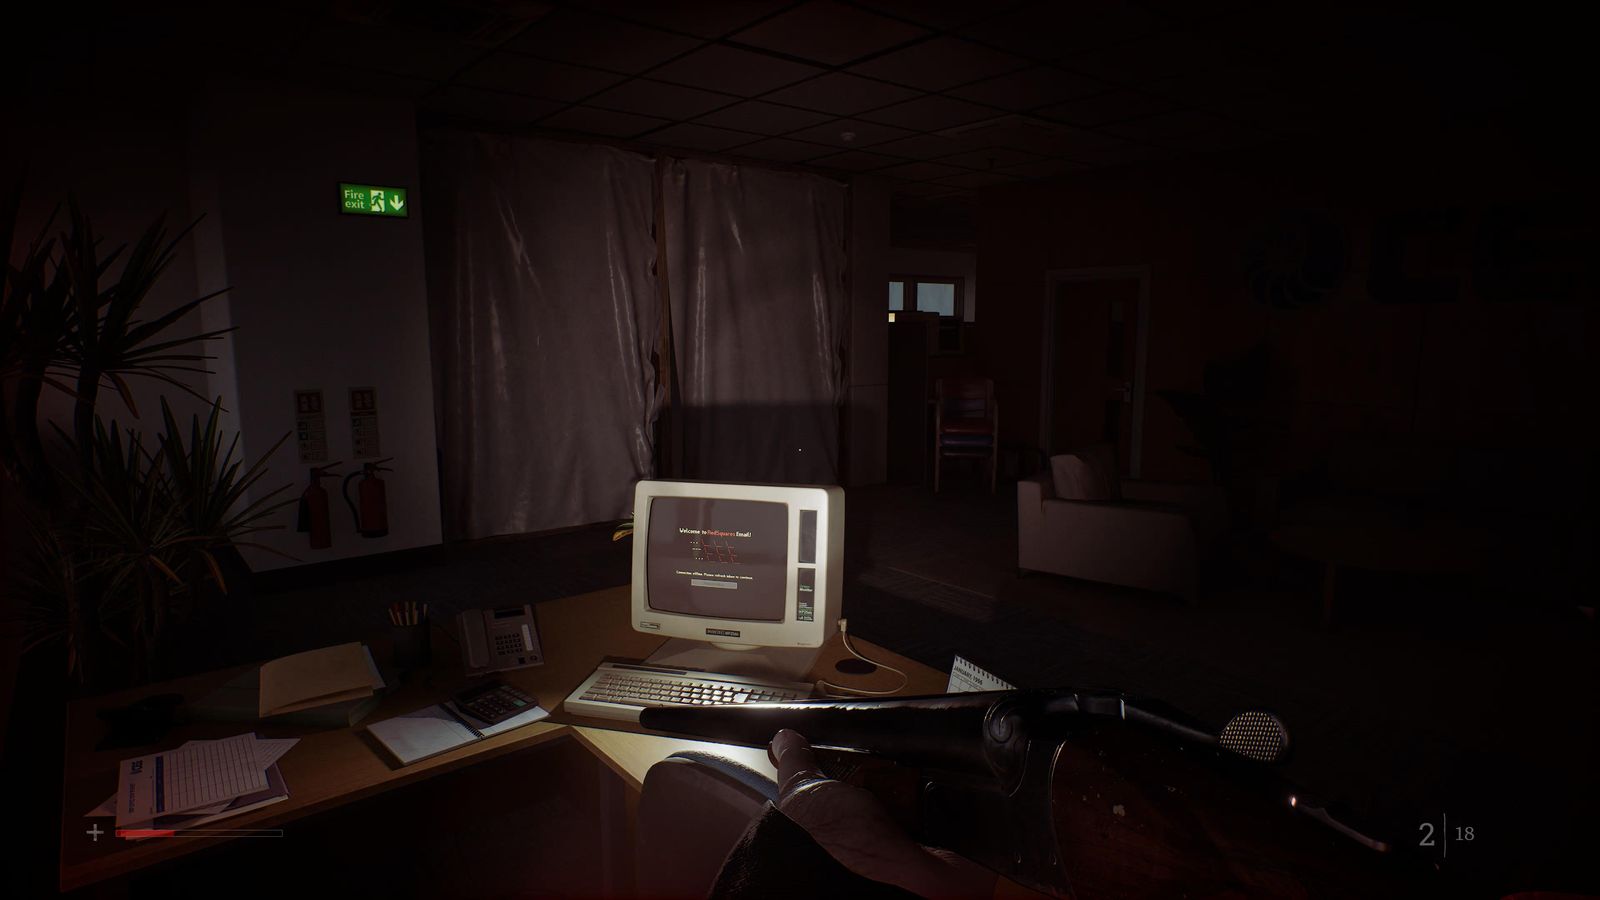
Document 75/85 · Floors 3-5 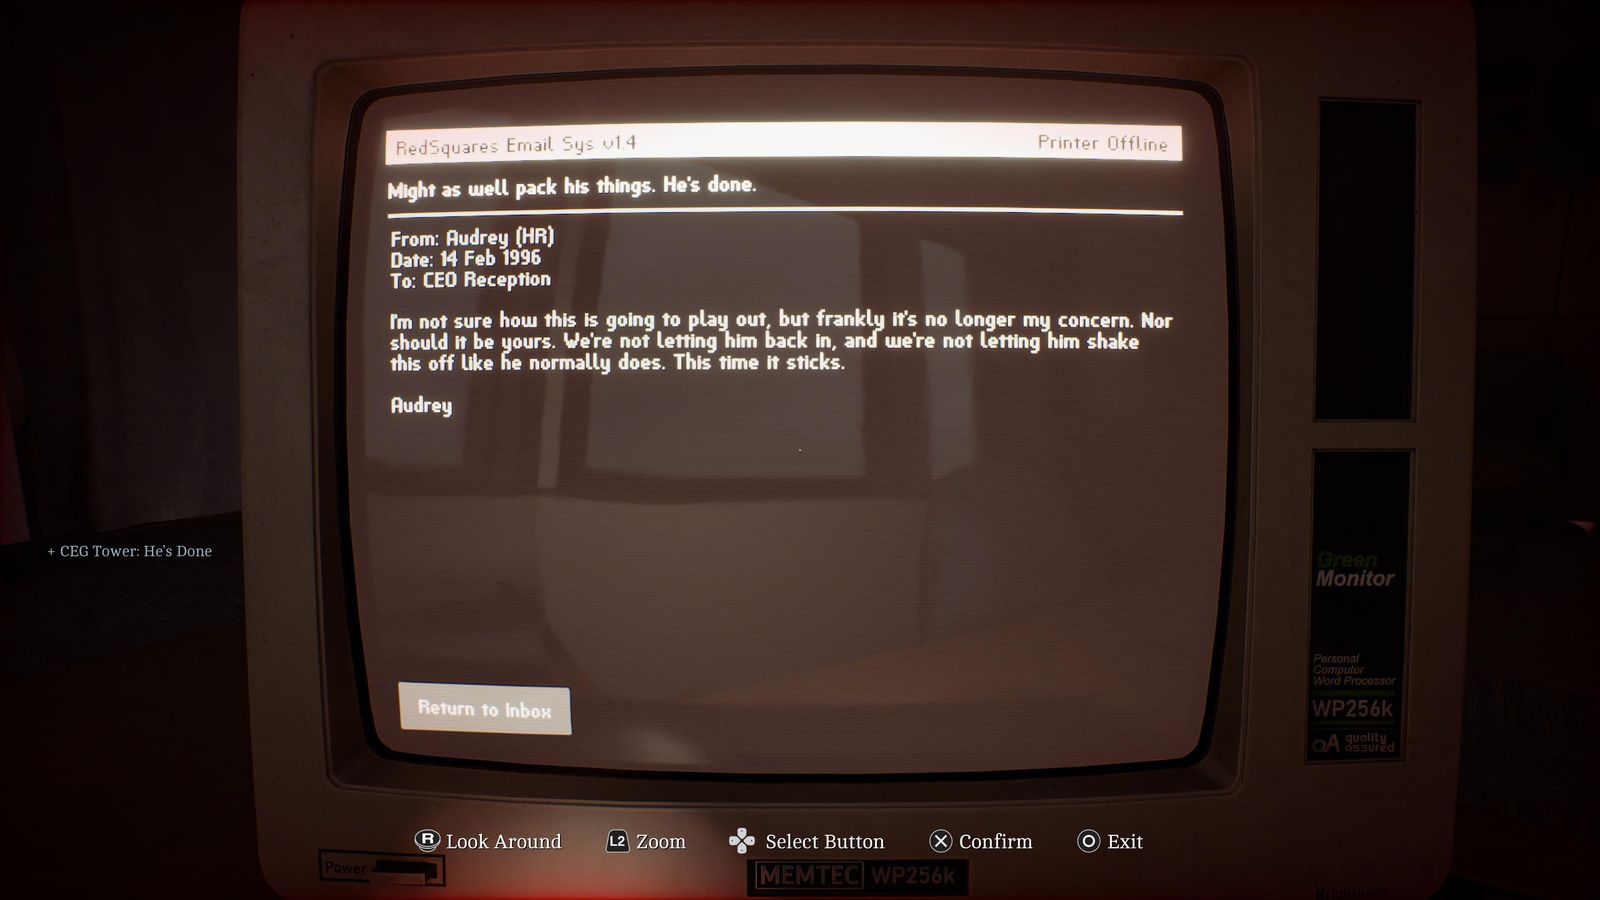
Document 75/85 · Floors 3-5
Fix This / Trying Again CEG HQ (Different)
Floor 2 → silo
- Ordell File on the desk, “What Did You Do?” on the computer outside. 📍 Docs 76-77/85
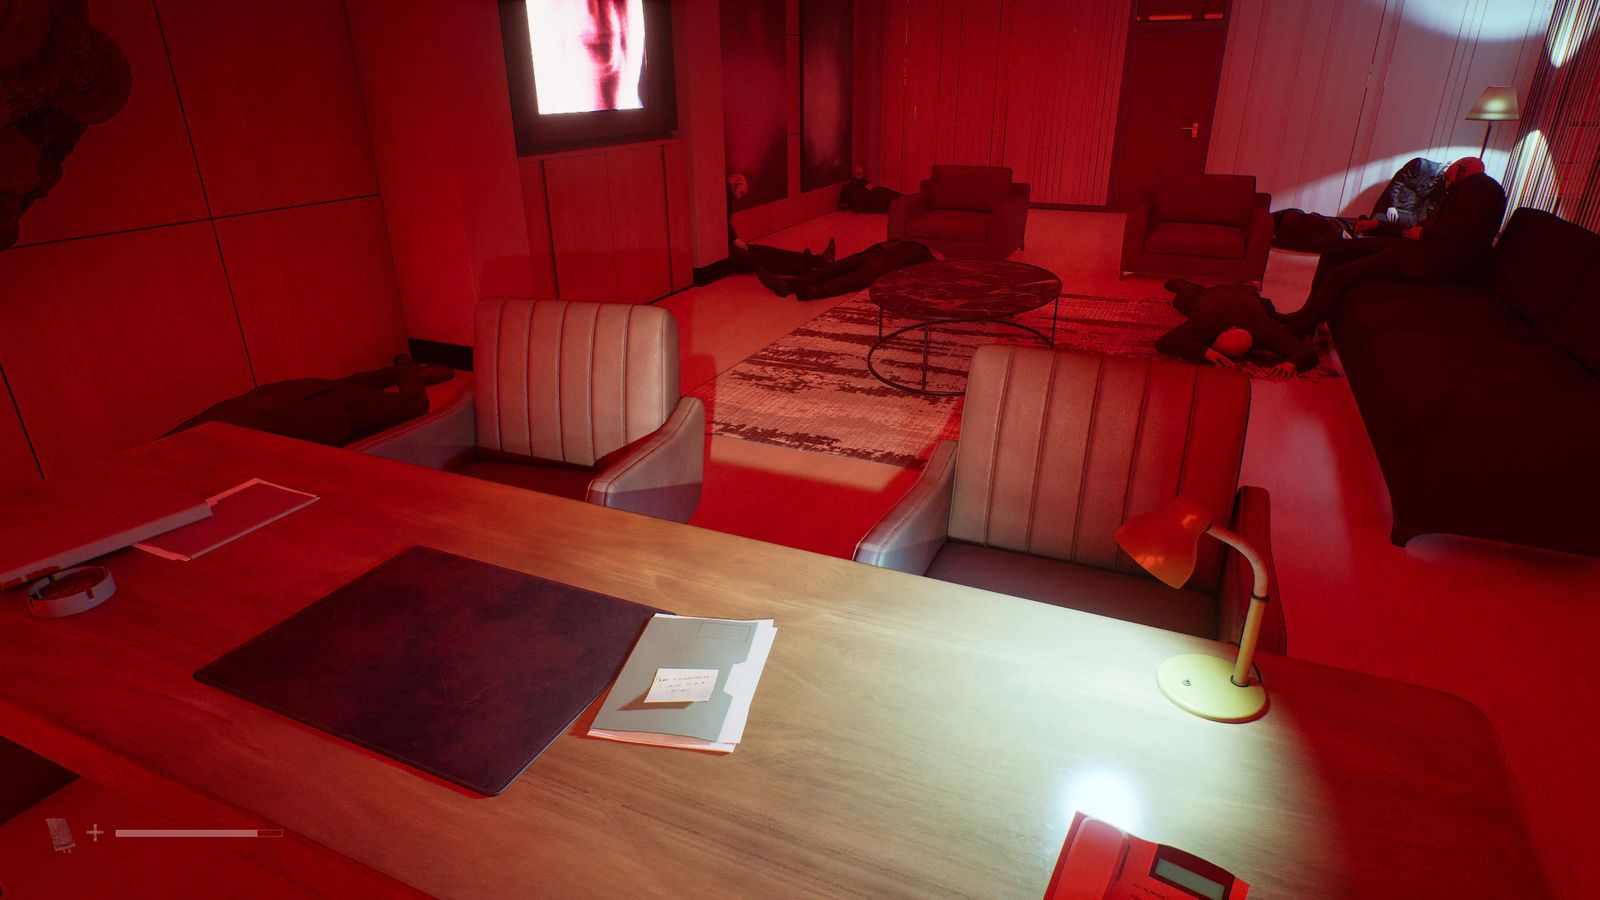
Docs 76-77/85 · Floor 2 → silo 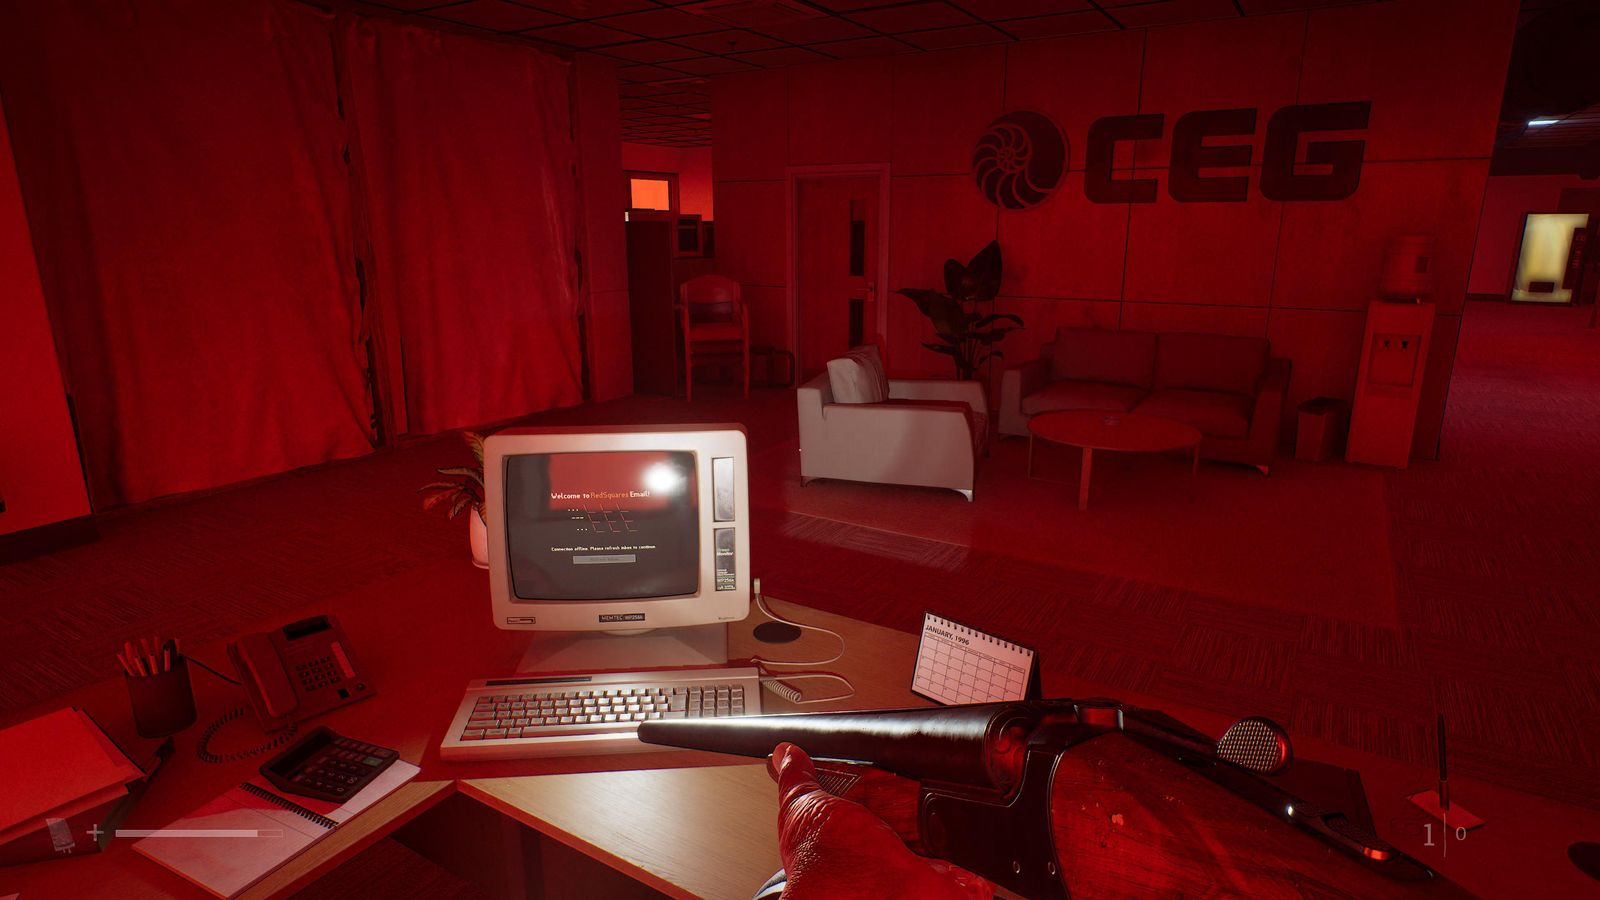
Docs 76-77/85 · Floor 2 → silo 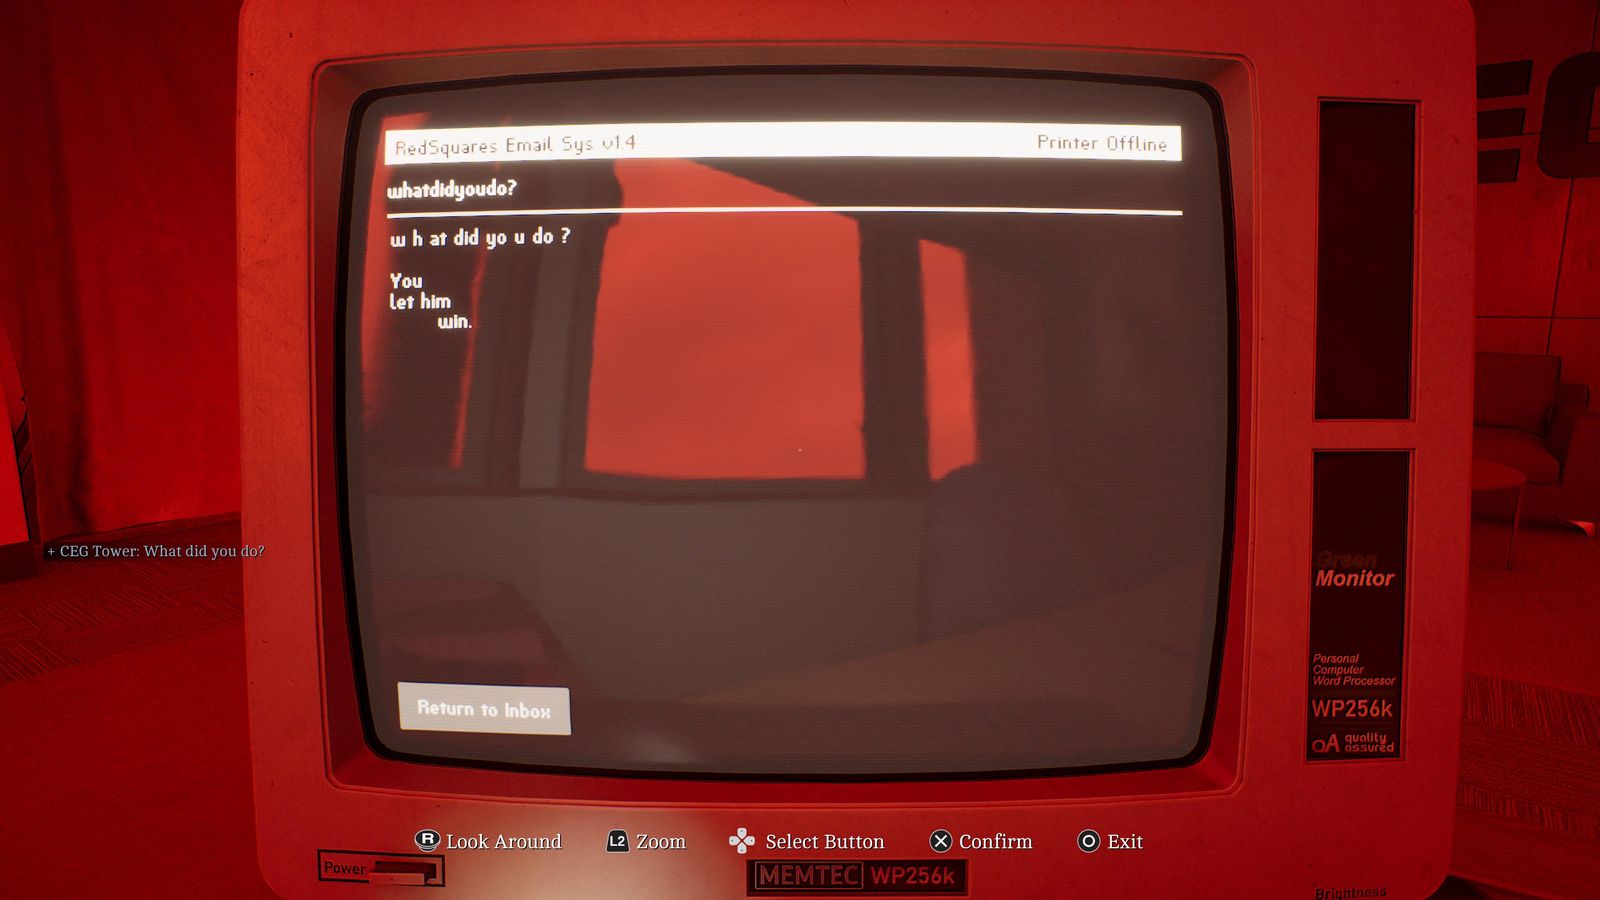
Docs 76-77/85 · Floor 2 → silo - Reference Sheet on the workbench; tuner 43. 📍 Clue 78/85 + CRTV 17/19 🧩 Different Floor Consoles, Valves & Ignition solution
▶ Watch the solve
- Pipe tunnel tuner by the cabinet: 43. 📍 CRTV 18/19
- Floor 4 vents: second right, then left, dead end. 📍 Postcard 15/15 🏆 Blur Your Eyes
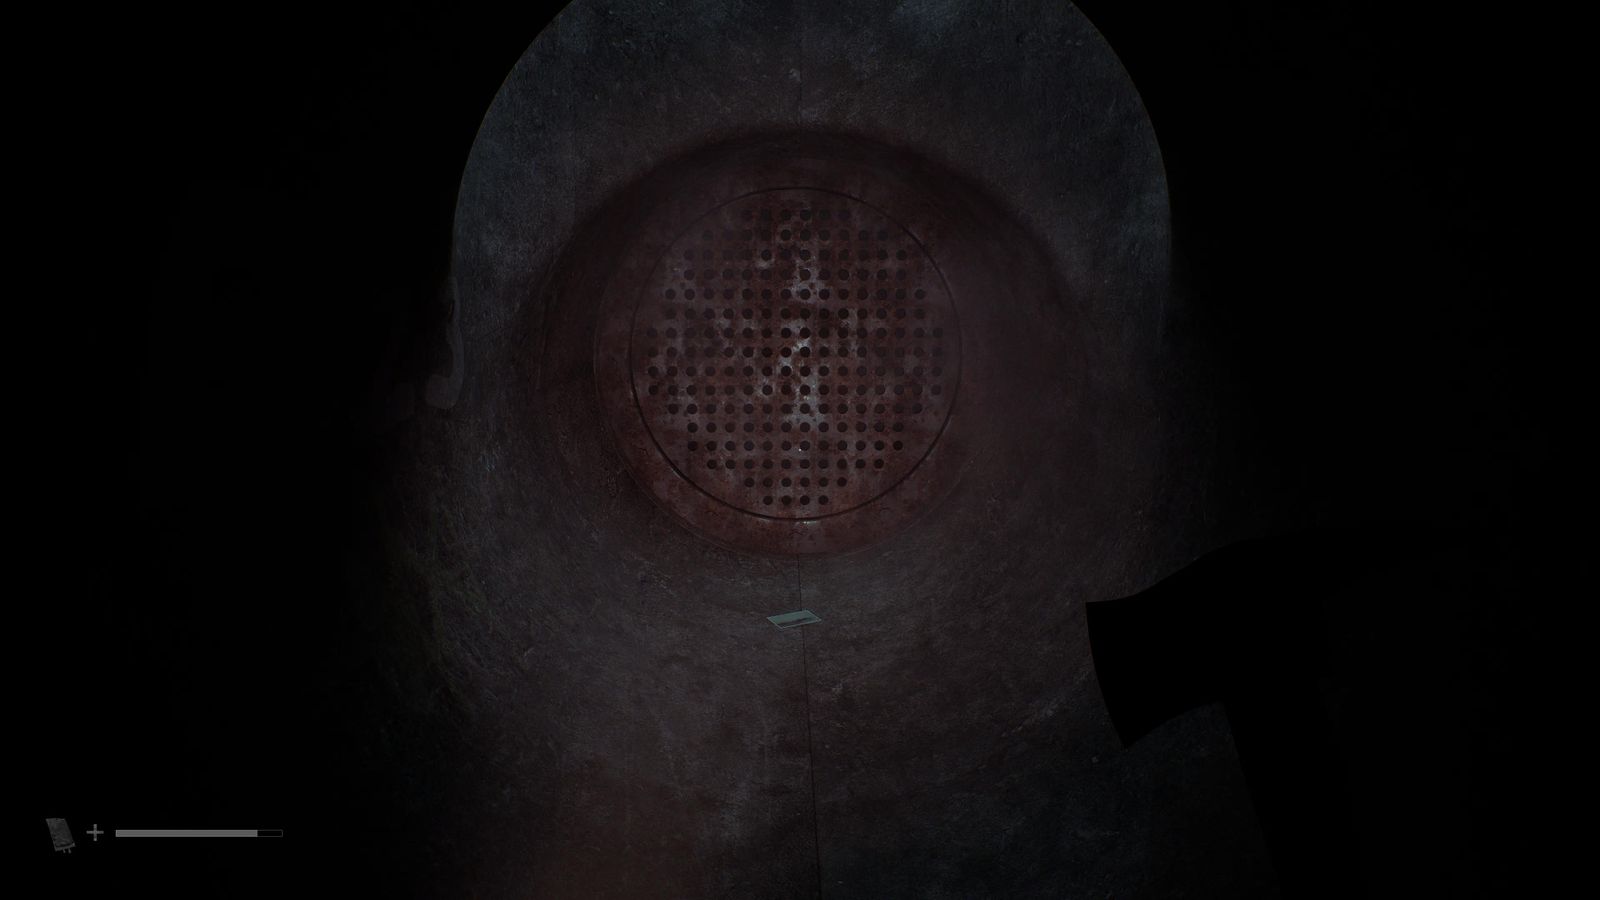
Postcard 15/15 · Floor 2 → silo
SWDP
- Computer room: Ordell Site Visit. 📍 Document 79/85
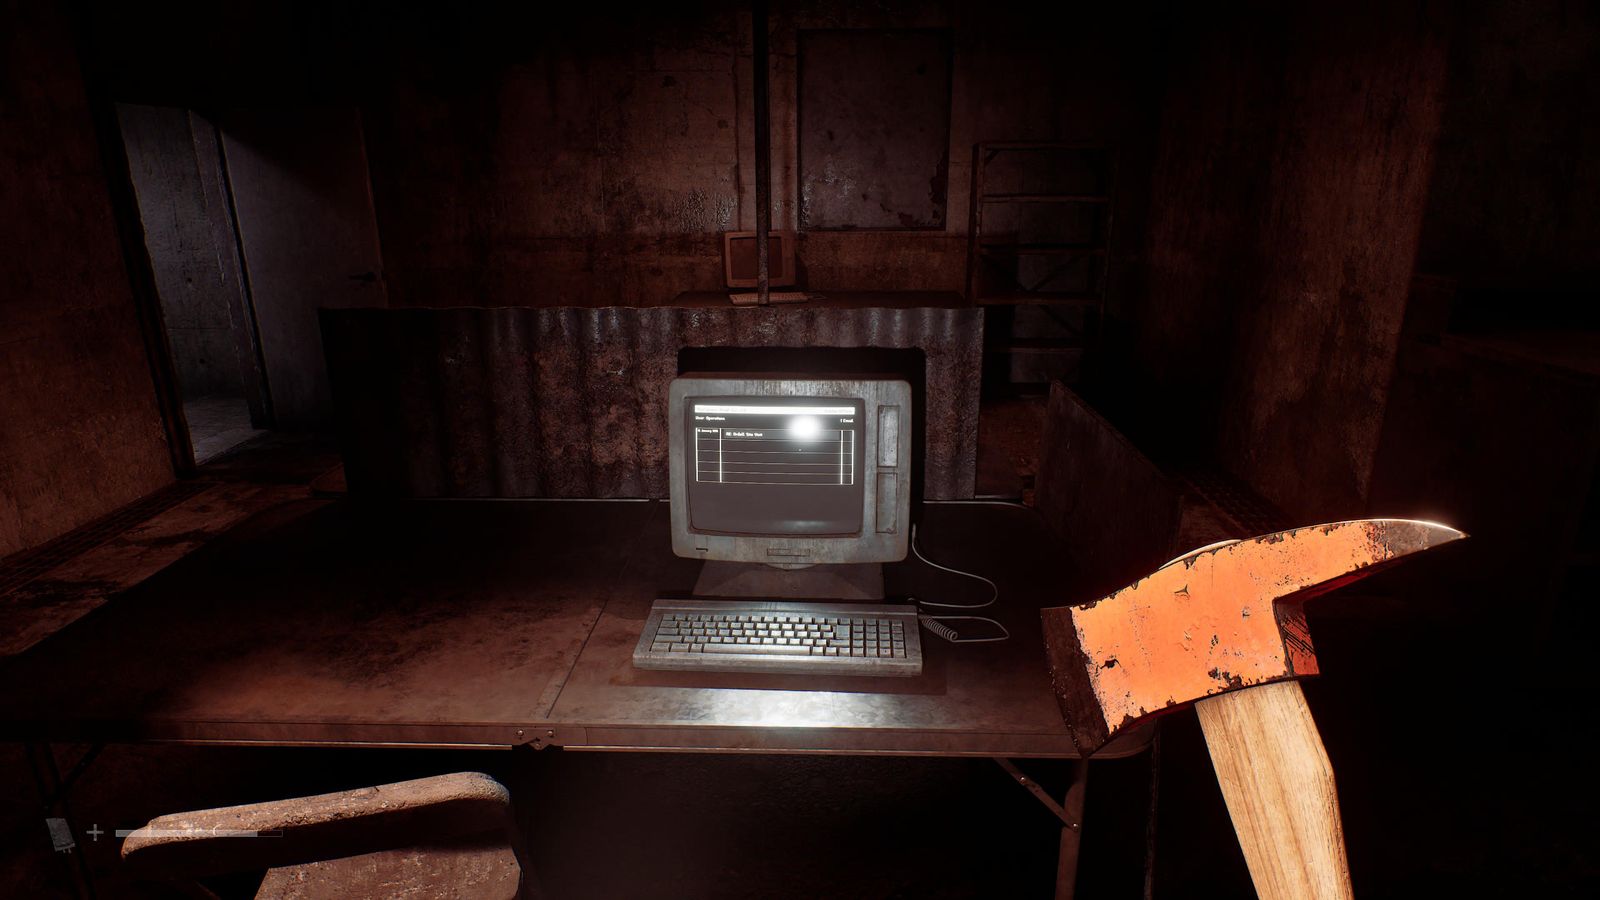
Document 79/85 · SWDP 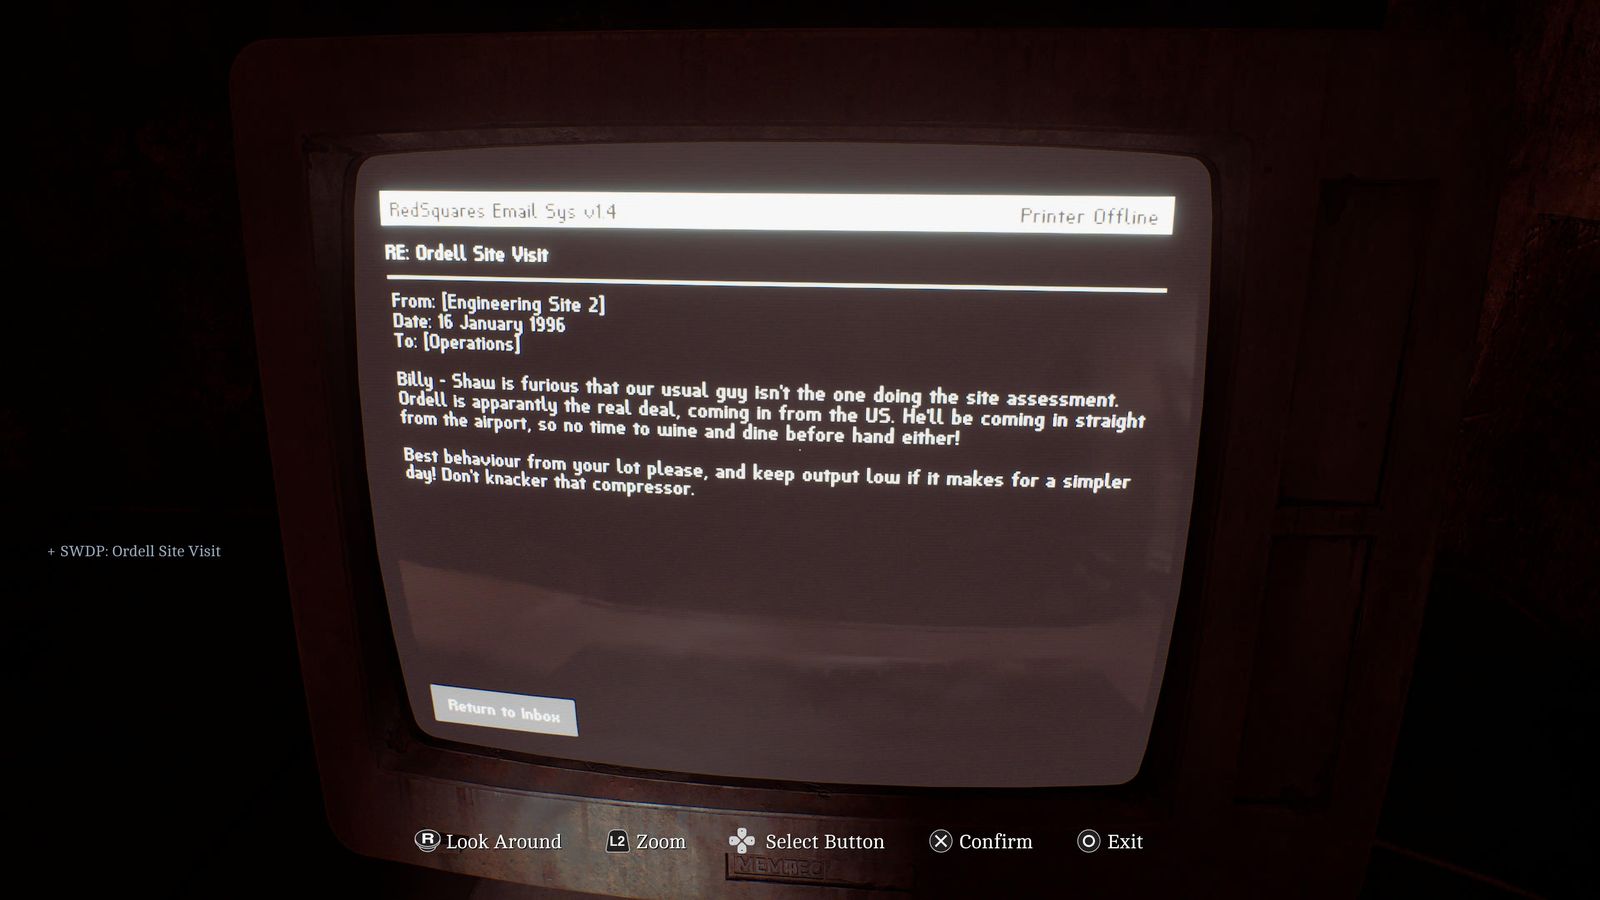
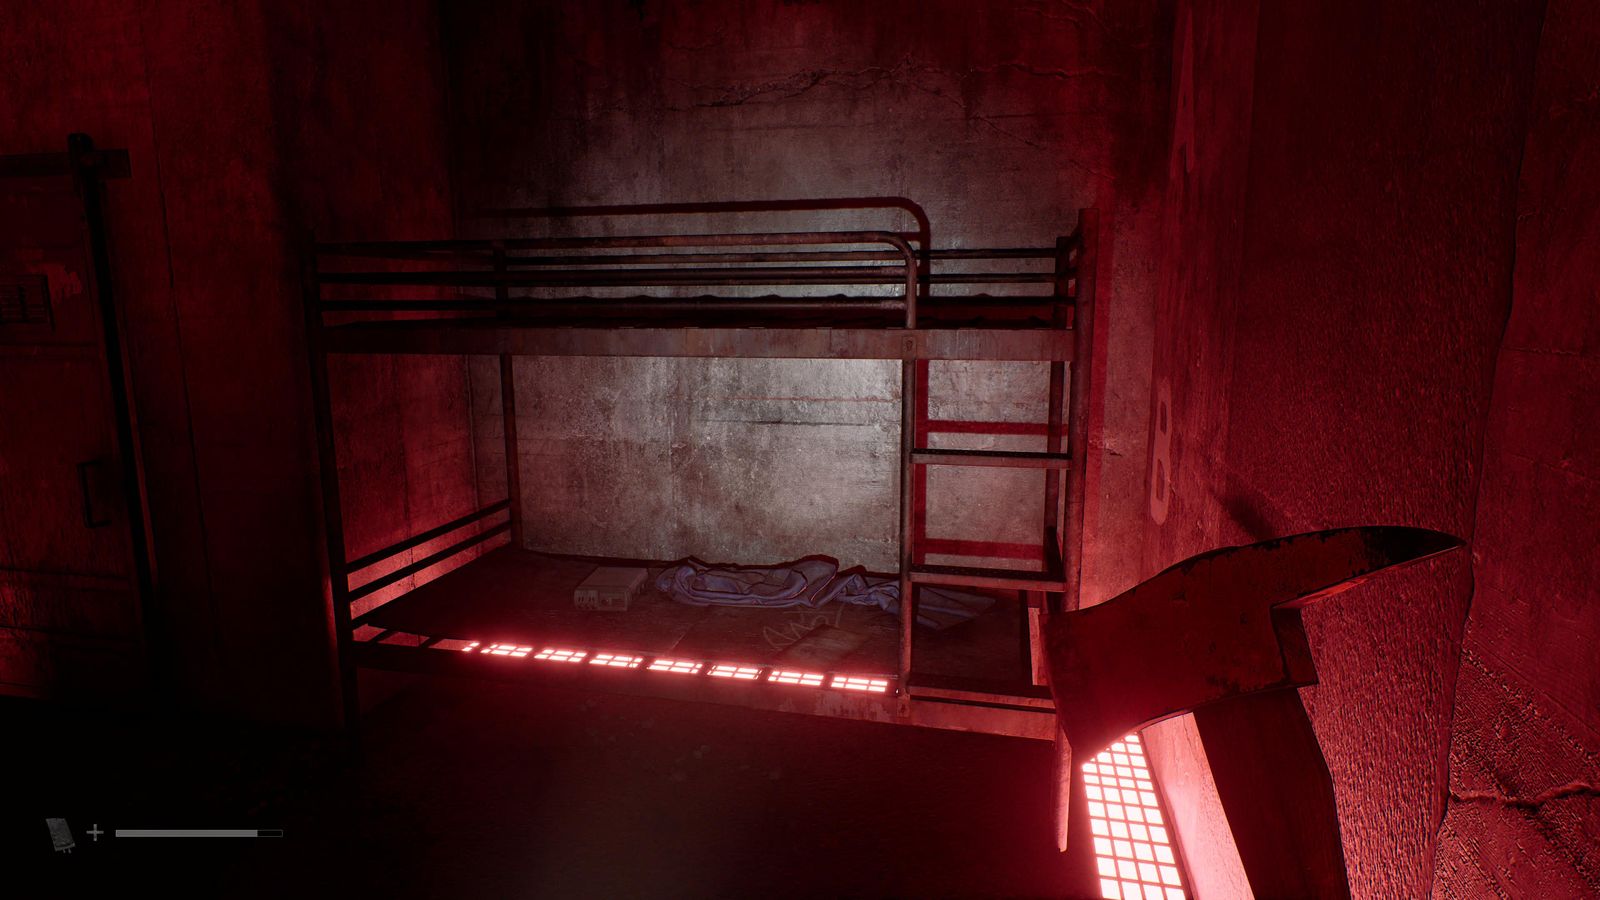
Document 79/85 · SWDP - South-east room: RCU Refit Note on the bunk, tuner 57, Photo of Joe McKenzie in the door frame. 📍 Docs 80-81/85 + CRTV 19/19 🏆 Sweeping Signals
Docs 80-81/85 + CRTV 19/19 · SWDP 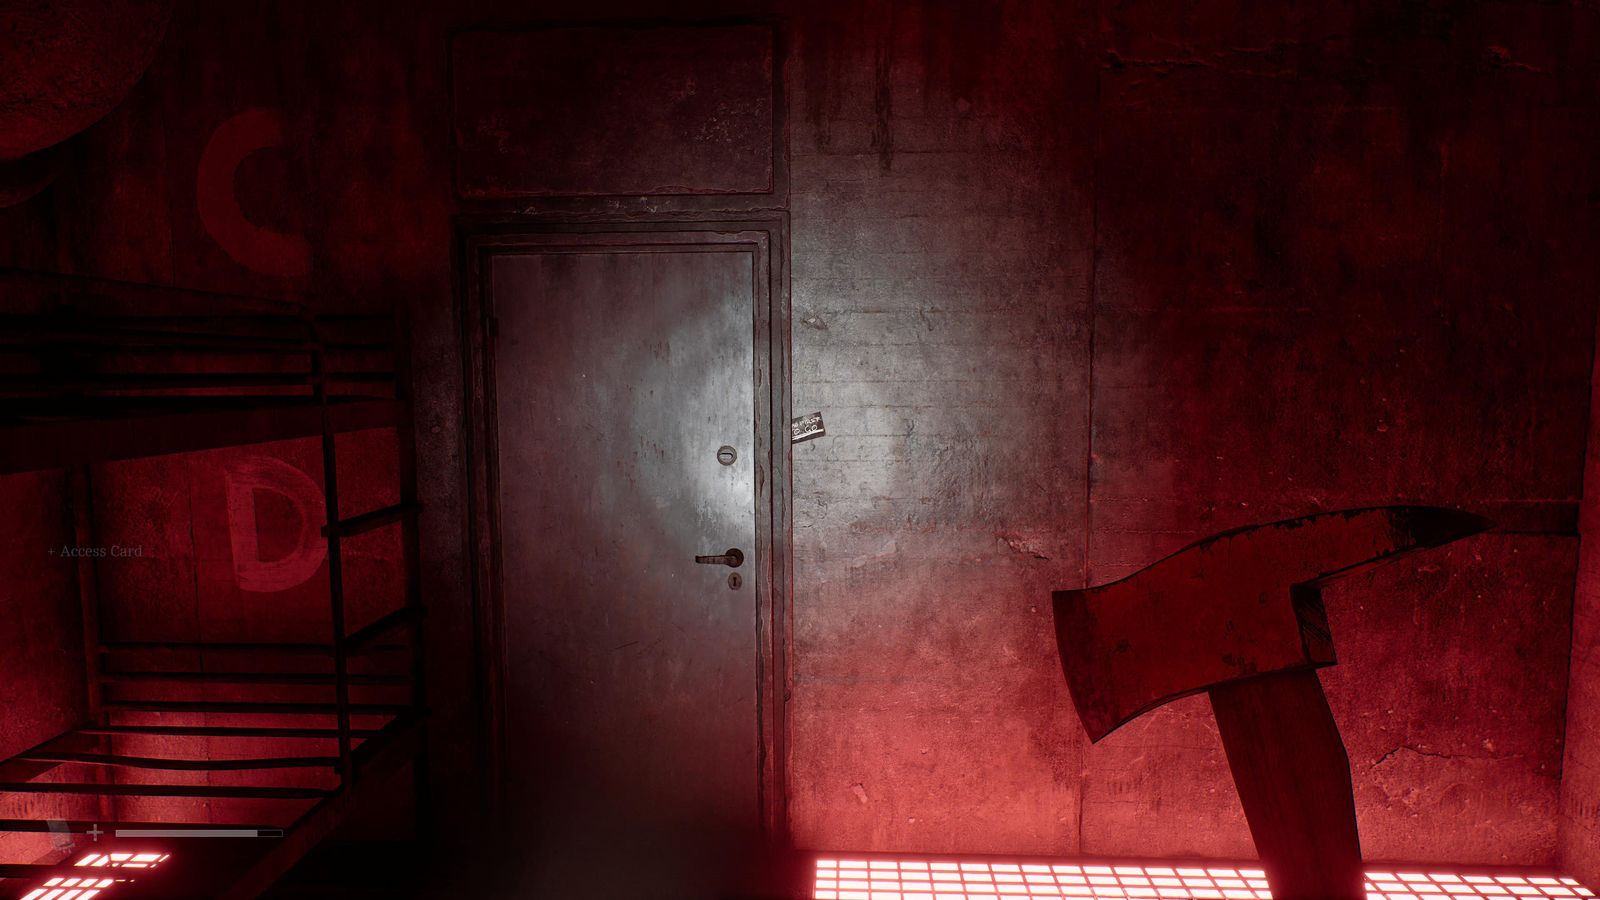
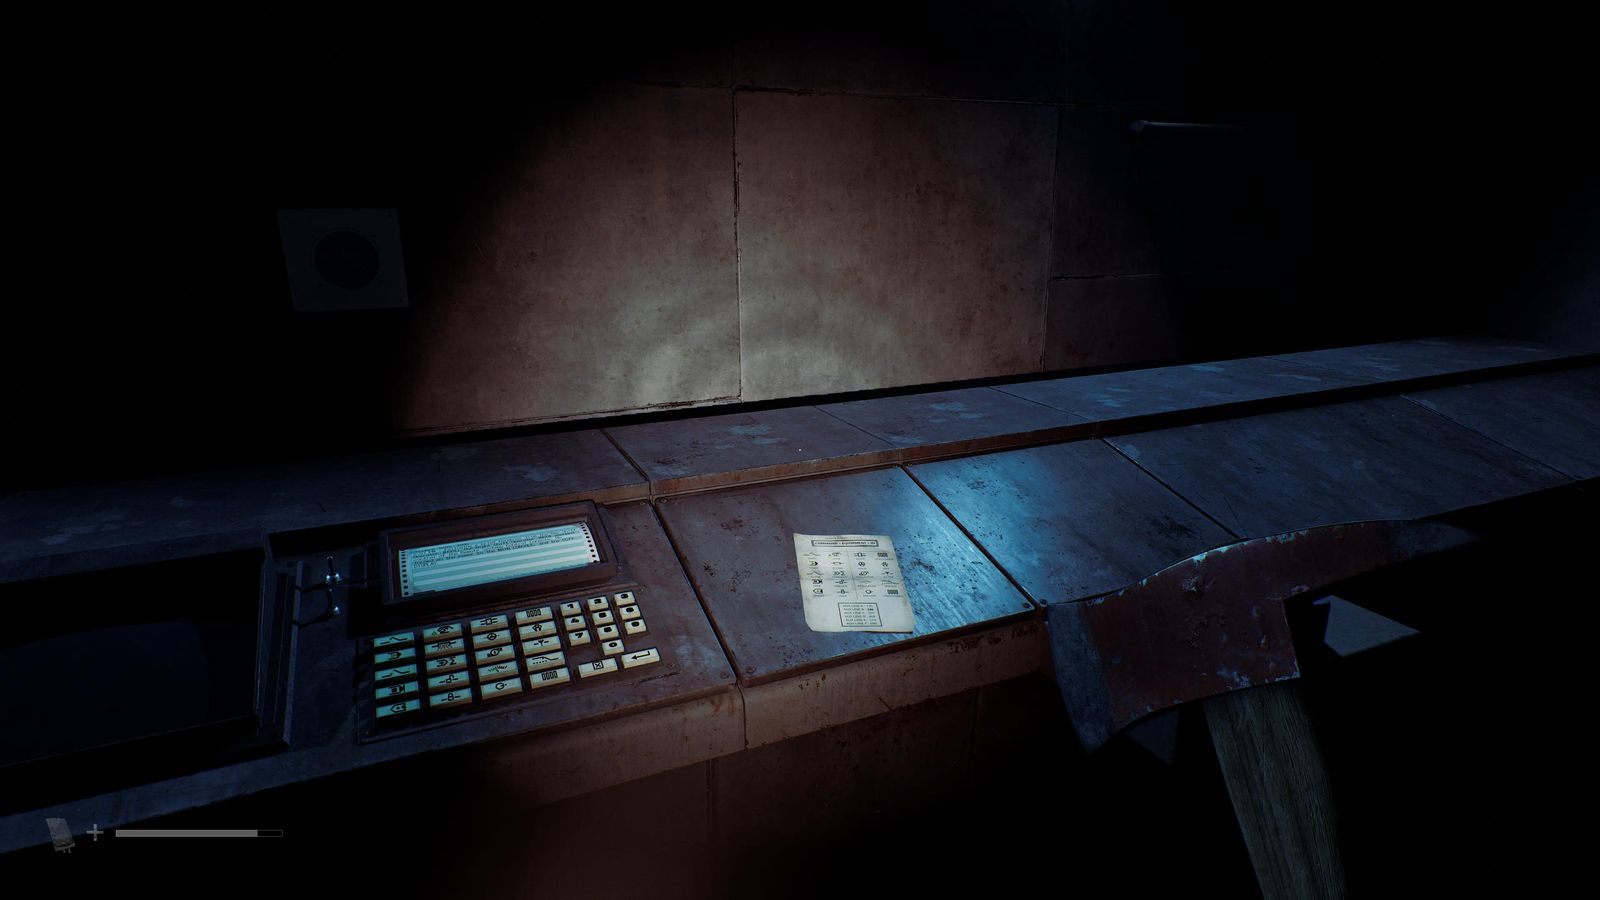
Docs 80-81/85 + CRTV 19/19 · SWDP - Remote Systems Control by the east keypad; Lock Box Key in the south-west console tray. 📍 Clue 82/85 🧩 SWDP Control Room Console solution
▶ Watch the solve
Clue 82/85 · SWDP 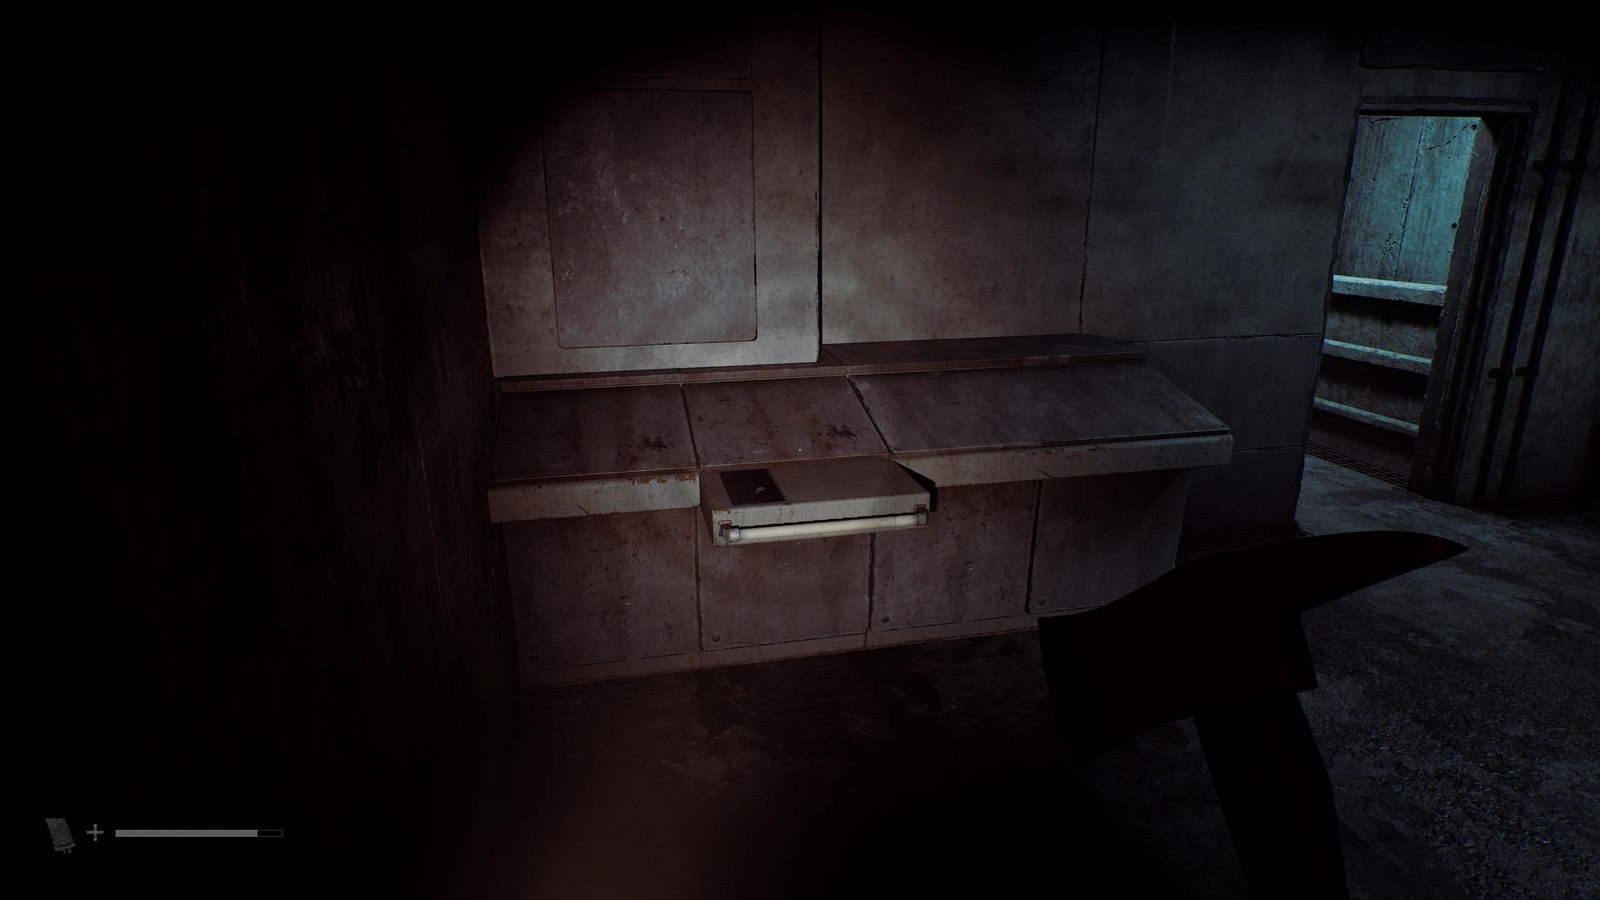
Clue 82/85 · SWDP - AUX room: put the AUX Disk in the drive and read Auxiliary Lines, then set the valves. 📍 Clue 83/85 🧩 AUX Pipe / Valve Puzzle solution
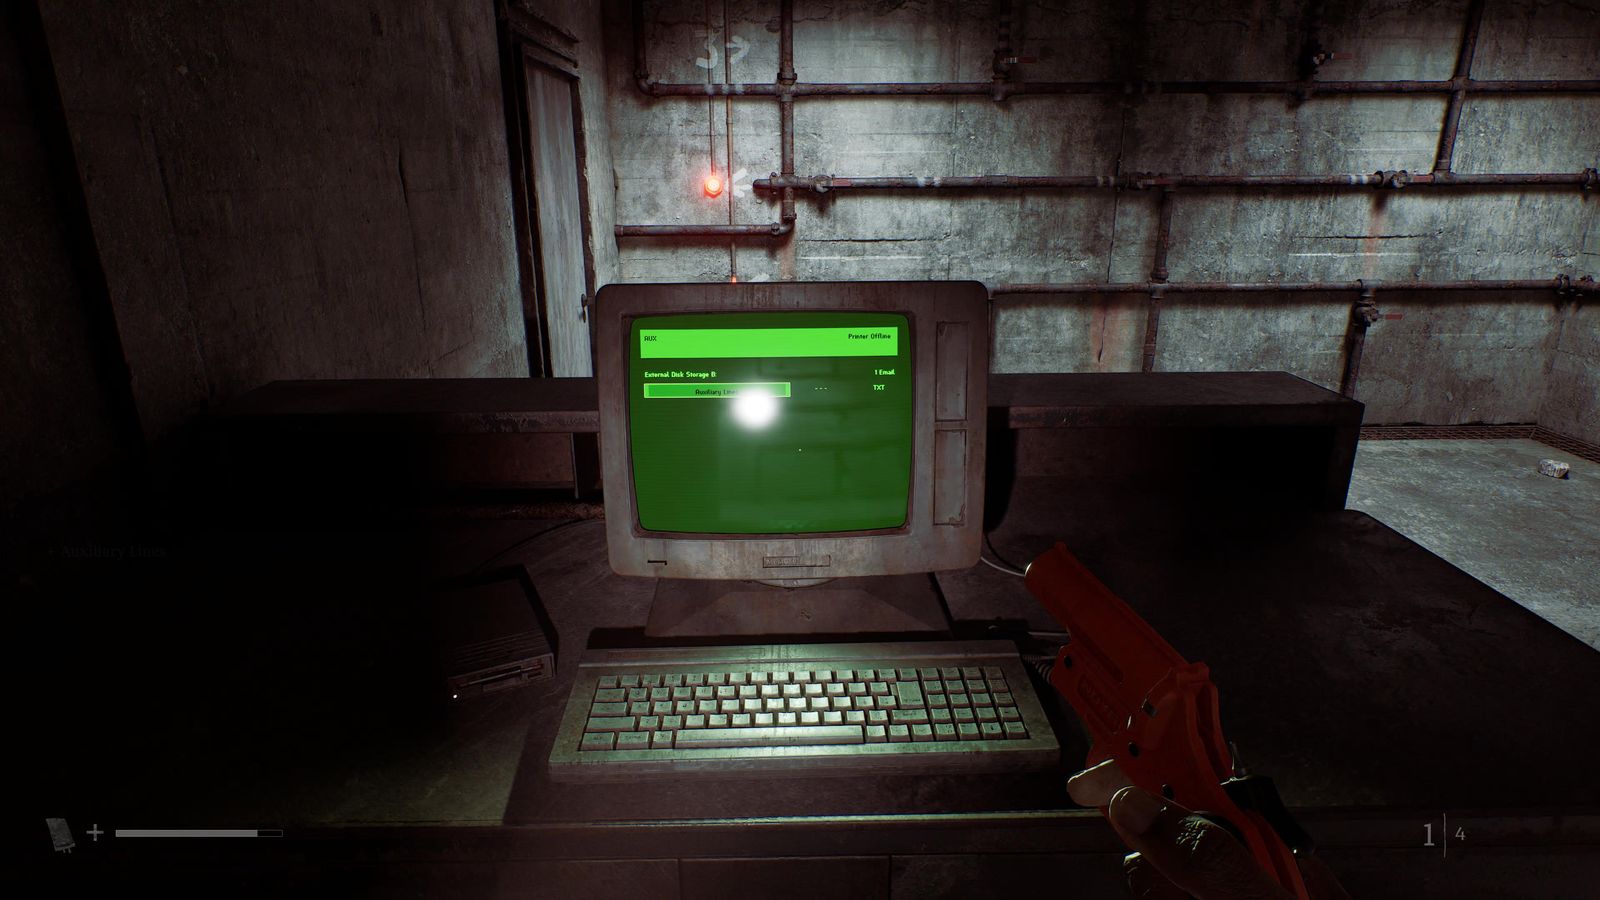
Clue 83/85 · SWDP 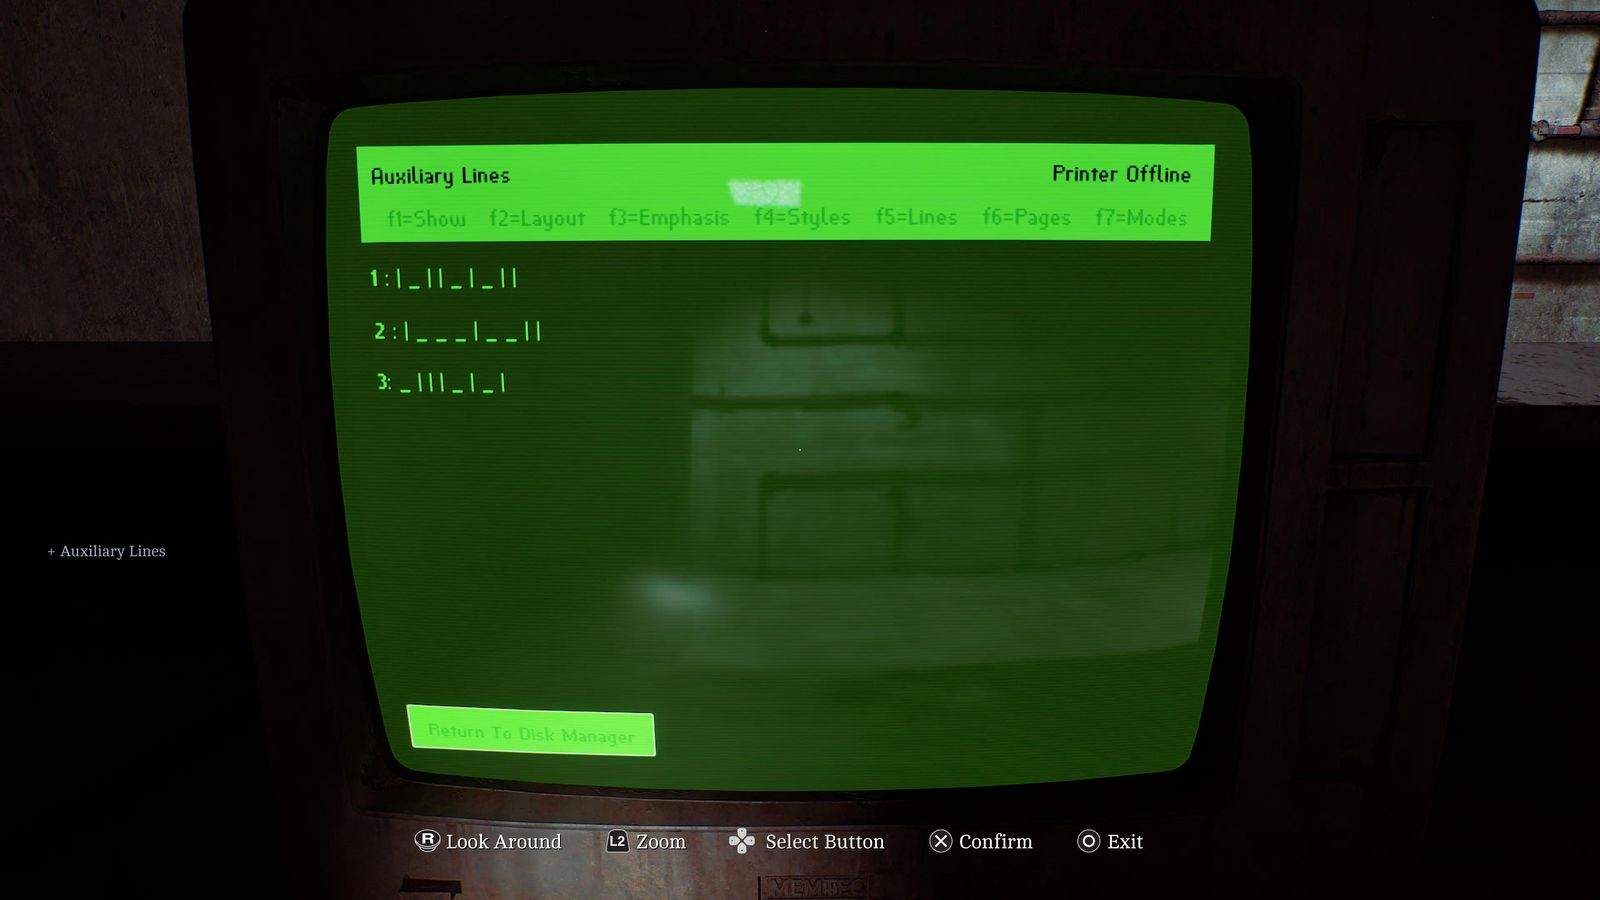
Clue 83/85 · SWDP - Resource Container 6 next to the control-room keypad; then unlock rooms 621, 047 and 793 with those codes. 📍 Container 6/7
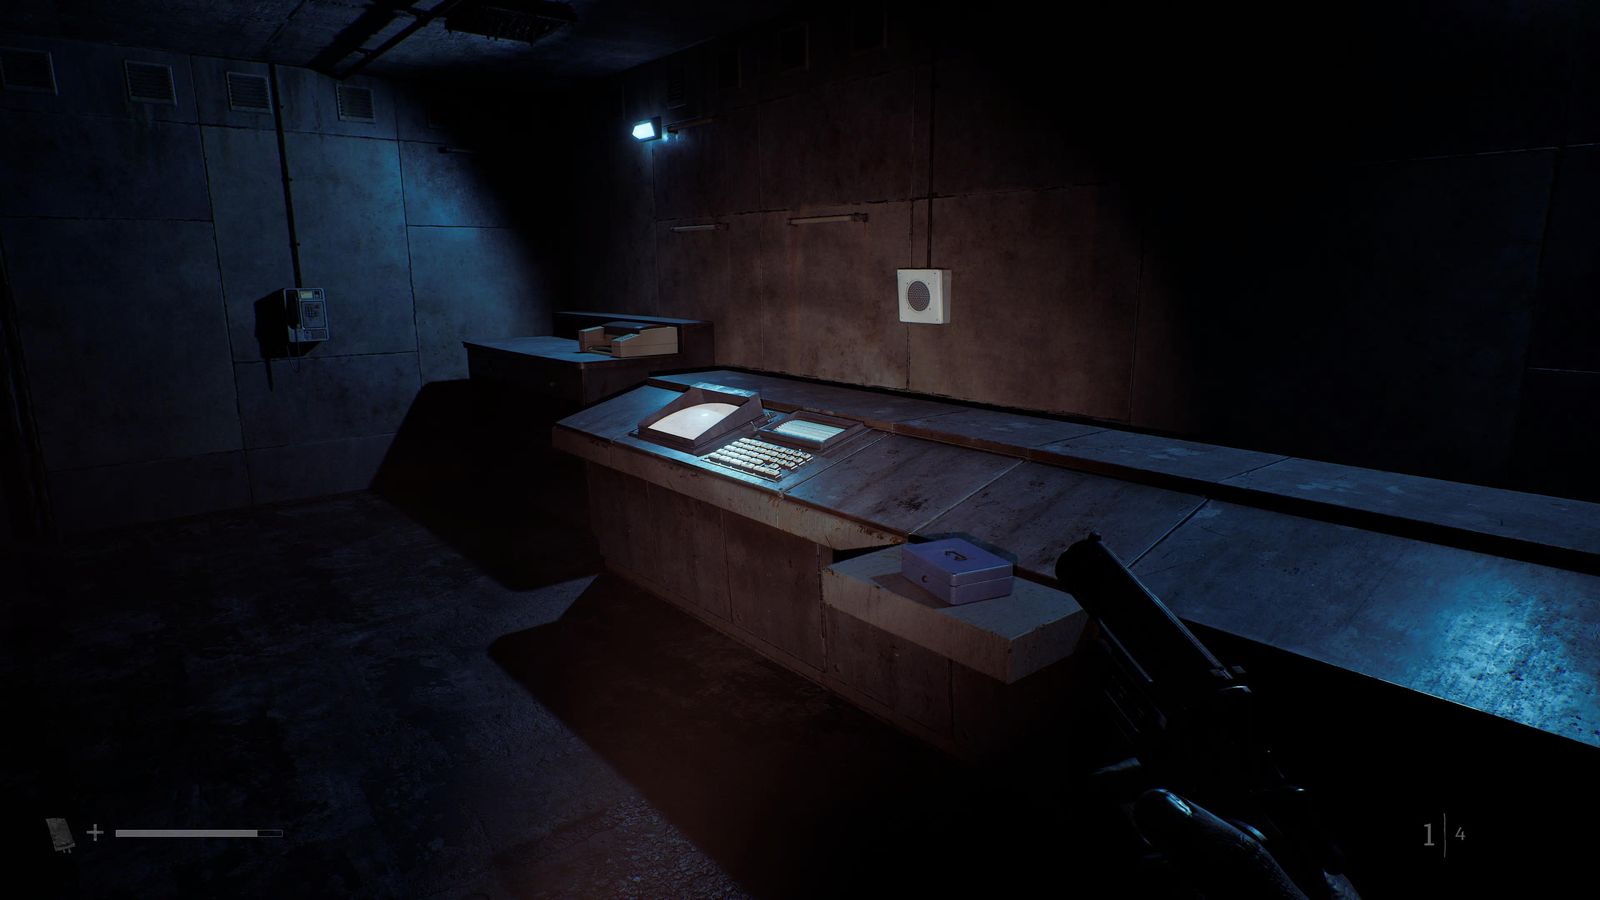
Container 6/7 · SWDP - Basement: Lock Box Key in 047, the Gold Coin in 793, Resource Container 7 and Strange Book #3 in 621. 📍 Gold Coin + Container 7/7 + Strange Book 3/3 🏆 Resourceful
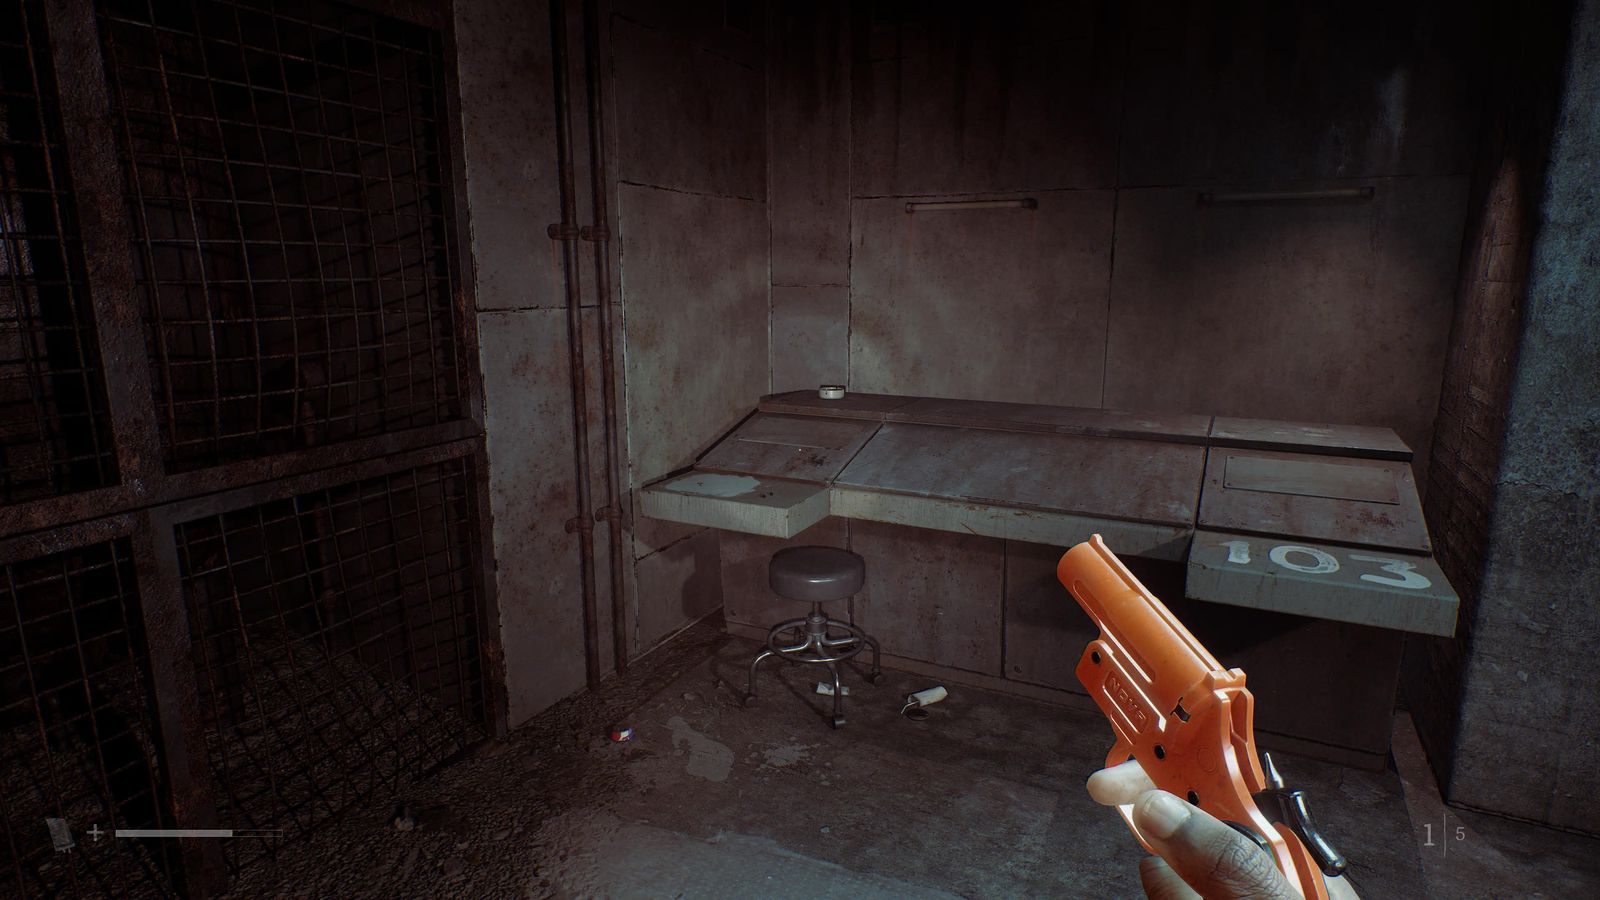
Gold Coin + Container 7/7 + Strange Book 3/3 · SWDP 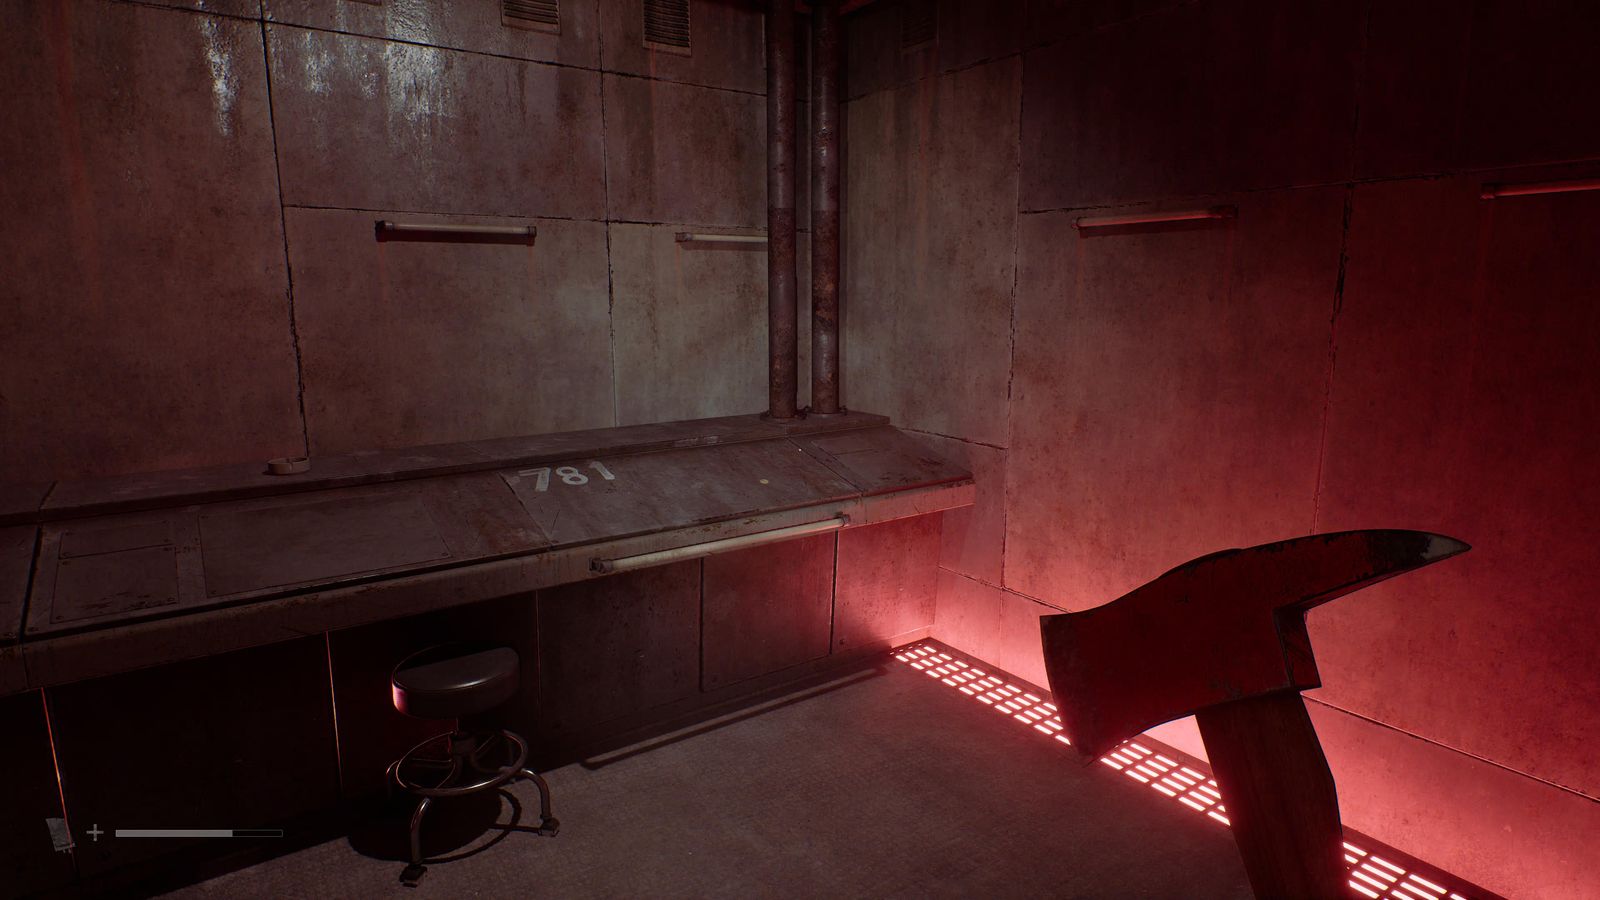
Gold Coin + Container 7/7 + Strange Book 3/3 · SWDP 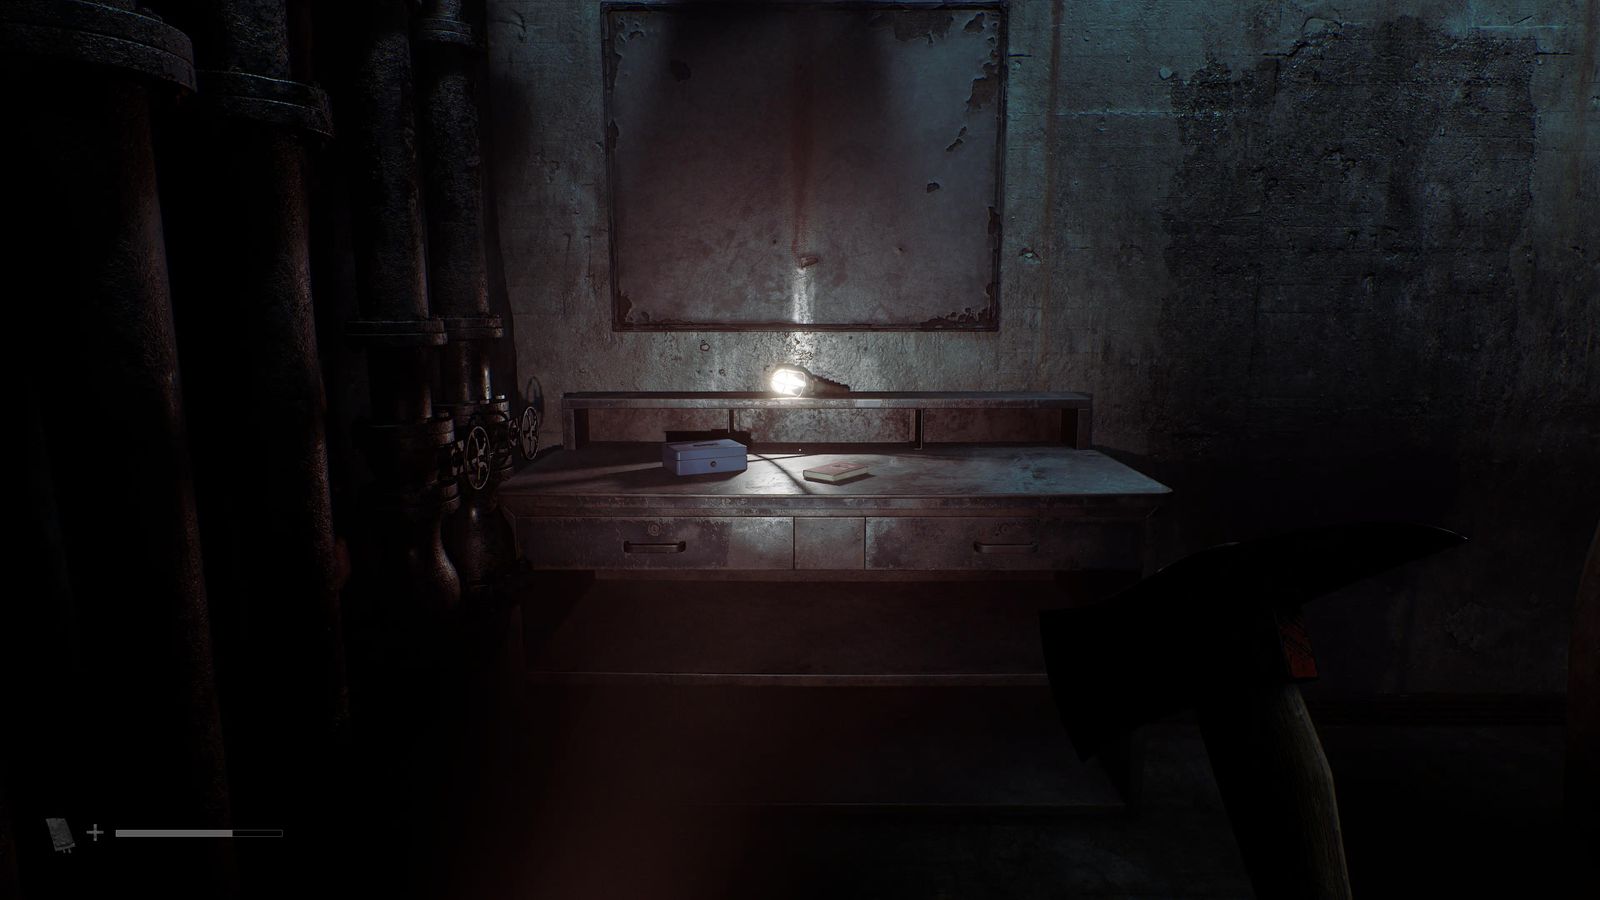
Gold Coin + Container 7/7 + Strange Book 3/3 · SWDP - Clamp Release Procedure in the printer tray. Make ONE manual save now and never overwrite it; craft until the crafting trophy pops. 📍 Clue 84/85 🏆 From Scratch
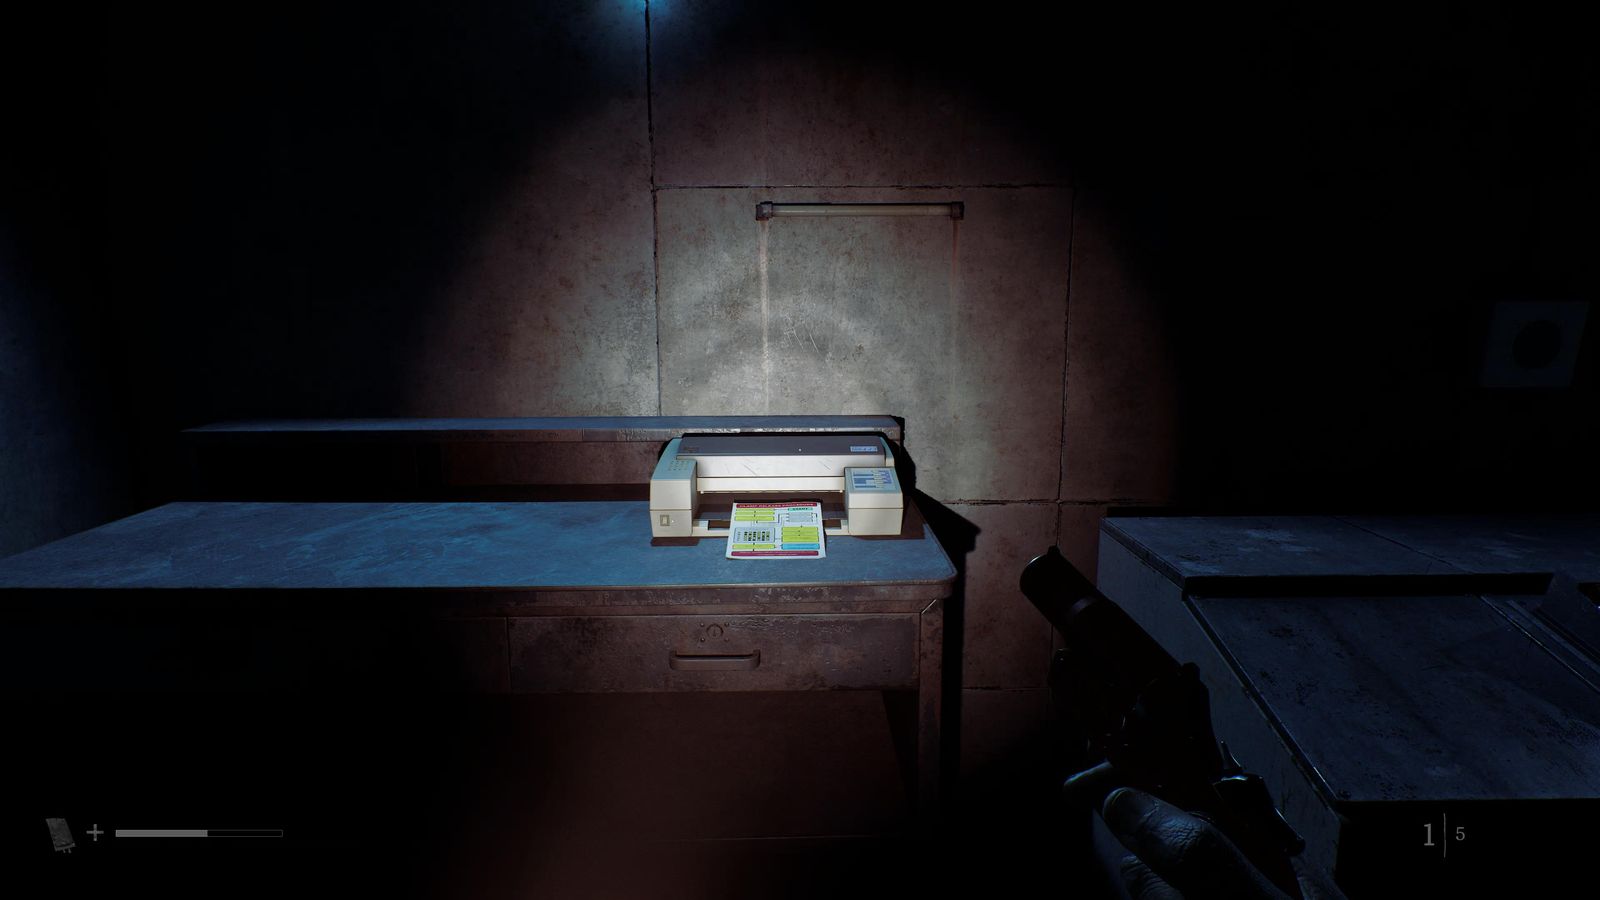
Clue 84/85 · SWDP
From the manual save Endings
Sci-Fi
- At the red junction door, use the Strange Access Card on the card panel on the left first, then open the door. 🏆 Sci-fi-lent Hill
- Finishing NG+ also pops these if you kept the run clean. 🏆 Reliving A Nightmare
Dog → Justice → Forever
- Reload the save, go straight on at the junction and put the Gold Coin in the guide dog, then beat The Weight. The Crew Patch is on the ground behind the coast stairs. 📍 Document 85/85 + Guide Dog 3/3 🏆 Let's Talk This Out
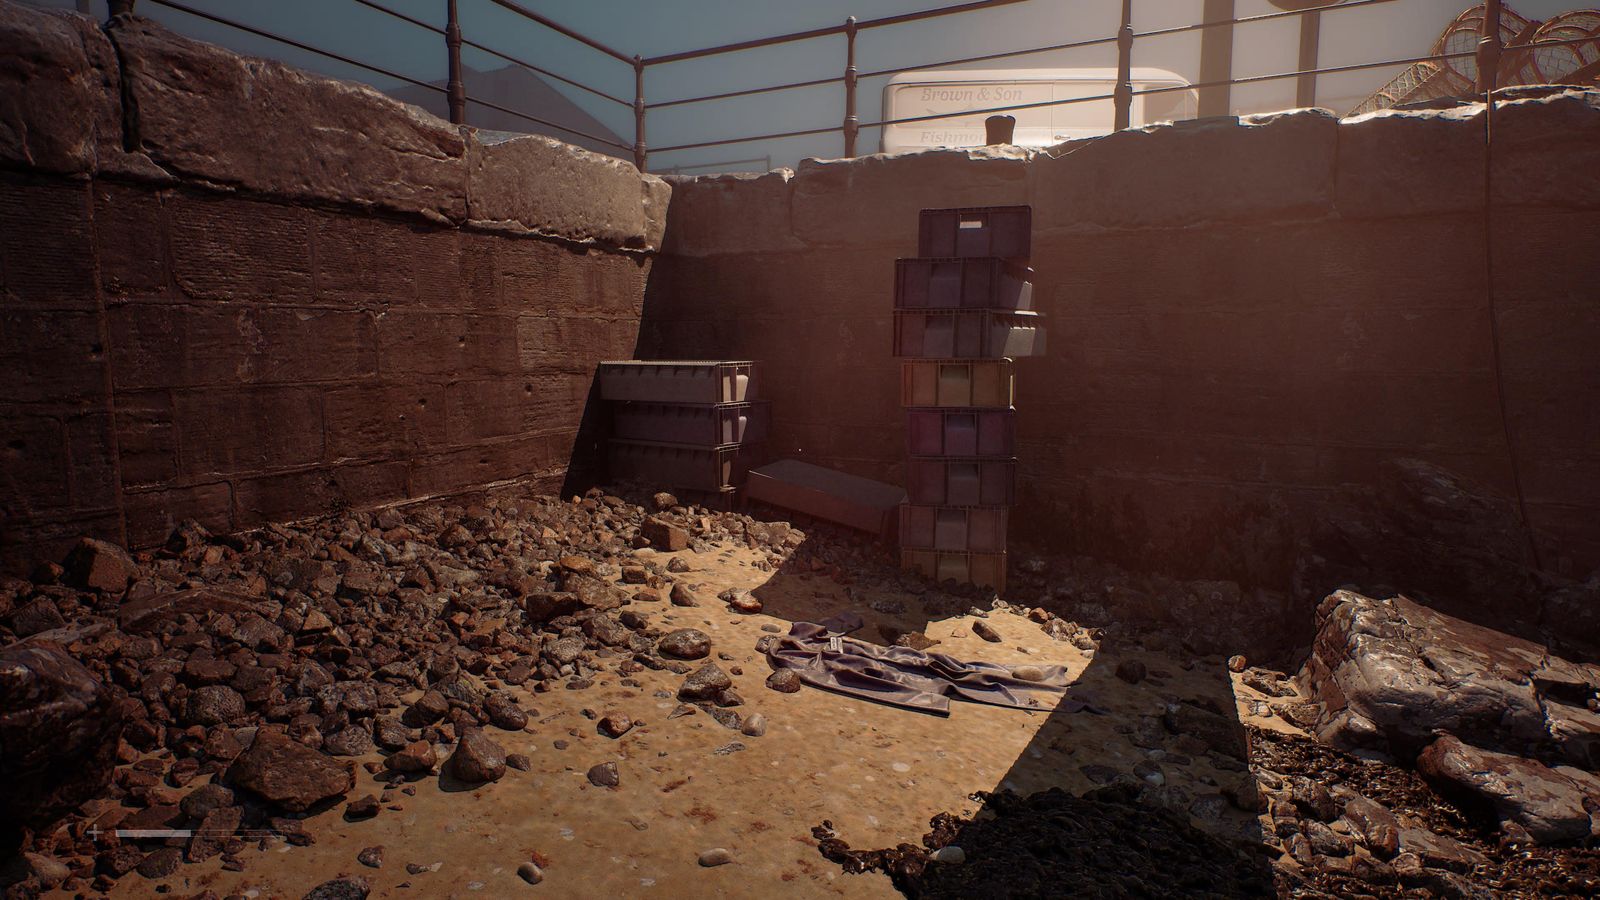
Document 85/85 + Guide Dog 3/3 · Dog → Justice → Forever - 85/85 discoveries. 🏆 Thorough Inspection
- Reload, skip the guide dog and finish normally without killing the boss-fight enemies: Justice. 🏆 For St. Amelia
- Reload, kill all five enemies during the boss fight and leave the Crew Patch behind: Forever. 🏆 Here To Stay
Pistol-3000
- Start a new NG+ and pick up the Pistol-3000 from the second garage near the Axe. 🏆 Future Hardware
- That's every trophy. 🏆 Doing The Right Thing
FAQ
How many playthroughs does the Silent Hill Townfall platinum need?
Two, plus a few minutes of a third: a no-save run under 4 hours, a New Game+ 100% run that collects four endings from one manual save, and a fresh NG+ start for the Pistol-3000.
Is anything missable?
Collectibles can all be picked up on NG+, but some are blocked by scenes (the Harbour Notice disappears if you walk past the van first) and the challenge trophies (no healing as Zoe, no saves after meeting Richard, under 4 hours) fail for the whole run if you break them.
Does puzzle difficulty matter?
No. We used Hinted; the answers on this page are for that setting.