Puzzle Solutions & Safe Codes
Every Resident Evil Requiem puzzle solution and safe code in one place, in the order you meet them, with our own videos of the solves. The same answers are built into the platinum walkthrough at the exact step you need them.
🧩 Moon Quartz Puzzle Unit
Chapter: Care Center · West Wing (Grace)
Where: The puzzle unit in the corner of the chairman's office, upstairs in the west wing.
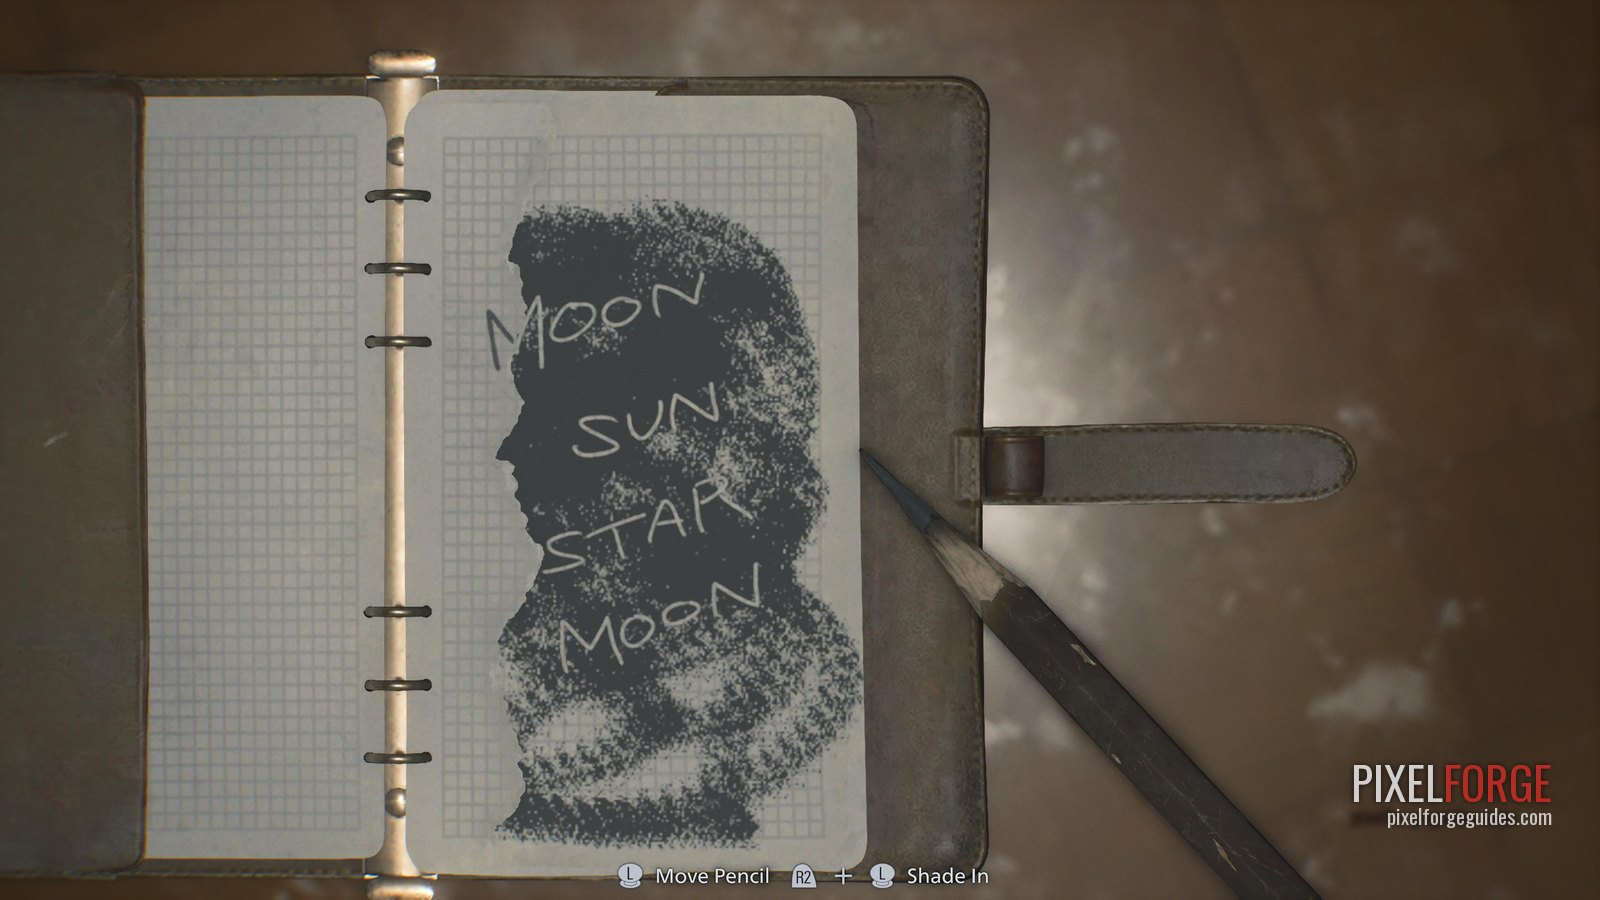
- Press the symbol buttons in this order: Moon, Sun, Star, Moon, then confirm.
- Take the Moon Quartz from the compartment that opens.
The clue is the Chairman's Note on the office table: shade it in with the Pencil from the next office and the four symbols appear.
🧩 Parlor Roulette Coin
Chapter: Care Center · Parlor (Grace)
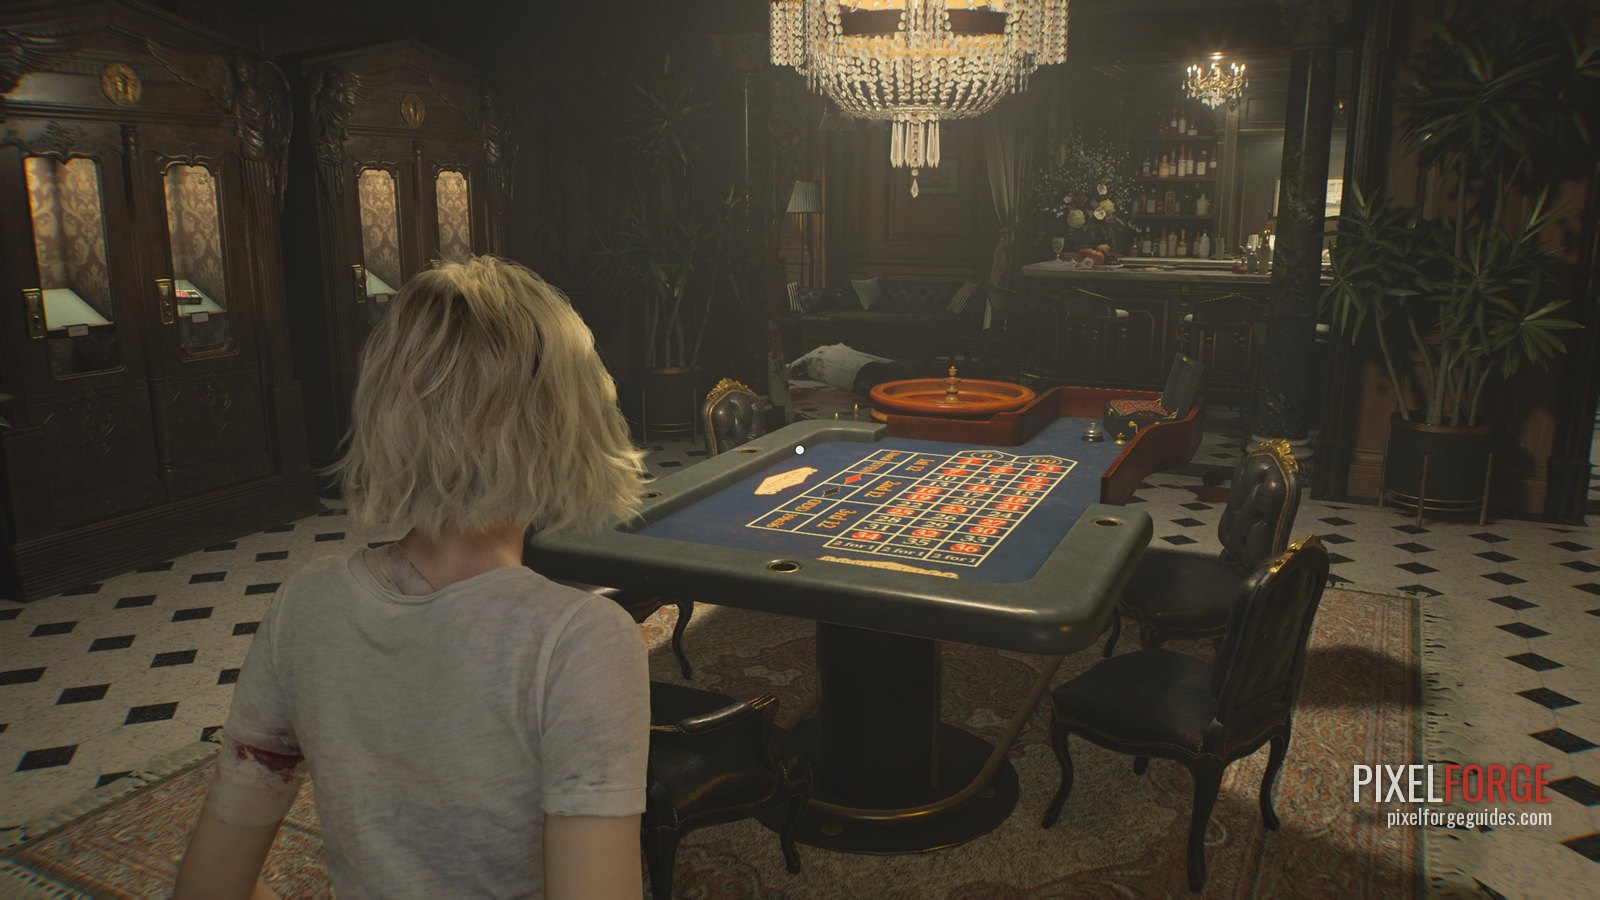
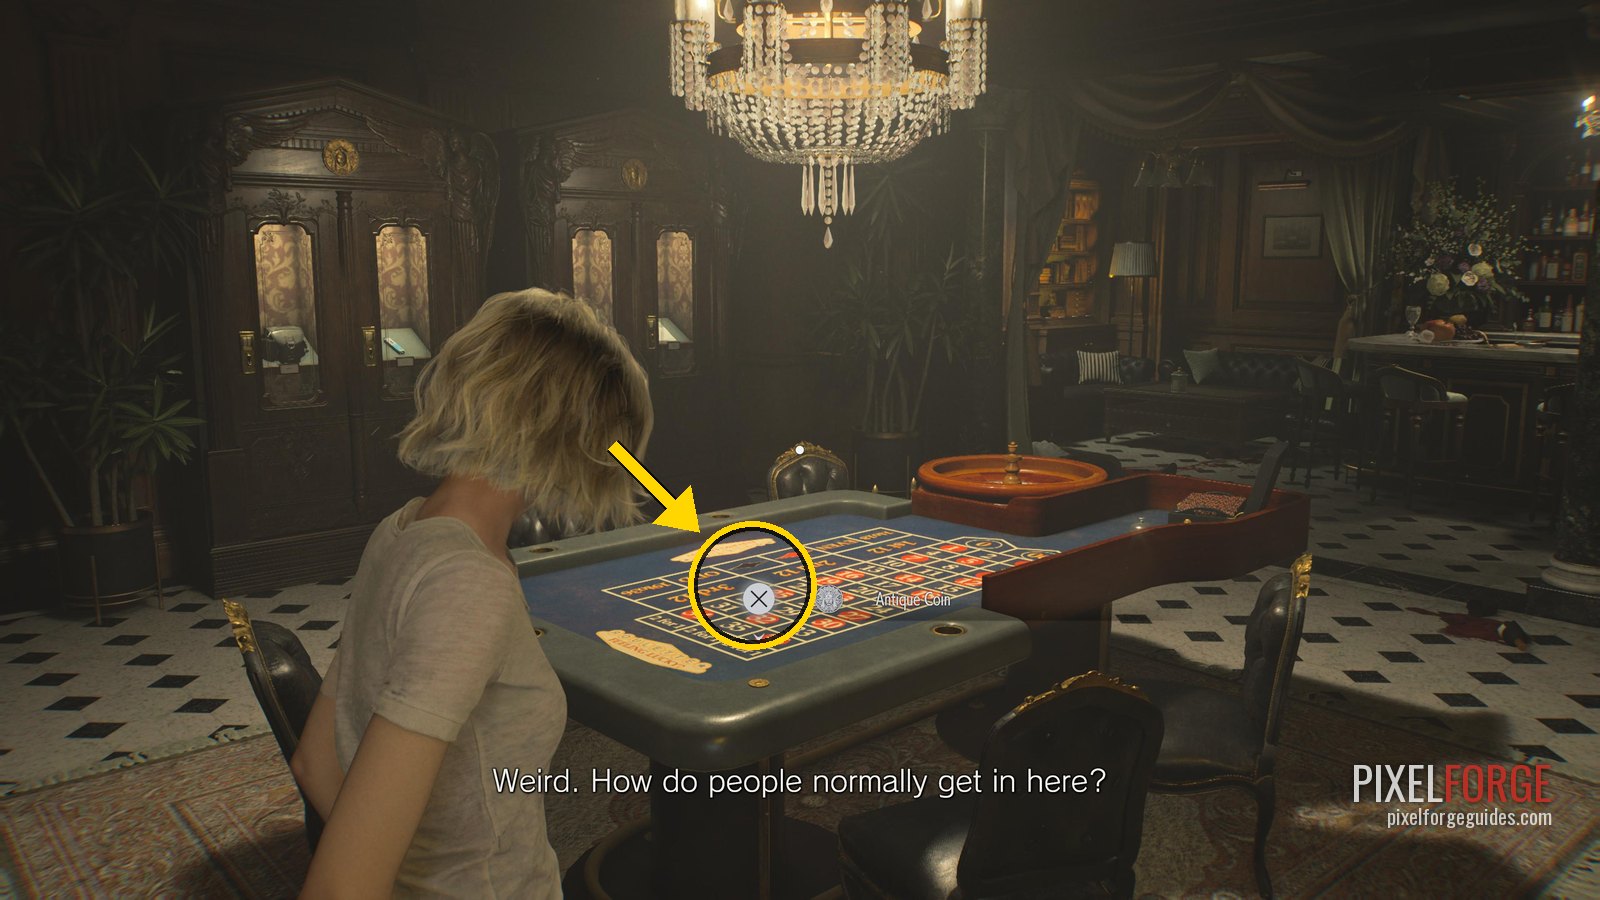
Where: The roulette table in the parlor (opened with the Red Jewel).
- Shoot one of the numbers 7, 15 or 29 on the table layout. A coin rattle means the bet is locked in.
- Spin the wheel. If the ball lands on the number you shot, an Antique Coin appears.
- If it misses, shoot one of the three numbers again and spin again.
🧩 Safe Codes (different on each of our runs)
Chapter: Care Center, Underground and ARK
Where: Five safes count for No Safe is Safe: the bar & lounge, the examination room, the basement, the dump and the monitor control room.
- The combinations are not fixed: they were different on our Casual run and our Insanity run. Read the code file in your own game (the care-center ones are listed below).
- Bar & Lounge safe (west wing, behind the bar). Code file: File 27, Bar & Lounge Safe Code, in the west wing offices. Ours: 10 / 80 / 30 (run 1), 20 / 50 / 30 (run 2).
- Examination room safe (east wing, inside the glass cabinet). Code file: File 18, Examination Room Safe Code, on the fallen locker. Ours: 30 / 10 / 50, then 50 / 30 / 90.
- Basement safe (underground, first small room past the west passage). Code file: File 33, Basement Safe Code, in the attic wardrobe. Ours: 60 / 40 / 80, then 70 / 50 / 20.
- Dump safe (ARK, on the drawers by the north window). Ours: 10 / 90 / 20, then 80 / 50 / 00.
- Monitor control room safe (ARK). Ours: 50 / 60 / 80, then 20 / 00 / 70. ARK's two safe notes are Files 71 and 72 (Sterilization Chamber Safe and Monitor Control Room Safe).
- To dial: turn to the first number, change direction for the second, change direction again for the third, then confirm.
If you already know your code from a previous run, it won't necessarily work: read the file again.
🧩 Laser Microscope (Blood Analysis)
Chapter: Care Center · Blood Lab (Grace)
Where: The laser microscope in the east wing blood lab. Each specimen unlocks new crafting recipes.
- Blood Specimen (Denatured), from the desk by the lab computer: press node 2. Unlocks handgun ammo and the Hemolytic Injector, plus the trophy Science!
- Blood Specimen (Converged), from the waiting-room closet: press the second-lowest node, then the middle top node. Unlocks the Med Injector and Requiem ammo.
- Blood Specimen (Reversible), from the storeroom at the back of the blood lab: press the third node from the right, then the right-most, the left-most and finally the middle node. Unlocks Steroids and the Stabilizer.
- Insanity only · Blood Specimen (Polymerized), from the waiting-room closet: press the left middle node, then the right middle node, then the rear middle node.
Our video shows the Denatured specimen. Every specimen is the same idea: activate all the atoms in the fewest conversions.
🧩 Sun Quartz Puzzle Unit
Chapter: Care Center · East Wing (Grace)
Where: The puzzle unit in the corner of the lead researcher's rear office, upstairs in the east wing.
- Press Star, Sun, Moon, Sun, then confirm.
- Take the Sun Quartz and the Leatherbound Notebook (files 24 and 25 are inside it).
🧩 Organ Transport Box
Chapter: Care Center · Garage (Grace)
Where: The box in the back of the truck in the care center garage. The instructions are in file 24, Unlocking the Organ Transport Box.
- Raise the right slider to the middle.
- Press buttons 5 and 2.
- Turn the dial to HAND, then back to AUTO.
- The box opens: take the Artificial Lungs.
🧩 ID Wristband (Level 3) Puzzle
Chapter: Care Center · Security Manager's Office (Grace)
Where: The security manager's office in the isolation ward (opened with the Level 2 wristband).
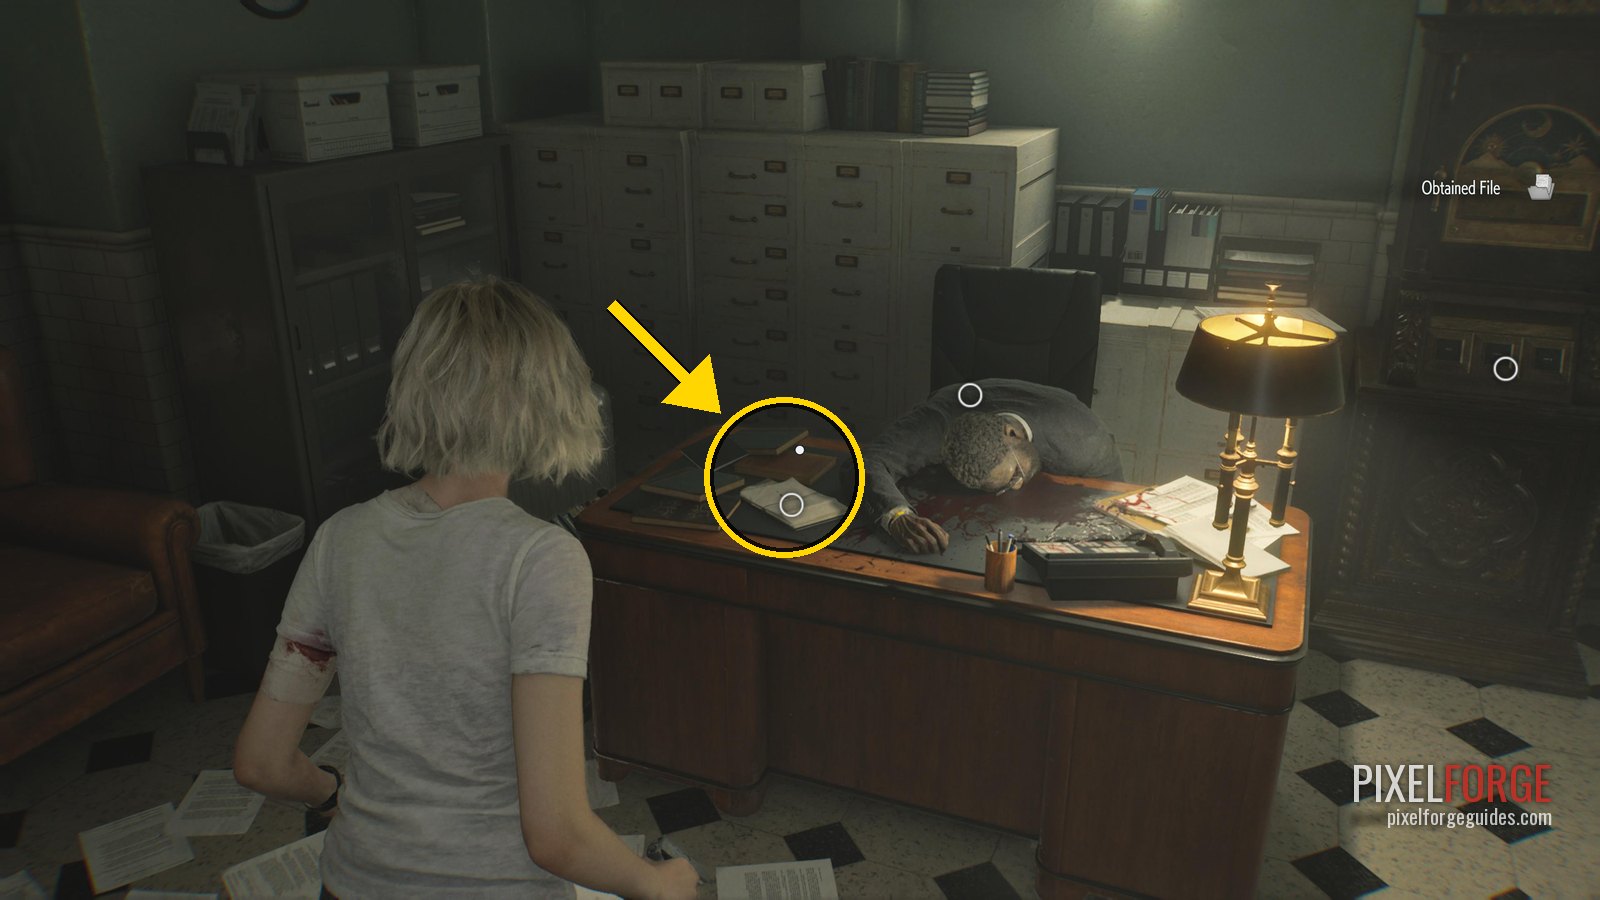
- Interact with the note on the table and fold the page.
- Use the puzzle unit with the folded note to get the ID Wristband (Level 3).
🧩 Central Hall Door (Three Quartz)
Chapter: Care Center · Central Hall (Grace and Emily)
Where: The north door of the central hall, after the elevator ride with Emily gives you the Star Quartz.
- Use the Moon, Sun and Star Quartz on the three slots of the door.
- Walk through into the courtyard for It's Been a Long Night.
🧩 The Final Puzzle (Marie's Doll)
Chapter: Spans both playthroughs
Where: A hidden challenge across two playthroughs. It isn't a trophy, but finishing it gives 20,000 CP early in run 2 for the Bonuses shop.
- Run 1, Processing (underground): when you pull the lever that reverses the belt, start a 15-minute timer and let about 115 bodies fall into the blood pool. Don't pull the far lever while you wait.
- Run 1, after the grinder: pull the lever by the elevator to drain the tank. The message must say a “ton” or a “torrent” of blood flowed out (“a lot” means you didn't wait long enough).
- Run 1, central hall: put Emily on the guard-office sofa and flush a toilet 8 times in the west wing restroom.
- Run 1, research facility emergency route: when the blood floods in, Marie's Doll is at the bottom of the stairs on the left. It goes into the item box for your next playthrough (it doesn't appear if you just reload an older save on the first run).
- Run 2, central hall: flush the toilet 8 times again, take Marie's Doll out of the item box, then carry Emily to the puzzle box in the lead researcher's office.
- Enter the four rows: Sun Sun Star · Sun Moon Star · Sun Moon Sun · Moon Star Moon. The game says you let the sweet pair hear the voice: check Challenges for the reward.
The 15-minute wait counts towards the in-game timer. We still finished run 1 in 3:50:40, under the 4-hour Speed Demon limit, but it doesn't leave much room.
🧩 Power Shades Charm Case (R.P.D.)
Chapter: R.P.D. · Upstairs Offices (Leon)
Where: The case in the far-left room of the upstairs R.P.D. offices (near Barry's To Do List).
- Set all three dials to R: R R R.
- Take the Power Shades Charm.